There is nothing quite like the refreshing zing of a no-bake lemon pie on a warm afternoon. This particular recipe captures that perfect balance between a dense, velvety filling and a crisp, golden crust, just like an authentic handheld smartphone photo shared among friends. If you are looking for a dessert that looks like it belongs on a modern white ceramic plate, this is the one for you.
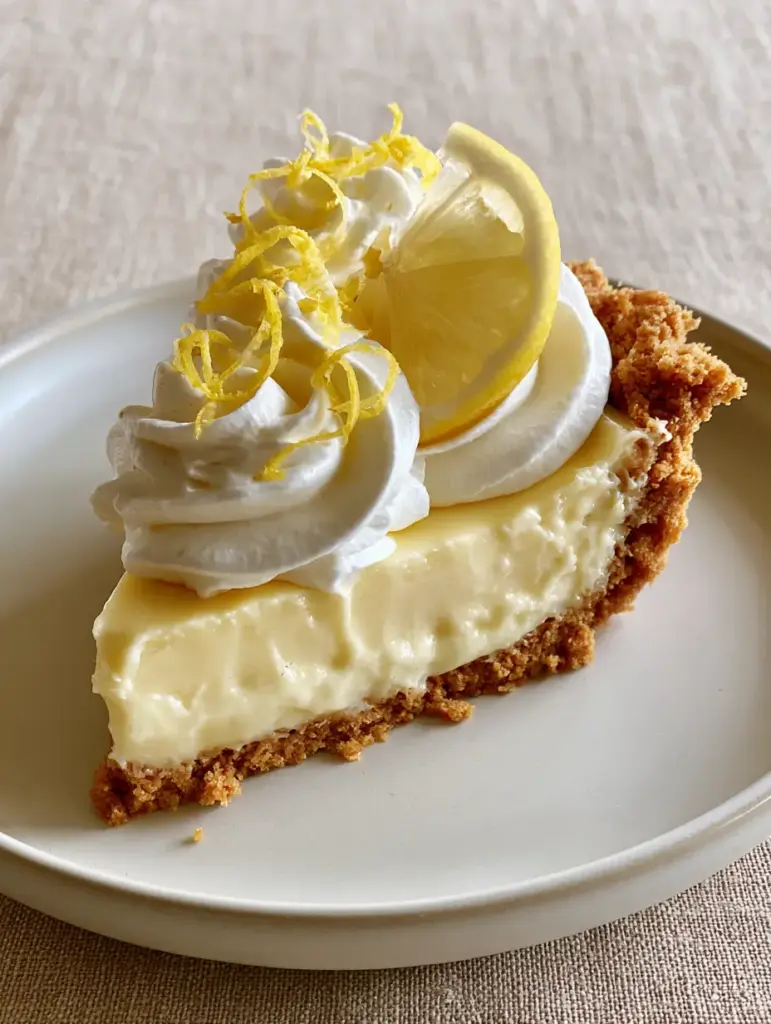
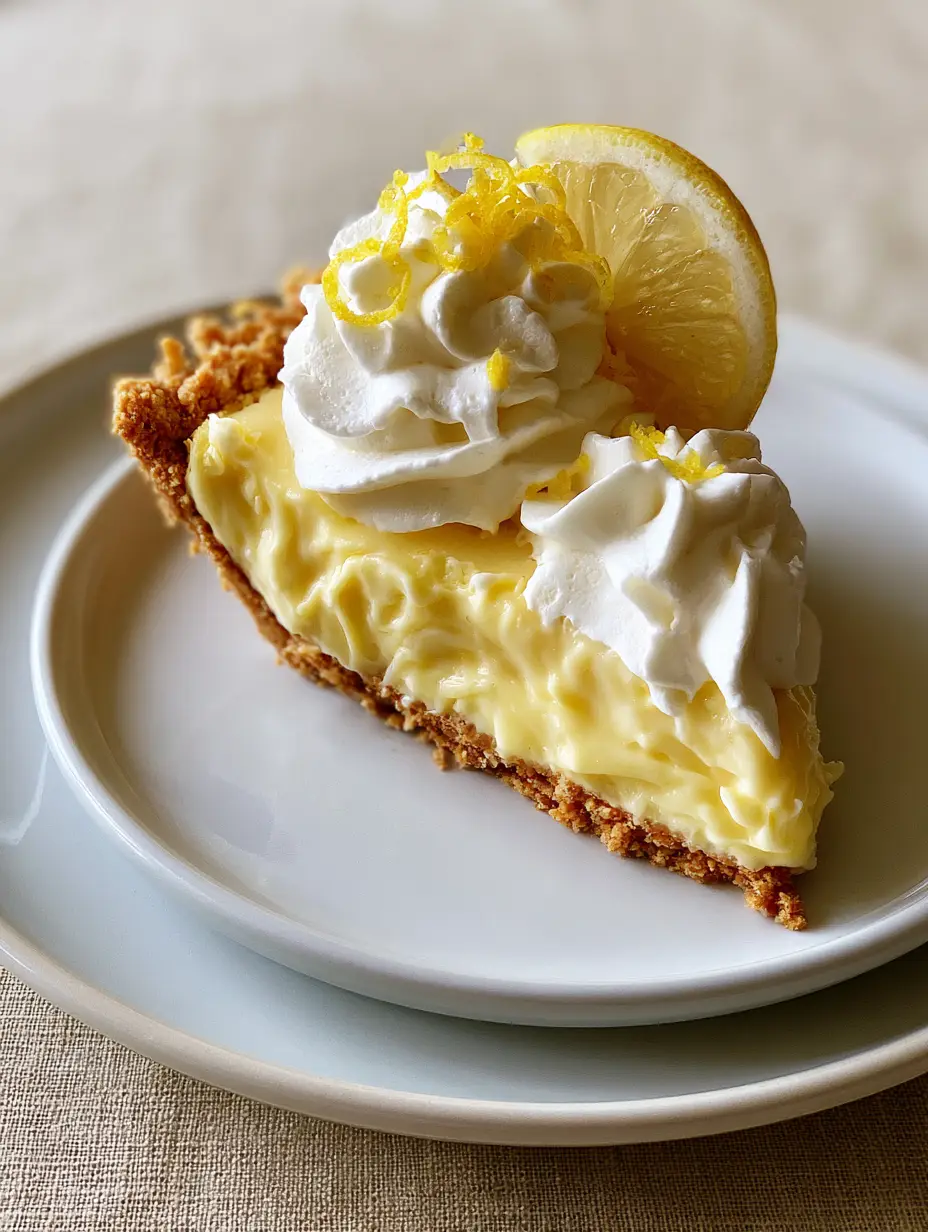
This dessert isn’t just about the flavor; it is about the visual contrast. Imagine a thick, buttery golden-brown graham cracker crust holding a pastel yellow lemon condensed milk filling that is as dense as it is smooth. We top it with billowy dollops of fresh whipped cream, delicate lemon zest curls, and a thin raw lemon slice for that professional bakery finish.
Making a no-bake lemon pie is a masterclass in simple culinary chemistry. By understanding how citric acid reacts with dairy, you can achieve a firm, sliceable texture without ever turning on your oven. This recipe is designed to be your go-to for summer entertaining or when you simply crave a citrusy treat without the heat.
Why This Zesty Icebox Dessert Works Every Time
- Structural Integrity: The crust uses a specific ratio of butter to crumbs to ensure it holds firm when sliced, preventing the dreaded “crumbly mess” common in no-bake desserts.
- Dense Velvety Texture: Unlike fluffier mousse pies, this filling uses sweetened condensed milk to create a rich, dense consistency that feels substantial on the palate.
- Visual Brilliance: The combination of pastel yellow filling against the billowy white whipped cream dollops creates a stunning aesthetic that requires no professional decorating skills.
- Natural Flavor Profile: We rely entirely on fresh lemon juice and zest, ensuring a bright, authentic citrus punch that bottled juice simply cannot replicate.
Pantry Essentials for the Ultimate Zesty Pie
Graham Cracker Crumbs: 1.5 cups (180g). You need these for the foundational golden-brown base; ensure they are finely pulsed to create a tight, compact structure.
Unsalted Butter, Melted: 6 tbsp (85g). This acts as the “glue” for your crust. As it chills, the butter solidifies, locking the graham crumbs into a sturdy shell.
Sweetened Condensed Milk: 1 can (14 oz / 397g). This is the heart of the filling, providing both sweetness and a dense, creamy mouthfeel that contrasts perfectly with the tart juice.
Fresh Lemon Juice: 1/2 cup (120ml). Freshness is non-negotiable here; the acid in the juice reacts with the milk proteins to thicken the filling naturally.
Lemon Zest: 1 tbsp (6g) for the filling, plus extra for curls. The zest contains essential oils that provide a deep, aromatic lemon flavor that juice alone lacks.
Heavy Whipping Cream: 1 cup (240ml). Cold cream is essential for creating those billowy dollops that hold their shape on top of the pie.
Powdered Sugar: 2 tbsp (15g). A small amount stabilizes the whipped cream and provides just enough sweetness to balance the tart lemon.
Lemon Garnish: 1 thin raw lemon slice. This provides a visual cue of the flavor profile and adds a touch of modern elegance to each slice.
Must-Have Tools for a Professional Finish
To achieve the look of a high-end food blog, a 9-inch (23cm) pie plate is essential. I prefer glass or ceramic to showcase the golden-brown crust against the white plate when served. You will also need a fine microplane for those delicate lemon zest curls that sit atop the cream.
A sturdy whisk or an electric hand mixer is vital for incorporating the lemon juice into the condensed milk until it begins to thicken. For the whipped cream, a piping bag with a large round tip will help you achieve those uniform, billowy dollops seen in the blueprint.
Building the No-Bake Foundation: Step-by-Step
Crafting the Buttery Graham Shell
Start by combining your 1.5 cups (180g) of graham cracker crumbs with the 6 tbsp (85g) of melted butter. Mix them until the texture resembles wet sand, ensuring every crumb is coated in butter. Press the mixture firmly into the bottom and up the sides of your pie plate.
Use the bottom of a flat measuring cup to pack the crumbs down; this is the secret to a crust that doesn’t fall apart. Chill this in the freezer for 10 minutes while you prepare the filling to ensure it sets properly before the liquid is added.
Mixing the Dense Lemon Filling
In a medium mixing bowl, pour in the 14 oz (397g) of sweetened condensed milk. Slowly whisk in the 1/2 cup (120ml) of fresh lemon juice and 1 tbsp (6g) of zest. You will notice the mixture begin to thicken almost instantly—this is the lemon’s acid “cooking” the milk proteins.
Whisk until the mixture is completely smooth and a beautiful pastel yellow color. Pour this velvety filling into your chilled crust, smoothing the top with a spatula. Place the pie in the refrigerator for at least 4 hours, though overnight is best for the densest texture.
Creating Billowy Whipped Cream Dollops
Once the pie is fully set, whip 1 cup (240ml) of heavy cream with 2 tbsp (15g) of powdered sugar. Beat until stiff peaks form, being careful not to over-mix into butter. The cream should look like billowy clouds that can hold their shape when piped.
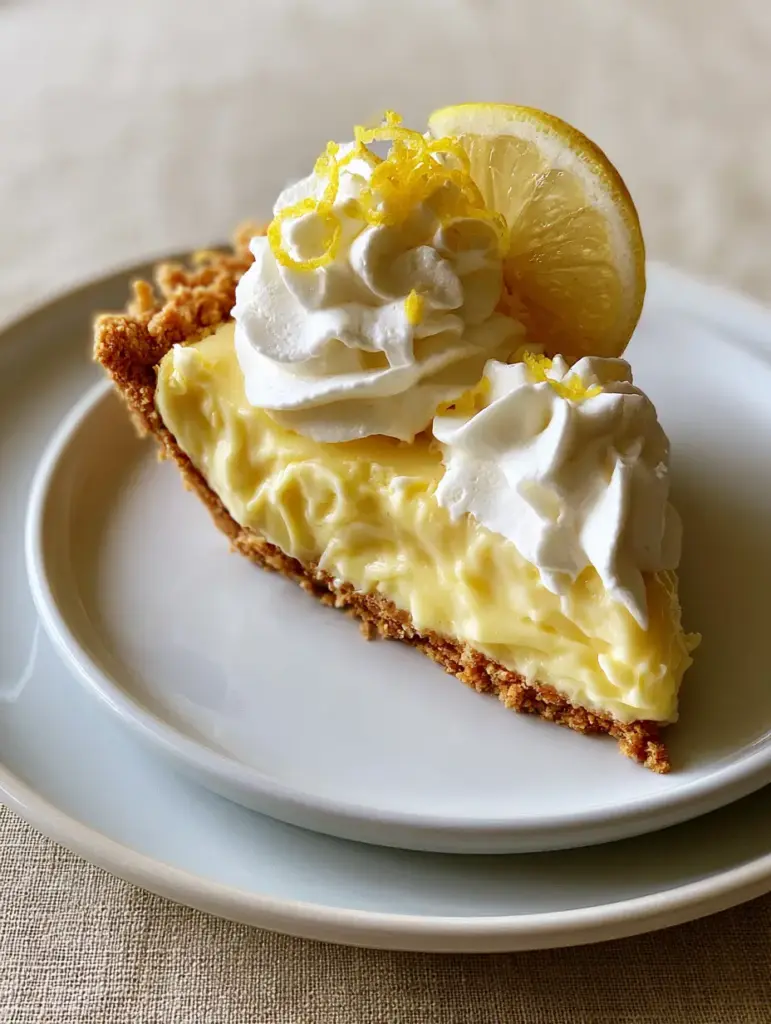
Pipe or spoon large dollops around the edge of the pie. The contrast between the billowy white cream and the pale yellow filling is what gives this no-bake lemon pie its iconic, modern look.
The Final Flourish: Zest Curls and Slices
Use a zester or a small knife to create long, delicate curls of lemon zest. Sprinkle these over the whipped cream dollops for a pop of color and aroma. Finally, place a single thin raw lemon slice in the center or on one side of a slice for the perfect smartphone-ready photo.
Expert Tips for a Picture-Perfect Pie
- Room Temp Juice: Ensure your lemons are at room temperature before squeezing to get the maximum amount of juice and essential oils.
- Firm Pressure: When forming the crust, don’t be afraid to press hard. A loosely packed crust will crumble the moment your fork hits the plate.
- Cold Cream is Key: Always use heavy cream straight from the fridge; cold fat molecules hold air much better, resulting in more stable dollops.
- Stabilize Your Zest: If your zest curls are drooping, drop them into an ice bath for 30 seconds to crisp them up before placing them on the pie.
Storing and Serving Your Lemon Creation
This no-bake lemon pie should always be stored in the refrigerator. Because of the dairy content, it can only sit at room temperature for about 30 to 60 minutes before the whipped cream begins to lose its billowy structure.
If you have leftovers, cover the pie plate loosely with plastic wrap or a pie dome. It will stay fresh and delicious for up to 3 days. For the best flavor, I recommend adding the fresh lemon slice garnish just before serving to prevent the juice from weeping into the cream.
What to Serve With This Zesty Treat
This pie is a fantastic palate cleanser after a rich meal. If you are hosting a full dessert spread, it pairs beautifully with other textured treats like no-bake biscoff cheesecake or a side of classic banana pudding.
For those who love a citrus-on-citrus experience, try serving a slice alongside a chilled glass of vibrant butterfly pea lemonade. The floral notes of the drink complement the sharp tartness of the lemon pie perfectly.
Frequently Asked Questions
Yes, you can use a store-bought crust to save time. However, a homemade crust pressed firmly into the plate provides a thicker, more buttery foundation that better supports the dense lemon filling.
Use heavy cream with at least 36% fat content and ensure it is ice-cold before whipping. Adding a small amount of powdered sugar helps stabilize the cream so it holds its shape for several hours in the fridge.
The pie will stay fresh and hold its texture for up to 3 days when stored in the refrigerator. After that, the crust may begin to soften from the moisture in the filling.
In this specific recipe, no. The condensed milk is essential for the chemical reaction with the lemon juice that allows the pie to set without eggs or baking.
The most common reason is using bottled lemon juice. Fresh lemon juice has the specific acidity required to react with the proteins in sweetened condensed milk, causing it to thicken into a dense filling. Also, ensure the pie chills for at least 4 hours.
The Ultimate No-Bake Lemon Pie Recipe Card
No-Bake Lemon Pie with a Buttery Graham Cracker Crust
Ingredients
Equipment
Method
- Combine graham cracker crumbs and melted butter until the mixture feels like wet sand.
- Press the mixture firmly into a 9-inch pie plate. Freeze for 10 minutes.
- Whisk together condensed milk, lemon juice, and zest until the mixture thickens and turns a pastel yellow.
- Pour into the crust and refrigerate for at least 4 hours or until dense and set.
- Beat heavy cream and powdered sugar until stiff, billowy peaks form.
- Pipe dollops onto the pie. Finish with lemon zest curls and a fresh lemon slice.
Notes
Use fresh lemons only; bottled juice will not set correctly.
Enjoy the Perfect Slice of Summer
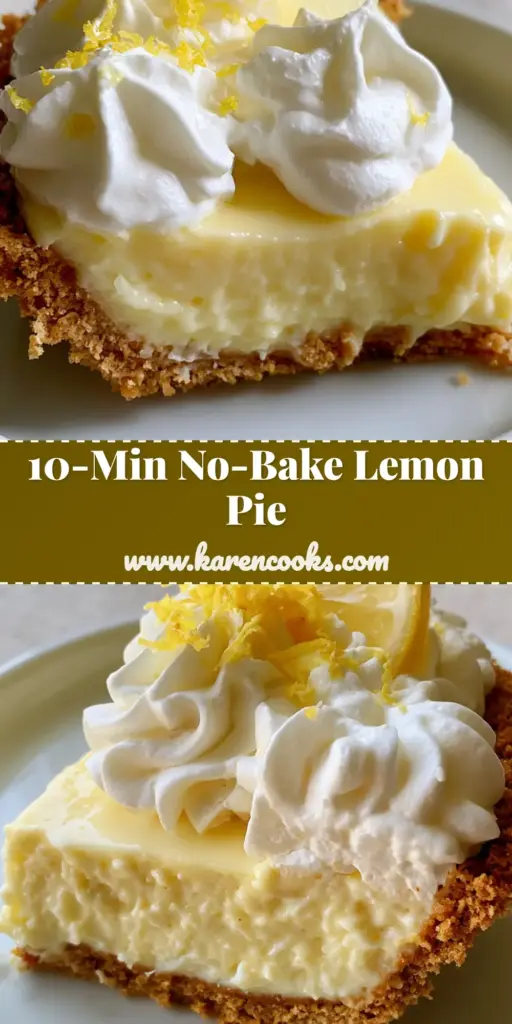
The beauty of this no-bake lemon pie lies in its simplicity and its stunning visual appeal. Whether you are a beginner baker or a seasoned pro, the combination of the thick graham crust and the velvety lemon filling is guaranteed to impress. It’s a reliable, elegant dessert that brings a bright spot to any table.
If you enjoyed this recipe, please leave a comment below and let me know how yours turned out! Don’t forget to follow me on Pinterest for more citrus-inspired desserts and easy no-bake treats. Sharing a photo of your creation? Tag me so I can see those beautiful billowy dollops!