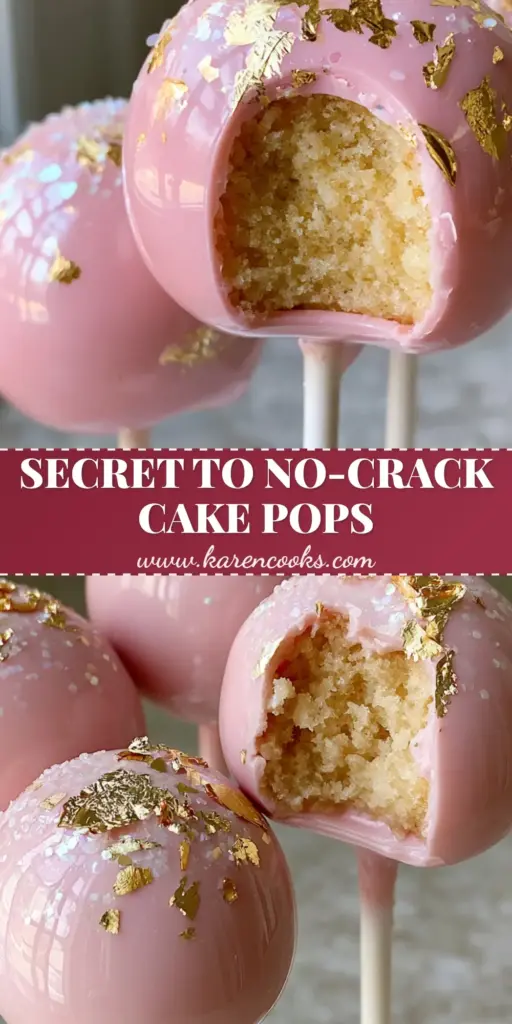
Birthday Cake Pops are the ultimate celebration treat, combining a professional bakery aesthetic with the nostalgic, fudgy center of a classic vanilla cake. If you have been searching for that flawless, high-gloss finish seen in luxury confectionery boutiques, this guide will show you exactly how to achieve it at home. These pops feature a vibrant pastel pink shell, shimmering edible gold leaf, and a dense, moist interior that melts in your mouth.
Creating the perfect Birthday Cake Pops requires more than just crumbling a cake; it is about the science of the “binder-to-crumb” ratio and the temperature control of your candy melts. Whether you are prepping for a milestone birthday or just want to master the art of the cake truffle, this recipe delivers a result that is as visually stunning as it is delicious. The contrast between the matte white sticks and the reflective pink coating makes these an instant Pinterest sensation.
Why These Birthday Cake Pops Stand Out
- Ultra-Glossy Finish: We use a specific thinning technique to ensure the candy coating has a reflective sheen rather than a dull, waxy look.
- Fudgy Vanilla Center: Unlike dry, crumbly versions, our interior is engineered to be dense, moist, and professional-grade.
- Luxury Decorations: The combination of edible gold leaf flakes and iridescent white nonpareils creates a high-end visual appeal.
- Perfect Structural Integrity: No more cake pops sliding down the sticks; our chilling method ensures a permanent bond.
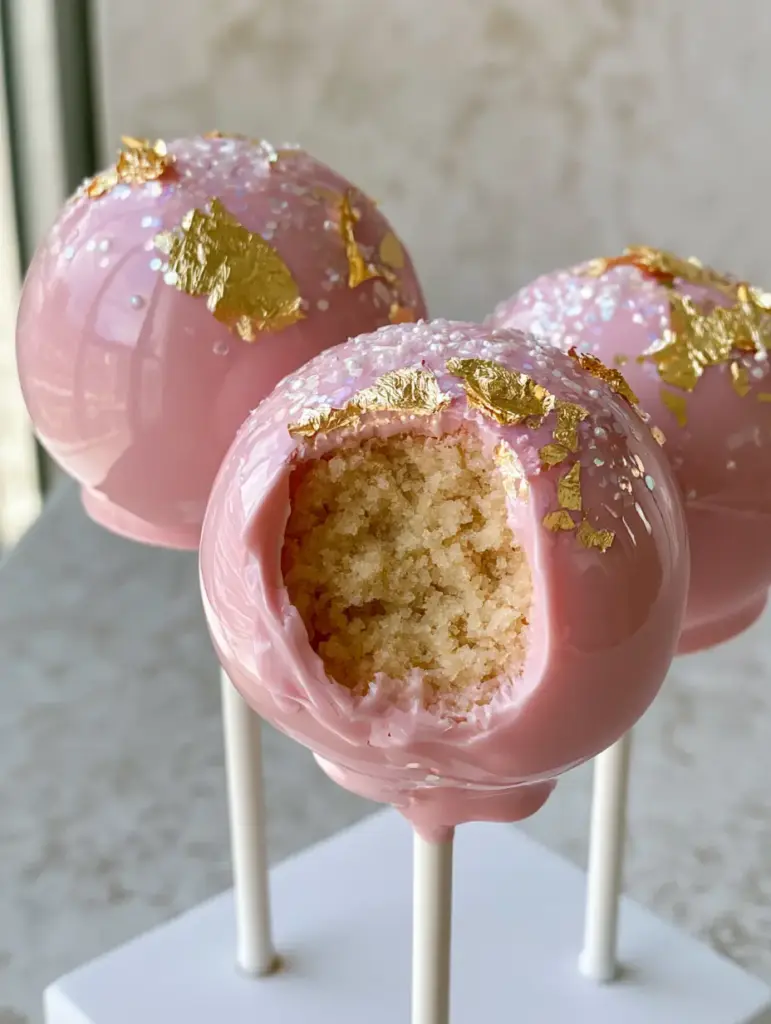
Essential Components for the Perfect Pink Cake Pops
To achieve the specific look and taste of these Birthday Cake Pops, quality ingredients are non-negotiable. Every element, from the crumb to the gold flake, serves a culinary and aesthetic purpose.
The Cake Base and Binder
- Vanilla Sponge Cake: You will need 4 cups (approx. 400g) of crumbled vanilla cake. For the best texture, use a dense butter-based cake rather than a light chiffon. If you are short on time, you can even adapt my classic carrot cake method for a different flavor profile.
- Vanilla Buttercream Frosting: Use 3-5 tablespoons (45-75ml) of stiff buttercream. This acts as the “glue” that creates that fudgy, truffle-like consistency.
The Designer Coating and Decor
- Pink Candy Melts: 16 oz (450g) of high-quality pastel pink candy wafers. This provides the signature glossy pink candy melt coating.
- Paramount Crystals or Coconut Oil: 1-2 tablespoons (15-30ml). This is the secret to the high-gloss sheen and the perfect dipping fluidity.
- Edible Gold Leaf Flakes: Used sparingly for a touch of elegance and luxury.
- Iridescent White Nonpareil Sprinkles: These add a delicate crunch and catch the light beautifully against the pink coating.
- Matte White Lollipop Sticks: Provides a clean, modern contrast to the glossy spheres.
Step-by-Step Instructions for Professional Results
1. Preparing the Fudgy Cake Core
Start by breaking your cooled vanilla cake into large chunks. Place them into a large mixing bowl and use your hands or a stand mixer to crumble the cake into fine, uniform grains. Ensure there are no large brown crust pieces, as these can ruin the smooth moist crumbled vanilla cake interior.
Add the vanilla buttercream one tablespoon at a time. Mix thoroughly until the dough holds together when squeezed, similar to the consistency of chilled cookie dough. If you enjoy this texture, you might also love my decadent carrot cake truffles for your next event.
2. Portraying and Chilling the Spheres
Scoop approximately 1.5 tablespoons (30g) of the mixture and roll it between your palms to form a perfectly smooth sphere. Place the spheres on a parchment-lined baking sheet. Pro Tip: Any bumps or ridges in the cake ball will show through the coating, so take your time to get them smooth.
Chill the balls in the refrigerator for at least 30-60 minutes. Do not freeze them; if the cake balls are too cold, the glossy pink candy melt coating will crack as the cake expands while returning to room temperature.
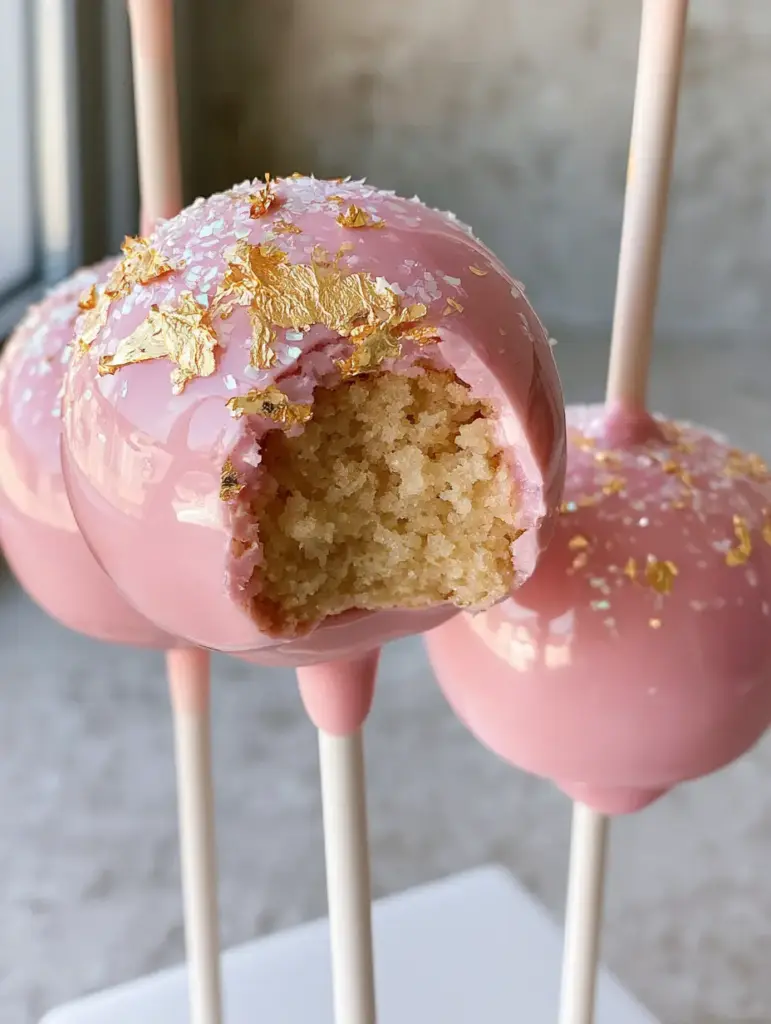
3. The Dipping Process for a Reflective Sheen
Melt your pink candy wafers in a microwave-safe bowl in 30-second intervals, stirring constantly. Once melted, stir in the coconut oil or paramount crystals. The coating should flow off the spoon like warm honey. This fluidity is what creates the high-gloss pastel pink chocolate finish seen in professional photography.
Dip the tip of a matte white lollipop stick into the melted candy, then insert it halfway into a chilled cake ball. This creates a seal that prevents the pop from falling off. Allow this to set for 2 minutes before dipping the entire ball into the pink coating.
4. Decorating with Gold Leaf and Iridescence
While the coating is still slightly wet, lightly dust the top with iridescent white nonpareil sprinkles. Using a pair of clean tweezers, carefully place small edible gold leaf flakes onto the surface. The gold leaf is extremely delicate and will adhere instantly to the tacky coating.
Stand the finished Birthday Cake Pops upright in a minimal white block or a styrofoam base to dry completely. This ensures no flat spots develop on your perfect spheres.
Expert Tips for Cake Pop Success
- Avoid Over-Mixing: Adding too much frosting will make the pops oily and heavy. Start with less and add slowly.
- Temperature Control: Ensure your candy melts aren’t boiling hot. Let them cool slightly after melting to prevent the cake ball from melting into the coating.
- The “Tap” Technique: When dipping, hold the pop at a slight angle and gently tap your wrist to remove excess coating. Never shake the stick.
- Storage Matters: To maintain the reflective sheen, store these in a cool, dry place. Humidity is the enemy of a glossy finish.
Storage, Reheating & Freezing
Storage: These Birthday Cake Pops can be stored in an airtight container at room temperature for up to 3 days. For longer storage, refrigerate for up to 7 days, but note that condensation may dull the gloss once removed from the fridge.
Freezing: You can freeze the undipped cake balls for up to 3 months. Once dipped and decorated with gold leaf, freezing is not recommended as the gold leaf can tarnish and the coating may crack during thawing.
What to Serve With Birthday Cake Pops
These pops are a standout dessert on any table. For a full celebration spread, consider pairing them with a Birthday Cake Cheesecake to double down on the festive theme. If you are hosting a summer party, they pair beautifully with refreshing citrus-based summer drinks or even a sophisticated lavender margarita for an adult-only gathering.
Frequently Asked Questions
Absolutely! A boxed vanilla cake mix works perfectly. Just ensure you bake it and let it cool completely before crumbling. Use slightly less frosting as boxed cakes tend to be more moist than scratch-made butter cakes.
The secret is adding a small amount of coconut oil or paramount crystals to your melted candy wafers. This thins the coating, allowing it to flow smoothly and dry with a high-shine sheen rather than a dull, thick appearance.
Always dip the tip of the lollipop stick into the melted candy before inserting it into the cake ball. Let this ‘glue’ set for a few minutes in the fridge before dipping the entire pop into the coating.
Edible gold leaf is available at specialty baking stores or online retailers. Ensure it is specifically labeled as 24k ‘edible’ gold to be safe for consumption.
Cracking usually happens when the cake ball is too cold (from the freezer) and the candy coating is too hot. As the cake ball warms up and expands, it cracks the hardened shell. Always dip chilled—not frozen—cake balls.
Master The Ultimate Birthday Cake Pops
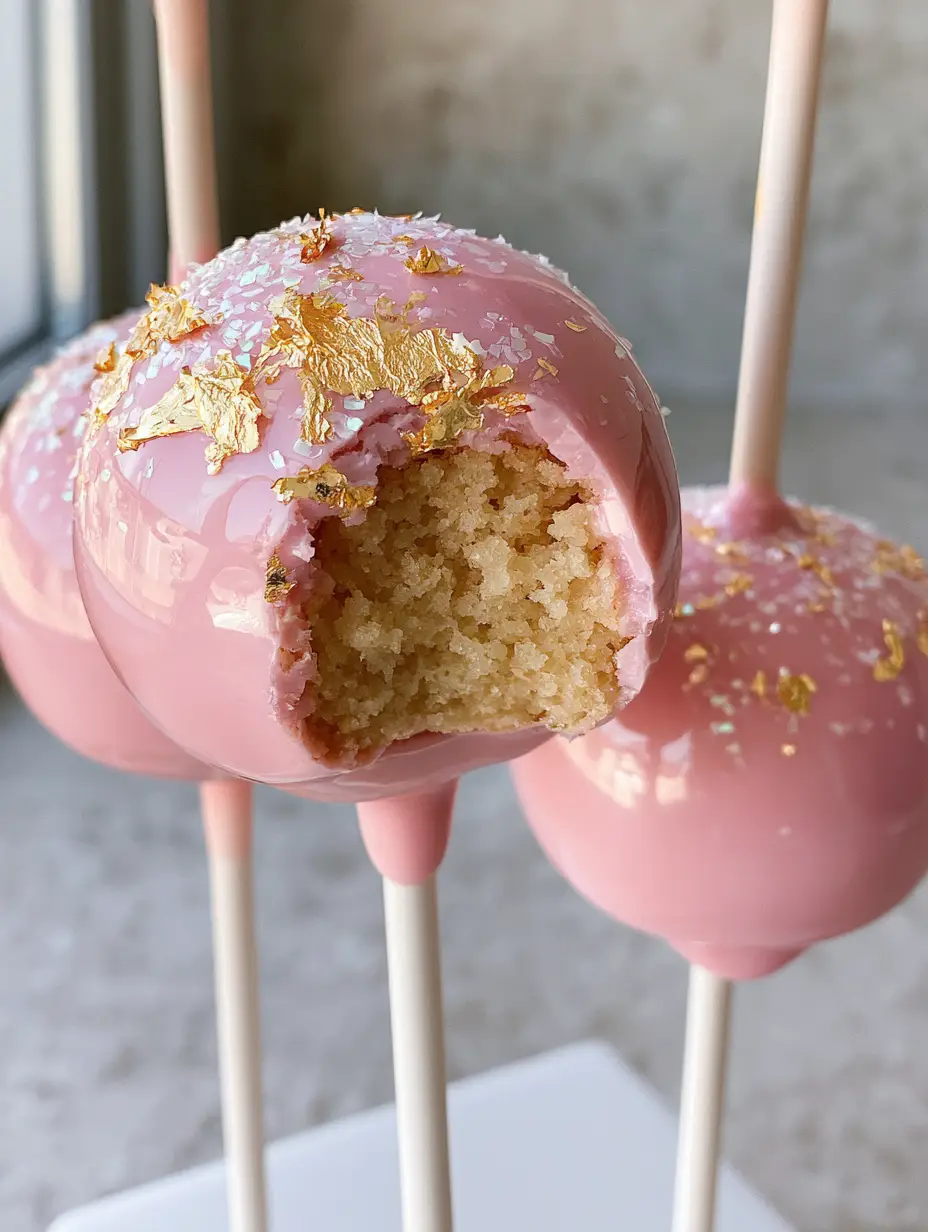
Birthday Cake Pops with Glossy Pink Coating and Gold Leaf
Ingredients
Equipment
Method
- Finely crumble the vanilla cake into a large bowl until no large pieces remain.
- Add buttercream 1 tablespoon (15ml) at a time, mixing until the dough is moist and holds a spherical shape.
- Roll the mixture into 1.5 tablespoon (30g) balls, ensuring the surface is perfectly smooth.
- Refrigerate the spheres on parchment paper for 45 minutes to firm up.
- Melt pink candy wafers with coconut oil until smooth and glossy with a reflective sheen.
- Dip the matte white stick in candy, insert into the ball, then dip the full ball into the coating, tapping off excess.
- Immediately apply iridescent sprinkles and edible gold leaf flakes while the coating is wet.
Notes
Use paramount crystals if you want an even thinner, professional shell.
Share the Love and Save for Later!
Did you make these Birthday Cake Pops? I want to see your gorgeous, glossy creations! Please leave a 5-star rating in the recipe card above and head over to Pinterest to save this recipe to your favorite dessert boards. Following @karen_cooks_official helps me continue to bring you these high-end bakery secrets. Don’t forget to upload a photo of your pops in the comments below—especially if you nailed that gold leaf placement!