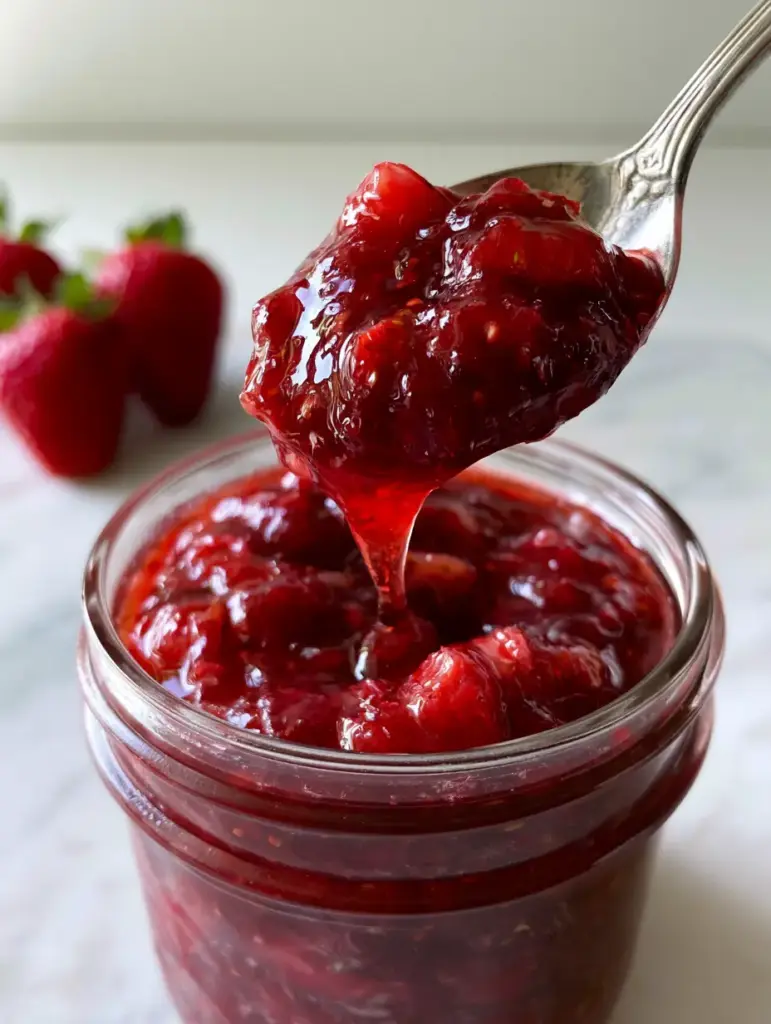
Homemade strawberry sauce is the ultimate culinary secret to elevating every single dessert in your repertoire. Imagine a thick, glossy, deep-ruby-red fruit reduction that balances bright acidity with a jammy sweetness, perfectly capturing the essence of summer in a glass jar. Whether you are drizzling it over a strawberry-shortcake-trifle or using it as a vibrant topping for breakfast, this recipe delivers professional results every time. The secret lies in using fresh, whole strawberries with green stems for garnish and high-quality granulated sugar to create that signature macerated texture.
Why This Ruby Red Fruit Reduction is a Game Changer
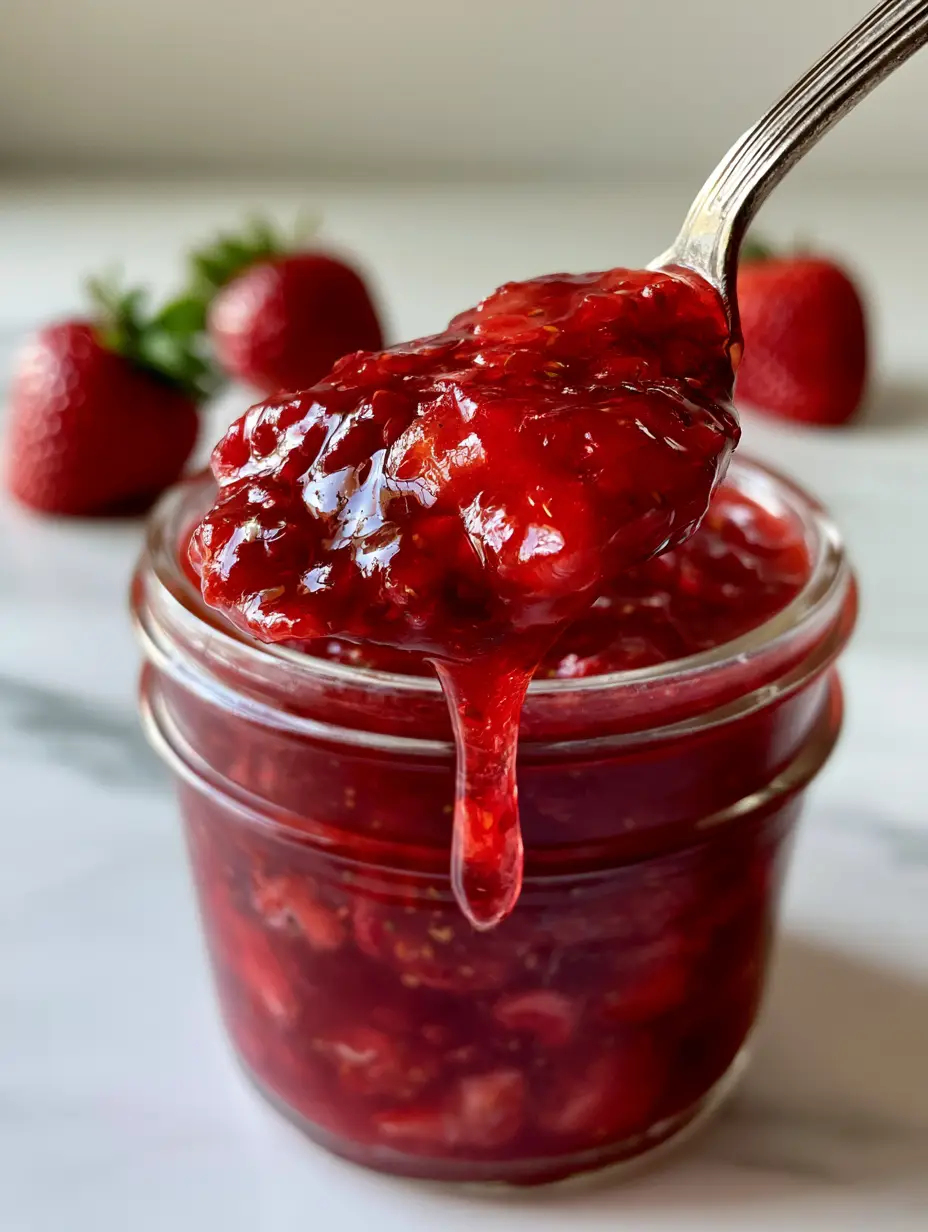
- Viscosity and Texture: We achieve a thick, jammy texture that clings to a vintage spoon rather than running off like thin syrup.
- Visual Brilliance: The deep-ruby-red color remains vibrant and glossy, never dull or brown, thanks to a specific citrus addition.
- Authentic Mouthfeel: By including macerated strawberry chunks and natural strawberry seeds, you get a rustic yet refined finish that store-bought versions can’t replicate.
- Versatility: It is the perfect companion for everything from strawberry shortcake trifle to decadent morning treats.
Making your own homemade strawberry sauce allows you to control the sugar levels and avoid the artificial thickeners found in commercial toppings. This recipe focuses on a natural reduction process, concentrating the fruit’s natural pectins to create a high-viscosity sauce that looks stunning under soft, natural side-lighting on a clean marble surface.
Essential Ingredients for a Thick, Jammy Sauce
To create a sauce that rivals the best professional pastry kitchens, you only need four foundational ingredients. Each plays a specific scientific role in the final homemade strawberry sauce.
1. Fresh Whole Strawberries: 1 lb (454g). You want bright red, ripe berries. Keeping the green stems on a few for the final presentation adds a professional touch. The berries provide the bulk, the natural seeds, and the deep ruby pigment.
2. Granulated Sugar: 1/2 cup (100g). Sugar is not just for sweetness; it acts as a macerating agent, drawing the moisture out of the fruit cells to create the base syrup. It also helps preserve the color.
3. Fresh Lemon Juice: 1 tbsp (15ml). The acidity in the lemon juice balances the sugar, but more importantly, it reacts with the natural pectin in the strawberries to help the sauce thicken naturally as it cools.
4. Pure Vanilla Extract (Optional): 1 tsp (5ml). This adds a layer of floral complexity that rounds out the sharp berry notes, making your homemade strawberry sauce taste more like a gourmet reduction.
The Science of Maceration: Preparing Your Berries
Step 1: Cleaning and Hulling
Start by washing your 1 lb (454g) of strawberries. Select three or four of the most beautiful whole strawberries with fresh green stems and set them aside for garnish. Hull the remaining berries by removing the stems. Pro Tip: Use a straw to push through the bottom of the berry to pop the hull out cleanly.
Step 2: Slicing for Optimal Texture
Slice the strawberries into halves or quarters. If you prefer a more rustic sauce with large macerated strawberry chunks, leave some of the smaller berries whole. Place them in a medium heavy-bottomed saucepan. The heavy bottom is crucial for even heat distribution to prevent scorching the sugar.
Step 3: The Maceration Phase
Sprinkle the 1/2 cup (100g) of granulated sugar over the sliced fruit. Toss them gently to coat. Let the berries sit at room temperature for at least 15-20 minutes. You will see a glossy, red liquid pool at the bottom of the pan—this is the magic of maceration. The sugar is drawing out the juices, which will form the base of your homemade strawberry sauce.
The Reduction Process: Achieving High Viscosity
Step 4: Simmering for Depth
Place the saucepan over medium heat. Stir in the 1 tbsp (15ml) of fresh lemon juice. As the mixture begins to heat up, the sugar will dissolve completely, and the strawberries will start to soften. Bring the mixture to a gentle boil, then immediately reduce the heat to a simmer.
Step 5: Monitoring the Visual Cues
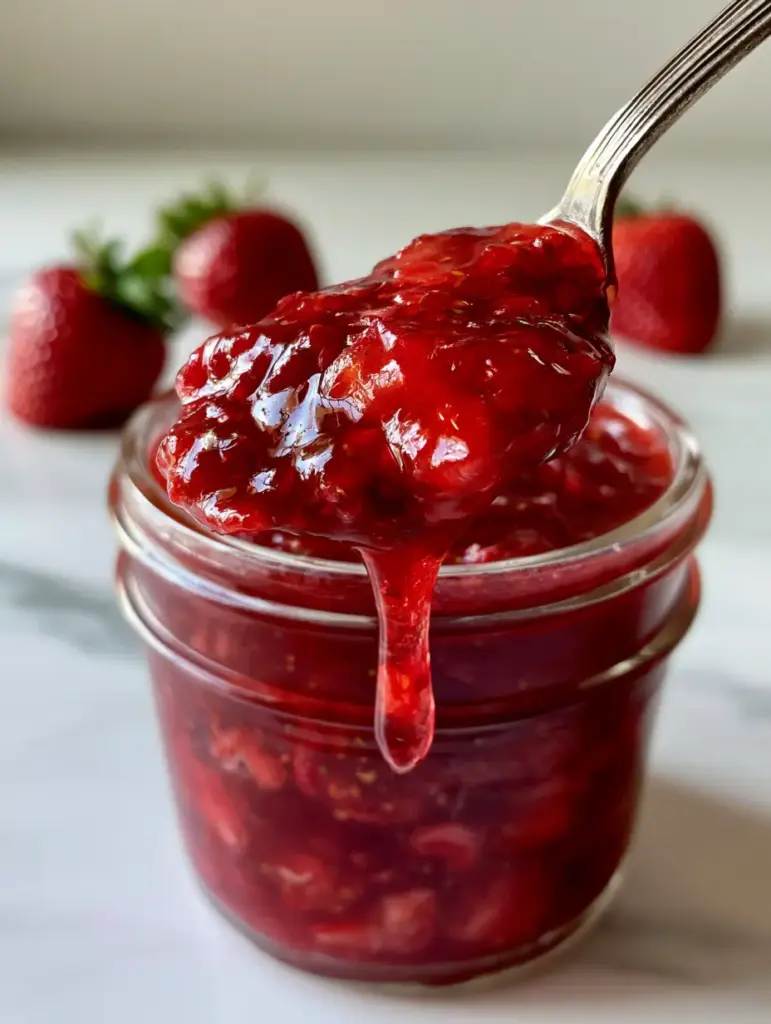
Let the sauce simmer for 10-15 minutes. Watch for the Visual Recipe Blueprint markers: the liquid should transform from a thin juice into a thick glossy red fruit reduction. Use a vintage spoon to check the consistency. A generous scoop should show high viscosity, dripping slowly back into the pot in heavy ribbons rather than watery splashes.
Step 6: Finishing Touches
Once the sauce has reduced by about one-third and the macerated strawberry chunks look translucent and softened, remove from heat. Stir in the vanilla extract if using. The sauce will continue to thicken significantly as it cools, so don’t over-reduce it on the stove, or it may become too gummy.
Expert Tips for the Ultimate Strawberry Coulis
- Don’t Over-Mash: If you want those beautiful chunks seen in our photography, resist the urge to mash the berries. Let the heat do the work of softening them naturally.
- Glossy Shine: If your sauce looks dull, a tiny squeeze more of lemon juice or a teaspoon of cornstarch slurry (if using frozen berries) can help, but a slow reduction is best for a natural glossy ruby-red finish.
- Seed Control: We love the natural strawberry seeds for their organic look, but if you want a perfectly smooth coulis, you can press the finished sauce through a fine-mesh sieve.
- Temperature Matters: For the best jammy texture, serve the sauce warm, or let it chill completely in a glass jar to reach its maximum thickness.
Storage, Reheating, and Freezing
This homemade strawberry sauce stores beautifully. Transfer the cooled sauce into a glass jar. It will stay fresh in the refrigerator for up to 7 days. If you find it has thickened too much in the fridge, simply microwave it for 15 seconds or warm it in a small pan with a teaspoon of water.
For long-term storage, you can freeze this sauce for up to 3 months. I recommend freezing it in silicone ice cube trays for easy portioning. Imagine having a fresh homemade strawberry sauce ready to drop onto Japanese cotton cheesecake at a moment’s notice!
What to Serve With This Homemade Strawberry Sauce
The applications for this thick, jammy reduction are endless. It is a staple for a pink strawberry fluff or as a swirl in homemade cinnamon rolls.
For a decadent brunch, try drizzling it over strawberry cheesecake stuffed French toast. The contrast between the warm, golden bread and the deep ruby sauce is visually stunning and delicious. It also makes a fantastic base for a strawberry Dole whip or a topping for a classic easy strawberry shortcake recipe.
Frequently Asked Questions
Yes! You can use frozen berries, but they release more water. Simmer them for an extra 5-10 minutes to reach the desired thick, glossy viscosity.
The best way is to simmer it longer to reduce the liquid. However, you can also mix 1 tsp of cornstarch with 1 tsp of water and stir it into the boiling sauce for an immediate boost.
It will keep perfectly in an airtight glass jar in the refrigerator for up to 7 days, or in the freezer for up to 3 months.
Overcooking can cause the sugars to caramelize and the fruit to lose its vibrance. Always add lemon juice, as the acidity helps maintain that deep ruby-red color.
The Ultimate Homemade Strawberry Sauce Recipe Card
Homemade Strawberry Sauce Recipe (Easy & Glossy)
Ingredients
Equipment
Method
- Combine sliced strawberries and granulated sugar in a saucepan. Let sit for 15-20 minutes until juices pool.
- Add lemon juice and bring to a gentle boil over medium heat. Reduce to low and simmer for 10-15 minutes.
- Remove from heat when the sauce is glossy and thick enough to coat a spoon. Stir in vanilla and cool completely.
Notes
Keep the green stems on fresh garnish berries for a professional 'Pinterest-ready' look.
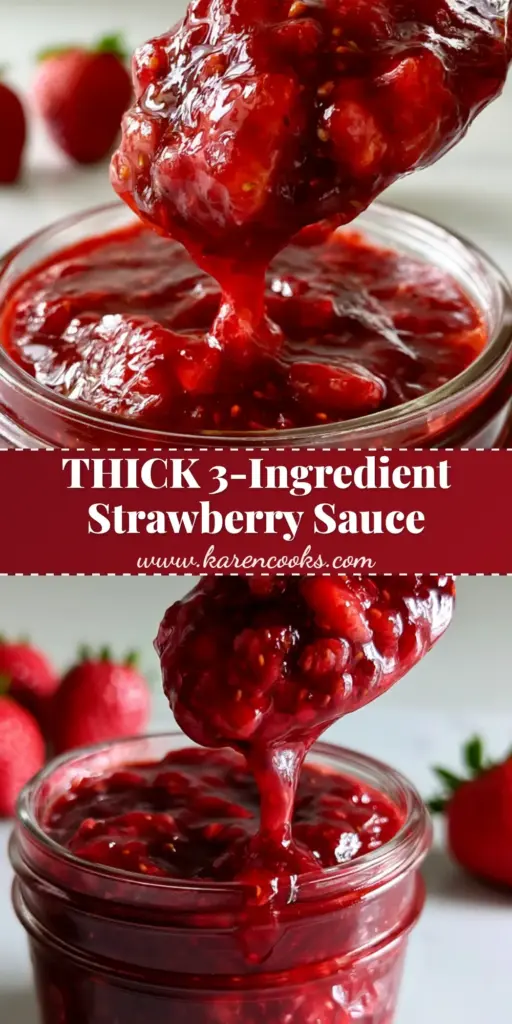
Save This Recipe to Pinterest!
Did you love this homemade strawberry sauce? Make sure to save this recipe to your Dessert or Breakfast boards on Pinterest so you can find it whenever you have a craving for something sweet! Follow karen_cooks_official for more visual recipe blueprints and kitchen inspiration.
If you made this sauce, please leave a 5-star rating in the recipe card above and share a photo of your glossy reduction in the comments below. We love seeing your macerated strawberry chunks and deep ruby results!