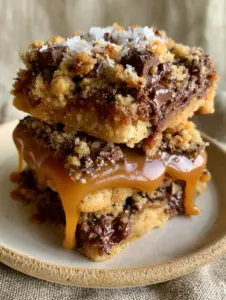
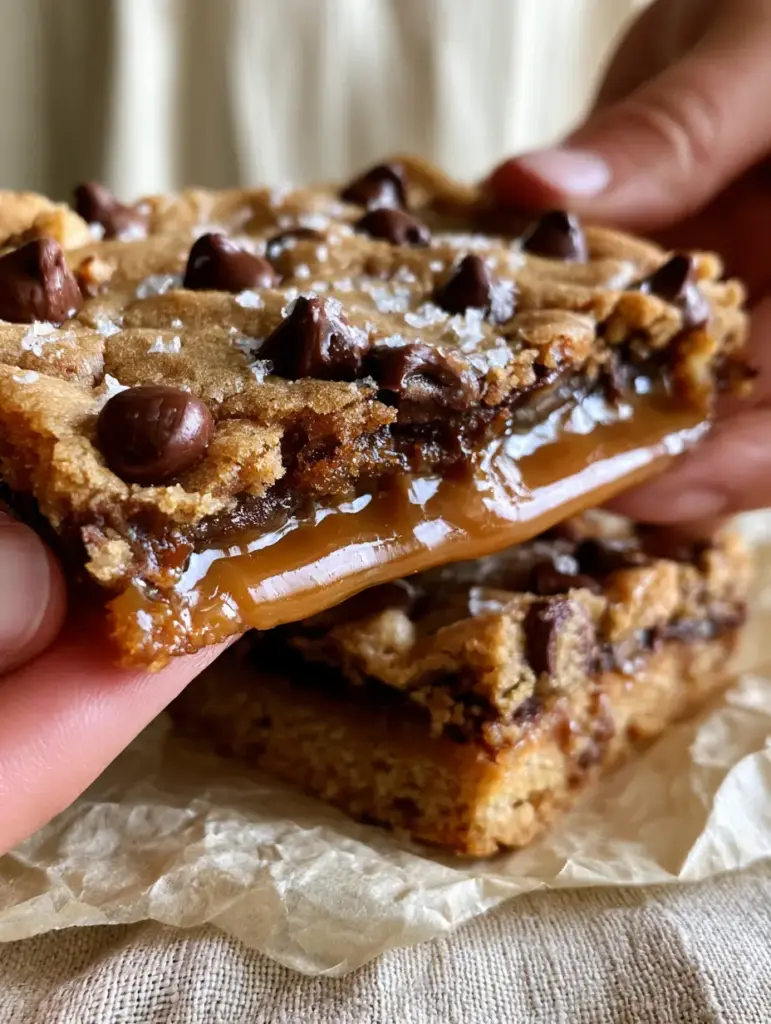
There is something fundamentally primal about the sight of a thick caramel filled chocolate chip cookie bars being gently pulled apart by hand. As the soft-baked, golden-brown crust separates, it reveals a dramatic, molten stretch of warm caramel that defies gravity. This isn’t just a dessert; it is a multi-sensory experience designed for those who believe a cookie should be as much about texture as it is about flavor.
To achieve the visual perfection seen in our handheld smartphone photography, we focus on high-quality semi-sweet chocolate chips and a carefully regulated baking temperature. The result is a glossy, melted chocolate finish contrasted against the crystalline crunch of flaky sea salt. Every bite offers a moist, chewy cookie base that supports the weight of a thick, ultra-gooey center.
Whether you are preparing these for a weekend treat or a special gathering, the crumpled parchment paper aesthetic and soft natural lighting of this recipe promise a result that looks exactly like the professional shots. Let’s dive into the culinary science of creating the perfect caramel-filled masterpiece.
Why These Gooey Caramel Bars Outshine Every Other Cookie Recipe
- The Dramatic Caramel Stretch: By using a specific ratio of heavy cream to caramel, we ensure a liquid center that stays molten long after cooling.
- Dual-Layer Texture: A foundational moist, chewy cookie base supports a soft-baked, golden-top crust for the ultimate mouthfeel.
- Salted Sophistication: A delicate sprinkle of flaky sea salt cuts through the richness of the semi-sweet chocolate and buttery caramel.
- Professional Visuals: The glossy melted chocolate chips and blistered golden edges make these bars look like they walked out of a high-end bakery.
The Essential Components for a Molten Cookie Masterpiece
Unsalted Butter (1 cup / 225g): We use softened butter to create a tender, cake-like crumb while ensuring the fat emulsifies perfectly with the sugars for a rich flavor profile.
Light Brown Sugar (1.5 cups / 300g): The high molasses content in brown sugar is the secret to that moist, chewy cookie base and the deep golden-brown color of the crust.
Semi-Sweet Chocolate Chips (2 cups / 340g): These provide the glossy, melted pockets of cocoa that contrast with the hot stretched liquid caramel in the center.
Soft Caramels (11 oz / 311g): We melt these with a touch of cream to achieve that ultra-gooey, molten layer that remains soft even at room temperature.
Heavy Cream (2 tbsp / 30ml): This invisible but vital ingredient prevents the caramel from hardening into a tooth-breaking block once the bars cool down.
Flaky Sea Salt (1 tsp / 2g): Specifically used for the top layer, these crystals provide a sharp textural contrast and enhance the depth of the semi-sweet chocolate.
All-Purpose Flour (3 cups / 375g): This provides the structural integrity needed to hold a thick layer of liquid caramel without the bars collapsing.
Must-Have Kitchen Tools for the Perfect Bake
To achieve the specific handheld “pull-apart” look, you will need a 9×9 inch (23x23cm) square baking pan. Lining the pan with crumpled parchment paper is not just for the aesthetic; it creates air pockets that help the edges brown evenly while making removal effortless.
A heavy-bottomed saucepan is required for the caramel layer to ensure even heat distribution, preventing the sugar from scorching. Finally, a cooling rack is essential to stop the baking process at exactly the right moment, preserving the soft-baked texture of the top crust.
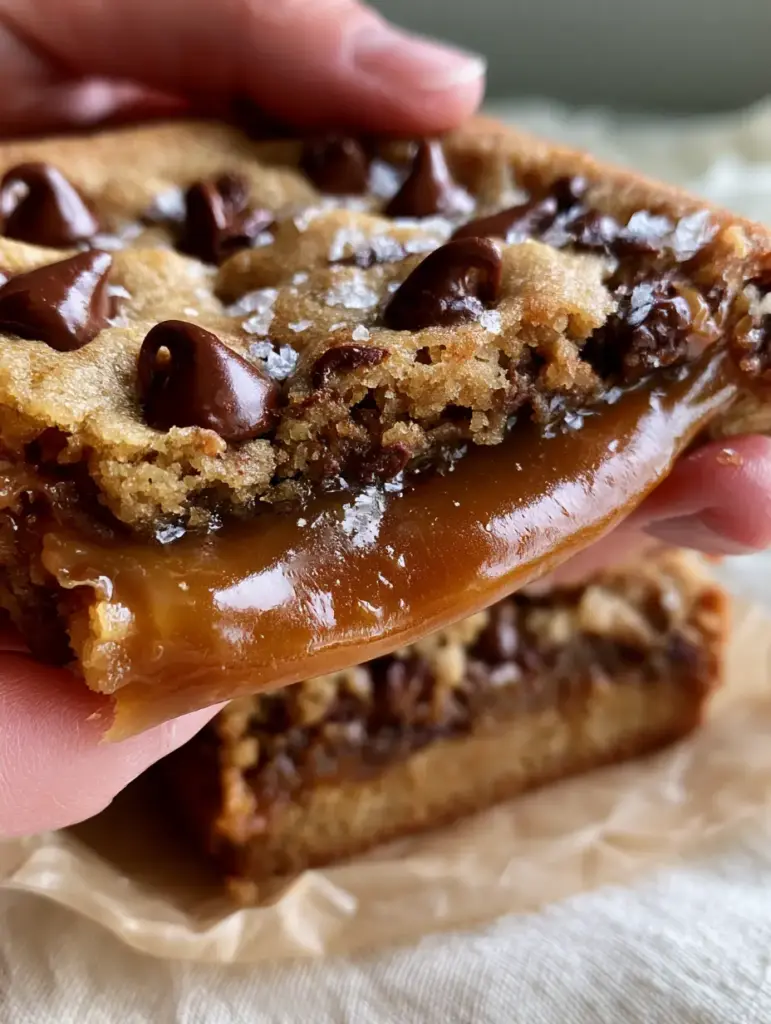
Engineering the Perfect Caramel Filled Chocolate Chip Cookie Bars
Preparing the Foundational Cookie Dough
In a large mixing bowl, cream together your softened butter and sugars until the mixture is pale and fluffy. This process incorporates micro-bubbles of air which, when combined with the baking soda, results in that iconic soft-baked texture.
Slowly add your eggs and vanilla extract, ensuring the emulsion is stable before folding in the dry ingredients. Be careful not to overmix at this stage; we want to develop just enough gluten to support the caramel, but not so much that the bars become tough.
Constructing the Chewy Base and Molten Center
Press approximately two-thirds of your dough into the bottom of your parchment-lined pan, creating an even, moist layer. Bake this base for about 8 minutes—this “par-baking” step is the secret to a bar that doesn’t get soggy under the weight of the caramel.
While the base sets, melt your caramels with the heavy cream over low heat. Once smooth and glossy, pour the liquid gold over the warm base, leaving a small margin at the edges. This “caramel dam” ensures the filling stays inside the bar rather than sticking to the sides of the pan.
The Art of the Top Crust and Visual Cues
Crumble the remaining cookie dough over the caramel layer, allowing some of the caramel to peek through. Stud the top with extra semi-sweet chocolate chips to ensure that “glossy melted” look once they emerge from the oven.
Bake until the top crust is a beautiful golden-brown. Look for the “wiggle” in the center—the bars should still look slightly underdone in the middle, as they will firm up while cooling to create that moist, chewy finish.
Expert Strategies for Bakery-Quality Results
- The Temperature Rule: Ensure your eggs and butter are at room temperature (around 70°F / 21°C) to prevent the batter from curdling, which ruins the crumb structure.
- The Parchment Hack: Crumple your parchment paper into a ball then flatten it out before lining the pan; this helps it fit into the corners perfectly and adds a rustic visual flair.
- Caramel Consistency: If your caramel seems too thick, add a teaspoon of cream at a time. It should be thick enough to coat a spoon but fluid enough to stretch dramatically when pulled.
- Salt Timing: Add the flaky sea salt immediately after the bars come out of the oven so the heat helps the crystals adhere to the melting chocolate chips.
Preserving the Gooey Texture: Storage and Reheating
These caramel filled chocolate chip cookie bars are best stored at room temperature in an airtight container for up to 4 days. Avoid refrigerating them, as the cold air will cause the butter in the crust to harden and the caramel to lose its molten stretch.
To recapture that “fresh from the oven” molten center, microwave a single square for 10-15 seconds. This gently softens the semi-sweet chips and returns the caramel to its dramatically liquid state. You can also freeze these bars for up to 3 months—just thaw at room temperature before serving.
Indulgent Pairings for Your Cookie Bars
These rich, salty-sweet bars pair beautifully with a variety of other desserts. If you enjoy the combination of salt and sugar, you might also love my salted caramel cookie bars which offer a similar flavor profile in a traditional cookie shape.
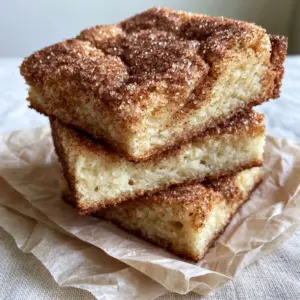
For those hosting a dessert party, these bars look stunning alongside chocolate marshmallow cookie bars or even a tray of snickerdoodle cookie bars for a bit of cinnamon variety. If you’re looking for a refreshing drink to cut through the richness, a glass of cold milk is classic, but a pineapple rum punch can provide a surprising tropical contrast for an adult gathering.
Frequently Asked Questions
Yes, you can substitute the all-purpose flour with a high-quality 1:1 gluten-free baking flour blend. The texture will be slightly more delicate, so let them cool entirely before handling.
Most store-bought ice cream toppings are too thin and will soak into the dough. For that thick, dramatic stretch, it is best to melt soft caramels with a small amount of heavy cream as instructed.
Ensure you create a ‘caramel dam’ by leaving a half-inch border of cookie dough base around the edges when pouring the liquid caramel. The top dough layer will then seal to the bottom layer, locking the caramel inside.
Wait until the bars have cooled completely. Use a sharp chef’s knife dipped in hot water and wiped dry between each cut to prevent the gooey caramel from sticking to the blade.
This usually happens due to overbaking. The bars should still have a slight wiggle in the center when removed from the oven; they will continue to firm up as they cool on the counter.
The Ultimate Caramel Filled Cookie Bar Recipe
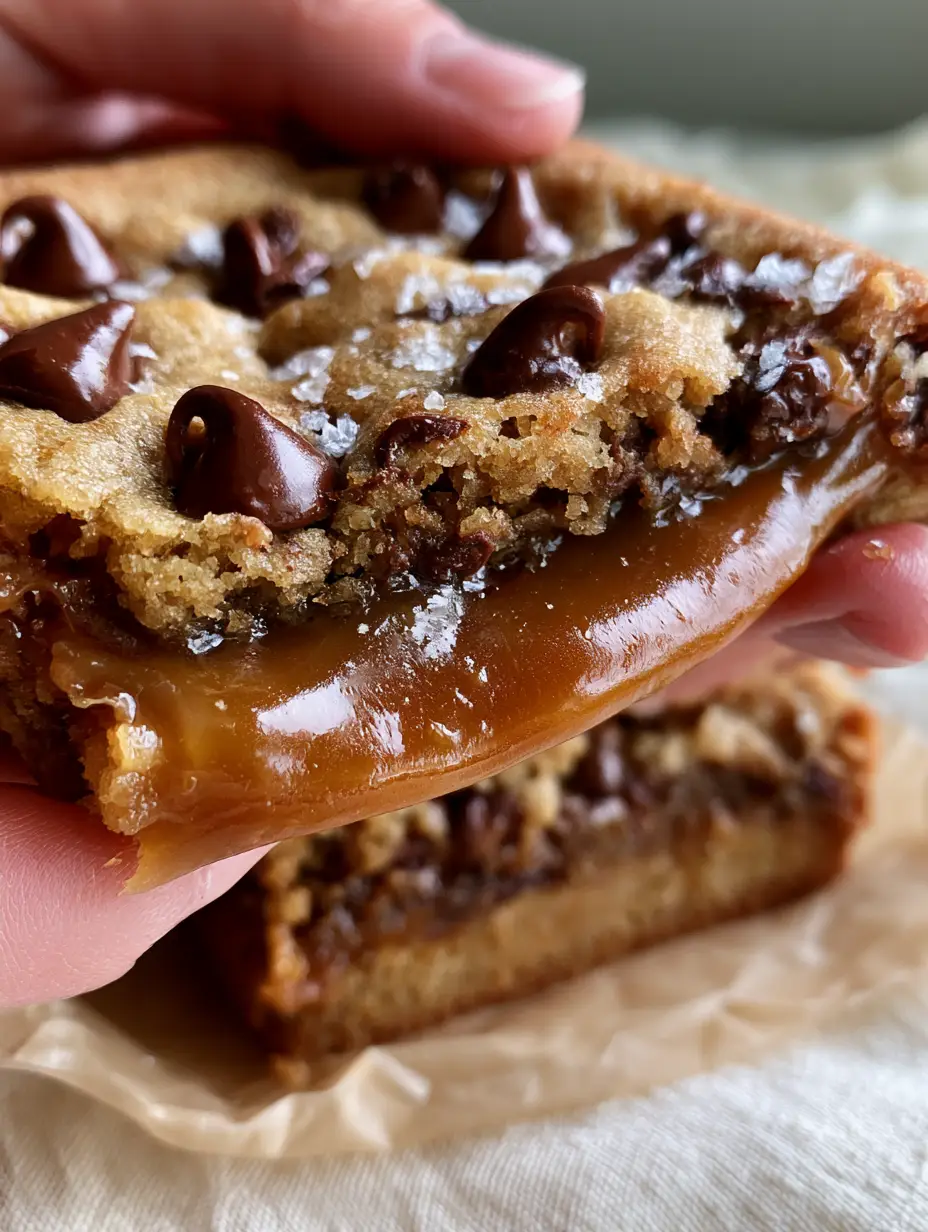
Caramel Filled Chocolate Chip Cookie Bars: The Ultimate Gooey Salted Treat
Ingredients
Equipment
Method
- In a large bowl, cream together the softened butter, brown sugar, and granulated sugar until light and fluffy. Add eggs and vanilla, beating until well combined.
- Stir in the flour and baking soda until just combined. Fold in 1.5 cups of the semi-sweet chocolate chips.
- Press 2/3 of the dough into a 9x9 inch pan lined with crumpled parchment paper. Bake at 350°F (175°C) for 8-10 minutes until slightly set.
- Melt caramels and heavy cream in a saucepan over low heat until smooth. Pour over the baked base, leaving a 1/2 inch border.
- Crumble the remaining dough over the caramel. Top with remaining chocolate chips. Bake for 20-25 minutes until the crust is golden-brown. Sprinkle with flaky sea salt immediately.
Notes
For a cleaner cut, use a hot knife wiped clean between each slice.
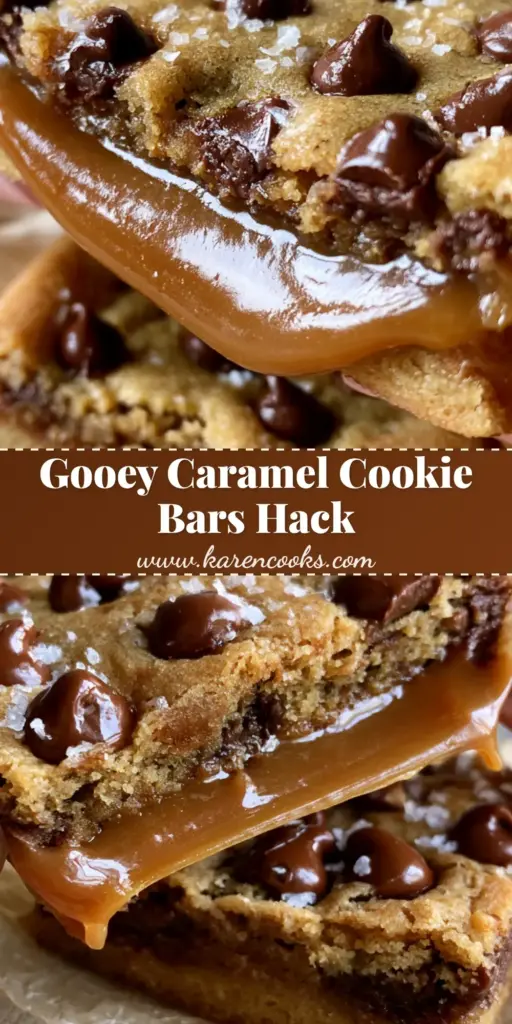
Closing Thoughts on the Perfect Bake
Mastering the caramel filled chocolate chip cookie bars is a rite of passage for any home baker. The contrast between the golden-brown crust, the glossy chocolate, and that dramatic caramel stretch creates a dessert that is as visually stunning as it is delicious. By following these steps, you are guaranteed a result that looks exactly like our professional photography.
Did you manage to get the perfect caramel stretch? I would love to see your results! Please leave a comment below and share your baking journey. Don’t forget to follow me and pin this recipe to Pinterest so you can save it for your next craving!