If you are a fan of the iconic speculoos flavor, these cookie butter bars are about to become your new obsession. This recipe is engineered to deliver a professional-grade dessert that balances a salty-sweet crunch with a melt-in-your-mouth fudge consistency.
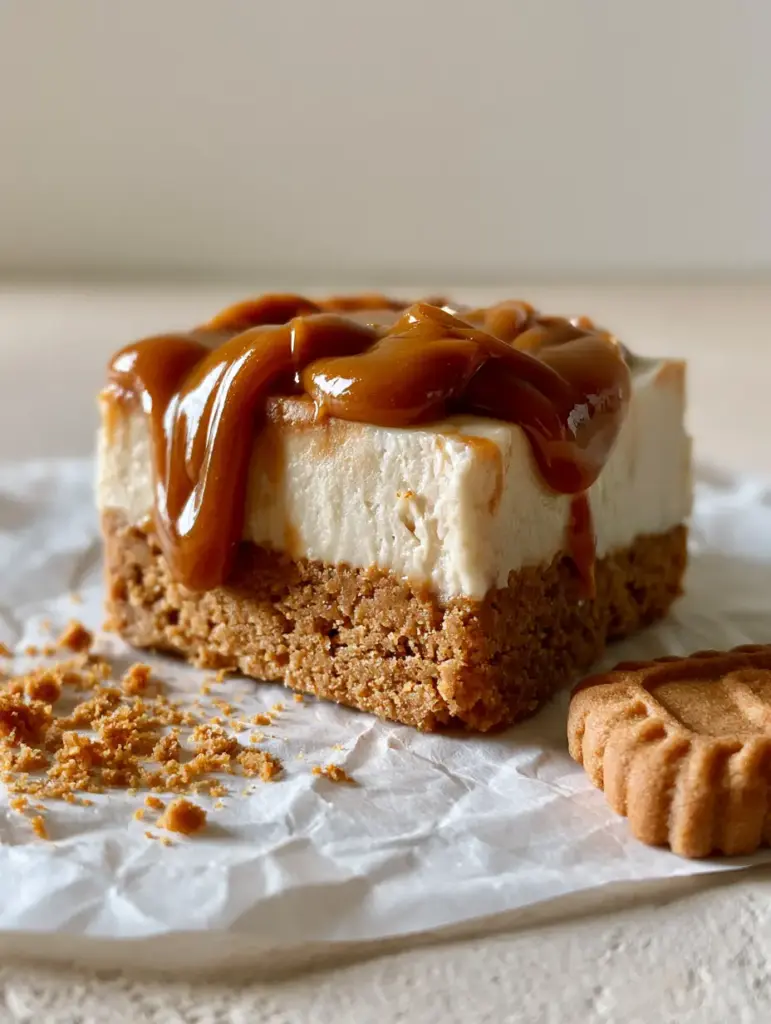
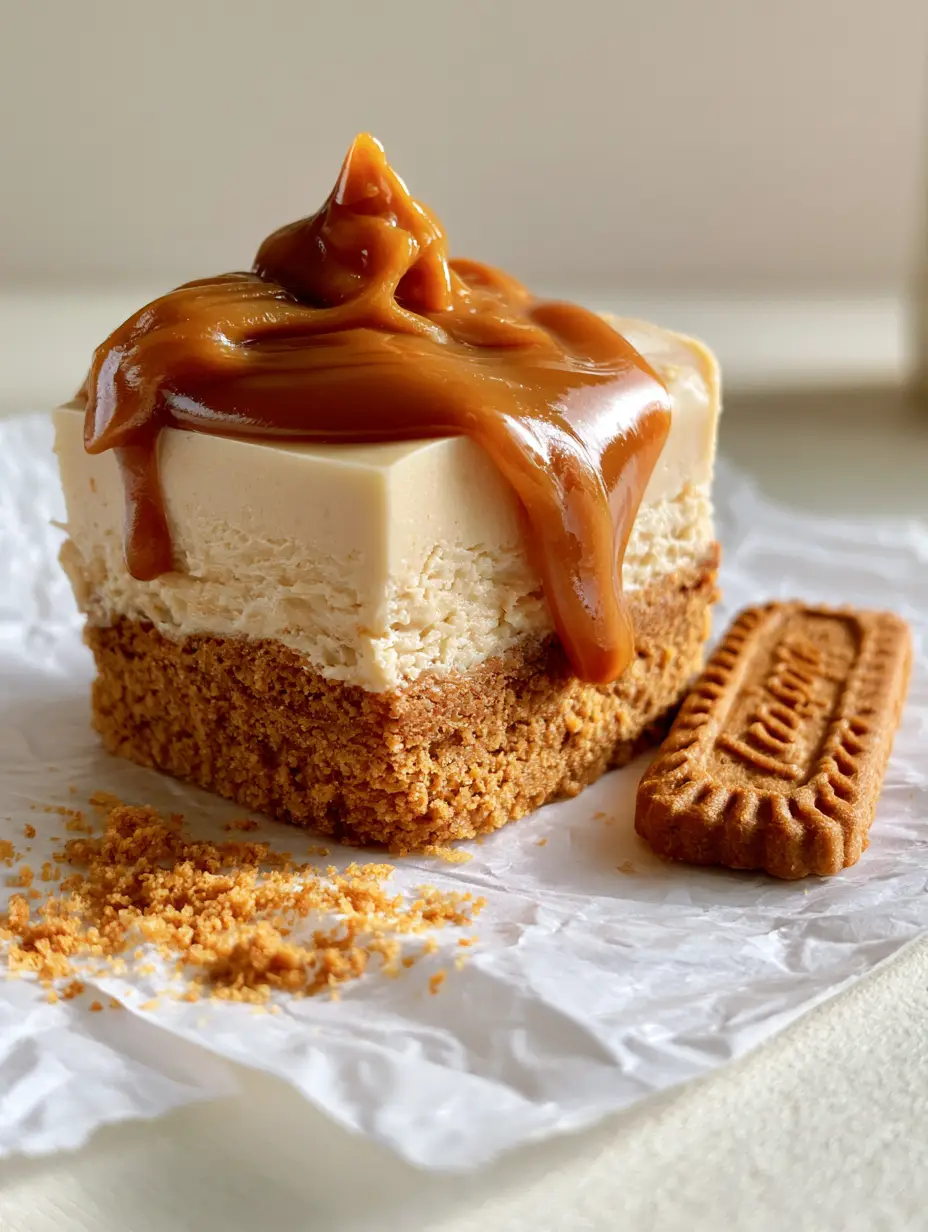
We aren’t just making a simple traybake; we are constructing a dual-layered masterpiece. These cookie butter bars feature a deeply compacted biscuit base topped with a velvety, cream-colored fudge that captures the essence of caramelized ginger and cinnamon.
Whether you are preparing for a holiday gathering or just need a decadent treat for the weekend, the visual appeal of these bars—with their glossy drizzle and golden crumbs—is unmatched. Let’s dive into the science of creating the perfect Biscoff-infused slice.
Why You’ll Crave These Perfectly Sliced Cookie Butter Bars
- Dual-Layer Texture: A high-contrast experience between the dense, golden-brown compacted Biscoff biscuit crust and the smooth, velvety fudge layer.
- Visual Sophistication: Topped with a warm, glossy melted cookie butter drizzle that creates an irresistible “ooze” effect for professional-level food photography.
- No-Bake Ease: Achieve a high-end, bakery-style result without ever turning on your oven, making this a foolproof win for any skill level.
- Scientific Balance: We use specific ratios of fats and sugars to ensure the bars remain stable at room temperature while maintaining a soft, fudgy bite.
The Essential Ingredients for Superior Biscoff Squares
Lotus Biscoff Biscuits: 2 1/2 cups (250g) of finely crushed biscuits provide the structural foundation for our crust. The unique spice profile of these cookies is the backbone of the entire flavor profile.
Unsalted Butter: 1/2 cup (115g) of high-quality melted butter acts as the “glue” for our compacted crust. It provides a rich mouthfeel and ensures the base doesn’t crumble when sliced.
Creamy Cookie Butter: 1 1/2 cups (400g) of speculoos spread is divided between the fudge layer and the glossy topping. This provides that concentrated, caramelized gingerbread flavor we crave.
White Chocolate Chips: 1 1/4 cups (225g) of high-quality white chocolate provides the structural “set” for the fudge layer. It lightens the color to a beautiful cream tone and adds a silky finish.
Powdered Sugar: 1 cup (120g) of sifted icing sugar helps stabilize the fudge. It ensures the cookie butter bars have a distinct, clean edge when cut with a sharp knife.
Fine Sea Salt: 1/2 tsp (3g) is the “invisible” ingredient that cuts through the intense sweetness. It highlights the toasted notes of the Biscoff biscuits.
Professional Tools for a Flawless Dessert Execution
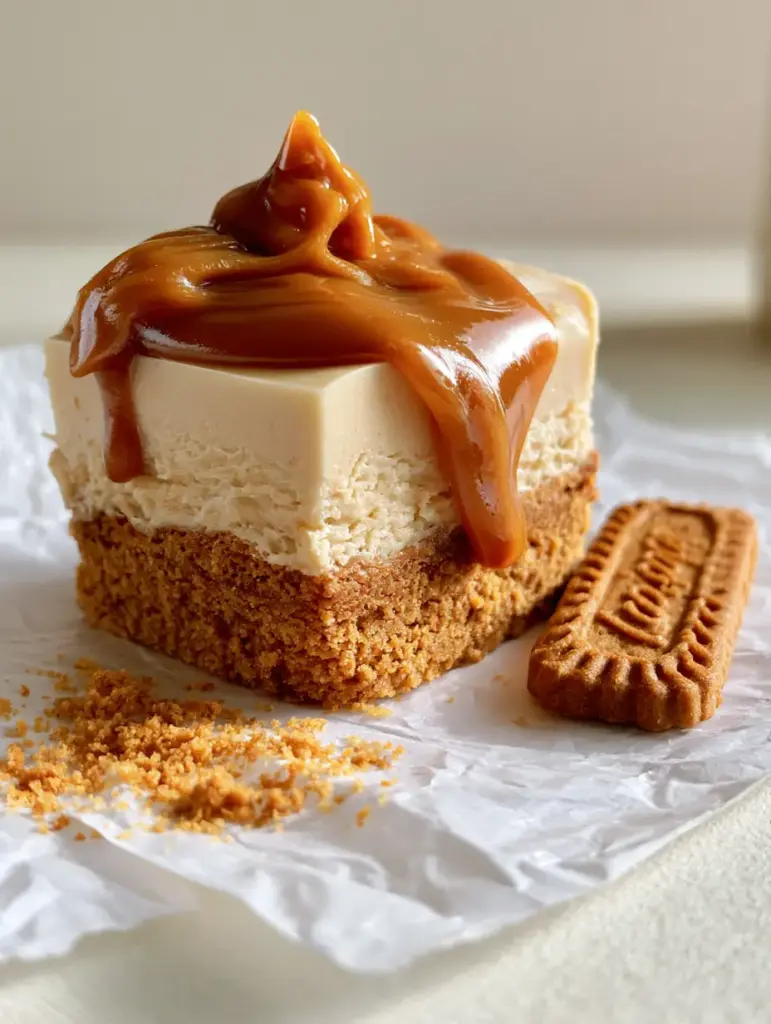
To achieve the “thick, perfectly sliced square” look from our visual blueprint, you need the right gear. Use an 8×8 inch (20x20cm) square baking pan lined with “sling-style” parchment paper for easy removal.
A heavy-bottomed saucepan or a microwave-safe glass bowl is essential for melting the white chocolate and cookie butter without scorching. Use a flat-bottomed measuring cup to press the crust into a perfectly even, compacted layer.
Step-by-Step Culinary Guide to Achieving the Perfect Fudge Texture
Creating the Compacted Biscoff Crust
Pulse your Biscoff biscuits in a food processor until they reach the consistency of fine sand. Combine the crumbs with the melted butter and sea salt, stirring until the mixture resembles wet sand.
Transfer the mixture to your lined pan and use the bottom of a glass to press down with significant pressure. You want a dense, golden-brown compacted base that won’t budge when the fudge is poured on top.
Developing the Velvety Cookie Butter Fudge
In a medium heat-proof bowl, combine 1 1/4 cups (330g) of the cookie butter with the white chocolate chips. Gently melt them together over a double boiler or in 30-second microwave bursts, stirring until the mixture is glossy and smooth.
Sift in the powdered sugar and whisk vigorously. The mixture should transform into a thick, cream-colored velvety fudge that holds its shape but remains spreadable.
The Art of the Glossy Drizzle and Finish
Pour the fudge over the crust and smooth the top with an offset spatula. Warm the remaining 1/4 cup (70g) of cookie butter until it is fluid and glossy.
Drizzle the warm cookie butter over the top, allowing it to pool slightly. Before the fudge sets, artfully scatter fine golden biscuit crumbs and place whole Biscoff cookies on the surface as described in our visual blueprint.
Pro-Chef Secrets for the Ultimate Biscoff Finish
- The Temperature Trick: Chill the bars for at least 4 hours, but slice them while they are cold for those razor-sharp, professional edges.
- Heat Your Knife: Run a sharp chef’s knife under hot water and wipe it dry between every single cut to prevent the fudge from sticking.
- Avoid Seizing: Ensure your white chocolate is completely dry before melting; even a drop of water can cause the fudge layer to become grainy.
- Bloom the Spices: If you want a deeper flavor, lightly toast your biscuit crumbs in a dry pan for 2 minutes before adding the butter.
How to Store and Preserve Your Biscoff Masterpiece
These cookie butter bars are highly stable but are best enjoyed at a cool room temperature. Store them in an airtight container in the refrigerator for up to 10 days to maintain the freshness of the crust.
For long-term storage, wrap individual squares in plastic wrap and freeze for up to 3 months. To serve, let them thaw in the fridge overnight to preserve that “glossy ooze” of the drizzle.
Perfect Pairings and Dessert Table Ideas
If you love these spice-forward treats, you might also enjoy our snickerdoodle cookie bars for a soft-baked alternative. For those who prefer a mix of textures, these bars pair beautifully with rice krispy treats on a dessert platter.
Looking to elevate a party spread? Consider serving these alongside our chocolate chip cookie butter bars for a “cookie butter flight.” If you’re hosting a summer bash, the richness of speculoos is surprisingly complemented by a refreshing pineapple mango rum punch.
Your Cookie Butter Questions Answered
Absolutely. These bars freeze beautifully for up to 3 months. Wrap them tightly in plastic wrap and thaw in the refrigerator to maintain the glossy drizzle texture.
Yes! Biscoff cookies and spread are naturally vegan. Simply swap the butter for a plant-based alternative and use dairy-free white chocolate chips.
While Biscoff is the gold standard for that specific flavor, any speculoos-style ginger biscuit will work for the crust and fudge layer.
The secret is temperature. Chill the bars for at least 4 hours, then use a sharp chef’s knife dipped in hot water and wiped dry between every single cut.
Oily bars usually occur if the white chocolate was overheated or if the butter wasn’t fully incorporated into the crumbs. Melt the chocolate slowly in short bursts to prevent the fats from separating.
The Ultimate No-Bake Cookie Butter Bar Recipe
Cookie Butter Bars with a Dense Biscoff Crust and Glossy Caramelized Drizzle
Ingredients
Equipment
Method
- Pulse Biscoff biscuits in a food processor until fine. Mix with melted butter and salt in a bowl.
- Press the mixture firmly into the bottom of a lined 8x8 pan using a flat-bottomed cup until dense and even.
- Melt cookie butter and white chocolate together in the microwave or over a double boiler until velvety and smooth.
- Whisk in the sifted powdered sugar until the mixture thickens and turns a light cream color. Spread evenly over the crust.
- Melt the remaining cookie butter and drizzle over the fudge. Top with crumbs and whole cookies while still wet.
- Refrigerate for at least 4 hours before slicing with a hot knife.
Notes
Use high-quality white chocolate (with cocoa butter) for the best setting results.
Join the Community of Enthusiastic Home Cooks
These cookie butter bars are more than just a dessert; they are a conversation starter. The contrast of the velvety fudge against the crunchy Biscoff base is something your guests won’t forget anytime soon.
Did you try this recipe? We want to see your glossy drizzles! Leave a comment below or share your photos on Pinterest to inspire other bakers. Don’t forget to sign up for our newsletter for more elite recipe blueprints delivered to your inbox.