This Creme Brulee Pie is the ultimate dessert mashup, combining the sophisticated, silky texture of a classic French custard with the nostalgic crunch of a buttery graham cracker crust. If you are scrolling through Pinterest looking for a showstopper that delivers a “shatteringly crisp” experience, you have found it. This recipe captures that iconic, glossy amber-caramelized sugar topping and places it atop a thick, pale yellow vanilla bean center that rivals any high-end bistro.
Imagine the first bite: your fork cracks through a layer of burnt sugar, sinking into a cool, velvety custard, all supported by a salty-sweet graham base. It is a textural masterpiece that is surprisingly simple to achieve at home with the right techniques. Whether you are a fan of classic pie recipes or looking for something more modern, this dish is designed to impress every single guest at your table.
Why You Will Obsess Over This Caramelized Custard Pie
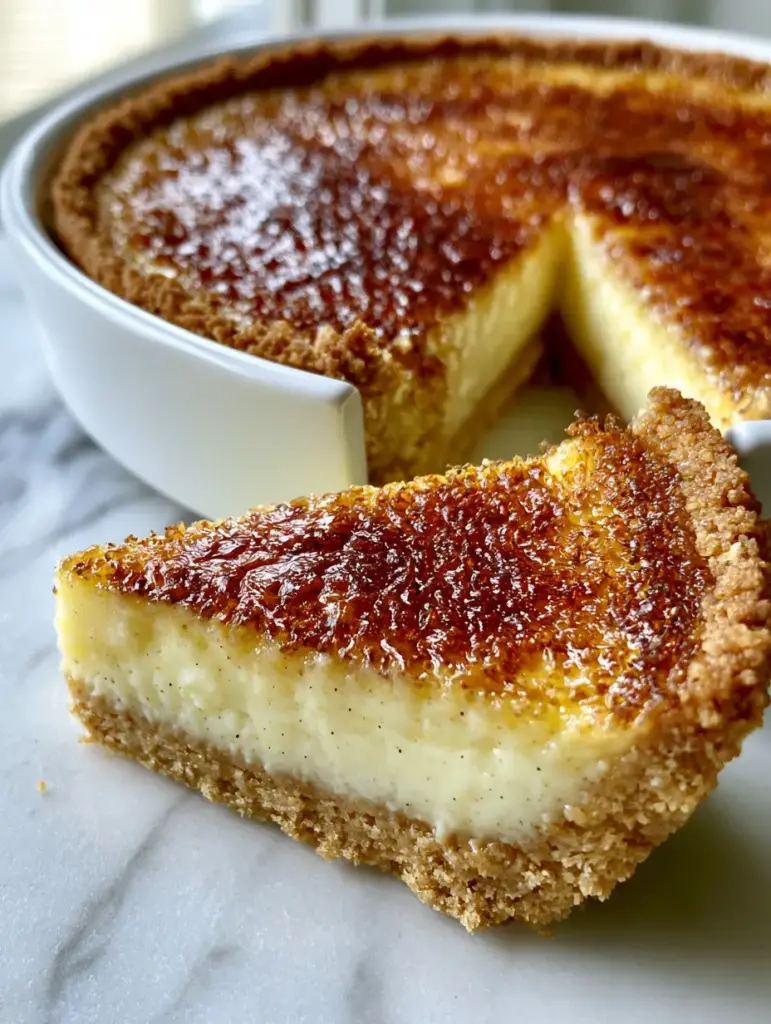
- The Iconic Crack: We use a specific sugar-torching technique to ensure a glossy, shatteringly crisp amber crust that stays crunchy until served.
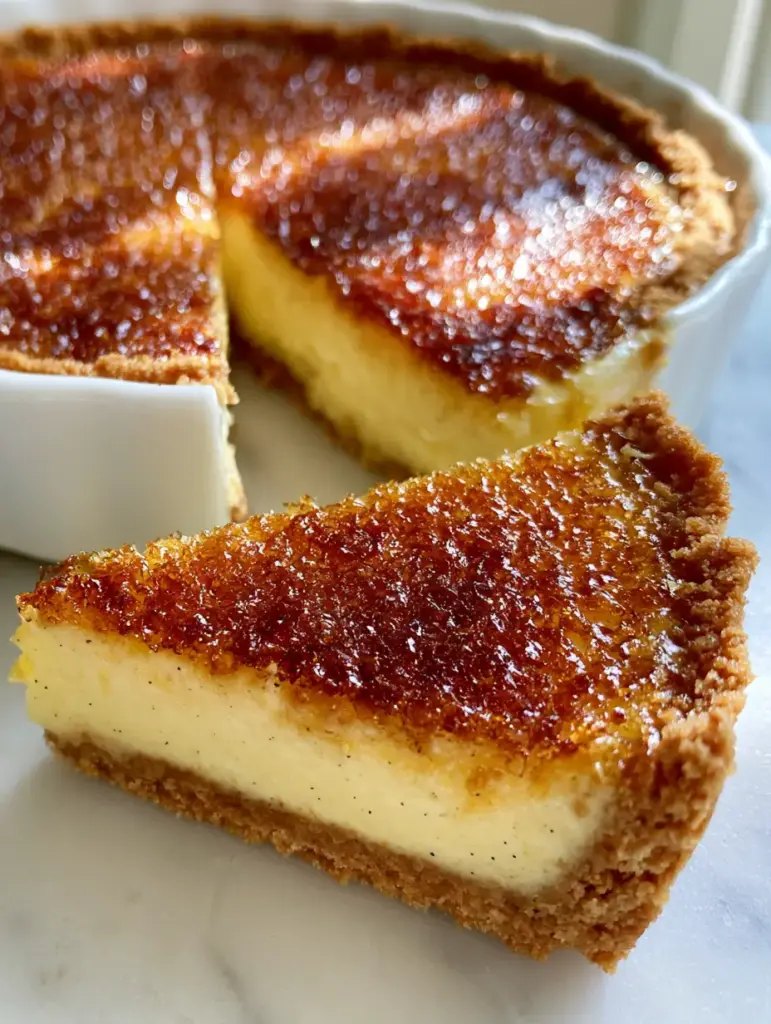
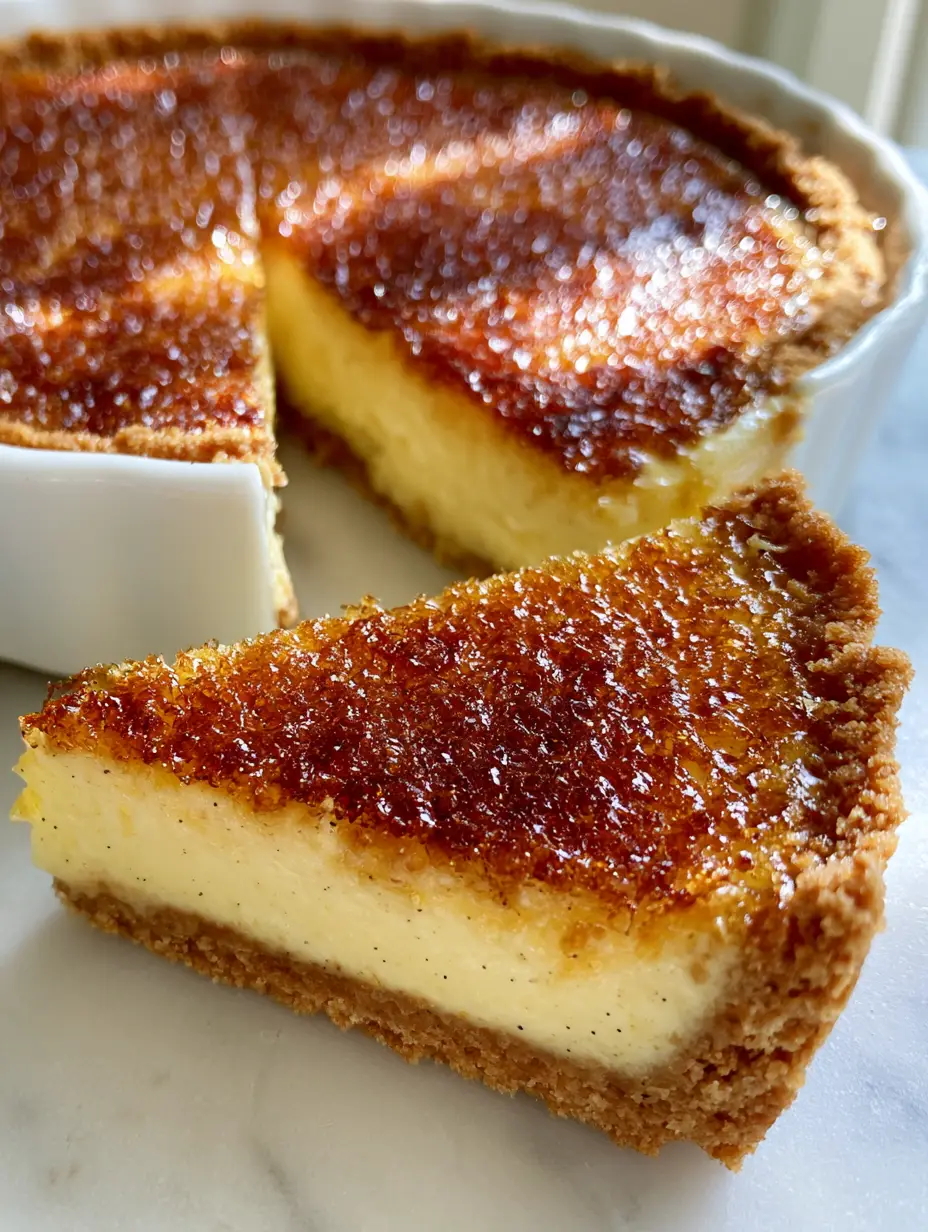
- Visual Perfection: A cut slice reveals a beautiful contrast between the thick buttery graham cracker crust and the silky, pale yellow vanilla bean custard center.
- Modern Aesthetic: Perfect for your next dinner party, especially when served in a modern white dish against a soft marble background for that professional look.
- Make-Ahead Friendly: You can bake the custard and crust a day in advance, leaving only the dramatic sugar torching for the moment you serve.
The Anatomy of a Perfect Creme Brulee Pie
Creating a Creme Brulee Pie requires a balance of fats, sugars, and temperature control. Unlike a traditional creme brulee served in a ramekin, this version needs enough structural integrity to be sliced while maintaining a silky, pale yellow consistency.
If you love creamy textures, you might also enjoy our easy creamy cheesecake, but today, we are focusing on the elegant simplicity of vanilla beans and heavy cream. The buttery graham cracker crust provides a sturdy, toasted foundation that offsets the richness of the egg-yolk-heavy filling.
Essential Ingredients for the Crust
Graham Cracker Crumbs (1.5 cups / 180g): You want a fine crumb here to ensure the crust holds together. Use a food processor for the most even texture.
Melted Unsalted Butter (6 tbsp / 85g): This acts as the glue. Using unsalted butter allows you to control the salt level perfectly.
Granulated Sugar (1/4 cup / 50g): Just enough to help the crust caramelize and crisp up during the blind bake.
Kosher Salt (1/2 tsp): A crucial invisible ingredient that balances the sweetness of the vanilla custard.
Ingredients for the Silky Vanilla Bean Filling
Heavy Cream (2 cups / 480ml): This provides the high fat content necessary for that signature mouthfeel. Do not substitute with milk.
Large Egg Yolks (6 total): Egg yolks are the thickening agent that creates a thick, pale yellow vanilla bean custard without the need for cornstarch.
Granulated Sugar (1/2 cup / 100g): Whisked with the yolks to create a stable base for the cream.
Vanilla Bean Paste or 1 Whole Bean: You want to see those beautiful fine black specks throughout the custard. If you enjoy this flavor profile, check out our vanilla cupcakes for your next bake.
Vanilla Extract (1 tsp / 5ml): Enhances the floral notes of the fresh bean.
Step-by-Step Guide to the Perfect Slice
Crafting the Buttery Graham Cracker Base
Preheat your oven to 350°F (175°C). In a medium bowl, combine your graham cracker crumbs, sugar, and melted butter. Mix until the texture resembles wet sand.
Press the mixture firmly into a 9-inch modern white dish or pie plate. Use the bottom of a measuring cup to ensure the base is even and the sides are packed tight. This buttery graham cracker crust needs to be sturdy enough to support the heavy custard.
Bake for 10-12 minutes until the edges are golden brown and the crust smells toasted. Let it cool completely before adding the filling. This prevents the crust from becoming soggy.
Tempering the Vanilla Bean Custard
In a heavy-bottomed saucepan, heat the heavy cream and vanilla bean (split and scraped) over medium heat. Bring it to a gentle simmer—do not let it reach a rolling boil. You are looking for small bubbles around the edges.
While the cream heats, whisk the 6 egg yolks and 1/2 cup of sugar in a separate bowl until the mixture turns pale yellow and slightly thick. This is a key sensory cue that your yolks are ready.
Slowly ladle about 1/4 cup of the hot cream into the egg mixture while whisking constantly. This “tempering” process prevents the eggs from scrambling. Gradually add the rest of the cream, then strain the mixture through a fine-mesh sieve to remove any lumps or bean pods.
Baking for a Silky Center
Pour the strained custard into your cooled buttery graham cracker crust. Place the pie dish into a larger roasting pan and fill the pan with hot water until it reaches halfway up the sides of the pie dish. This water bath (bain-marie) ensures the custard cooks evenly without cracking.
Bake at 325°F (160°C) for 35-45 minutes. The Visual Cue: The edges should be set, but the center should still have a slight jiggle (like Jell-O) when you gently shake the pan. Overbaking will lead to a rubbery texture.
Remove from the water bath and cool to room temperature, then refrigerate for at least 4 hours, or ideally overnight. The custard must be cold and set before you apply the sugar topping.
Achieving the Shatteringly Crisp Sugar Topping
Just before serving, pat the surface of the custard dry with a paper towel. Sprinkle an even, thin layer of granulated sugar (about 2-3 tablespoons) over the entire surface. Tilt the pie to ensure edge-to-edge coverage.
Using a kitchen torch, move the flame in circular motions about 2 inches above the sugar. Watch as it melts, bubbles, and transforms into a glossy, amber-caramelized sugar crust. If you don’t have a torch, you can use a broiler, but watch it like a hawk!
Let the sugar stand for 2 minutes to harden. You should see fine cracks forming in the amber glass as it cools, which is the hallmark of a professional Creme Brulee Pie.
Expert Tips for Success
- Room Temperature Yolks: Ensure your egg yolks are at room temperature before tempering to prevent thermal shock and curdling.
- The Strainer is Key: Never skip straining the custard. It removes the “chalazae” (the white stringy bit of the egg) and ensures a silky, pale yellow finish.
- Torch in Stages: If the sugar isn’t browning evenly, stop, let it cool for 30 seconds, and go back in. This prevents the custard underneath from melting too much.
- Freshness Matters: The cracked caramelized amber sugar topping will start to soften after about 30-60 minutes due to the moisture in the custard. Torch it right before you walk it to the table!
Storage, Reheating & Freezing
To Store: Keep the un-torched pie in the refrigerator, covered loosely with plastic wrap, for up to 3 days. Do not torch the sugar until you are ready to serve.
To Freeze: We do not recommend freezing this pie. The custard texture can become grainy, and the buttery graham cracker crust may lose its crunch.
To Reheat: This dessert is best served cold. If the sugar has softened, you cannot effectively “re-torch” it without overcooking the custard.
What to Serve With This Pie
This rich dessert pairs beautifully with tart or acidic accompaniments to cut through the creaminess. Fresh raspberries or a dollop of unsweetened whipped cream are perfect. For a seasonal twist, consider serving it alongside autumn pie recipes during a holiday spread.
If you’re looking for a refreshing drink to pair with the vanilla notes, try a honey lemon pink soda for a bright, bubbly contrast.
Frequently Asked Questions
Yes, you can use your oven’s broiler. Place the chilled pie on the top rack under a preheated broiler for 1-3 minutes. Watch it constantly, as the sugar can turn from caramelized to burnt in seconds.
Absolutely! You can bake and chill the pie up to 24 hours in advance. However, do not torch the sugar topping until immediately before serving, as it will soften in the fridge.
Blind baking the crust at 350°F (175°C) before adding the custard is essential. This creates a toasted barrier that prevents the custard moisture from soaking into the crumbs.
Plain white granulated sugar works best because it melts evenly and quickly. Brown sugar or coarse sugars take longer to melt and can burn the custard underneath.
This usually happens if the water bath wasn’t hot enough or the pie was removed too early. The edges should be firm, but the center should still have a slight jiggle before you remove it to chill.
The Ultimate Creme Brulee Pie Recipe
Creme Brulee Pie with Buttery Graham Cracker Crust
Ingredients
Equipment
Method
- Combine graham crumbs, 6 tbsp melted butter, 1/4 cup sugar, and salt. Press into a 9-inch dish.
- Bake at 350°F (175°C) for 10-12 minutes until golden. Cool completely.
- Simmer 2 cups heavy cream with vanilla bean. Do not boil.
- Whisk 6 yolks and 1/2 cup sugar until pale yellow.
- Slowly whisk hot cream into yolks, strain through a sieve.
- Pour custard into crust. Place in water bath. Bake at 325°F (160°C) for 35-45 minutes until slightly jiggly.
- Cool, then refrigerate for at least 4 hours.
- Sprinkle sugar on cold pie. Torch until amber-caramelized and glossy.
Notes
Use a fine-mesh sieve for the smoothest possible texture.
Join the Karen Cooks Community!
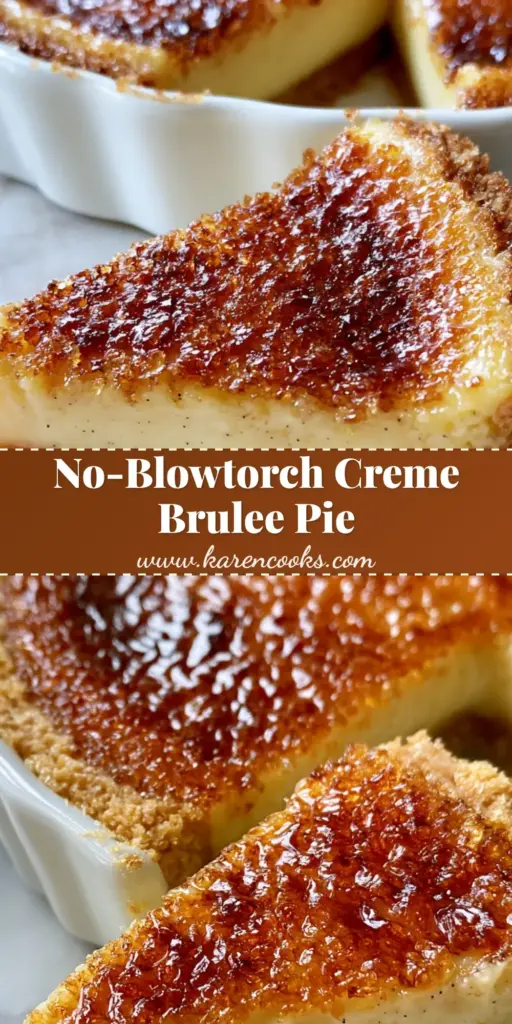
Did you get that perfect “crack” when you bit into your Creme Brulee Pie? We want to see your results! Please save this recipe to your Pinterest boards so you can find it for your next special occasion. Following @karen_cooks_official helps us keep the kitchen fires burning!
If you made this, please leave a 5-star rating in the recipe card above and share a photo of your slice in the comments below. Nothing makes us happier than seeing your glossy, amber-caramelized creations!