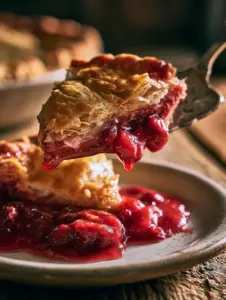
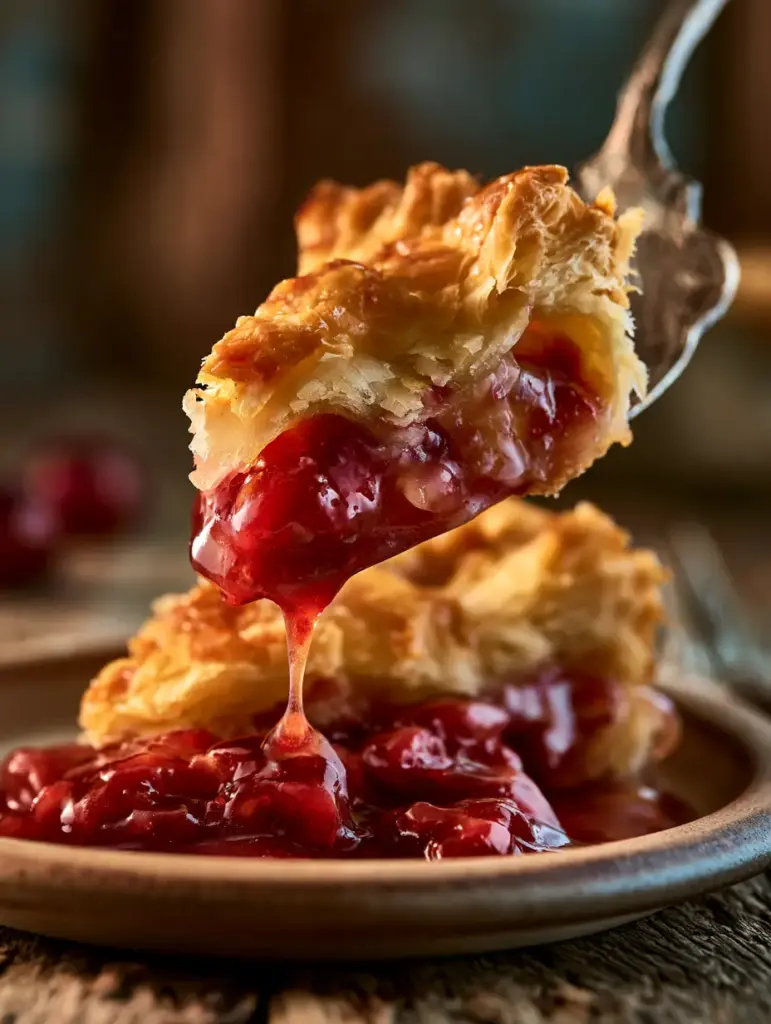
When it comes to Grandma’s best pie recipes, nothing evokes a sense of nostalgic warmth quite like a golden-brown baked pie crust cooling on a rustic wood table. There is a specific kind of magic found in laminated pastry layers that shatter upon the first bite, revealing a rich, glossy bubbling cherry filling. If you have been searching for that elusive, hyper-realistic texture of a vintage bakery-style dessert, you have found the ultimate guide.
This recipe is more than just a dessert; it is a masterclass in culinary precision. By following these specific steps, you will achieve a golden flaky pie slice that looks like it was plucked straight from a professional photoshoot. We are talking about hyper-realistic textures that make your kitchen smell like a dream and your Pinterest feed look like a professional portfolio.
Whether you are preparing this for a Sunday dinner or looking to add to your collection of classic pie recipes, this cherry masterpiece stands in a league of its own. Let’s dive into the science of the perfect bake.
Why These Grandma’s Best Pie Recipes Are Unbeatable
- The Lamination Factor: Unlike standard crusts, this method uses specific folding techniques to create incredibly delicate, crispy pastry layers.
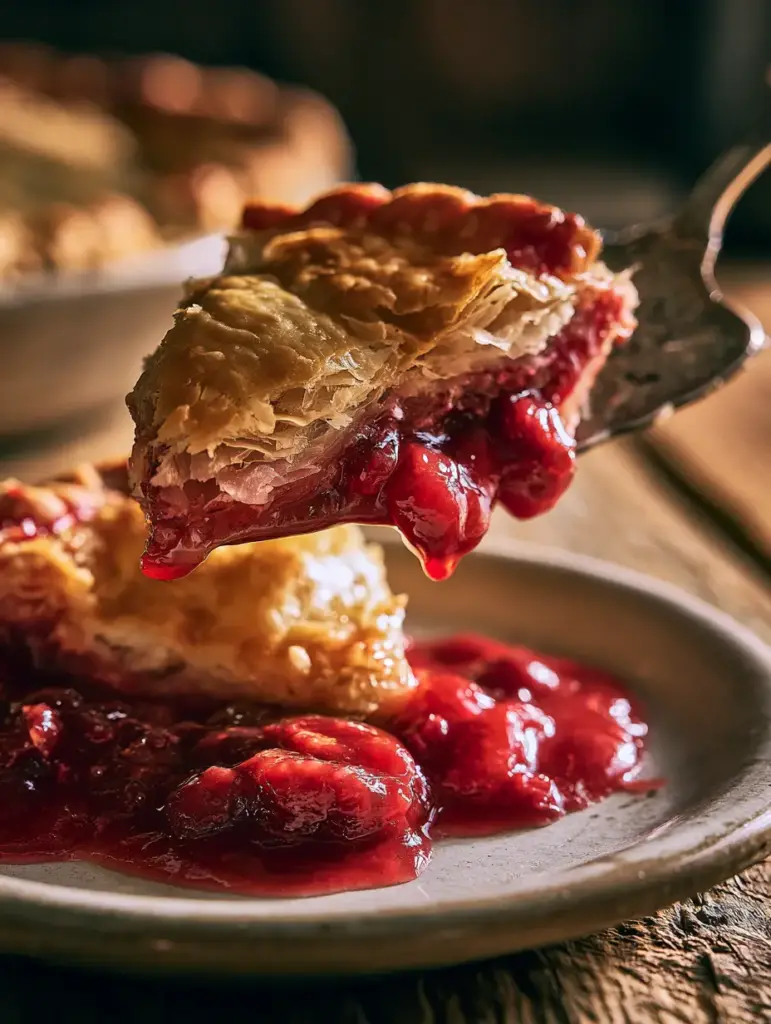
- Glossy Visuals: The filling is engineered to be rich and bubbling, ensuring it oozes perfectly from the slice onto a ceramic plate without being runny.
- Golden Perfection: We utilize a specific egg wash and temperature sequence to ensure a deep golden-brown finish every single time.
- Time-Tested Flavor: A hint of almond extract elevates the cherry flavor, making it taste exactly like the heirloom versions found in autumn pie recipes.
The Essential Ingredients for Laminated Perfection
To achieve the results seen in Grandma’s best pie recipes, the quality of your fats and the temperature of your liquids are non-negotiable. Here is what you need for this ceramic pie dish classic:
For the Laminated Crust:
2 ½ cups (315g) All-Purpose Flour: This provides the structural foundation for our laminated pastry layers.
1 cup (225g) Unsalted Butter: Must be ultra-cold and cubed. This creates the steam pockets required for a golden-brown baked pie crust.
1 tsp (6g) Fine Sea Salt: Essential for balancing the sweetness of the bubbling red cherry filling.
1 tbsp (13g) Granulated Sugar: Promotes the browning of the crispy pastry layers.
6-8 tbsp (90-120ml) Ice Water: Keeps the fats solid during the mixing process, ensuring the dough remains workable but cold.
For the Glossy Cherry Filling:
6 cups (900g) Fresh or Frozen Sour Cherries: The star of the show, providing that signature rich, glossy bubbling cherry filling.
¾ cup (150g) Granulated Sugar: Adjust slightly based on the tartness of your fruit.
¼ cup (32g) Cornstarch: The thickening agent that prevents a soggy bottom while keeping the filling glossy.
1 tsp (5ml) Vanilla Extract & ½ tsp (2.5ml) Almond Extract: These provide the floral notes found in cherry vanilla soda and other classic treats.
Step-by-Step: Mastering the Flaky Lamination
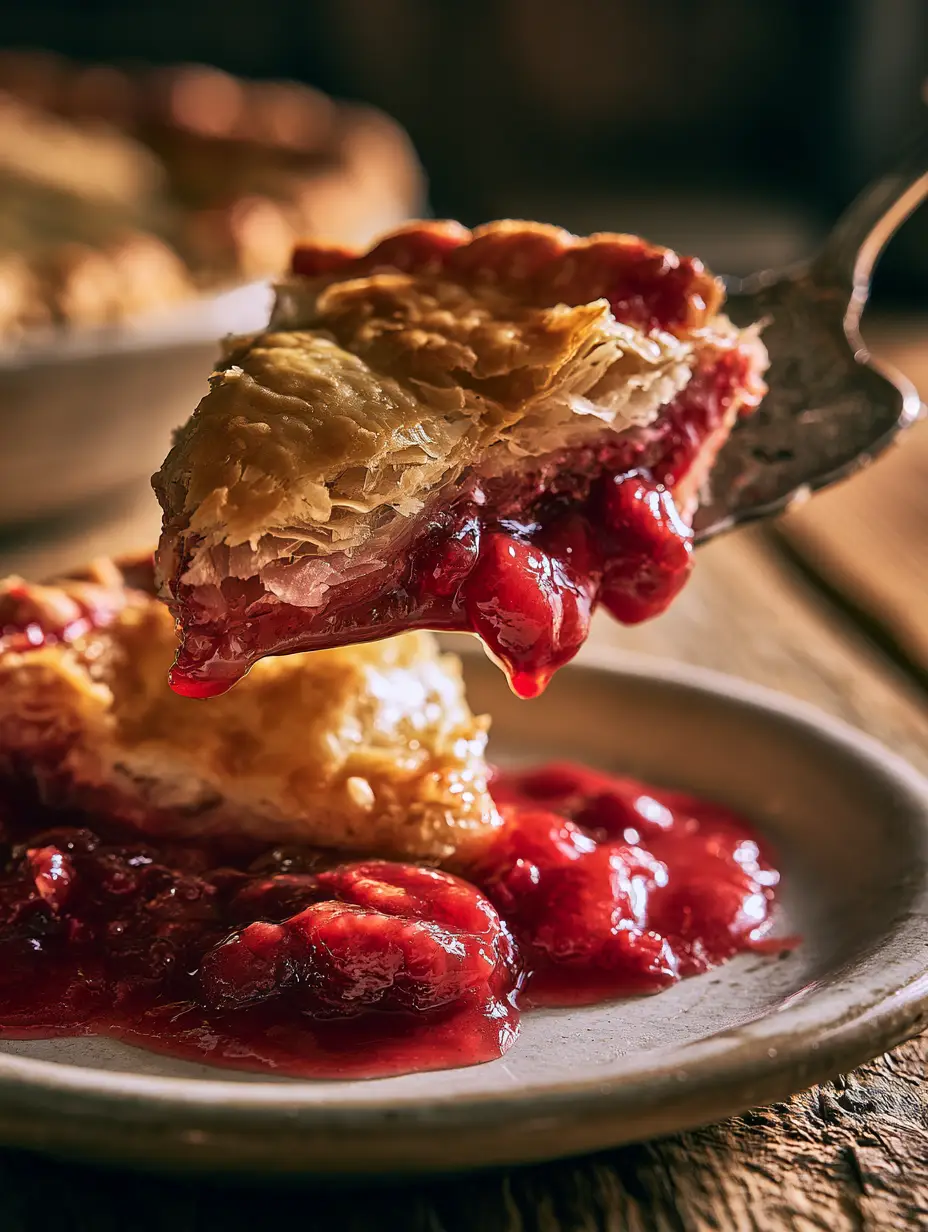
Achieving the visual seen in our vintage silver server shot requires a specific technique called “rough puff” lamination. This is the hallmark of Grandma’s best pie recipes.
1. Cutting the Fat for Maximum Flake
Start by whisking your dry ingredients in a large chilled bowl. Add your cold, cubed butter. Instead of rubbing it in until it looks like crumbs, leave large, pea-sized chunks of butter intact. These chunks will flatten into sheets during the rolling process, creating those incredibly delicate, crispy pastry layers.
2. The Hydration Phase
Slowly drizzle in the ice water, one tablespoon at a time. Toss with a fork until the dough just begins to clump together. It should look slightly shaggy. Wrap the dough in plastic and chill for at least one hour. This rest period is vital for the flour to hydrate without developing too much gluten, which would make the crust tough rather than flaky.
3. The Lamination Folds
On a floured surface, roll the dough into a long rectangle. Fold it into thirds like a letter. Rotate 90 degrees and repeat. This process creates the laminated pastry layers that define the best Grandma’s best pie recipes. After the folds, chill again before the final roll-out into your ceramic pie dish.
Creating the Bubbling Red Cherry Filling
The goal is a filling that is rich and glossy, not a watery mess. In a large pot, combine your cherries, sugar, and cornstarch. Heat over medium until the juices begin to release and the mixture starts bubbling.
Add a squeeze of lemon juice to brighten the color. Once the filling has thickened enough to coat the back of a spoon, remove it from the heat and stir in the almond extract. Pro Tip: Allow the filling to cool completely before adding it to the raw crust. This prevents the butter in the crust from melting prematurely.
The Final Bake: How to Get That Golden Glow
Preheat your oven to 425°F (220°C). This high initial heat is what causes the water in the butter to turn to steam, lifting those laminated pastry layers. Brush the top of your pie with a beaten egg mixed with a splash of heavy cream. This ensures a golden-brown baked pie crust with a professional shine.
Bake for 20 minutes at the high temp, then reduce to 375°F (190°C) and continue baking for 30-40 minutes. You are looking for the red cherry filling to be vigorously bubbling through the vents. This indicates the cornstarch has reached its full thickening potential.
Expert Tips for Pinterest-Perfect Results
- Keep Everything Cold: If your kitchen is warm, chill your flour and even your ceramic pie dish before starting.
- Vent the Steam: Always cut generous slits in the top crust or create a lattice. This allows steam to escape so the filling becomes rich and glossy rather than steamed and thin.
- The Resting Rule: You MUST let the pie cool for at least 3-4 hours. This is the secret to getting a golden flaky pie slice that holds its shape when lifted with a vintage silver server.
- Check Your Oven: Use an oven thermometer to ensure you aren’t baking too low, which leads to a “sad, pale” crust.
How to Store, Reheat, and Freeze
If you somehow have leftovers from Grandma’s best pie recipes, store them at room temperature for up to two days, covered loosely with foil to keep the crispy pastry layers from softening. For longer storage, refrigerate for up to 5 days.
To Reheat: Avoid the microwave! Place a slice in a 350°F (175°C) oven for 10 minutes to recrisp the golden-brown baked pie crust.
To Freeze: You can freeze the unbaked pie for up to 3 months. Bake directly from frozen, adding about 15-20 minutes to the total cook time.
What to Serve with Cherry Pie
While a slice is perfect on its own, we recommend pairing it with a scoop of high-quality vanilla bean ice cream. The cold creaminess against the bubbling red cherry filling is a match made in heaven. If you are hosting a full dessert spread, consider serving this alongside our apple pie recipe or a classic cheesecake recipe for variety.
For a refreshing drink pairing, a chilled glass of milk or even a cherry vanilla soda complements the tartness of the fruit beautifully.
Frequently Asked Questions
Yes, you can use frozen cherries. Do not thaw them first; simply mix them with the sugar and starch. You may need to add 5-10 minutes to the baking time.
Yes, an egg wash is essential for that deep golden-brown color and professional shine seen in artisan bakeries.
To avoid a soggy bottom, pre-cook your cherry filling slightly to activate the cornstarch and always bake the pie on the lowest rack of the oven to ensure the bottom crust sets quickly.
The flakiness comes from the lamination folds and keeping the butter in pea-sized chunks. When the cold butter hits the hot oven, it creates steam that lifts the pastry layers.
A runny filling usually means the pie hasn’t cooled long enough for the starches to set, or the filling didn’t reach a full boil during the baking process.
Grandma’s Best Cherry Pie Recipe
Get ready to bake the most beautiful pie of your life. Follow the measurements below for guaranteed success.
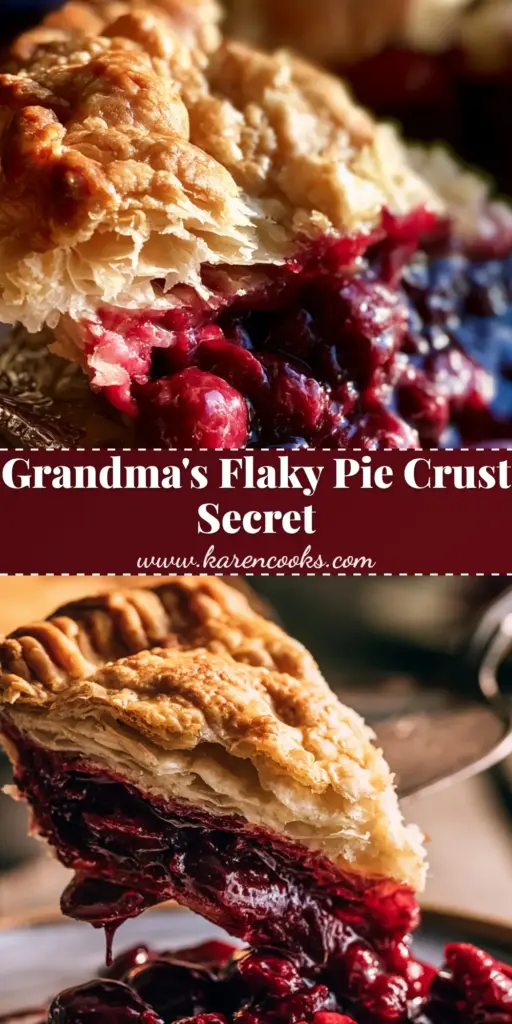
Grandma's Best Pie Recipes: The Secret to the Flakiest Cherry Pie
Ingredients
Equipment
Method
- Combine flour, salt, and sugar. Cut in cold butter leaving pea-sized chunks.
- Add ice water until shaggy. Roll into a rectangle, fold into thirds, rotate, and repeat twice. Chill for 1 hour.
- Cook cherries, sugar, and cornstarch until bubbling and glossy. Stir in extracts and cool completely.
- Roll out dough into a ceramic pie dish. Add filling and top crust. Brush with egg wash. Bake at 425°F (220°C) for 20 mins, then 375°F (190°C) for 40 mins.
Notes
Let the pie cool for at least 4 hours to set the filling properly.
Join the Karen Cooks Family!
Did you try one of Grandma’s best pie recipes today? We want to see your golden-brown baked pie crust! Please head over to Pinterest and follow karen_cooks_official for more daily inspiration.
Leave a 5-star rating in the recipe card above if you loved those laminated pastry layers, and don’t forget to upload a photo of your slice in the comments below. Sharing your results helps our community of home cooks grow! Happy baking!