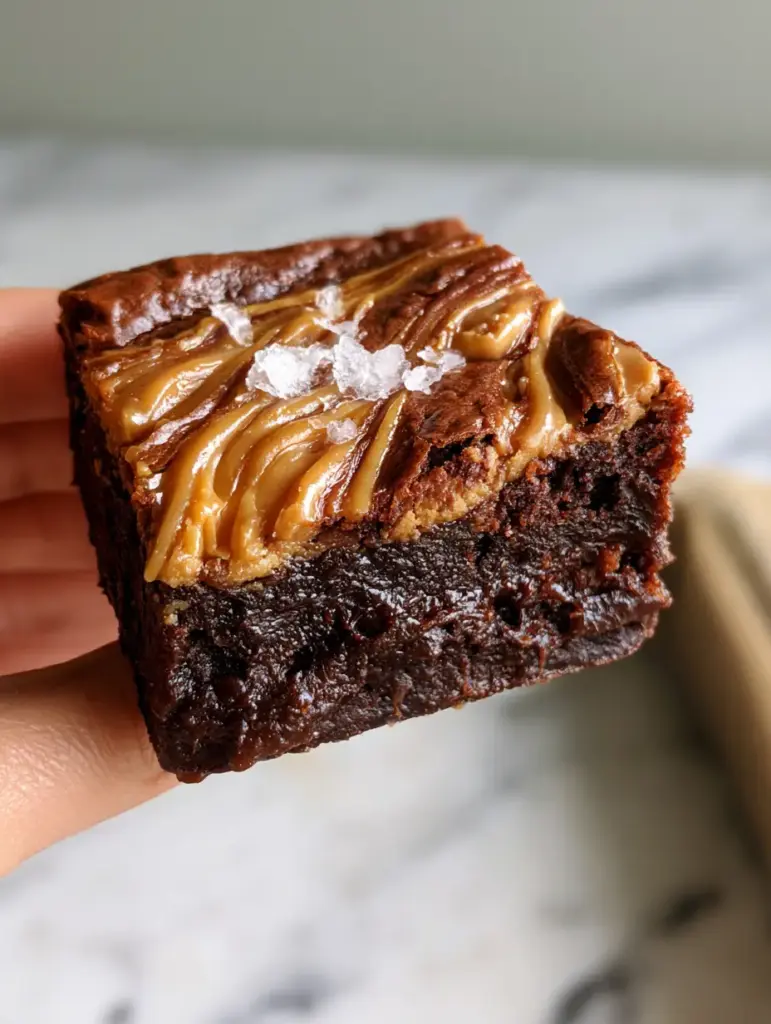
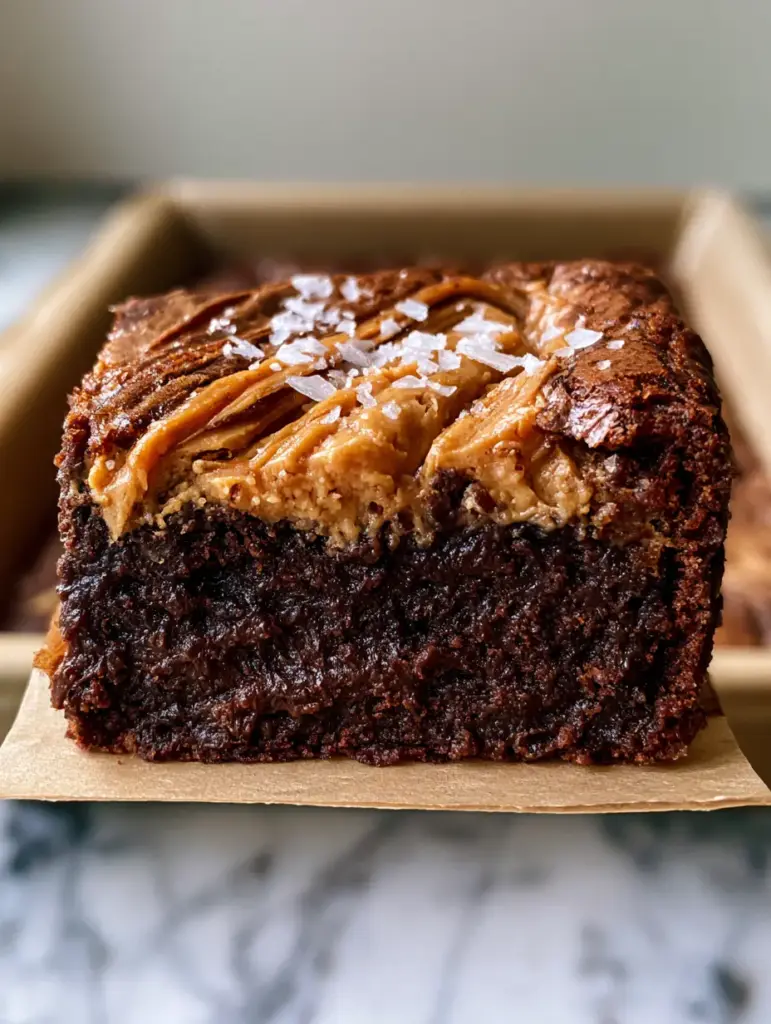
If you have been searching for the perfect peanut butter brownies, your quest ends here. These aren’t just your standard boxed mix upgrade; they are a decadent, dark chocolate masterpiece designed for the true dessert aficionado. Featuring an incredibly dense, gooey, dark chocolate center and a paper-thin, shiny, crackly top crust, these brownies bridge the gap between professional patisserie and home-baked comfort. The addition of thick ribbons of creamy peanut butter swirled deeply into the batter creates a visual and flavor contrast that is simply unmatched.
In this guide, we will break down the science of the “crackle,” the secret to achieving that handheld smartphone-photo-worthy fudge texture, and why a light sprinkle of flaky sea salt is the non-negotiable finishing touch. Whether you are a seasoned baker or a Pinterest scroller looking for your next viral bake, these peanut butter brownies deliver on every promise. If you love this flavor profile, you should also check out our peanut butter cup cookies for another salty-sweet obsession.
Why These Fudgy Peanut Butter Brownies Will Ruin All Other Recipes
- The Texture Contrast: You get a satisfying crunch from the crackly top followed by a melt-in-your-mouth fudgy interior.
- Deep Dark Cocoa Base: We use Dutch-processed cocoa for a sophisticated, bittersweet profile that perfectly balances the sweet peanut butter.
- The Visual Swirl: Thick ribbons of peanut butter are swirled to create a marbled effect that looks as good as it tastes.
- Salty-Sweet Harmony: The use of flaky sea salt elevates the chocolate and highlights the roasted notes of the peanut butter.
The Anatomy of Ingredients for Ultimate Fudginess
To achieve the specific texture seen in our peanut butter brownies, every ingredient serves a technical purpose. We are avoiding the “cakey” texture by keeping the leavening agents out and focusing on fat and sugar ratios.
Unsalted Butter: 1 cup (225g). Using butter instead of oil provides a richer mouthfeel and helps create the structure for that crackly top. We melt this together with the sugar to kickstart the meringue-like crust.
Granulated Sugar: 2 cups (400g). Sugar is a liquid in baking science. High sugar content is what creates the “fudge” factor and that thin, shimmery crust we all crave.
Dutch-Process Cocoa Powder: 3/4 cup (75g). This is alkalized cocoa, which gives the peanut butter brownies their signature dark, almost black appearance and a smoother chocolate flavor compared to natural cocoa.
Large Eggs: 3 eggs, room temperature. Eggs provide the only lift in this recipe. Beating them well with the sugar is the secret to the crackle. If you enjoy the richness of egg-heavy bakes, you might also love our brown butter sugar cookies.
Creamy Peanut Butter: 1/2 cup (125g). Use a “no-stir” creamy variety (like Jif or Skippy) for the best swirls. Natural peanut butters can be too oily and may separate during the bake.
All-Purpose Flour: 1 cup (125g). We keep the flour count low to ensure the brownies remain dense and fudgy rather than bread-like.
Flaky Sea Salt: A generous sprinkle for the garnish. It cuts through the richness and adds a professional finish.
Mastering the Method: Step-by-Step Instructions
Phase 1: Preparing the Parchment Sling
Start by preheating your oven to 350°F (175°C). The most important tool here is parchment paper. Line an 8×8 inch (20×20 cm) square baking pan with parchment, leaving an overhang on two sides. This “sling” allows you to lift the entire block of peanut butter brownies out easily, preserving those clean, thick edges seen in the photos.
Phase 2: The Secret to the Crackly Top
In a large microwave-safe bowl, combine the melted butter and granulated sugar. Whisk vigorously for about 2 minutes. The goal is to partially dissolve the sugar into the fat. Add the eggs one at a time, whisking for 1 minute after each addition. This aeration creates a thin layer of meringue that rises to the top during baking, forming the paper-thin crackly crust.
Phase 3: Folding the Dark Cocoa Base
Sift in your dark cocoa powder, flour, and a pinch of table salt. Use a rubber spatula to gently fold the dry ingredients into the wet. Stop as soon as no streaks of flour remain. Overmixing at this stage will develop gluten, which leads to a tough brownie. You want these to be ultra-fudgy, similar to the texture of a molten chocolate chip cookie stack.
Phase 4: Creating the Deep Peanut Butter Swirls
Pour the chocolate batter into your prepared pan, smoothing the top with a spatula. Drop dollops of the creamy peanut butter over the surface. Using a butter knife or a skewer, swirl the peanut butter into the chocolate batter. Don’t over-swirl! You want thick ribbons of peanut butter, not a blended brown mess. The visual contrast is key for Pinterest-worthy results.
Phase 5: The Bake and the Shake
Bake for 30-35 minutes. At the 30-minute mark, give the pan a gentle shake. The center should have a very slight jiggle, but the edges should be set. This ensures a dense fudgy center. Remove from the oven and immediately sprinkle with the flaky sea salt garnish while the peanut butter is still melty.
Expert Tips for Pinterest-Perfect Brownies
- Room Temperature Ingredients: Ensure your eggs are not cold. Cold eggs will seize the melted butter and ruin the emulsion.
- The Slicing Secret: For those perfectly clean, thick squares, you must let the brownies cool completely in the pan, then chill them in the fridge for 2 hours before slicing with a hot, dry knife.
- Don’t Overbake: Brownies continue to cook as they cool. If a toothpick comes out completely clean, you’ve gone too far! You want a few moist crumbs attached.
- Quality of Cocoa: Since there are so few ingredients, the quality of your cocoa powder will define the flavor. Look for “Dutch-processed” or “Dark” cocoa.
Storage, Reheating, and Freezing Instructions
These peanut butter brownies actually taste better the second day as the flavors settle. Store them in an airtight container at room temperature for up to 4 days, or in the refrigerator for up to a week for an extra-chewy texture.
To Freeze: Wrap individual squares tightly in plastic wrap and place them in a freezer bag. They will stay fresh for up to 3 months. Defrost at room temperature for an hour before indulging.
What to Serve With Peanut Butter Brownies
If you’re hosting a dessert party, these brownies pair beautifully with a cold glass of milk, but for something more sophisticated, try serving them alongside a peanut butter cup martini. The salty-sweet notes of the brownie also complement the buttery flavor of brown butter snickerdoodle cookies if you are creating a dessert board.
Frequently Asked Questions
It is not recommended. Natural peanut butter is often too liquid and oily, which can cause the swirl to sink or separate. Use a ‘no-stir’ creamy peanut butter for those thick, defined ribbons.
While you can use natural cocoa, Dutch-process cocoa provides the dark color and deep, smooth flavor shown in the recipe. If using natural cocoa, the brownies will be lighter in color and slightly more acidic.
The crackly top is achieved by whisking the sugar and eggs vigorously. This creates a thin, meringue-like layer that rises to the surface during baking. Ensure your butter is hot when adding the sugar to help it dissolve.
Cakey brownies usually result from over-mixing the flour or adding too much leavening (like baking powder). This recipe omits leavening agents and uses a low flour-to-fat ratio to ensure a dense, fudgy texture.
The Ultimate Fudgy Peanut Butter Brownie Recipe Card
Ready to bake the most viral brownies on your feed? Follow the detailed measurements below to achieve that perfect dark cocoa base and swirled creamy peanut butter finish.
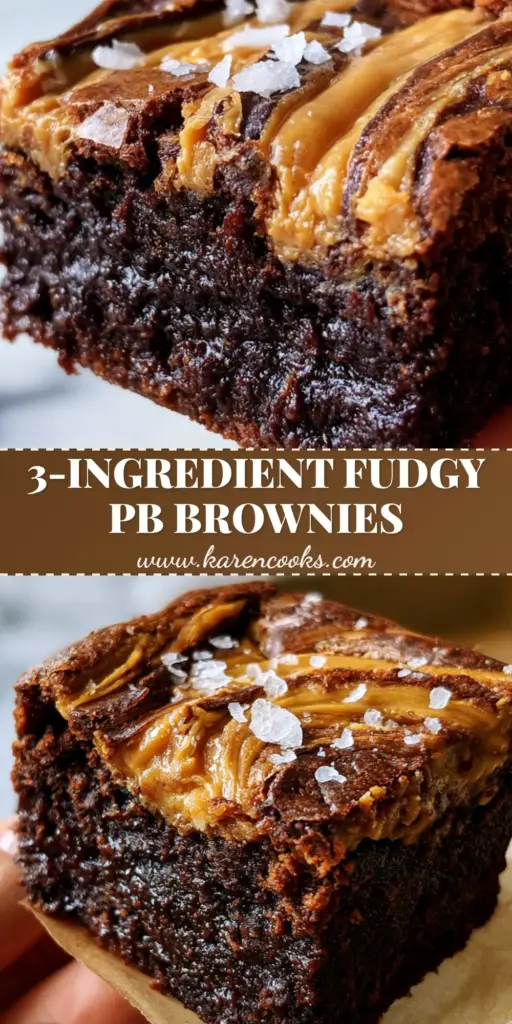
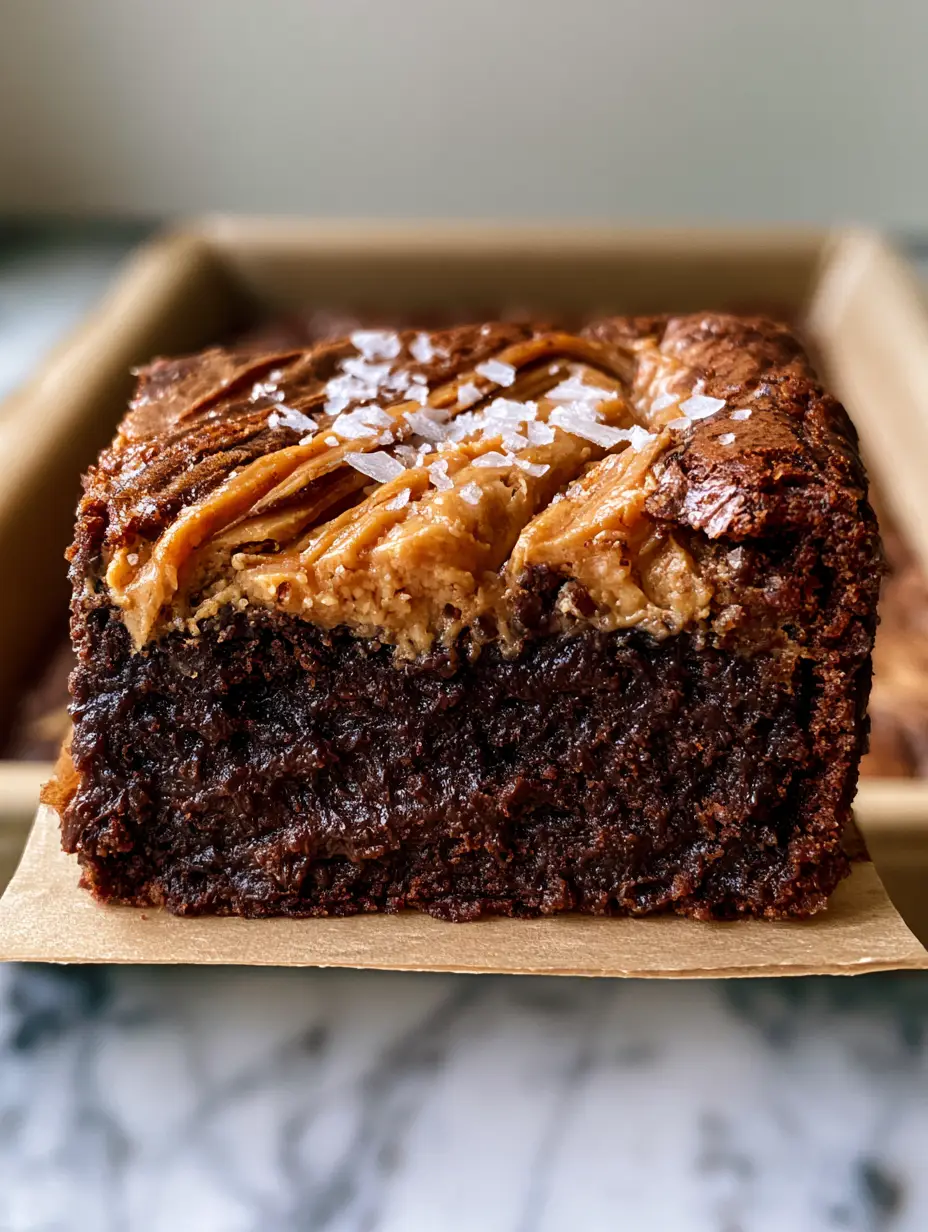
Peanut Butter Brownies: The Ultimate Fudgy Swirl Recipe
Ingredients
Equipment
Method
- Preheat oven to 350°F (175°C). Line an 8x8 inch (20x20 cm) pan with parchment paper, leaving an overhang.
- Whisk melted butter and granulated sugar for 2 minutes. Add eggs one at a time, whisking for 1 minute after each to create the crackly top.
- Sift in cocoa powder and flour. Fold gently with a spatula until just combined.
- Pour batter into pan. Dollop peanut butter on top and swirl with a knife to create thick ribbons.
- Bake for 30-35 minutes until the edges are set but the center remains slightly fudgy. Sprinkle with flaky sea salt immediately.
Notes
Use Dutch-processed cocoa for the darkest, richest flavor.
Save This Recipe for Later!
Did you love these peanut butter brownies? Make sure to Pin this recipe to your Dessert Board on Pinterest so you never lose it! If you made these, please leave a 5-star rating in the recipe card above and tag @karen_cooks_official in your photos. Seeing your fudgy creations makes our day!