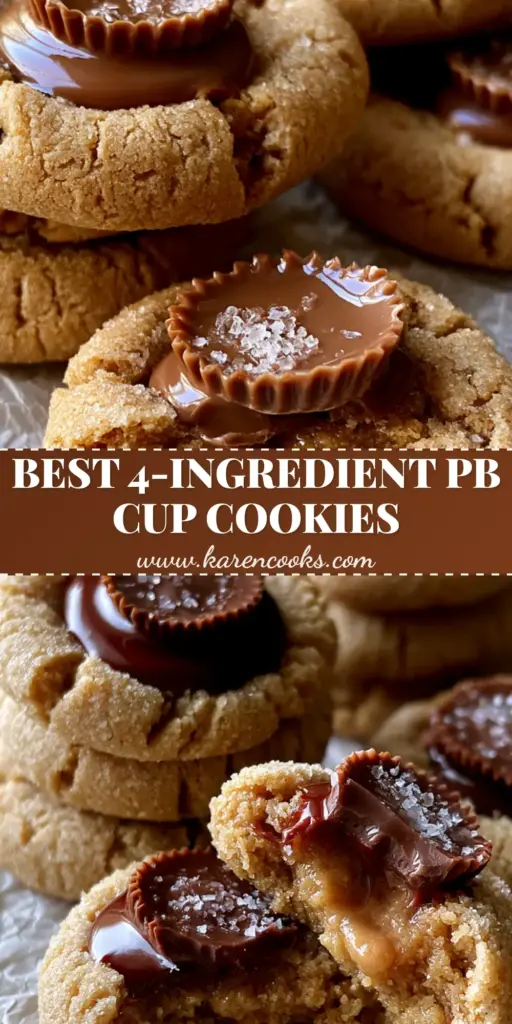
If you are searching for the perfect peanut butter cup cookies, look no further. This recipe combines a golden-tan baked peanut butter dough with a molten peanut butter center that will literally stop your scroll. The combination of a rustic, cracked texture and a glistening milk chocolate coating makes these the crown jewel of any dessert table.
Every bite of these peanut butter cup cookies delivers a soft, chewy, and dense interior that contrasts beautifully with the crystalline sugar sprinkles on top. Whether you are a beginner baker or a seasoned pro, the visual appeal of these cookies—resting on crinkled parchment paper—is enough to make anyone drool.
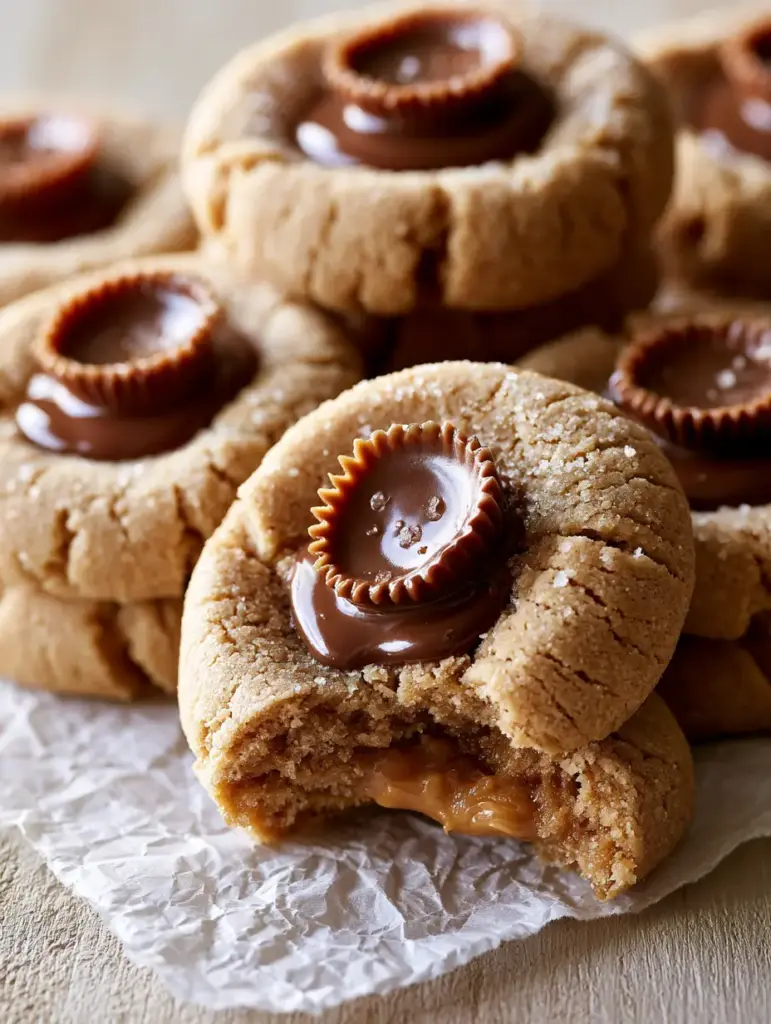
Why You Will Love These 4-Ingredient Peanut Butter Cup Cookies
- Ultra-Simple Prep: You only need four pantry staples to create professional-grade peanut butter cup cookies.
- Textural Perfection: Experience a soft, chewy, dense interior paired with a rustic, cracked exterior.
- Molten Center: The mini chocolate peanut butter cup nestled in the center creates a gooey, glossy pool of chocolate.
- Visual Showstopper: The crystalline sugar granules and salt crystals catch the light for a perfect Pinterest photo.
The Science Behind the Perfect Golden-Tan Dough
Creating the base for peanut butter cup cookies requires understanding the balance of fats and sugars. We use a high-quality creamy peanut butter to ensure the dough remains golden-tan and doesn’t dry out during the bake.
The granulated sugar isn’t just for sweetness; it provides the structure that leads to those gorgeous rustic cracks. When the heat hits the dough, the sugar caramelizes slightly, giving you that golden-tan baked finish we all crave.
For an extra layer of decadence, you might even consider pairing these with a decadent peanut butter martini for the ultimate adult dessert experience.
Essential Ingredients for Your Cookies
1. Creamy Peanut Butter: 1 cup (250g). This is the backbone of the recipe, providing the fat and the intense nutty flavor. Avoid “natural” oils-on-top varieties for this specific texture.
2. Granulated White Sugar: 1 cup (200g). This creates the crystalline sugar sprinkles effect and ensures the edges get slightly crisp while the center stays soft and dense.
3. Large Egg: 1 egg. The binder that holds the peanut butter cup cookies together and gives them their chewy lift.
4. Mini Chocolate Peanut Butter Cups: 24 pieces. These are pressed into the warm dough to create the molten peanut butter center and glistening milk chocolate coating.
Optional Finishing Touch: A pinch of salt crystals to balance the sweetness and enhance the melting chocolate highlights.
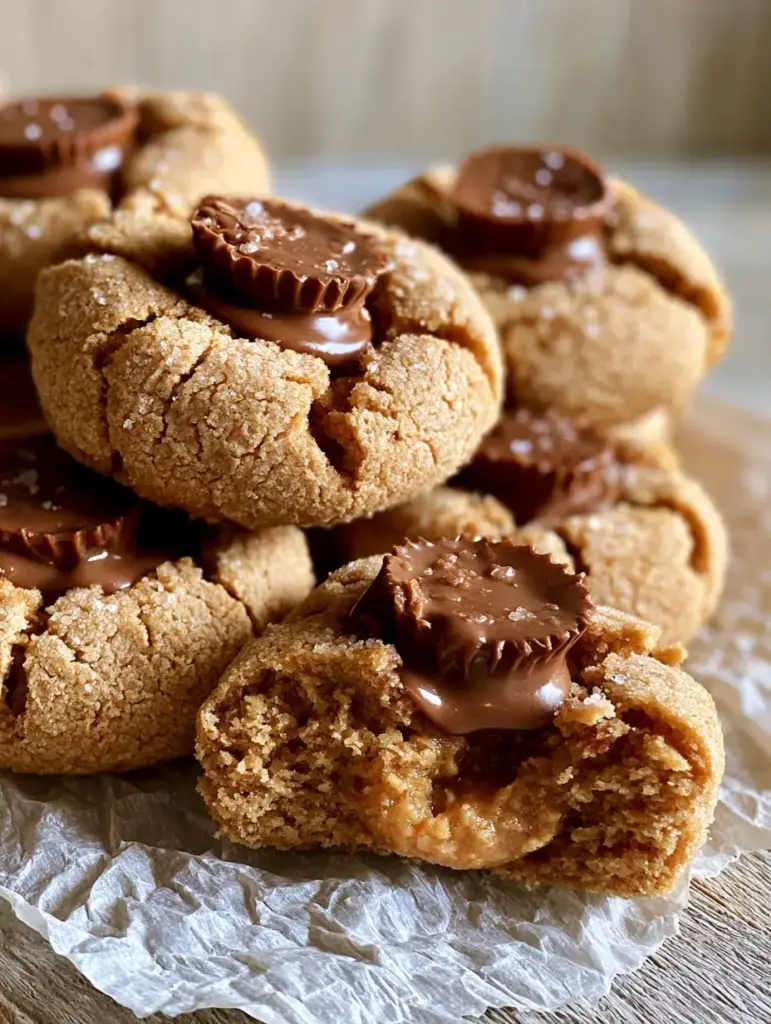
Mastering the Rustic Cracked Texture: Step-by-Step
Step 1: The Creaming Process
In a large bowl, combine your 1 cup (250g) of creamy peanut butter and 1 cup (200g) of sugar. You want to mix these until they are fully incorporated and the sugar begins to slightly dissolve into the fats of the peanut butter.
Add the egg and beat until the dough becomes a cohesive, golden-tan ball. You will notice the dough is thick and slightly oily—this is exactly what leads to that chewy, dense interior.
Step 2: Rolling and Coating
Scoop about 1.5 tablespoons of dough and roll it into a smooth ball. For that signature look, roll the ball in extra crystalline sugar granules before placing it on the crinkled white parchment paper.
Spacing is key. Place them 2 inches (5cm) apart. The peanut butter cup cookies will spread slightly, creating those beautiful rustic cracks as they expand in the oven’s heat.
Step 3: The Precision Bake
Bake at 350°F (175°C) for exactly 8–10 minutes. Visual Cue: Look for the edges to be just set and the tops to show the first signs of rustic, cracked texture. They will look slightly underbaked—this is the secret to the soft interior.
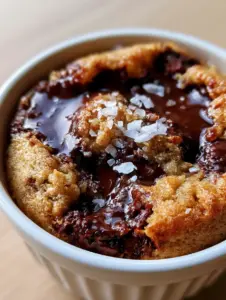
If you love this molten texture, you should also check out our molten chocolate chip cookie stack for your next baking project!
Step 4: The Nestling Technique
This is the most critical step. Immediately after removing the tray from the oven, take a mini peanut butter cup and press it firmly into the center of each cookie. The heat from the golden-tan dough will cause the chocolate to transform into a glistening, glossy pool.
Let them sit on the hot pan for 5 minutes. This allows the molten peanut butter center to settle and the milk chocolate coating to partially melt into the crevices of the cookie.
Expert Tips for Success
- Chill the PB Cups: Keep your mini chocolate cups in the freezer until the moment you press them in. This prevents them from completely collapsing and keeps the glistening milk chocolate looking sharp.
- Use Crinkled Parchment: Using crinkled white parchment paper isn’t just for the aesthetic; it helps with airflow and prevents the bottoms from over-browning.
- Sugar Rolling: Don’t skip rolling the dough in sugar. It’s the only way to get those crystalline highlights that look so good in smartphone photos.
- The “Slam” Method: If your cookies aren’t cracking enough, gently tap the baking sheet on the counter halfway through baking to force the rustic cracks to form.
Storage, Reheating, and Freezing
To keep your peanut butter cup cookies tasting like they just came off the textured wooden background of a professional shoot, store them in an airtight container at room temperature for up to 5 days.
Reheating: If you want to relive the molten peanut butter center experience, pop a cookie in the microwave for 8–10 seconds. The chocolate will return to its gooey, glossy state instantly.
Freezing: These cookies freeze beautifully. Place them in a single layer on a tray to flash-freeze, then transfer to a freezer bag. They will stay fresh for up to 3 months.
What to Serve With Peanut Butter Cup Cookies
These cookies are incredibly rich, so they pair best with beverages that offer a bit of contrast. A cold glass of milk is classic, but for a party, consider serving them alongside our fudgy peanut butter brownies for a full-on cocoa-nutty dessert board.
If you’re looking for something lighter, a passion fruit margarita punch offers a citrusy acidity that cuts through the dense, buttery fats of the peanut butter cup cookies perfectly.
Frequently Asked Questions
Naturally, this 4-ingredient recipe is gluten-free as long as your peanut butter and mini chocolate cups are certified gluten-free, as there is no flour involved!
It is not recommended. Natural peanut butter often separates, which can lead to a greasy dough that spreads too much. Use a standard creamy brand for the best rustic cracked texture.
While optional, rolling in granulated sugar creates the crystalline highlights and helps develop the rustic cracks that make these cookies visually stunning.
Press the chilled mini peanut butter cups into the cookies immediately after they come out of the oven. The residual heat creates that perfect glossy pool of chocolate.
Overbaking is the usual culprit. These cookies should be removed when the edges are set but the centers still look slightly soft to ensure a chewy, dense interior.
The Official Peanut Butter Cup Cookies Recipe
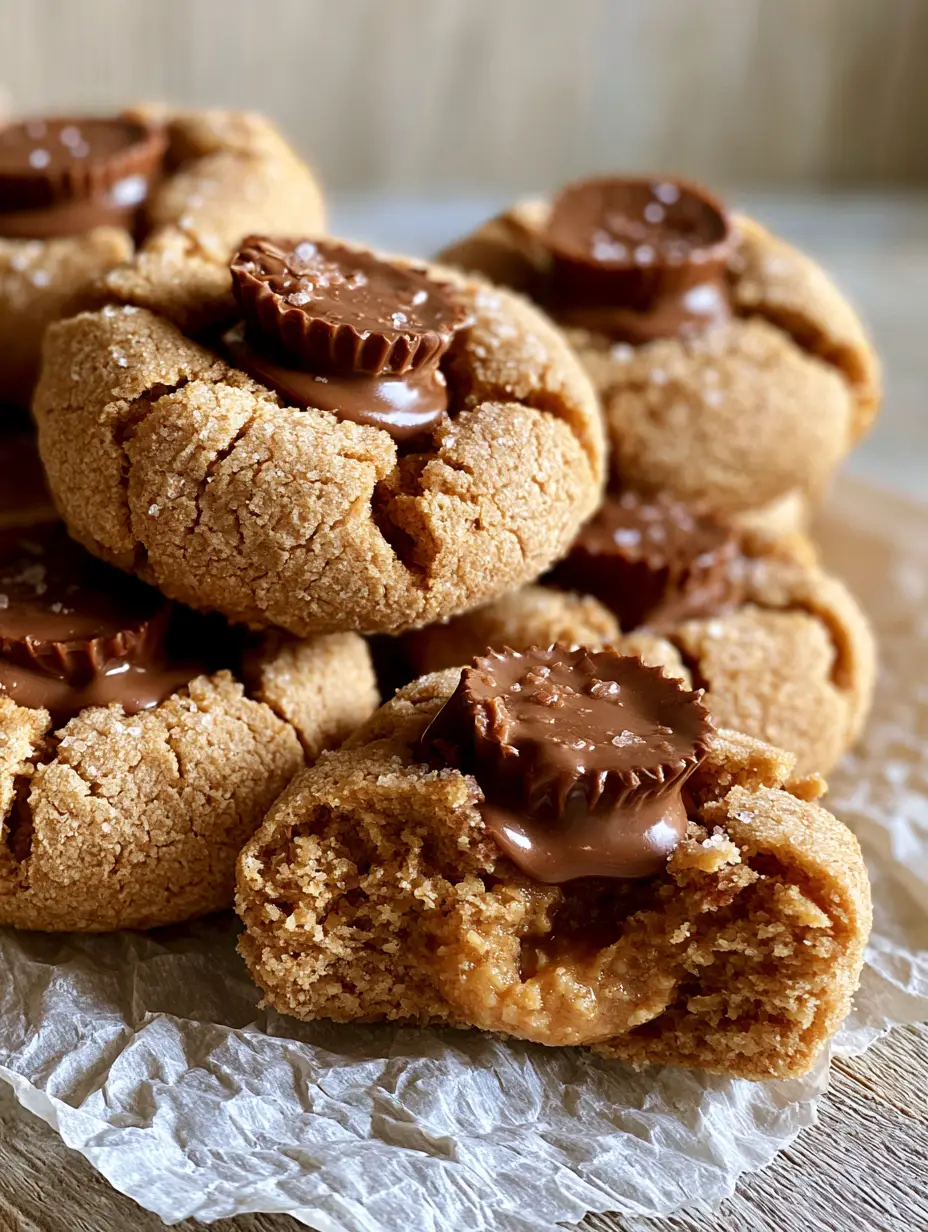
Peanut Butter Cup Cookies: The Ultimate 4-Ingredient Molten Treat
Ingredients
Equipment
Method
- Preheat oven to 350°F (175°C). In a large bowl, cream together the peanut butter and sugar until smooth.
- Beat in the egg until the dough is thick, golden-tan, and pulls away from the sides of the bowl.
- Roll 1.5-tablespoon portions of dough into balls. Roll each ball in extra granulated sugar for a crystalline finish.
- Place on a baking sheet lined with crinkled parchment paper. Bake for 8-10 minutes until edges are set and rustic cracks appear.
- Remove from oven and immediately press a mini peanut butter cup into the center of each warm cookie.
- Allow to cool on the pan for 5 minutes to let the chocolate melt into a glistening pool and the center become molten.
Notes
Use a light-colored baking sheet to prevent the bottoms of the cookies from browning too quickly.
Join the Karen Cooks Community!
Did these peanut butter cup cookies turn out perfectly for you? I want to see your smartphone photos of those molten centers! Save this recipe to your Pinterest Dessert Board so you never lose it.
Be sure to follow @karen_cooks_official for more viral baking hits. If you made these, leave a 5-star rating and drop a photo in the comments below. Happy baking!