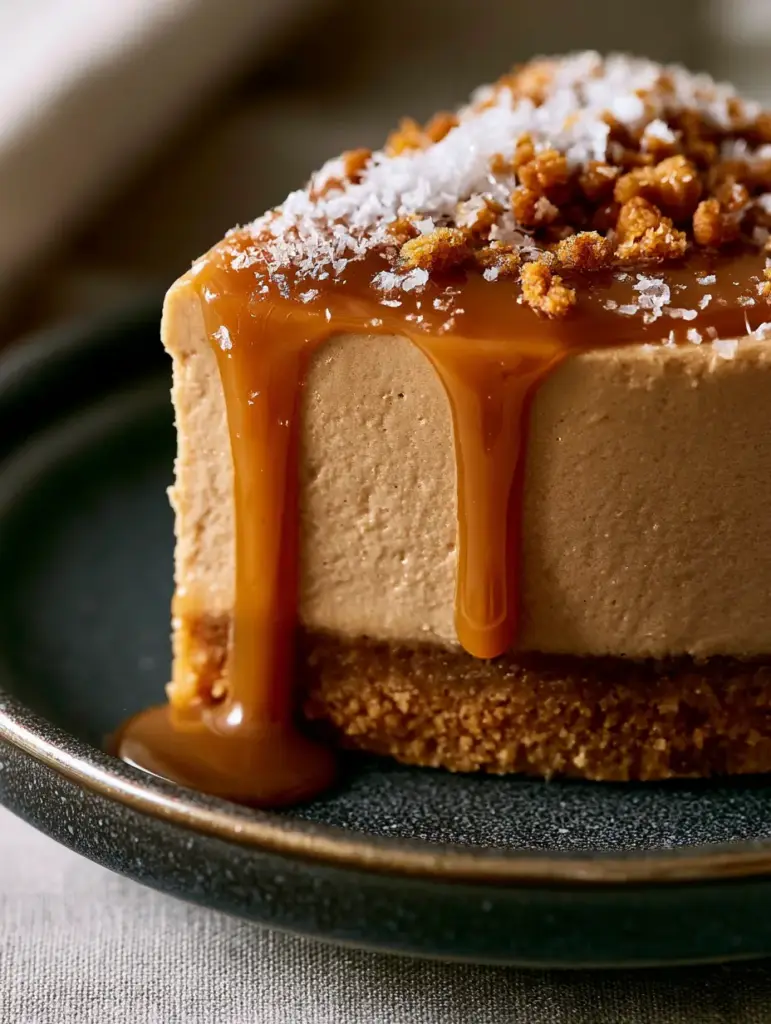
This caramel mousse cake is the ultimate showstopper for any dessert lover seeking a balance of salty and sweet. Imagine a thick, pressed golden biscuit crust topped with a tall, velvety-smooth layer of light-bronze mousse. To finish, a glossy amber salted caramel sauce drips slowly down the sides, accented by flaky sea salt and caramelized crumbs. This recipe validates every craving for a professional-quality caramel mousse cake that you can easily replicate at home.
Why This Caramel Mousse Cake Is the Ultimate Showstopper
- The Multi-Textural Experience: You get the crunch of the pressed golden biscuit crust against the cloud-like whipped mousse.
- The Perfect Glossy Drip: Our caramel technique ensures a rich amber sauce that stays shiny and fluid without running off the plate.
- Sophisticated Flavor Profile: The use of flaky sea salt cuts through the sugar, creating a complex, salted caramel profile.
- Pinterest-Ready Visuals: Every slice looks like it came from a high-end patisserie, featuring a precise dusting of crumbs and salt.
Essential Ingredients for Your Caramel Masterpiece
Creating a caramel mousse cake requires specific ingredients to ensure structural integrity and flavor depth. Each component plays a vital role in the final architecture of the slice.
For the Pressed Golden Biscuit Crust
1.5 cups (200g) Caramelized Biscuit Crumbs: Using speculoos or Biscoff cookies provides a deep, cinnamon-spiced base that complements the caramel. If you prefer a more neutral base, similar to our lemon blueberry cheesecake, graham crackers work as well.
6 tbsp (85g) Unsalted Butter: Melted butter acts as the glue for our pressed golden biscuit crust, ensuring it doesn’t crumble when sliced.
1 tbsp (12g) Brown Sugar: This adds a slight chewiness and deepens the golden hue of the base.
For the Whipped Caramel Mousse
1 cup (200g) Granulated Sugar: This is the heart of the recipe, which we will dry-caramelize to a light bronze state.
2 cups (480ml) Heavy Whipping Cream: Divided into portions for the caramel base and the final whipped fold. Cold cream is essential for volume.
1.5 tsp (5g) Powdered Gelatin: This provides the “tall” structure seen in the visual blueprint, much like the stability required for a Japanese cotton cheesecake.
1 tsp (5ml) Vanilla Bean Paste: Adds those beautiful black specks and a floral aroma that elevates the caramel mousse cake.
For the Glossy Amber Salted Caramel Drip
1/2 cup (100g) Granulated Sugar: For a separate, darker amber caramel batch.
1/3 cup (80ml) Heavy Cream: Room temperature cream prevents the caramel from seizing during the emulsion process.
1/2 tsp (3g) Flaky Sea Salt: This is the “Maldon” style salt specified in the visual blueprint for that perfect finish.
Step-by-Step: Constructing the Perfect Caramel Mousse Cake
Phase 1: Preparing the Pressed Golden Biscuit Crust
Step 1: Pulse your caramelized biscuits in a food processor until they resemble fine sand. You want a uniform texture to ensure the pressed golden biscuit crust is stable.
Step 2: Combine the crumbs with melted butter and brown sugar. Press the mixture firmly into the bottom of an 8-inch (20cm) springform pan. Use the bottom of a flat glass to ensure an even, thick layer.
Step 3: Chill the base for at least 30 minutes. This “sets” the butter, creating the foundation for our caramel mousse cake.
Phase 2: Crafting the Velvety Caramel Base
Step 4: In a heavy-bottomed saucepan, heat the sugar over medium heat. Do not stir; simply swirl the pan. Watch for the sugar to melt into a light-bronze liquid. This is a sensory cue: it should smell like toasted marshmallows.
Step 5: Slowly whisk in 1/2 cup (120ml) of heavy cream. It will bubble vigorously—this is normal. Continue whisking until smooth, then stir in the bloomed gelatin.
Step 6: Allow this caramel mixture to cool to room temperature. If it is too hot, it will melt the whipped cream in the next step, ruining the whipped caramel mousse texture.
Phase 3: The Aeration Fold
Step 7: Whip the remaining 1.5 cups (360ml) of heavy cream to medium-stiff peaks. Much like making birthday cake cheesecake, you want enough air to provide lift but enough fat to hold the shape.
Step 8: Gently fold the cooled caramel base into the whipped cream. Use a spatula to cut through the center and turn the bowl. Stop as soon as the color is a uniform light bronze.
Step 9: Pour the mousse over your prepared crust. Smooth the top with an offset spatula. Chill for at least 6 hours, or ideally overnight, to let the caramel mousse cake fully set.
Phase 4: The Glossy Amber Salted Caramel Drip
Step 10: Create a second caramel using the remaining sugar and cream. Aim for a slightly darker glossy amber than the mousse. Stir in the flaky sea salt once removed from heat.
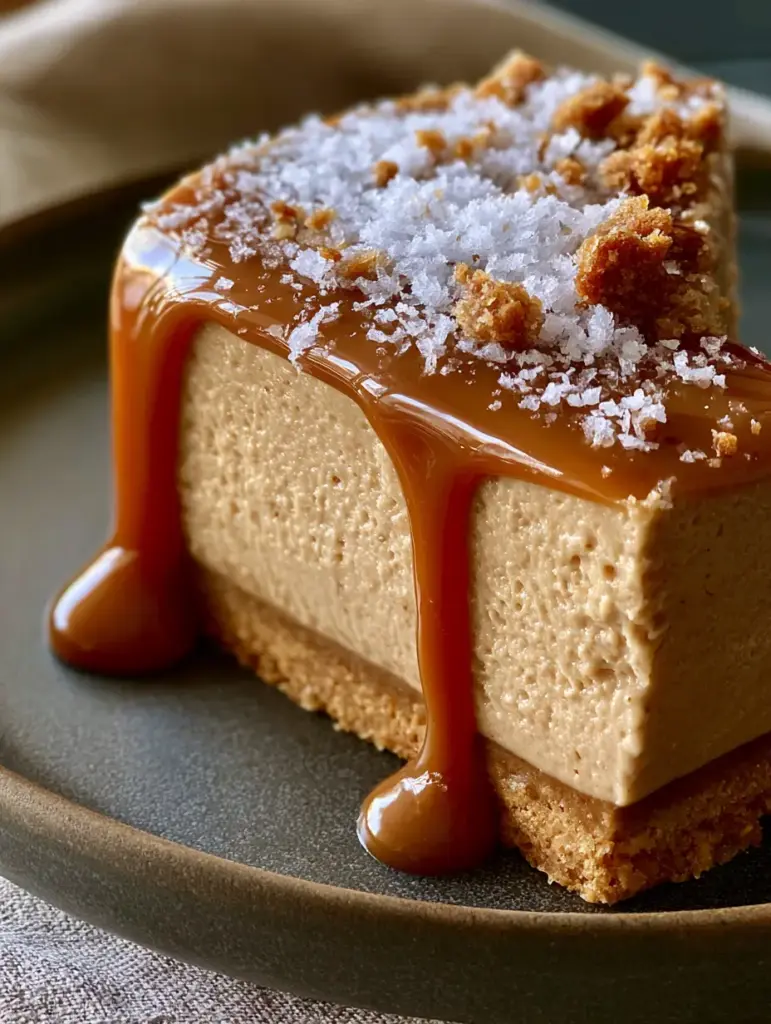
Step 11: Once the drip is slightly warm (not hot!), use a spoon to guide the caramel over the edges of the cake. This creates that iconic “slow drip” visual from the prompt.
Expert Tips for a Professional Finish
- Temperature Control: Ensure your caramel base is exactly room temperature before folding. Too cold and it will be chunky; too hot and the mousse will collapse.
- The Clean Slice: To get the “perfect slice” seen on our dark ceramic plate, dip your knife in hot water and wipe it dry between every single cut.
- Crumb Placement: Garnish with the crushed caramelized cookie crumbs only right before serving to keep them crunchy.
- Salt Selection: Always use flaky sea salt (like Maldon). Table salt is too dense and will make the cake taste “salty” rather than “salted caramel.”
Storage and Make-Ahead Instructions
You can prepare the caramel mousse cake up to two days in advance. In fact, the flavors of the whipped caramel mousse often deepen after 24 hours. Keep it refrigerated until the moment of serving. For leftovers, store in an airtight container for up to 4 days. We do not recommend freezing this cake, as the gelatin-heavy mousse can change texture upon thawing, losing its velvety smoothness.
What to Serve with Caramel Mousse Cake
This rich dessert pairs beautifully with a slightly bitter beverage to balance the sweetness. A double espresso or a dark roast coffee is ideal. If you are serving this at a summer party, consider pairing it with our passion fruit margarita punch for a tropical contrast, or perhaps a caramel stuffed krispy treat platter for a themed dessert table.
Frequently Asked Questions
Gelatin is necessary for the ‘tall’ structure shown in the photos. Without it, the mousse will be delicious but will likely slump when sliced at room temperature.
The secret is temperature. If the caramel is too hot, it will run off. If it’s too cold, it won’t drip. Aim for a slightly warm, honey-like consistency.
Biscoff or Speculoos cookies are best for a deep caramelized flavor, but Graham crackers or Digestive biscuits work perfectly for a more neutral base.
Graininess usually occurs if the sugar crystallized during the melting process or if the caramel base was stirred too much before the cream was added. Ensure you only swirl the pan.
The Ultimate Caramel Mousse Cake Recipe
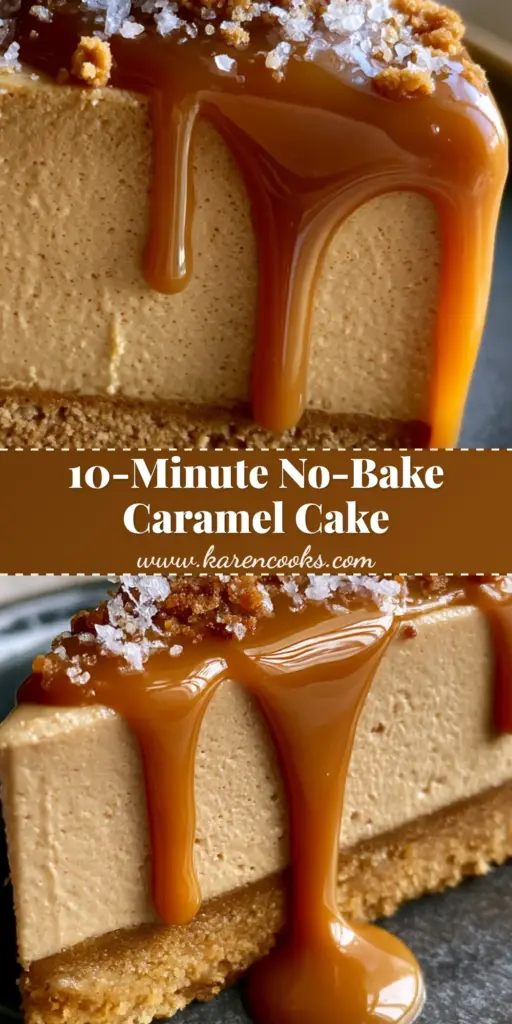
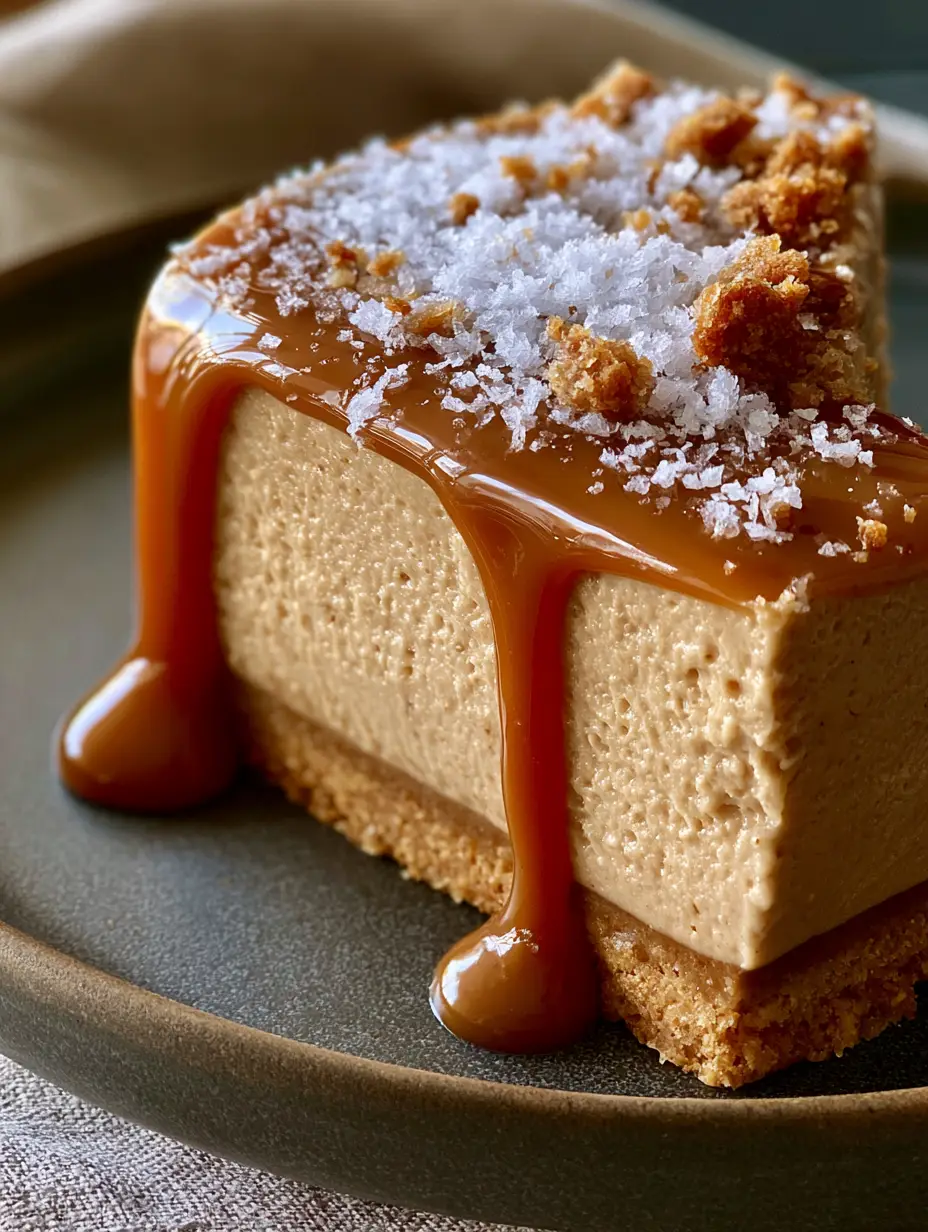
Caramel Mousse Cake with Salted Caramel Drip and Biscuit Crust
Ingredients
Equipment
Method
- Mix crumbs, butter, and sugar. Press into the pan and chill for 30 minutes.
- Melt sugar to light bronze, whisk in 1/2 cup cream and gelatin. Cool completely.
- Whip remaining cream to stiff peaks. Fold into cooled caramel. Pour over crust and chill for 6 hours.
- Prepare a second caramel drip, pour over chilled cake, and garnish with salt and crumbs.
Notes
Use a hot knife for the cleanest slices.
Join the Karen Cooks Community!
Did you make this caramel mousse cake? We want to see your glossy drips and perfect slices! Please save this recipe to your Pinterest boards so you never lose it. Follow @karen_cooks_official for more decadent dessert inspiration. If you enjoyed this recipe, please leave a 5-star rating and upload a photo of your creation in the comments below!