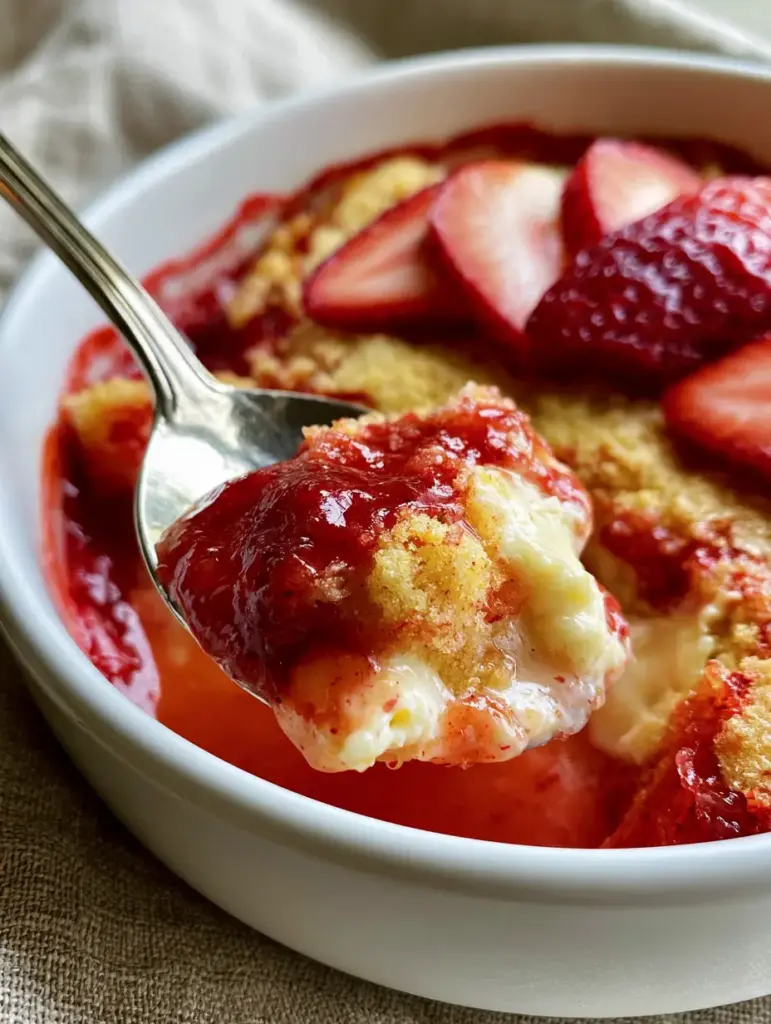
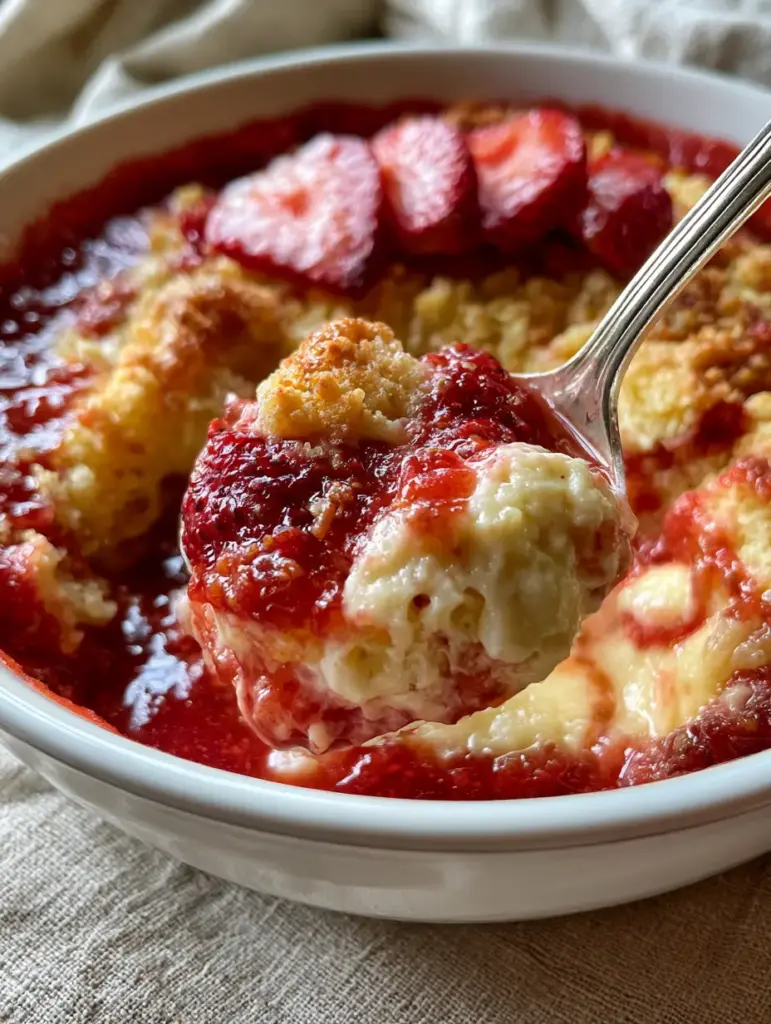
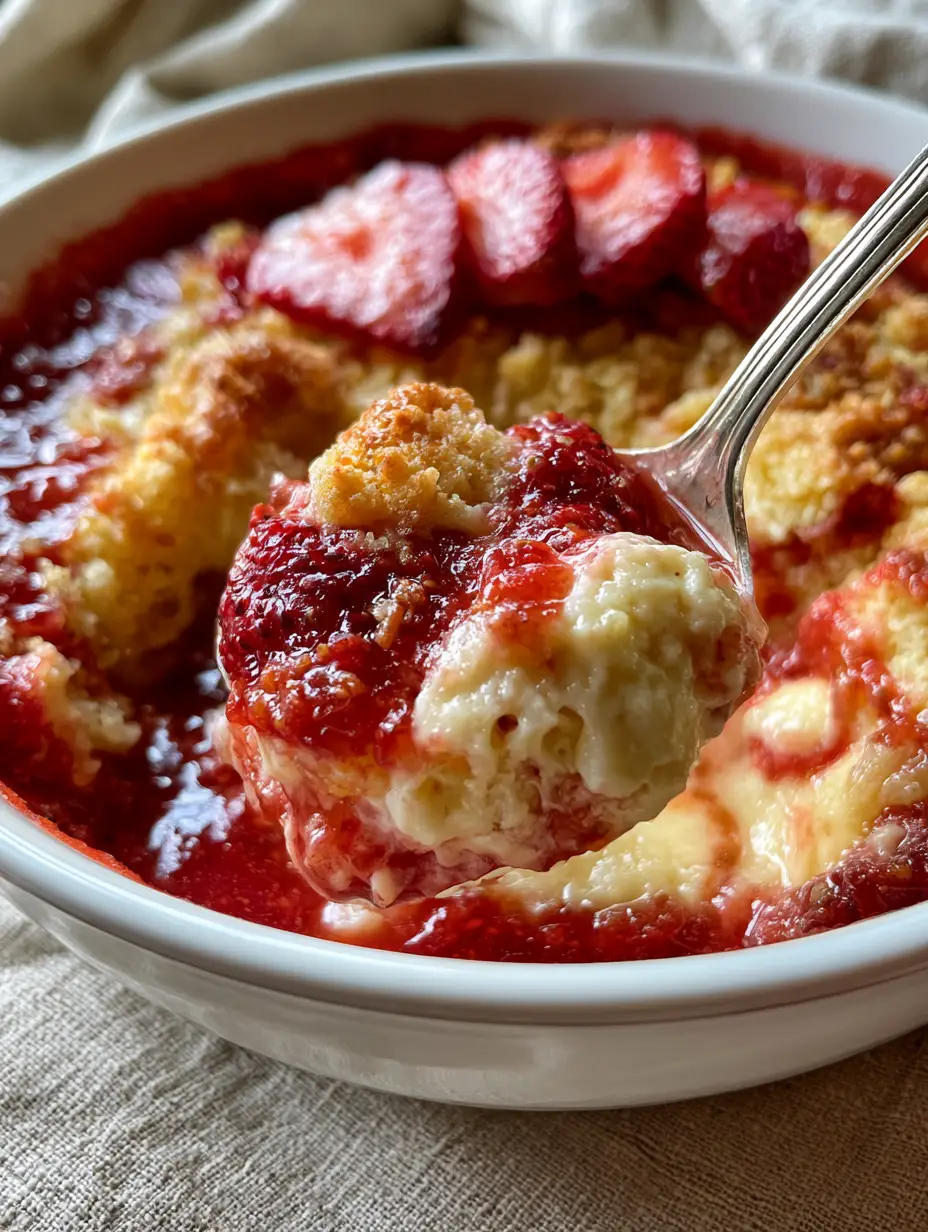
The Strawberry Cheesecake Dump Cake is the dessert revolution your kitchen has been waiting for, combining the effortless nature of a “dump and bake” recipe with the sophisticated, tangy richness of a classic cheesecake. Imagine plunging a silver spoon into a dish and pulling up a heavy scoop of warm, bubbling strawberry glaze intertwined with gooey melted cream cheese pockets and a buttery, golden-brown crumble.
This recipe captures the exact moment of culinary perfection described in our professional test kitchen visuals—where the vibrant red of the fruit meets the crackly, biscuit-like texture of a perfectly hydrated cake mix. Whether you are hosting a summer soirée or seeking a comforting weeknight treat, this dish delivers high-end flavor with minimal labor.
By following our forensic culinary approach, you will achieve that elusive shallow depth of field in your own presentation, with fresh red strawberry slices glistening against a rustic linen backdrop. Let’s dive into the science and soul of this decadent strawberry masterpiece.
Why This Strawberry Cheesecake Dump Cake Strategy Works
- Textural Contrast: You get a three-tier experience consisting of a viscous fruit base, molten cream cheese “islands,” and a crisp, shortbread-style topping.
- Effort-to-Reward Ratio: With only about 10 minutes of active prep, you produce a dessert that looks like it came from a high-end bakery.
- Visually Stunning: The contrast between the deep ruby bubbling filling and the pale golden crumble makes it a photogenic centerpiece for any table.
- Customizable Tartness: The addition of cream cheese balances the sugar of the cake mix, providing a sophisticated flavor profile that isn’t cloyingly sweet.
The Anatomy of a Perfect Strawberry Filling and Cheesecake Layer
To achieve the visual result of “bubbling strawberry filling,” we don’t just use a can of fruit; we enhance it to ensure the color remains vibrant and the texture stays thick enough to support the topping.
Strawberry Pie Filling (21 oz / 595g): This serves as the structural base of your dessert. It provides the consistent sweetness and the “bubbling” visual cue that indicates the dish is fully heated through.
Fresh Sliced Strawberries (1 cup / 150g): While the filling provides the sauce, fresh berries add necessary acidity and a “real fruit” mouthfeel. These will soften slightly but retain enough shape to provide a forensic match to our blueprint.
Full-Fat Cream Cheese (8 oz / 226g): We use blocks of cold cream cheese cut into small cubes. These do not fully incorporate into the sauce, creating those specific “gooey melted cream cheese pockets” that act as hidden treasures in every bite.
Vanilla Extract (1 tsp / 5ml) & Lemon Juice (1 tsp / 5ml): These “invisible” ingredients are essential. The vanilla adds a floral aromatic layer, while the lemon juice brightens the strawberry flavor and prevents the cheesecake pockets from tasting flat.
Engineering the Golden Cake Mix Crumble Topping
The biggest failure in dump cakes is “dry flour spots.” To avoid this and achieve a “golden-brown buttery cake mix crumble,” the fat distribution must be precise.
Yellow or White Cake Mix (15.25 oz / 432g): This provides the crumb. The sugars in the mix will caramelize under the heat of the oven, creating that signature golden hue.
Unsalted Butter (3/4 cup / 170g): Rather than just “dumping” melted butter, we recommend thin slices covering the entire surface. This ensures every millimeter of the dry mix is hydrated by the fat as it melts, resulting in a uniform, crisp crust.
Salt (1/4 tsp / 1.5g): A tiny pinch of salt over the dry cake mix enhances the buttery notes and provides a professional finish that balances the sugar-heavy strawberry base.
Essential Equipment for a Photo-Ready Finish
To recreate the “white ceramic dish” look from our Midjourney prompt, you will need a 9×13 inch (23x33cm) ceramic or glass baking dish. Ceramic is preferred for its even heat distribution, which prevents the edges of the strawberry filling from scorching before the center is set.
You will also need a sharp paring knife for the fresh strawberry garnish and a silver serving spoon. The silver spoon isn’t just for eating; its reflective surface highlights the “warm bubbling glaze” when you pull that first scoop for your guests.
Step-by-Step Culinary Instructions for the Strawberry Cheesecake Dump Cake
1. Preparing the Fruit Foundation
Preheat your oven to 350°F (175°C). Grease your white ceramic dish lightly with butter or non-stick spray. Pour the strawberry pie filling into the bottom and spread it evenly using a spatula.
Fold in the fresh sliced strawberries and the lemon juice. This creates a multi-dimensional fruit layer where some berries are jammy and others are whole and succulent. Ensure the mixture reaches all four corners of the dish.
2. Creating the Cheesecake Pockets
Take your chilled cream cheese and cut it into 1/2-inch (1.25cm) cubes. Drop these cubes evenly over the top of the strawberry mixture. Do not stir them in!
You want these cubes to stay semi-intact so that as they bake, they melt into “pockets” rather than a singular sauce. This is the key to achieving the forensic visual of “gooey melted cream cheese.”
3. The Hydrated Crumble Technique
Sprinkle the dry cake mix evenly over the cream cheese and strawberries. Use the back of a spoon to gently level it out, but do not pack it down. You want the air to circulate through the grains for a lighter texture.
Place the thin slices of butter across the entire top, like a tiled roof. As the butter melts, it will seep down through the cake mix, creating a “buttery cake mix crumble” that is both soft and crunchy.
4. The Bake and Sensory Cues
Bake for 40-45 minutes. You are looking for two specific sensory cues: the strawberry filling should be bubbling vigorously around the edges, and the top should be a deep, golden brown.
Listen for the sizzle of the butter against the ceramic. If you see any dry white spots of cake mix remaining after 35 minutes, simply use a spoon to dab a little of the bubbling fruit juice or melted butter onto that spot.
Expert Tips for Success from a Professional Developer
- The Temperature Rule: Always use cold cream cheese. If it’s room temperature, it will dissolve too quickly into the fruit filling and you will lose those distinct cheesecake pockets.
- Butter Distribution: If you find slicing butter tedious, you can grate frozen butter over the top of the cake mix for even more consistent coverage.
- Resting Time: Allow the cake to sit for 10-15 minutes before serving. This allows the strawberry glaze to thicken slightly, ensuring it doesn’t run all over the plate when scooped.
- The Garnish: Add the fresh red strawberry garnish *after* baking. This keeps the garnish vibrant and provides a temperature contrast between the warm cake and the cool fruit.
The Best Pairings for Your Strawberry Cheesecake Dump Cake
This dessert is a showstopper on its own, but it pairs beautifully with other homemade treats. If you are hosting a brunch, try serving it alongside Strawberry White Chocolate Muffins for a double-berry experience.
For an evening party, this gooey cake is the perfect follow-up to a refreshing Strawberry Mocktail Mule. The ginger and lime in the drink cut through the richness of the cream cheese perfectly. If you are in the mood for something different, these Salted Caramel Rice Krispie Treats offer a chewy contrast to the soft dump cake.
Don’t forget to explore our other drink recipes to find the perfect beverage to wash down this decadent strawberry delight.
Optimal Storage and Reheating Guidelines
Refrigeration: Because of the cream cheese pockets, this cake must be refrigerated. Cover the ceramic dish tightly with plastic wrap or transfer leftovers to an airtight container. It will stay fresh for up to 4 days.
Reheating: To regain that “warm bubbling” texture, reheat individual portions in the microwave for 30-45 seconds. Alternatively, place the dish in a 300°F (150°C) oven for 10 minutes to crisp up the crumble again.
Freezing: We do not recommend freezing this specific dump cake, as the texture of the cream cheese and the fresh strawberry garnish can become grainy and watery upon thawing.
Frequently Asked Questions Regarding Strawberry Dump Cakes
You can, but you must macerate them with sugar and cornstarch first to create a thickened sauce. Pie filling provides the consistent ‘bubbling glaze’ visual described in this recipe.
We recommend full-fat cream cheese for the best ‘gooey melted pockets.’ Low-fat versions have higher water content and may dissolve into the filling, losing the cheesecake effect.
No! The magic of a dump cake is in the layering. Stirring will ruin the distinct textures of the strawberry base and the golden crumble topping.
Using a ceramic baking dish and ensuring the oven is fully preheated to 350°F will help the fruit juices boil and create those beautiful bubbling edges.
Dry spots occur when butter doesn’t reach the cake mix. Ensure you slice the butter thinly and cover the entire surface, or try grating frozen butter for better coverage.
The Ultimate Recipe Card: Strawberry Cheesecake Dump Cake
Strawberry Cheesecake Dump Cake: The Ultimate Gooey Dessert Guide
Ingredients
Equipment
Method
- Preheat oven to 350°F (175°C). Grease a 9x13 inch white ceramic baking dish with butter.
- Spread strawberry pie filling, fresh strawberry slices, and lemon juice into the dish. Mix lightly to distribute fruit.
- Drop chilled cream cheese cubes evenly over the strawberry mixture to create pockets of gooey cheesecake flavor.
- Sprinkle dry cake mix and salt over the fruit and cheese. Place butter slices in a single layer over the entire surface.
- Bake for 40-45 minutes until the filling is bubbling and the top is a deep golden-brown buttery crumble.
- Allow to cool for 15 minutes. Garnish with additional fresh strawberry slices before scooping with a silver spoon.
Notes
Ensure the butter covers the dry cake mix completely to avoid dry spots.
Bringing the Strawberry Cheesecake Dump Cake to Your Table
The Strawberry Cheesecake Dump Cake is more than just a quick dessert; it is a masterclass in texture and flavor synergy. By following our guide, you’ve ensured that every bite contains a balance of tart fruit, creamy cheese, and buttery crunch. This recipe proves that you don’t need a pastry degree to create a dish that looks and tastes like a professional work of art.
We invite you to share your results! Did your cream cheese pockets turn out perfectly gooey? Let us know in the comments below. For more visual inspiration and to see our latest culinary creations, be sure to follow us and save this recipe to Pinterest.


