There is something inherently magical about a dessert that defies the laws of traditional baking symmetry. The Strawberry Earthquake Cake is a vibrant, neon-pink marvel that captures the essence of indulgence with its jagged “fault lines” of molten cream cheese and shimmering pockets of white chocolate. Unlike a standard sheet cake, this recipe is designed to shift and crack in the oven, creating a landscape of textures that are as visually stunning as they are delicious.
When you pull this rustic ceramic dish from the oven, you are greeted by a moist pink cake base with deep, organic cracks. These crevices are filled with gooey melted cream cheese swirls and pockets of bubbling white chocolate chips that have caramelized slightly against the heat. To finish, a layer of fresh, glistening sliced strawberries is added, providing a tart, bright contrast to the rich, sugar-forward base. This is not just a cake; it is a sensory experience captured in a handheld smartphone photo style, perfect for your next gathering.
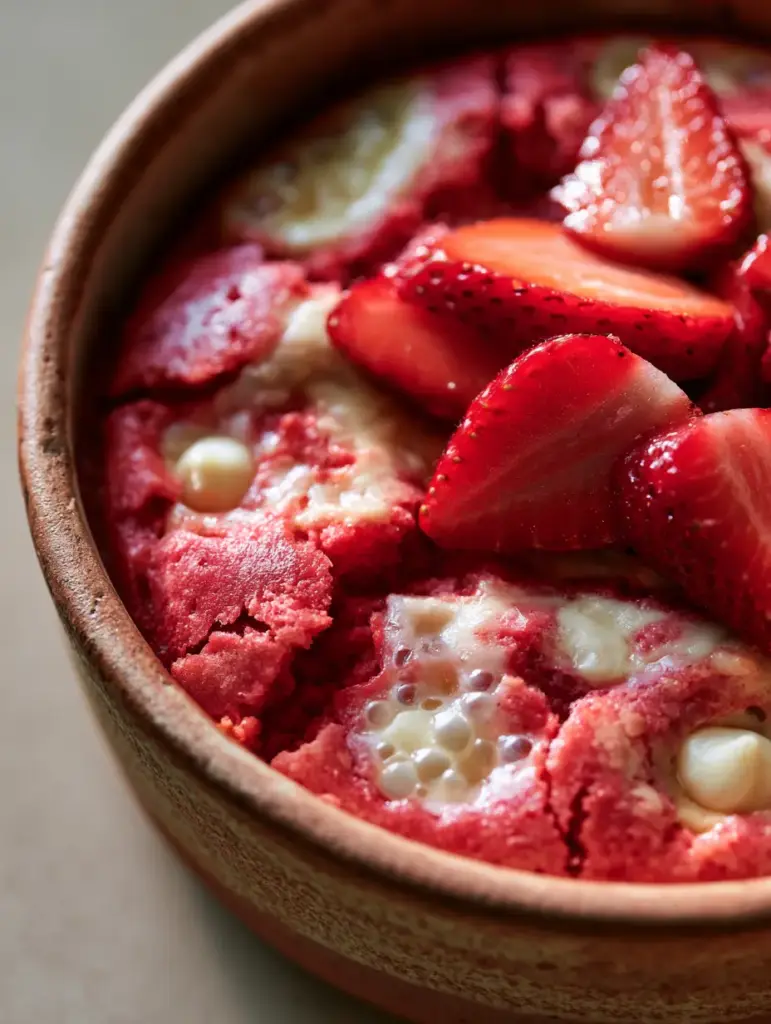
Why You Will Fall in Love with This Glistening Strawberry Creation
- Textural Complexity: Experience the contrast between the soft, moist crumb of the pink strawberry cake and the dense, velvety ribbons of warm cream cheese.
- Molten Gold Pockets: Every bite is punctuated by white chocolate chips that have melted into tiny, sweet reservoirs, mimicking the “lava” of an earthquake.
- Visual Masterpiece: The deep organic cracks and vibrant pink hue make this a showstopper that requires zero professional frosting skills to look like a gourmet bake.
- Balanced Sweetness: While the cake is rich, the addition of fresh, glistening strawberries adds a necessary acidity and freshness that cuts through the decadence.
Essential Components for the Perfect Pink Earthquake Batter
To achieve the specific visual and structural results seen in our Visual Recipe Blueprint, we need a combination of high-impact flavorings and structural fats. Each ingredient serves a specific culinary purpose in creating those iconic “earthquake” craters.
Strawberry Cake Foundation: 1 box (15.25 oz / 432g) of premium strawberry cake mix or a scratch-made pink velvet base. This provides the signature moist pink crumb and the structural leavening needed to support the heavy cream cheese swirls.
The “Earthquake” Fat: 1/2 cup (115g) of unsalted butter, melted. Butter is superior to oil here as it provides a sturdier crumb that can hold the weight of the white chocolate pockets without collapsing into a mushy mess.
Large Farm-Fresh Eggs: 3 large eggs (approx. 150g). These act as the primary emulsifier, binding the strawberry base together and ensuring it rises around the cream cheese “fault lines.”
Full-Fat Milk: 1 cup (240ml) of whole milk. Using milk instead of water adds fat and protein, which results in a more tender, professional-grade crumb that mimics a high-end bakery style.
The Molten Swirl: 8 oz (226g) of full-fat brick cream cheese, softened. This is the heart of the “earthquake” effect; when mixed with sugar and dolloped into the batter, its density causes it to sink and swirl during the bake. If you love the tang of this layer, you should also try my classic Philadelphia cheesecake recipe.
Confectioners’ Sugar: 2 cups (240g) of powdered sugar. This is beaten into the cream cheese to create a frosting-like consistency that maintains its “gooey” texture even after being exposed to high oven temperatures.
White Chocolate Pockets: 1 cup (170g) of high-quality white chocolate chips. These chips are dispersed throughout the batter, creating those “bubbling” pockets of sweetness that are characteristic of this specific visual prompt.
Glistening Topping: 1.5 cups (225g) of fresh strawberries, sliced. These are applied after the bake to ensure they remain glistening and vibrant, rather than turning dull and watery in the oven’s heat.
Flavor Enhancers: 1 tsp (5ml) of pure vanilla extract and a pinch of sea salt. The salt is a “foundational invisible ingredient” that balances the high sugar content and intensifies the strawberry flavor profile.
Professional Tools for a Rustic Ceramic Dish Bake
To replicate the “unedited, handheld smartphone photo” aesthetic, your equipment choice is vital. A 9×13 inch (23x33cm) rustic ceramic baking dish is preferred over metal because ceramic retains heat more evenly, which helps the cream cheese swirls melt slowly without scorching the edges of the strawberry base.
You will also need a high-speed hand mixer to ensure the cream cheese and powdered sugar are completely aerated and lump-free. A silicone spatula is essential for folding in the white chocolate chips gently so as not to deflate the strawberry batter’s air bubbles. Finally, a sharp paring knife is needed to achieve those clean, glistening strawberry slices for the final presentation.
Mastering the Fault Lines: Step-by-Step Strawberry Earthquake Cake
Preparing the Strawberry Base
Preheat your oven to 350°F (175°C). Generously grease your rustic ceramic dish with butter. In a large mixing bowl, combine the strawberry cake mix, melted butter, eggs, and whole milk. Use your mixer on medium speed for about two minutes until the batter is a vibrant, uniform pink. The batter should be thick enough to hold a ribbon shape when lifted, which is a key sensory cue that your cake will have the structure to support the heavy fillings.
Creating the Cream Cheese Earthquake Mixture
In a separate bowl, beat the softened cream cheese and remaining 1/2 cup (115g) of melted butter until smooth. Gradually add the confectioners’ sugar one cup at a time, mixing until you have a thick, glossy frosting. If you enjoy this flavor profile, you might find similarities in the richness of my strawberry white chocolate chip cookies.
Layering for Maximum Cracking
Pour the pink strawberry batter into the prepared ceramic dish. Sprinkle 3/4 cup (125g) of the white chocolate chips evenly over the surface. Use a large spoon to dollop the cream cheese mixture on top of the batter in 12-15 distinct mounds. Take a knife and gently swirl the cream cheese into the pink batter—do not over-mix! You want distinct “islands” of cream cheese that will create the organic cracks during the baking process.
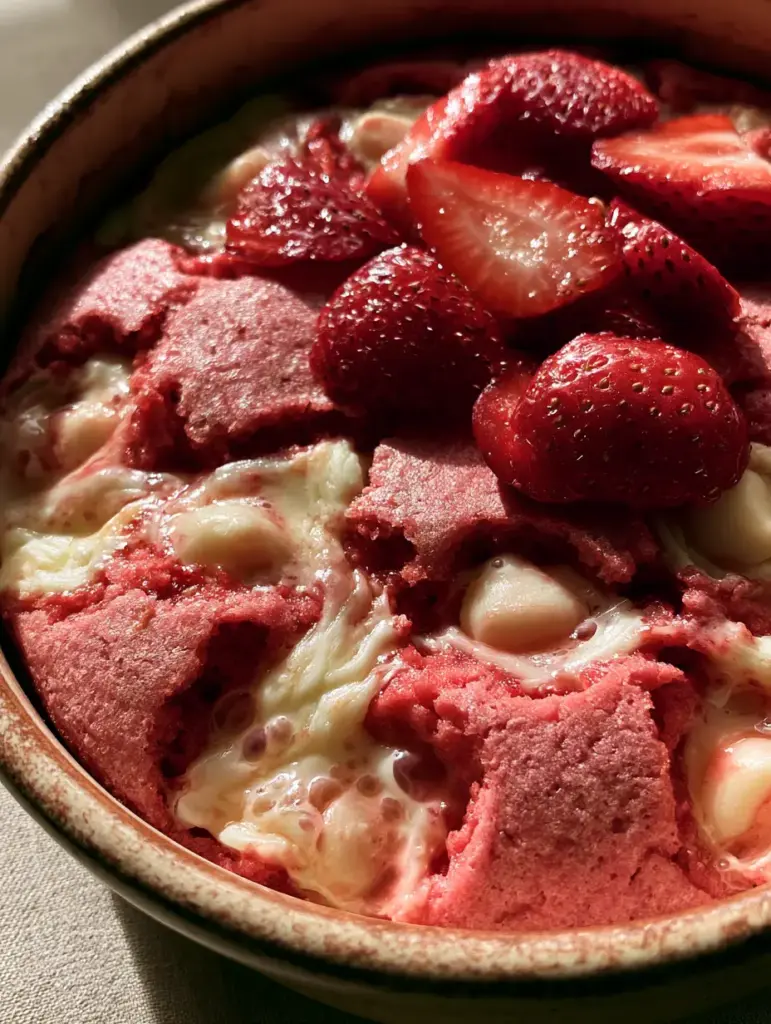
The Baking and Visual Cues
Bake for 35-40 minutes. Watch for the specific visual changes described in our Midjourney prompt: the pink base should rise around the cream cheese, creating deep cracks. You should see the white chocolate chips bubbling at the surface. The center should still have a slight “jiggle” when the pan is nudged, indicating that the cream cheese swirls remain gooey and melted rather than becoming cake-like and dry.
The Final Glistening Touch
While the cake is cooling slightly but still warm, slice your fresh strawberries. To make them “glistening,” you can toss them in a teaspoon of honey or simple syrup before laying them over the warm cake. The residual heat from the cake will slightly soften the strawberries, making them meld perfectly with the gooey cream cheese layer. For a complete strawberry-themed afternoon, consider serving this with a chilled strawberry mojito mocktail.
Pro Secrets for Those Deep Organic Cracks and Gooey Swirls
- Temperature Control: Ensure your cream cheese is truly at room temperature. If it is too cold, it won’t swirl properly, and you’ll end up with hard lumps rather than the “melted” look desired.
- The Swirl Technique: Only swirl in a figure-eight motion three or four times. Over-swirling incorporates the cheese into the batter, losing the “earthquake” visual effect.
- Avoid Over-Baking: Because of the high sugar and fat content, this cake can go from gooey to burnt quickly. Use the “jiggle test” rather than a toothpick, as a toothpick will always come out wet from the cream cheese.
- The Ceramic Advantage: If using a glass dish instead of ceramic, reduce the oven temperature by 25°F (approx. 15°C) to prevent the edges from browning before the center is set.
Preserving the Freshness: Storage and Make-Ahead Advice
Because of the fresh fruit and high dairy content, this Strawberry Earthquake Cake must be stored in the refrigerator if not consumed within two hours. Cover the ceramic dish tightly with plastic wrap or transfer slices to an airtight container. It will stay moist and delicious for up to 4 days.
When reheating, use a microwave on 50% power for 20-30 seconds. This gently warms the white chocolate pockets and the cream cheese swirls without making the fresh strawberries mushy. This cake does not freeze well with the fresh strawberries on top, so if you plan to freeze it, do so before adding the fruit garnish.
Perfect Pairings for Your Warm Strawberry Slice
This cake is a heavy-hitter in the dessert world, so it pairs best with beverages or sides that offer a bit of contrast. A cold glass of milk is the classic choice, but for a more sophisticated pairing, try a strawberry shortcake-inspired whipped cream on the side.
If you are hosting a dessert bar, this cake looks beautiful next to a white chocolate mocha cake or even a tray of rich Oreo poke cake for those who prefer chocolate over fruit. The vibrant pink of the earthquake cake will always be the center of attention.
Frequently Asked Questions
For the cake base, you can use chopped frozen strawberries, but for the ‘glistening’ topping, fresh strawberries are highly recommended. Frozen ones will release too much moisture and lose their vibrant texture as they thaw.
Yes, because of the high cream cheese content and the fresh strawberry topping, any leftovers should be stored in the refrigerator in an airtight container to keep them safe and fresh.
Look for the edges of the strawberry cake to pull away from the ceramic dish and become golden. The center should still have a slight jiggle, but it shouldn’t look like raw liquid batter.
This usually happens if you over-swirl the mixture or if your cream cheese mixture was too thin. Be sure to dollop in large mounds and only swirl a few times to maintain distinct pockets of cheese.
It’s called an Earthquake Cake because the heavy ingredients—like cream cheese and chocolate chips—sink and shift during baking, causing the surface to crack and ‘erupt’ with gooey swirls, mimicking a seismic fault line.
The Complete Strawberry Earthquake Cake Recipe Card
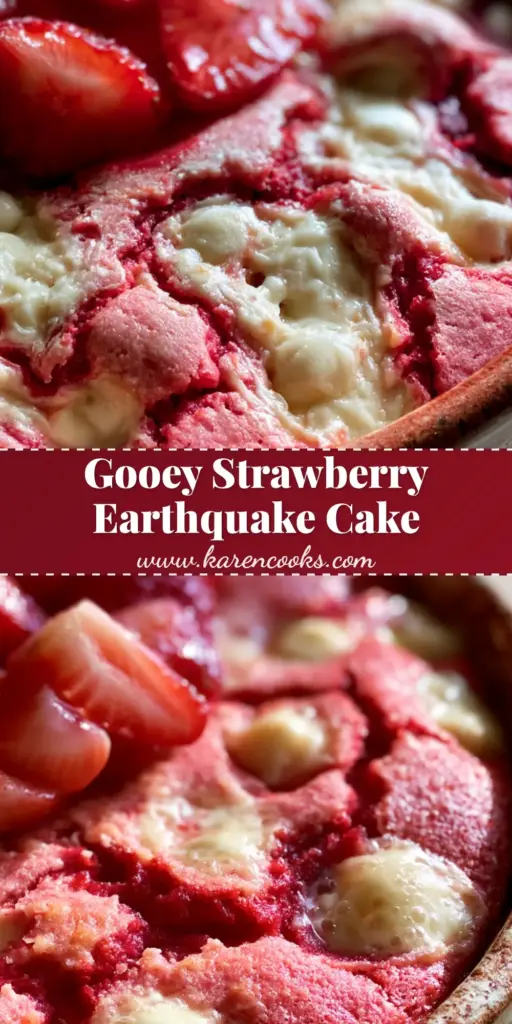
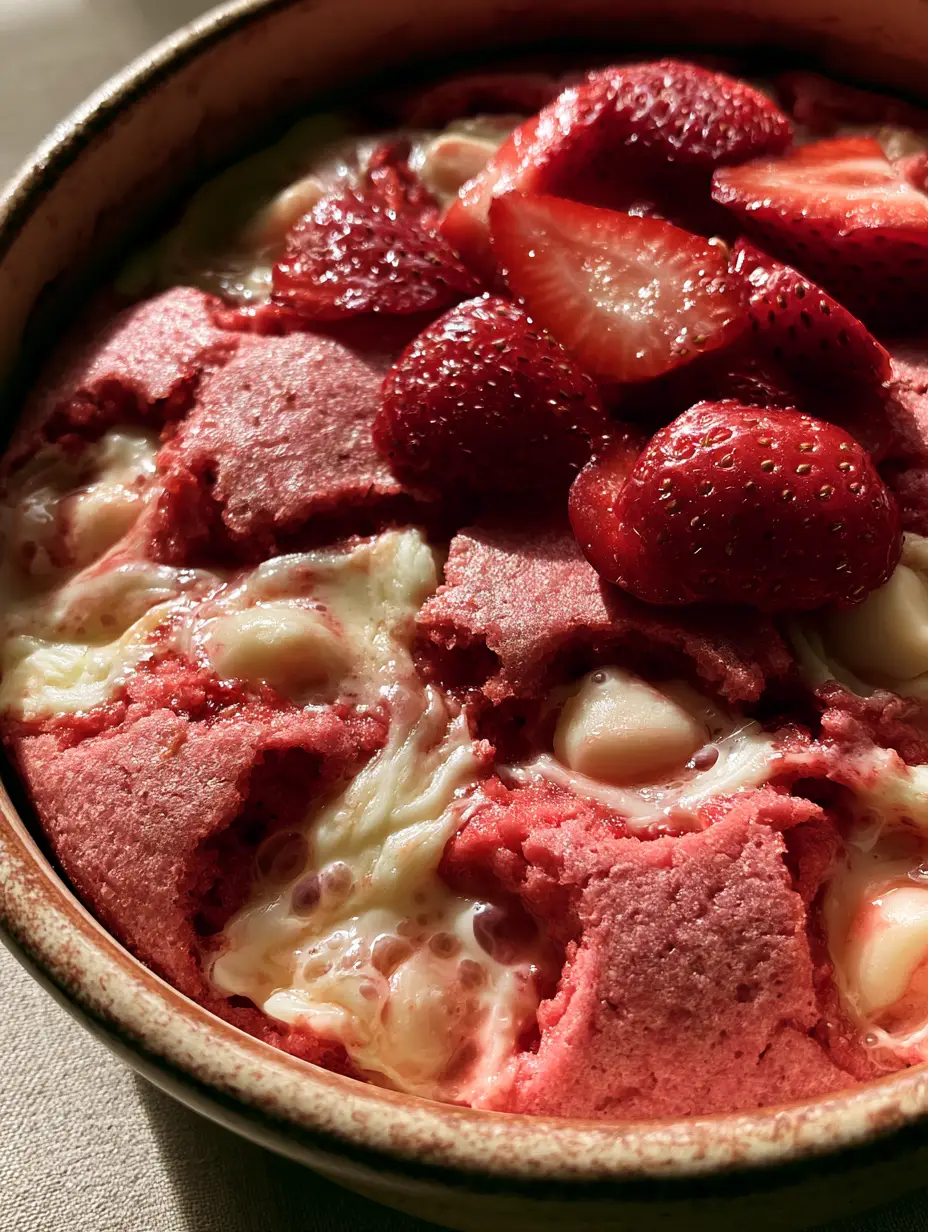
Strawberry Earthquake Cake: The Ultimate Gooey Cream Cheese Dessert
Ingredients
Equipment
Method
- Combine strawberry cake mix, melted butter, eggs, and milk. Beat for 2 minutes until vibrant pink and smooth.
- Pour batter into greased 9x13 ceramic dish and sprinkle with white chocolate chips.
- Whip softened cream cheese, melted butter, vanilla, and powdered sugar until glossy and smooth.
- Dollop large mounds of cream cheese mixture over the pink batter. Swirl gently with a knife to create fault lines.
- Bake at 350°F (175°C) for 35-40 minutes until the edges are set but the center still jiggles slightly.
- Allow to cool for 15 minutes, then top with fresh sliced strawberries until the surface is glistening.
Notes
If the cake browns too quickly, tent with foil during the last 10 minutes of baking.
Closing & Call to Action
The Strawberry Earthquake Cake is the perfect marriage of rustic charm and decadent culinary science. Its organic cracks, bubbling chocolate, and glistening fruit make it an irresistible addition to any home cook’s repertoire. Whether you are baking for a birthday or just a cozy Sunday at home, this cake promises a “melt-in-your-mouth” experience that few other desserts can match.
Did your cake have the perfect “fault lines”? We want to see your results! Leave a comment below or share your photos on Pinterest and tag us. Don’t forget to sign up for our newsletter for more visual-first recipes delivered straight to your inbox!


