There is something undeniably nostalgic about the shattering crunch of a Butterfinger bar paired with a rich chocolate base. This Butterfinger cake takes that childhood favorite and elevates it into a sophisticated, multi-layered dessert experience that is as visually stunning as it is delicious.
If you have been searching for a dessert that balances the deep, earthy bitterness of dark chocolate with the aggressive sweetness of amber caramel, you have arrived. This recipe is designed to create a sponge so moist it practically melts, contrasted by the sharp, orange candy shards that crown the top.
Drawing inspiration from our popular Oreo poke cake, this version focuses on the marriage of peanut butter and chocolate. Every bite is engineered to deliver a symphony of textures, from the cloud-like whipped cream to the vertical pockets of golden sweetness hidden within the sponge.
Why This Decadent Butterfinger Cake Works
- The “Vertical Pocket” Technology: By creating deep channels in the warm sponge, we allow a blend of sweetened condensed milk and caramel to saturate the cake from the inside out.
- Shatter-Ready Texture: The use of both finely crushed and roughly chopped orange Butterfinger candy shards ensures a varied “crunch” profile in every mouthful.
- Visual Contrast: The stark white of the whipped cream topping provides a perfect canvas for the glossy amber caramel cascade and the vibrant orange candy pieces.
- Scientifically Balanced Moisture: We utilize oil and boiling water in the sponge to ensure the dark chocolate base remains “ultra-moist,” exactly like the professional results seen in high-end food photography.
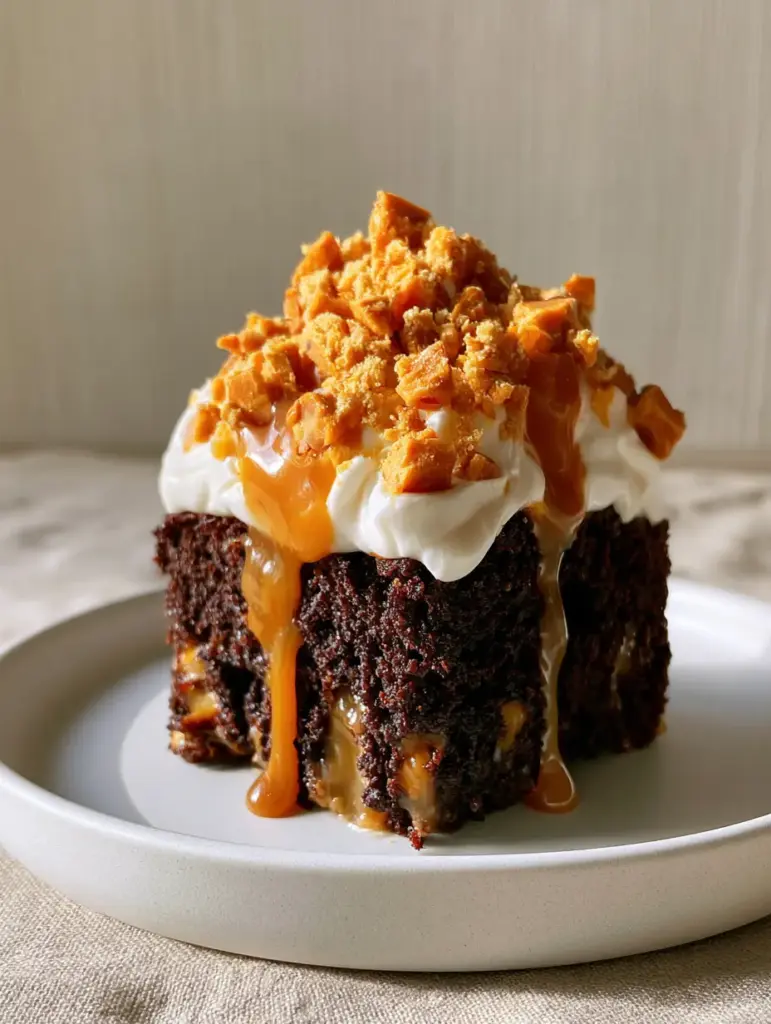
Essential Pantry Staples for Your Chocolate Masterpiece
To achieve the specific visual and structural results of this Butterfinger cake, every ingredient plays a critical role. We aren’t just making a cake; we are building a foundation for flavor.
All-Purpose Flour: 2 cups (250g). This provides the structural protein needed to hold up the heavy caramel infusion without the cake collapsing into mush.
Unsweetened Dark Cocoa Powder: 3/4 cup (75g). We use a dark or Dutch-processed cocoa to achieve that “rich, ultra-moist dark chocolate sponge” look specified in the visual blueprint.
Granulated Sugar: 2 cups (400g). Beyond sweetness, sugar is a humectant that keeps the crumb tender and moist for days.
Baking Powder & Baking Soda: 1.5 tsp (6g) each. This dual-leavening approach ensures a high, airy rise that can easily be “poked” to create those iconic vertical pockets.
Large Eggs: 2 units (100g). Room temperature eggs emulsify better, creating a smoother batter and a more consistent crumb structure.
Whole Milk: 1 cup (240ml). The fat content in whole milk adds a richness that lower-fat alternatives simply cannot replicate in a chocolate sponge.
Vegetable Oil: 1/2 cup (120ml). Oil stays liquid at room temperature, which is the secret to a cake that feels moist even when served chilled.
Boiling Water: 1 cup (240ml). This “blooms” the cocoa powder, releasing the deepest chocolate flavors and thinning the batter for a perfectly level bake.
Sweetened Condensed Milk: 1 can (14oz / 397g). This is the “liquid gold” that fills the vertical pockets, providing a creamy, milky sweetness.
Glossy Amber Caramel Sauce: 1 cup (300g). You will use half for the internal soak and half for that dramatic, slow-cascading drizzle over the whipped topping.
Heavy Whipping Cream: 2 cups (480ml). Beaten with 1/4 cup (30g) of powdered sugar, this creates the “thick, perfectly smooth layer of whipped white cream” required for the topping.
Butterfinger Candy Bars: 6 standard bars (approx. 300g). These will be divided between “finely crushed” for the base layer and “roughly chopped shards” for the visual mountain on top.
Tools for the Perfect Poke and Drizzle
Achieving the forensic accuracy of our visual blueprint requires more than just ingredients; you need the right tools for the job. This isn’t just a standard bake; it’s a construction project.
You will need a 9×13 inch (23x33cm) baking pan, preferably glass or ceramic, to allow the caramel layers to be visible from the side. A wooden spoon with a rounded handle is the industry standard for “poking”—the diameter of the handle creates the perfect vertical pockets for the milk to settle into.
For the topping, an offset spatula is non-negotiable. It allows you to create that “perfectly smooth” layer of cream without leaving ridges or valleys. If you want to achieve the “mountain” of candy look, a heavy-duty chef’s knife is required to get those clean, sharp shards of orange candy.
Step-by-Step Guide to the Dark Chocolate Sponge
1. Preparing the Dry Foundation
Preheat your oven to 350°F (175°C). In a large mixing bowl, sift together the flour, cocoa powder, sugar, baking powder, baking soda, and a pinch of salt. Sifting is vital here; it removes cocoa clumps and ensures the dark chocolate sponge has an even, professional appearance.
2. Emulsifying the Wet Ingredients
Add the eggs, whole milk, vegetable oil, and a splash of vanilla extract to the dry ingredients. Mix on medium speed for about two minutes. You will notice the batter is quite thick at this stage—this is normal. If you enjoy this flavor profile, you might also love our Reese’s peanut butter cup pie.
3. Blooming the Cocoa
Lower the mixer speed and carefully pour in the boiling water. The batter will become very thin and splashy. This high moisture content is what guarantees the “ultra-moist” result. Pour the batter into your prepared pan and bake for 30-35 minutes.
Visual Cue: The cake is ready when the edges just begin to pull away from the pan and a toothpick inserted in the center comes out with a few moist crumbs, but no wet batter.
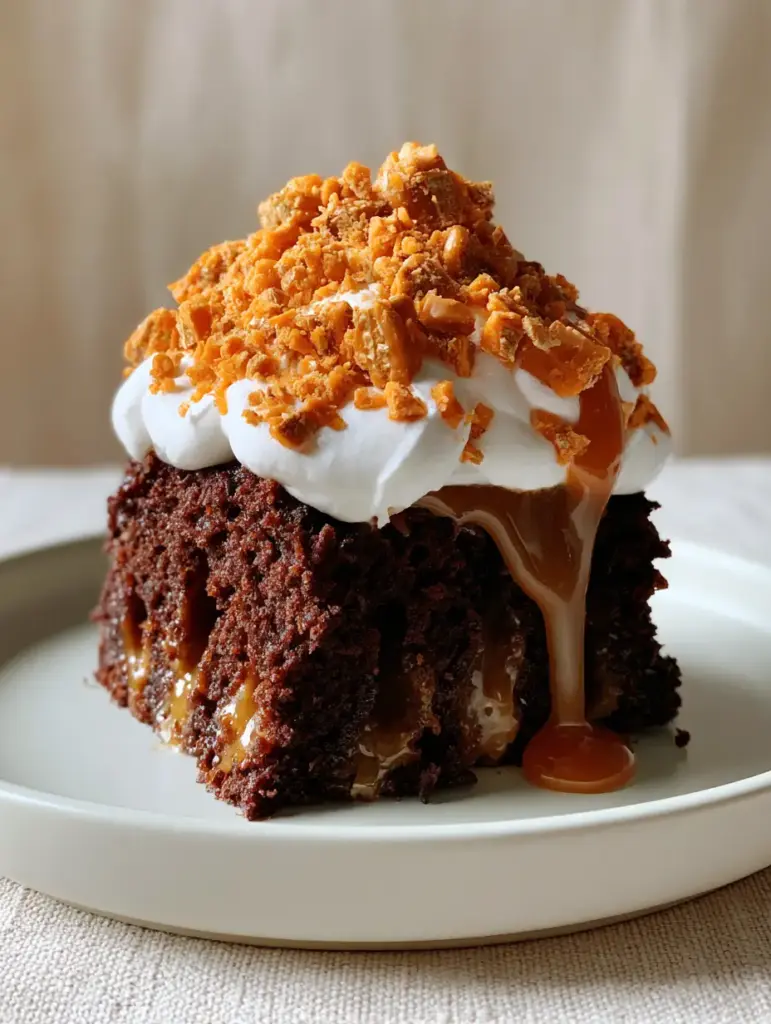
Creating the Golden Caramel Pockets
4. The Poking Process
While the cake is still warm (but not burning hot), use the handle of a wooden spoon to poke holes across the entire surface. Space them about 1 inch (2.5cm) apart. You want to go about 3/4 of the way down—do not hit the bottom of the pan, or the filling will pool underneath and make the base soggy.
5. The Infusion
In a small bowl, whisk together the sweetened condensed milk and 1/2 cup of the caramel sauce. Slowly pour this mixture over the warm cake, guiding it into the holes. You will see the “golden caramel sauce” disappearing into the dark sponge. This creates the “visible vertical pockets” seen in the slice photography.
6. The Initial Crunch Layer
While the filling is still tacky, sprinkle half of your finely crushed Butterfinger bits over the top. This allows the candy to slightly melt into the caramel, creating a hidden layer of texture. Let the cake cool completely in the refrigerator for at least 4 hours—overnight is better.
The Art of the Butterfinger Avalanche
7. Whipping the Peaks
In a chilled bowl, beat the heavy cream and powdered sugar until stiff peaks form. The cream should be thick enough to hold its shape but smooth enough to spread. This is a much richer topping than the “cool whip” found in many recipes, similar to the luxury feel of a classic creamy cheesecake.
8. Achieving the Smooth Top
Spread the whipped cream over the chilled cake using your offset spatula. Aim for a “perfectly smooth layer,” about 1 inch thick. This serves as the white backdrop for the orange candy mountain.
9. The Final Candy Garnish
Pile the remaining roughly chopped orange Butterfinger candy shards and peanut butter candy pieces into the center of the cake, spreading them outward but keeping a “mountainous” feel in the middle. The contrast between the finely crushed dust and the large shards is what creates the professional food-stylist look.
10. The Slow Caramel Cascade
Just before serving, take your remaining caramel sauce and drizzle it generously over the candy. To replicate the “thick, glossy stream of amber caramel” from our Midjourney prompt, ensure the caramel is at room temperature so it flows slowly but maintains its thickness.
Expert Tips for Poke Cake Success
- Temperature Control: Never add the whipped cream to a warm cake. The cream will lose its structure and turn into a liquid mess. The cake must be refrigerator-cold.
- The “Poke” Size: If your holes are too small, the caramel won’t penetrate. If they are too large, the cake will lose its structural integrity. A standard wooden spoon handle (about 1/2 inch diameter) is perfect.
- Candy Freshness: Chop your Butterfingers right before topping. If they sit out in a humid kitchen too long, the honeycomb center can become sticky rather than crunchy.
- Clean Slicing: For a “perfect slice” like the one on the white ceramic plate, wipe your knife with a warm, damp cloth between every single cut.
Storage, Reheating & Freezing
This Butterfinger cake is a rare dessert that actually improves with time. The vertical pockets continue to saturate the sponge over 24 hours. Store leftovers in an airtight container in the refrigerator for up to 4 days.
We do not recommend freezing the fully assembled cake, as the whipped cream topping and the candy shards will lose their texture upon thawing. However, you can freeze the “poked” and “infused” sponge (before the cream and candy) for up to 3 months. Simply thaw in the fridge overnight before adding the final toppings.
What to Serve With This Decadent Dessert
Because this cake is intensely sweet and rich, it pairs best with beverages that offer a bit of acidity or bitterness. A strong cup of black coffee or a cold glass of milk is the classic choice. For a party setting, consider serving it alongside a lighter fruit option like our strawberry shortcake to balance the dessert table.
If you are looking for more “poke” style inspiration, don’t miss our strawberry earthquake cake, which offers a completely different flavor profile but the same incredible moisture level.
Frequently Asked Questions
Absolutely. This cake is actually better the next day as the flavors meld. Just wait to add the final Butterfinger shards until serving to keep them as crunchy as possible.
Yes, you can substitute a standard Devil’s Food box mix. However, the homemade recipe provided is specifically engineered with extra moisture to support the weight of the caramel infusion without becoming overly crumbly.
The secret is using a wooden spoon handle and poking the cake while it is still warm. This allows the caramel and condensed milk to flow deeply into the crumb before the cake structure sets as it cools.
Place the bars in a heavy-duty zip-top bag and use a rolling pin to crush them. For the shards, use a sharp chef’s knife on a cutting board to get those clean, angular pieces.
Whipped cream is temperature-sensitive. If the cake base is even slightly warm, the cream will liquefy. Ensure the cake has chilled for at least 4 hours after the caramel infusion before adding the topping.
The Ultimate Butterfinger Poke Cake Recipe
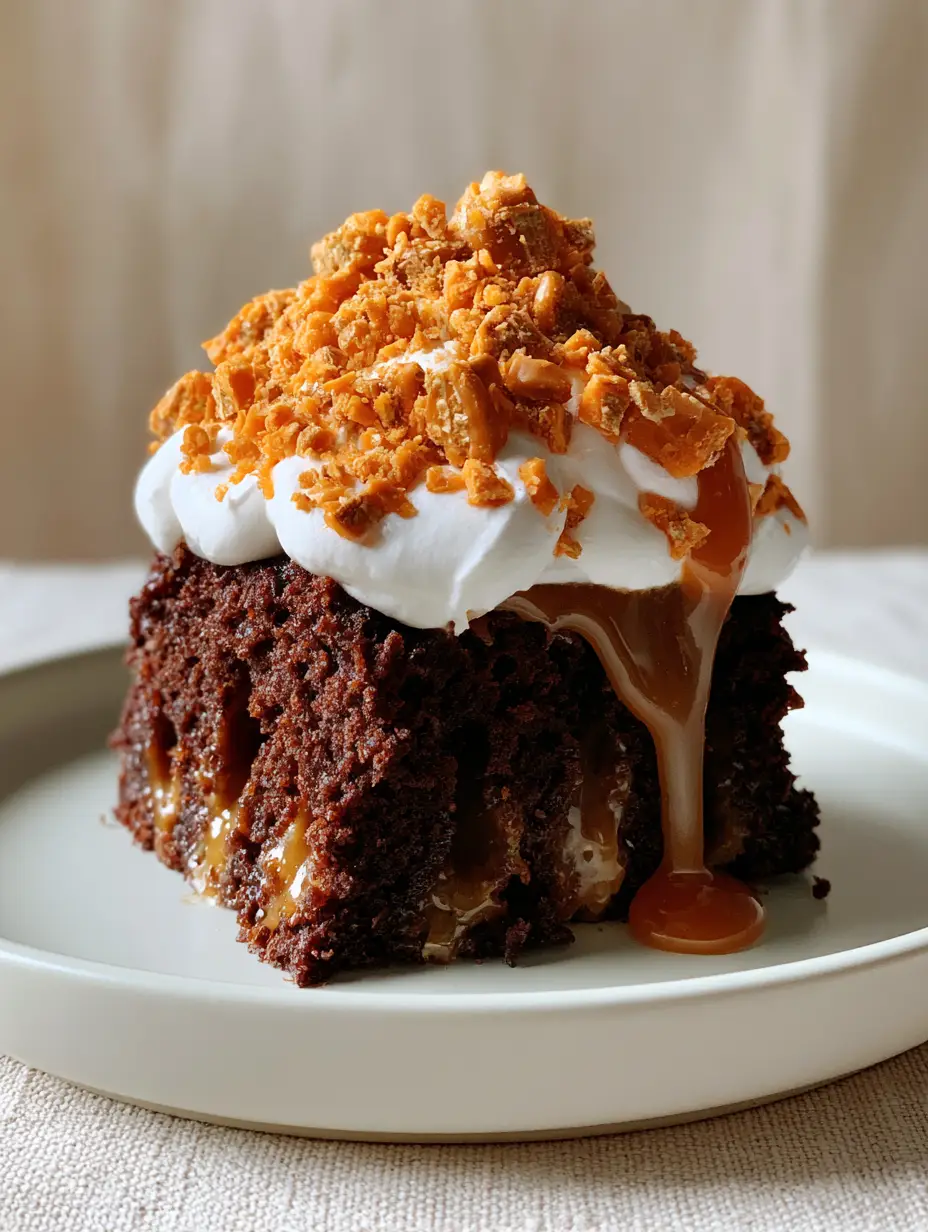
Butterfinger Cake: The Ultimate Moist Chocolate Caramel Poke Cake Recipe
Ingredients
Equipment
Method
- Sift together flour, cocoa, sugar, baking powder, and soda in a large bowl.
- Beat in eggs, milk, and oil until smooth. Stir in boiling water by hand until combined.
- Pour into a 9x13 pan and bake at 350°F (175°C) for 30-35 minutes until a toothpick comes out clean.
- Using a wooden spoon handle, poke holes all over the warm cake.
- Whisk condensed milk with 1/2 cup caramel; pour over the cake, ensuring it fills the holes.
- Refrigerate for at least 4 hours to allow the vertical pockets to set.
- Beat heavy cream and powdered sugar to stiff peaks. Spread over the cold cake.
- Top with crushed and chopped Butterfinger shards and a final drizzle of remaining caramel sauce.
Notes
Wipe your knife with a warm towel between slices for the cleanest visual presentation.
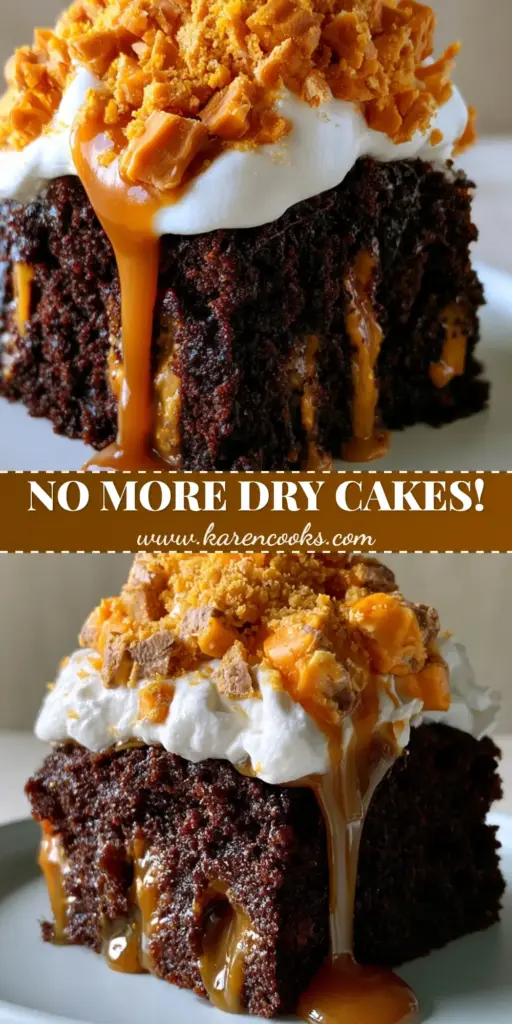
Closing & Call to Action
This Butterfinger cake is more than just a recipe; it is a masterclass in texture and flavor contrast. From the ultra-moist dark chocolate sponge to the thick amber caramel drizzle, every element has been carefully chosen to create a visual and culinary triumph. Whether you are baking for a birthday or just a weekend treat, this cake is guaranteed to be the star of the show.
Did you make those vertical pockets perfectly? We want to see your results! Leave a comment below and tell us how yours turned out. Don’t forget to share your photos and follow us on Pinterest for more decadent dessert inspiration!


