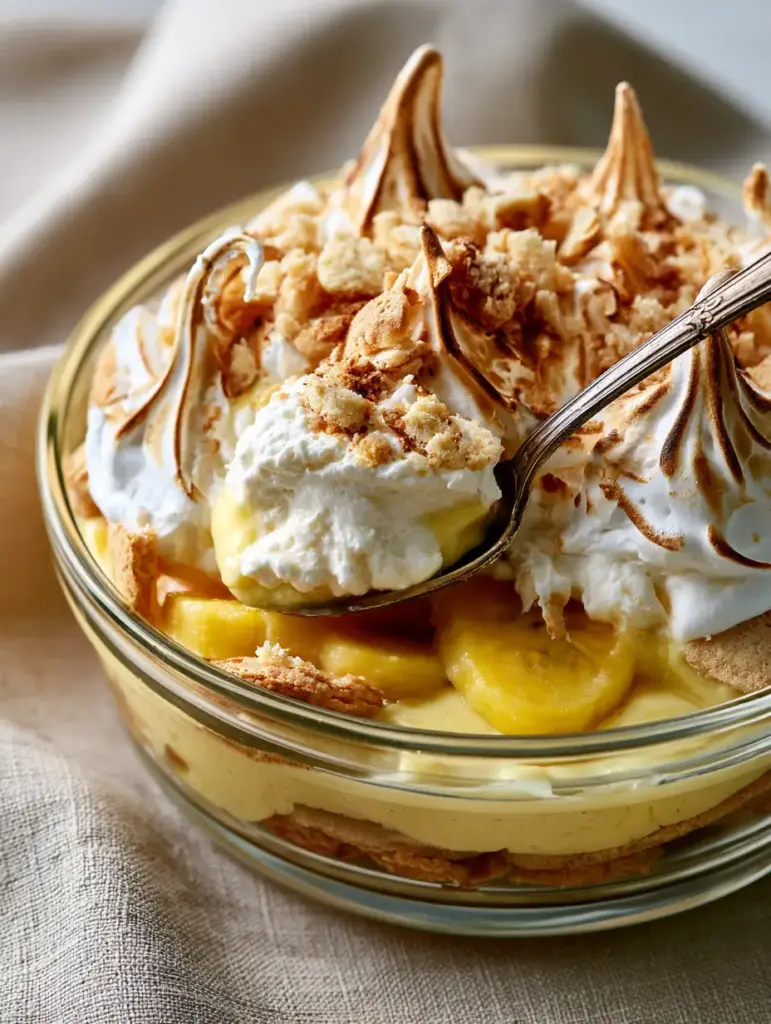
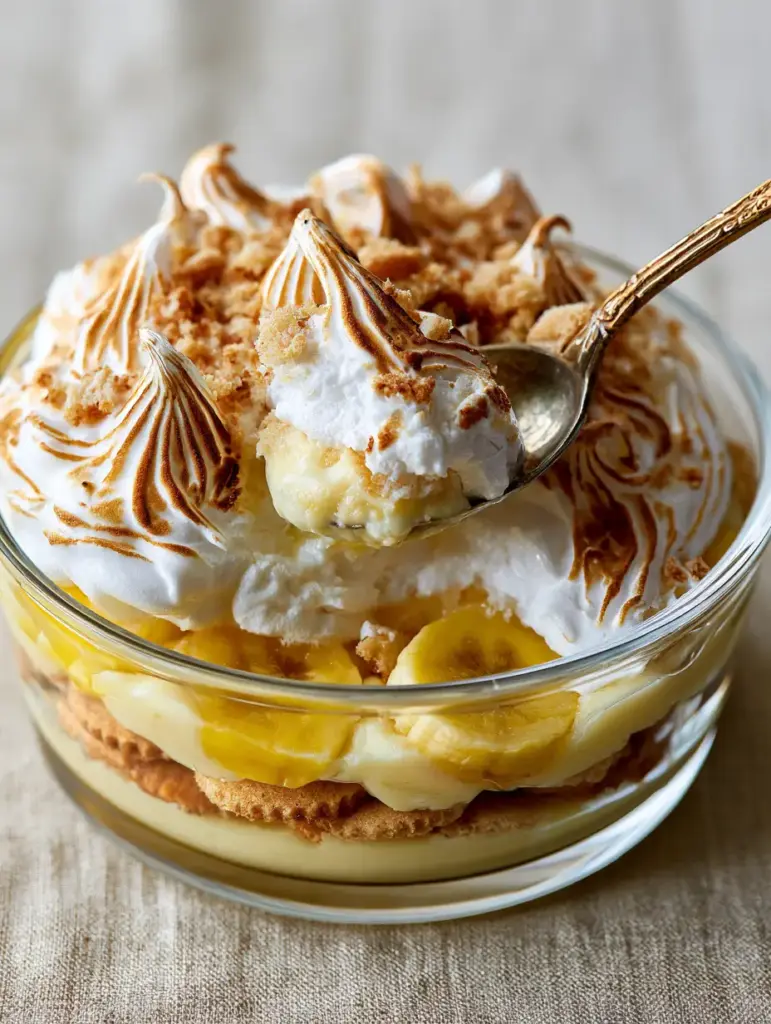
There is nothing quite like the sight of a vintage spoon plunging into a dish of homemade banana pudding, lifting a creamy scoop of velvety pale yellow custard and softened vanilla wafers. This isn’t your average box-mix dessert; this is a true Southern masterpiece, designed to be the centerpiece of your table with its towering, golden-brown meringue peaks and bright yellow banana coins. Whether you are reliving childhood memories or creating new ones, this recipe delivers a nostalgic comfort that modern desserts rarely achieve.
The magic of this homemade banana pudding lies in the interplay of textures. From the crisp snap of crushed vanilla wafer crumbs on top to the soft, cake-like consistency of the cookies buried deep within the custard, every bite offers a new sensory experience. By following this guide, you will master the chemistry of egg-tempering and the art of the perfect toasted meringue, resulting in a dessert that looks like it stepped straight out of a professional food shoot.
Why This Southern Custard Is the Ultimate Comfort Food
- Authentic Velvety Texture: We skip the instant thickeners for a traditional egg-yolk based custard that coats the back of a spoon with a silky, pale yellow finish.
- Structural Integrity: Unlike whipped-cream versions that can collapse, our toasted meringue provides a stable, fluffy topping that holds its beautiful golden-brown peaks.
- Balanced Sweetness: By using freshly sliced bright yellow banana coins, we provide a natural sweetness that balances the rich, buttery vanilla wafer cookies.
- Forensic Visual Appeal: This recipe is designed to create distinct, beautiful layers visible through a clear glass dish, making it a show-stopper for any gathering.
The Anatomy of a Perfect Homemade Banana Pudding
To achieve the visual and textural standards of an elite homemade banana pudding, each ingredient must serve a specific culinary purpose. We don’t just use ingredients; we build a foundation of flavor.
Whole Milk (480ml / 2 cups): The high fat content in whole milk is non-negotiable for achieving that signature velvety pale yellow custard mouthfeel. It provides the liquid base that softens the cookies into a luxurious, cake-like texture.
Granulated Sugar (150g / 3/4 cup): Beyond sweetness, sugar aids in the stabilization of the egg proteins, ensuring the custard remains smooth rather than curdled. We split the sugar between the custard and the meringue for structural balance.
Egg Yolks (4 large): The yolks are the primary thickening agent and the source of that beautiful pale yellow hue. They provide the fat and lecithin required for a rich, emulsified sauce.
Cornstarch (30g / 4 tbsp): While the eggs provide richness, cornstarch provides the “set.” This ensures your layers stay distinct and don’t turn into a soupy mess when sliced.
Vanilla Wafer Cookies (1 box / approx. 300g): We use these for three purposes: a crunchy base, a soft interior layer, and finally, crushed vanilla wafer crumbs for a textural garnish on top.
Ripe but Firm Bananas (4-5 large): You want bright yellow banana coins. Avoid overripe, brown bananas as they will release too much moisture and lose their shape within the custard layers.
Egg Whites & Cream of Tartar: These are the building blocks of your fluffy toasted meringue. The cream of tartar acts as a stabilizer, allowing the proteins to stretch and hold air for those iconic peaks.
Essential Tools for Culinary Success
To replicate the high-angle, professional look of our homemade banana pudding, you will need a few specific kitchen tools. A heavy-bottomed saucepan is vital for even heat distribution to prevent scorching the milk. A fine-mesh sieve is my “pro-tip” for ensuring the custard is perfectly smooth before layering.
For the topping, a stand mixer or a powerful hand mixer is necessary to reach stiff peaks with the egg whites. Finally, an elegant clear glass dish—approximately 2.5 to 3 quarts (2.3 to 2.8 liters)—is required to showcase the beautiful stratigraphy of cookies, bananas, and custard.
Mastering the Art of Tempered Egg Custard
1. Infusing the Milk and Sugar
In a heavy-bottomed saucepan, whisk together 2 cups (480ml) of whole milk, 1/2 cup (100g) of sugar, and a pinch of salt. Heat this over medium heat until you see small bubbles forming around the edges and steam rising—this is the “scalded” stage. Do not let it reach a rolling boil, as this can break the delicate proteins we are about to introduce.
2. The Tempering Technique
In a separate bowl, whisk your 4 egg yolks with the cornstarch until the mixture is pale and smooth. Slowly, one ladle at a time, whisk the hot milk into the egg mixture. This “tempering” process raises the temperature of the eggs gradually so they don’t scramble. Once half the milk is incorporated, pour the entire mixture back into the saucepan.
3. Achieving the Velvety Pale Yellow Finish
Cook the mixture over medium-low heat, stirring constantly with a heat-resistant spatula. You are looking for a specific sensory cue: the custard will suddenly thicken and “pop” with a few large bubbles. Once it reaches the consistency of thick Greek yogurt, remove it from the heat and stir in 2 tbsp (30g) of unsalted butter and 1 tbsp (15ml) of vanilla extract. Pour through a fine-mesh sieve for ultimate smoothness.
The Geometry of Layering the Pudding
To achieve the look of a classic Southern banana pudding, the layering must be intentional. Start by placing a single layer of golden vanilla wafer cookies at the bottom of your glass dish. This acts as a foundation to soak up any stray moisture.
Follow with a dense layer of freshly sliced bright yellow banana coins. Pour a third of your warm custard over the bananas, ensuring it seeps into the crevices between the cookies. Repeat this process two more times. The heat from the custard is what transforms the hard wafers into the soft, sponge-cake texture that characterizes a high-quality banana pudding lush.
Engineering the Perfect Toasted Meringue
While some people prefer whipped cream, a traditional homemade banana pudding demands a toasted meringue. Whip your 4 reserved egg whites with 1/4 tsp of cream of tartar until soft peaks form. Gradually add the remaining 1/4 cup (50g) of sugar, one tablespoon at a time, until the whites are glossy and hold stiff, upright peaks.
Spread the meringue over the warm custard, making sure to “seal” it to the edges of the glass dish to prevent shrinking. Use the back of a spoon to pull up and create those toasted golden-brown meringue peaks. Bake in a preheated oven at 350°F (175°C) for 10-12 minutes. Watch for the sensory cue of the tips turning a deep amber brown while the valleys remain snowy white.
Expert Tips for a Flawless Result
- Prevent Weeping: Always spread your meringue over the custard while the custard is still warm. This helps cook the bottom of the meringue, preventing that annoying layer of water (weeping) from forming between the layers.
- Banana Preservation: If you are worried about your bright yellow banana coins turning brown, toss them lightly in a teaspoon of lemon juice before layering. The acid prevents oxidation without altering the flavor.
- The Crumb Finish: Wait until just before serving to add your crushed vanilla wafer crumbs. This ensures they provide a sharp, crunchy contrast to the soft meringue and creamy custard.
- Patience is Key: While the pudding is delicious warm, letting it chill for at least 4 hours allows the cookies to fully hydrate, creating the best texture.
Maximizing Your Dessert Table
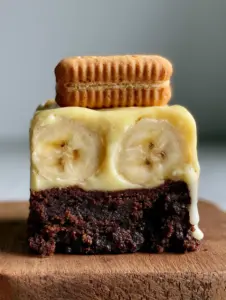
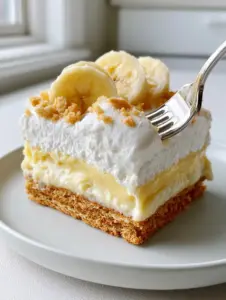
This homemade banana pudding is a rich, decadent treat that stands well on its own, but it also pairs beautifully with other Southern-inspired desserts. If you are hosting a large gathering, consider serving it alongside banana pudding brownies for a chocolatey twist or even some Biscoff banana pudding for those who love a spiced cookie flavor.
If you want to offer a variety of textures, these moist chocolate cupcakes provide a dark, cocoa-rich contrast to the pale yellow custard. For a fruitier spread, a strawberry banana cheesecake salad adds a refreshing, bright note that complements the creamy pudding perfectly.
Frequently Asked Questions
Yes, but it is not traditional for Southern-style baked pudding. If using whipped cream, allow the pudding to cool completely before topping, and skip the oven-toasting step.
Toss the sliced banana coins in a small amount of lemon or pineapple juice before layering. The acid prevents oxidation, keeping them bright yellow for a longer period.
It is best served within 24 hours while the meringue is fresh and the wafers have a cake-like texture. It will last up to 3 days, but the cookies will continue to soften and may become mushy.
Meringue shrinks when it isn’t sealed to the edges of the dish. Weeping (water between layers) is caused by spreading meringue over cold custard; ensure the custard is still warm to ‘cook’ the bottom of the meringue.
Pudding becomes watery if the bananas are overripe and release excess moisture, or if the custard wasn’t cooked long enough to fully activate the cornstarch thickener. Always use firm, bright yellow bananas.
The Ultimate Homemade Banana Pudding Recipe
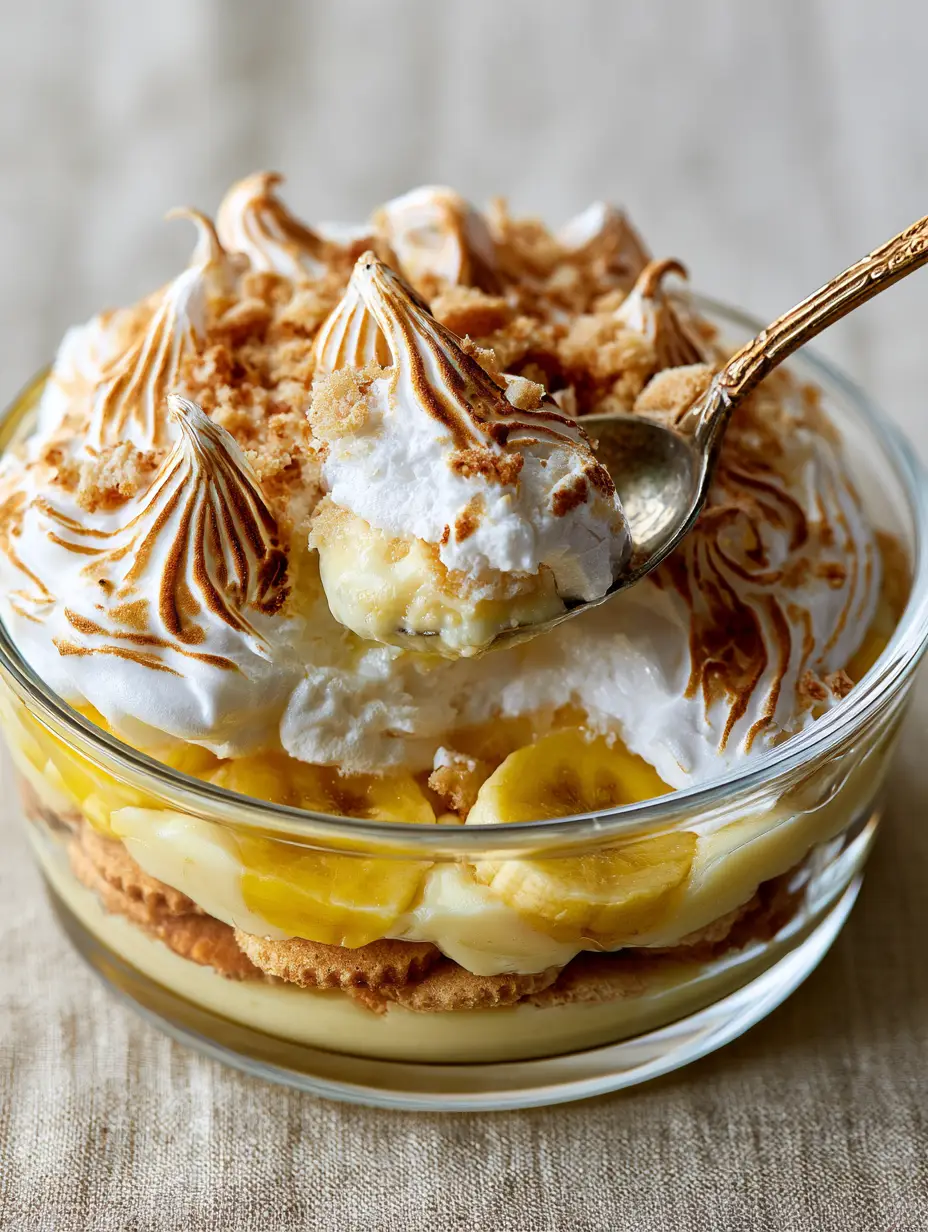
Homemade Banana Pudding with Toasted Meringue Peaks
Ingredients
Equipment
Method
- In a saucepan, heat milk and 1/2 cup sugar over medium heat until steaming.
- Whisk yolks and cornstarch. Slowly add hot milk to yolks, whisking constantly, then return all to the pan.
- Cook until thick and bubbling. Stir in butter and vanilla, then strain through a sieve.
- Layer cookies, banana coins, and warm custard in a glass dish. Repeat twice more.
- Beat egg whites and cream of tartar to soft peaks. Gradually add remaining sugar until stiff peaks form.
- Spread meringue over warm pudding, creating peaks with a spoon. Bake at 350°F for 10-12 minutes until golden brown.
Notes
Chill for at least 4 hours before serving for the best texture.
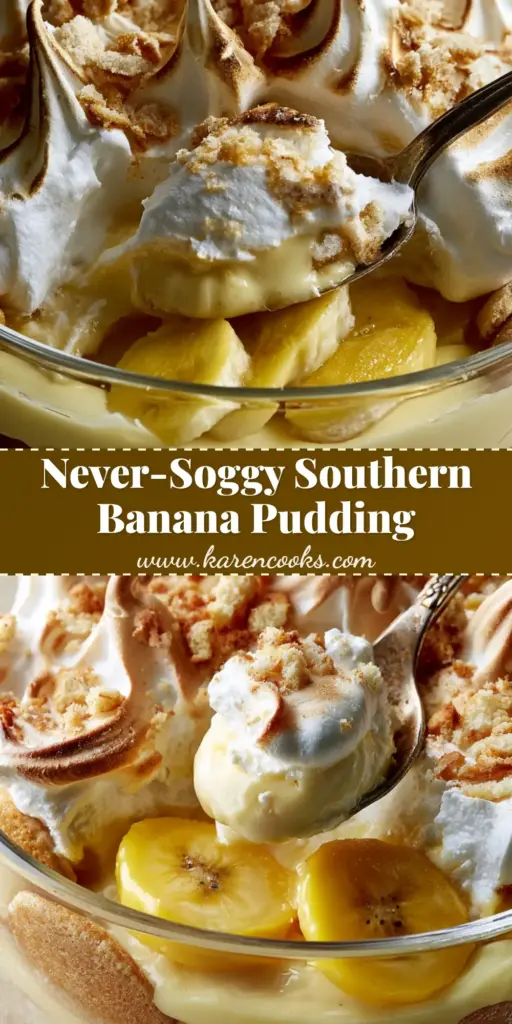
Sharing the Sweetness
Crafting a homemade banana pudding is an act of love and a tribute to culinary tradition. The combination of the velvety custard, the softened cookies, and those gorgeous toasted meringue peaks creates a dessert that is as beautiful as it is delicious. We hope this recipe becomes a staple in your home, bringing joy to every spoonful lifted from the dish.
If you enjoyed this recipe, please leave a comment below and let us know how your meringue peaks turned out! Don’t forget to sign up for our newsletter for more elite dessert blueprints and share your creations with us on Pinterest so we can see your beautiful layers in action.