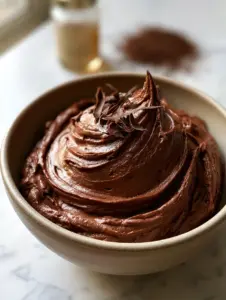
Chocolate frosting is the crown jewel of the dessert world, the decadent finishing touch that transforms a simple sponge into a celebration. If you have been searching for that elusive, bakery-style finish—one that is ultra-fluffy, deep in color, and smooth as silk—you have found it. This recipe isn’t just a topping; it is a masterclass in achieving the perfect chocolate frosting texture that Pinterest dreams are made of.
Imagine a chocolate frosting so aerated and light it feels like a chocolate cloud, yet so rich it satisfies the deepest cocoa cravings. We are moving away from the gritty, overly sweet icings of the past. Instead, we are focusing on high-quality ingredients like Dutch-processed cocoa and heavy whipping cream to create a high-gloss sheen that looks stunning under any lighting. Whether you are piping delicate rosettes or creating a thick, velvety swoosh with an offset spatula, this recipe delivers professional results every time.
Why This Is The Only Chocolate Frosting Recipe You Need
- Unmatched Texture: No sugar crystals or graininess here; just a pure, velvety smooth finish that melts on the tongue.
- Visual Perfection: Designed to hold its shape perfectly, allowing for those iconic glossy chocolate swirls and sharp peaks.
- Deep Flavor Profile: By using Dutch-processed dark cocoa powder, we achieve a sophisticated, dark-chocolate intensity that isn’t cloying.
- Versatile Application: Stable enough for layering inside a cake, yet light enough to top delicate vanilla cupcakes or even rich espresso-infused brownies.
- Pinterest-Ready Aesthetic: This frosting creates that “high-end food blog” look with minimal effort, especially when topped with dark chocolate shavings.
The Anatomy of a Perfect Dark Chocolate Buttercream
To achieve the best chocolate frosting, every ingredient must serve a specific culinary purpose. We aren’t just mixing sugar and fat; we are building an emulsion that traps air and carries flavor across the palate.
Whipped Unsalted Butter: The foundation. Using unsalted butter allows us to control the sodium levels perfectly. It must be at a precise room temperature—soft enough to leave a thumbprint, but not so warm that it looks greasy. This is what provides the structural integrity for your swirls.
Dutch-Processed Dark Cocoa Powder: Unlike natural cocoa, Dutch-processed cocoa is treated with an alkalizing agent. This results in a darker color and a smoother, less acidic chocolate flavor that pairs beautifully with the sugar. It is the secret to that “deep, rich” look seen in our photos.
Ultra-Fine Powdered Sugar: To avoid a gritty mouthfeel, we use ultra-fine (10x) powdered sugar. Even then, sifting is mandatory. This ensures the chocolate frosting remains light and aerated, mimicking the texture of a chocolate cloud.
Heavy Whipping Cream: This is our secret weapon for “lightness.” A splash of heavy cream adds moisture and fat, helping the frosting reach a spreadable, whipped consistency that mimics a chocolate mousse.
Pure Vanilla Extract & Salt: These are the “invisible” flavor enhancers. Vanilla adds a floral depth, while a pinch of fine salt cuts through the sugar, intensifying the perception of the chocolate.
Step-By-Step: Creating the Chocolate Cloud
Phase 1: The Aeration of the Butter
Begin by placing 2 cups (452g) of room-temperature unsalted butter into the bowl of a stand mixer. Using the paddle attachment, beat the butter on medium-high speed for a full 5 minutes. You are looking for a visual cue: the butter should turn from a pale yellow to a near-white color and appear significantly more voluminous. This step is crucial for the “aerated and light” texture of the final chocolate frosting.
Phase 2: The Sifting and Incorporation
Lower the mixer speed to the lowest setting. Gradually add 4 cups (480g) of sifted ultra-fine powdered sugar and 3/4 cup (75g) of Dutch-processed dark cocoa powder. Adding these slowly prevents a “sugar cloud” from escaping the bowl. Once the dry ingredients are mostly incorporated, increase the speed to medium to fully combine. The mixture may look thick or slightly crumbly at this stage—this is normal.
Phase 3: Emulsifying with Cream and Vanilla
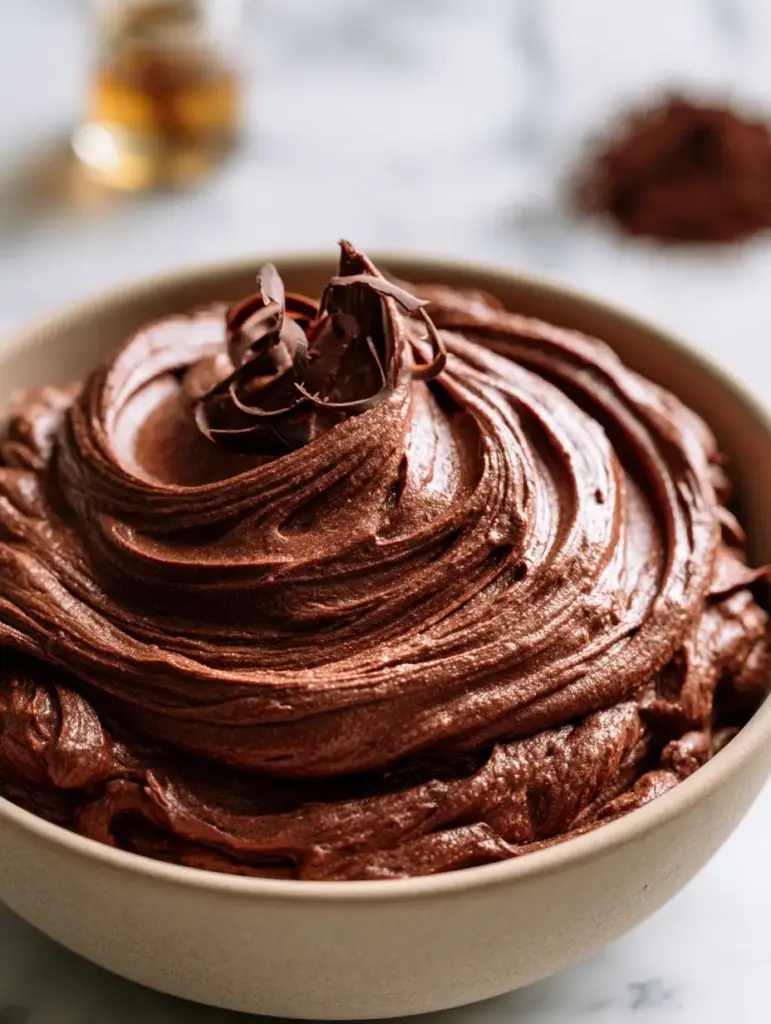
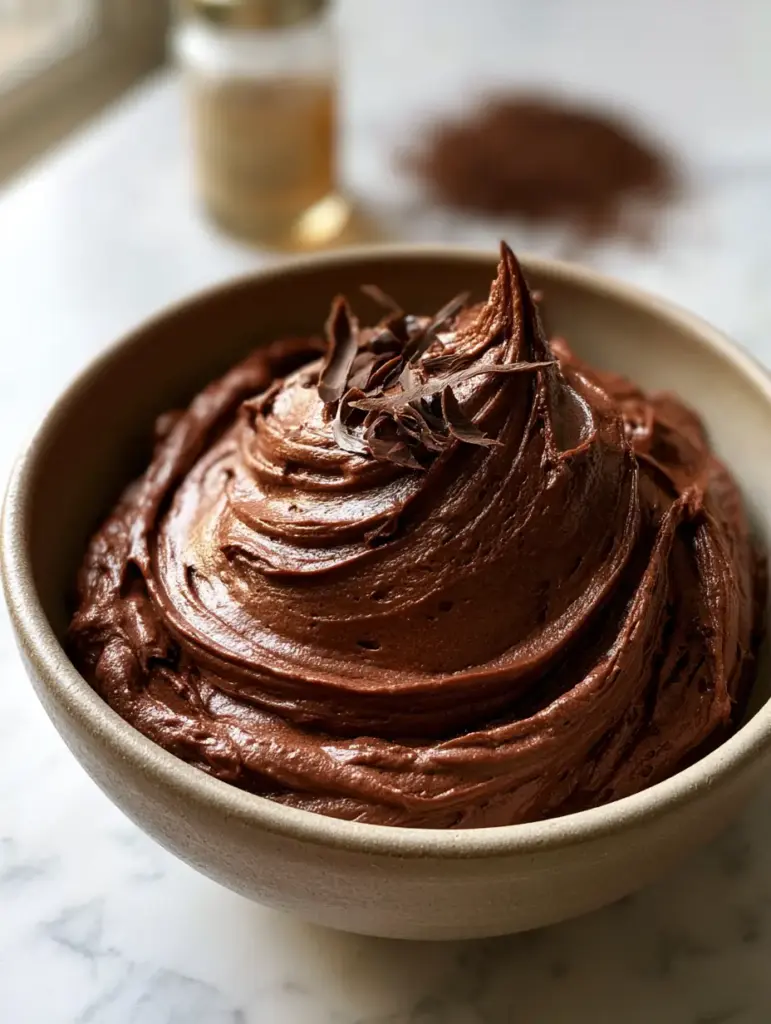
While the mixer is running on low, pour in 3 tablespoons (45ml) of heavy whipping cream and 2 teaspoons (10ml) of pure vanilla extract. Add a pinch of fine sea salt. Increase the speed to medium-high and whip for another 2-3 minutes. Visual Cue: Watch for the frosting to transform into a glossy, velvety consistency. It should look like a deep, rich chocolate river with a high-gloss sheen on the peaks.
Phase 4: The Finishing Swoosh
To achieve the look in our Midjourney-inspired visual blueprint, use an offset spatula to create one large, thick, velvety smooth swoosh in a matte ceramic bowl. The frosting should show no signs of graininess. Finally, take a block of high-quality dark chocolate and use a vegetable peeler to create delicate curls of dark chocolate shavings. Sprinkle these gently on the crest of the swirl for a professional, high-end aesthetic.
Expert Tips for Success
- Sift Twice: If your cocoa powder is particularly clumpy, sift it twice. Cocoa is notorious for holding onto small lumps that are impossible to beat out later in the chocolate frosting.
- Temperature Control: If the frosting feels too soft, chill the entire bowl for 10 minutes and then re-whip. If it’s too stiff, add heavy cream one teaspoon at a time.
- The Paddle vs. The Whisk: Use the paddle attachment for a dense, creamy frosting (ideal for cakes) and the whisk attachment if you want that ultra-aerated, “chocolate cloud” feel (ideal for topping 4-ingredient brownies).
- Storage is Key: Buttercream absorbs fridge odors easily. Always store in a strictly airtight container.
Storage, Reheating & Freezing
This chocolate frosting can be made in advance. It stays fresh in an airtight container at room temperature for up to 2 days, or in the refrigerator for up to 2 weeks. If refrigerated, the butter will firm up; you must bring it back to room temperature and re-whip it briefly to restore that “glossy chocolate swirls” texture.
For long-term storage, you can freeze this frosting for up to 3 months. Thaw overnight in the refrigerator and follow the re-whipping process mentioned above. This is a great way to prep for a large party where you might also be serving easy creamy cheesecake.
What To Serve With This Dark Chocolate Frosting
While this chocolate frosting is a star on its own, it pairs magnificently with a variety of textures. Try piping it onto snickerdoodle cupcakes for a unique cinnamon-chocolate twist. It also acts as a perfect “glue” when building a layered dessert, such as a cakepop tutorial project.
For a refreshing contrast, serve a cake topped with this frosting alongside a bubbly cherry vanilla soda. The carbonation cleanses the palate between rich bites of the dark cocoa.
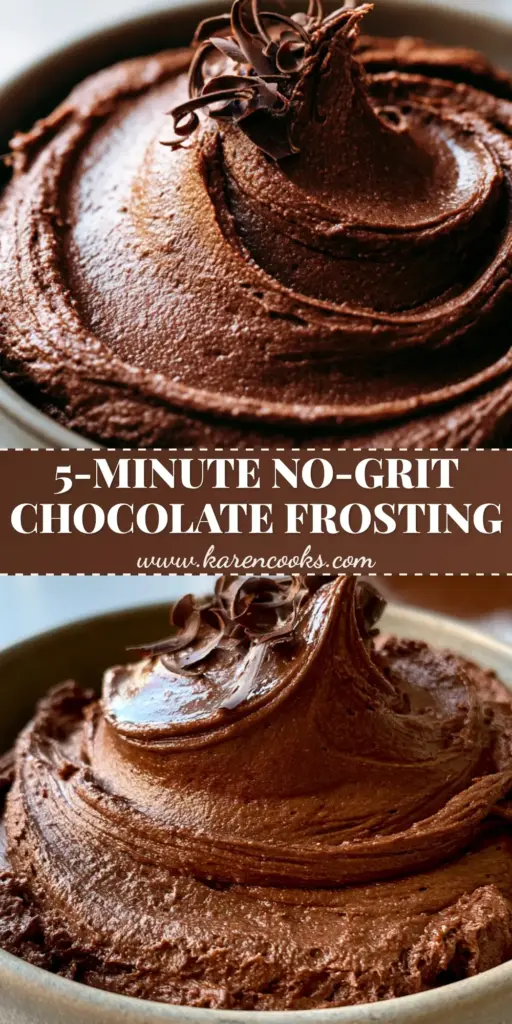
The Master Chocolate Frosting Recipe Card
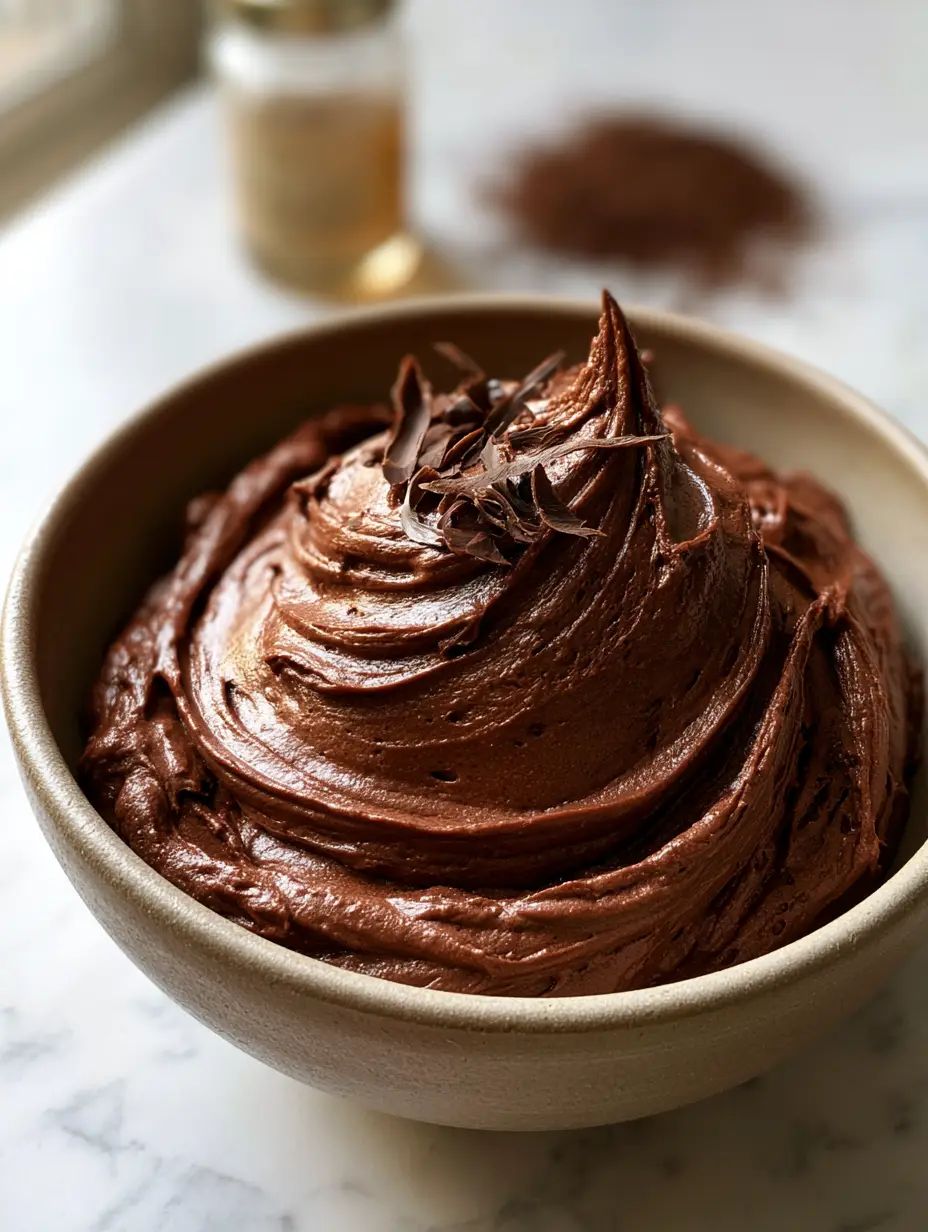
Chocolate Frosting: The Ultimate Dark Velvet Buttercream Recipe
Ingredients
Equipment
Method
- Place room-temperature butter in a stand mixer and beat on medium-high speed for 5 minutes until pale and aerated.
- Sift powdered sugar and cocoa powder. Add to butter on low speed until mostly incorporated.
- Add heavy cream, vanilla, and salt. Increase speed to medium-high and whip for 3 minutes until a high-gloss sheen appears.
- Spread onto cake using an offset spatula and top with dark chocolate shavings.
Notes
If the frosting is too soft, refrigerate for 10 minutes and re-whip.
Frequently Asked Questions
Yes, but the flavor will be more acidic and the color much lighter. Dutch-processed cocoa is alkalized, which provides that deep, dark color and smooth chocolate profile.
While it is stable at room temperature for 1-2 days, it is best stored in the refrigerator if kept longer. Just remember to bring it back to room temperature and re-whip it before use.
The glossy finish comes from high-quality heavy whipping cream and the proper aeration of the butter. Beating the frosting on medium-high speed at the final stage helps develop that professional sheen.
Absolutely. This buttercream is designed to be thick and velvety, making it perfect for piping rosettes or creating the signature swoosh with an offset spatula.
Grittiness is usually caused by unsifted powdered sugar or cocoa powder. To ensure a smooth finish, always use ultra-fine sugar and sift both the sugar and cocoa before adding them to the butter.
Join the Karen Cooks Community!
Did you achieve that perfect glossy swoosh? I want to see! Save this chocolate frosting recipe to your favorite Pinterest board so you never lose it. Follow @karen_cooks_official for more Pinterest-viral dessert inspiration. If you made this, please leave a 5-star rating in the recipe card above and share a photo of your glossy chocolate swirls in the comments below. Happy baking!