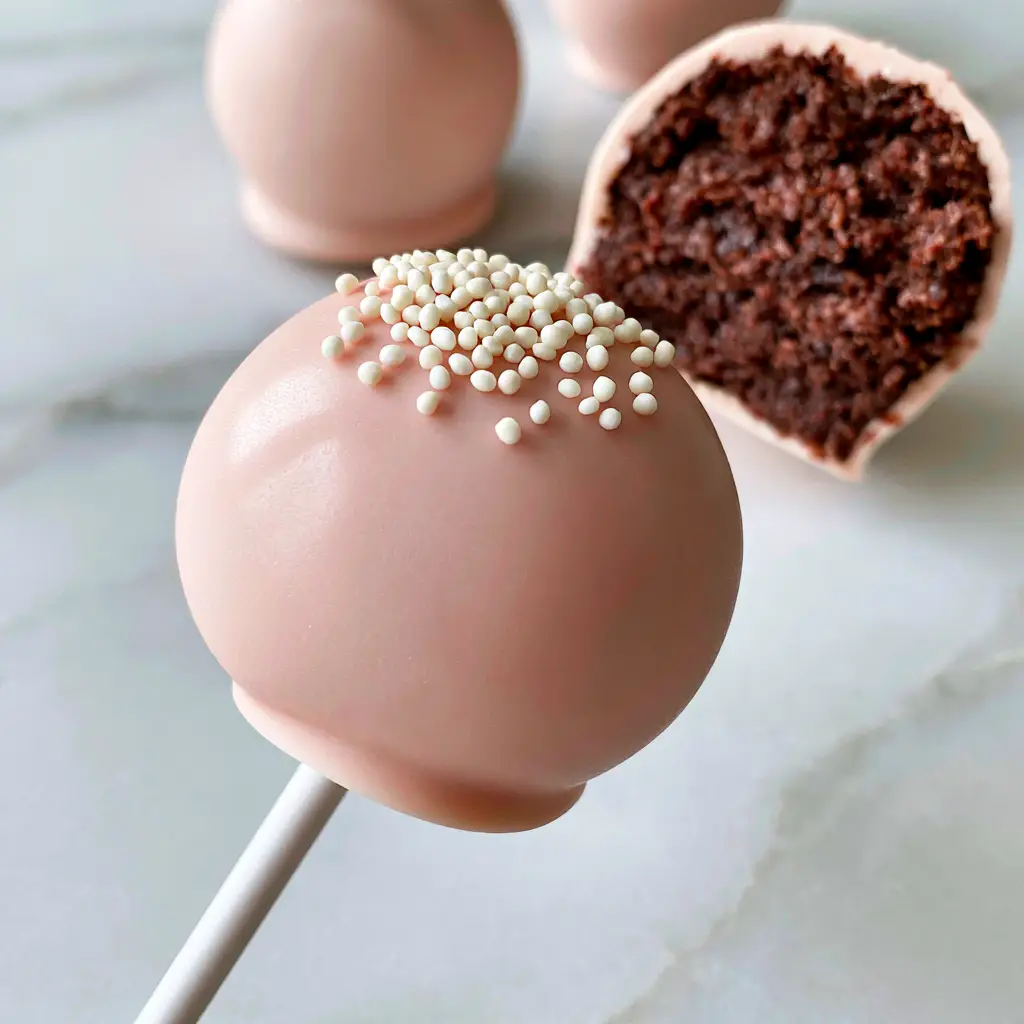
This Cakepop tutorial is your ultimate guide to creating bakery-quality treats right in your own kitchen. Whether you are prepping for a birthday party or just want a sweet weekend project, mastering the art of the cake pop is a total game-changer. We are focusing on a moist crumbled chocolate cake core, bound with creamy vanilla frosting, and finished with a glass-smooth pale pink white chocolate coating. This isn’t just a recipe; it’s a blueprint for achieving that flawless, crack-free finish every time.
The secret to a viral-worthy cake pop lies in the texture. As you follow this Cakepop tutorial, you will learn how to balance the moisture of the cake so it stays dense and fudgy without becoming mushy. We’ve all seen cake pops that crumble or fall off the stick, but by following these professional techniques, you’ll produce pops that are as sturdy as they are beautiful. Let’s dive into the details of creating these handheld masterpieces.
Why This Cakepop Tutorial Works for Every Home Baker
- Ultra-Moist Texture: We use a rich chocolate base that provides a fudgy, dense interior similar to espresso-infused brownies.
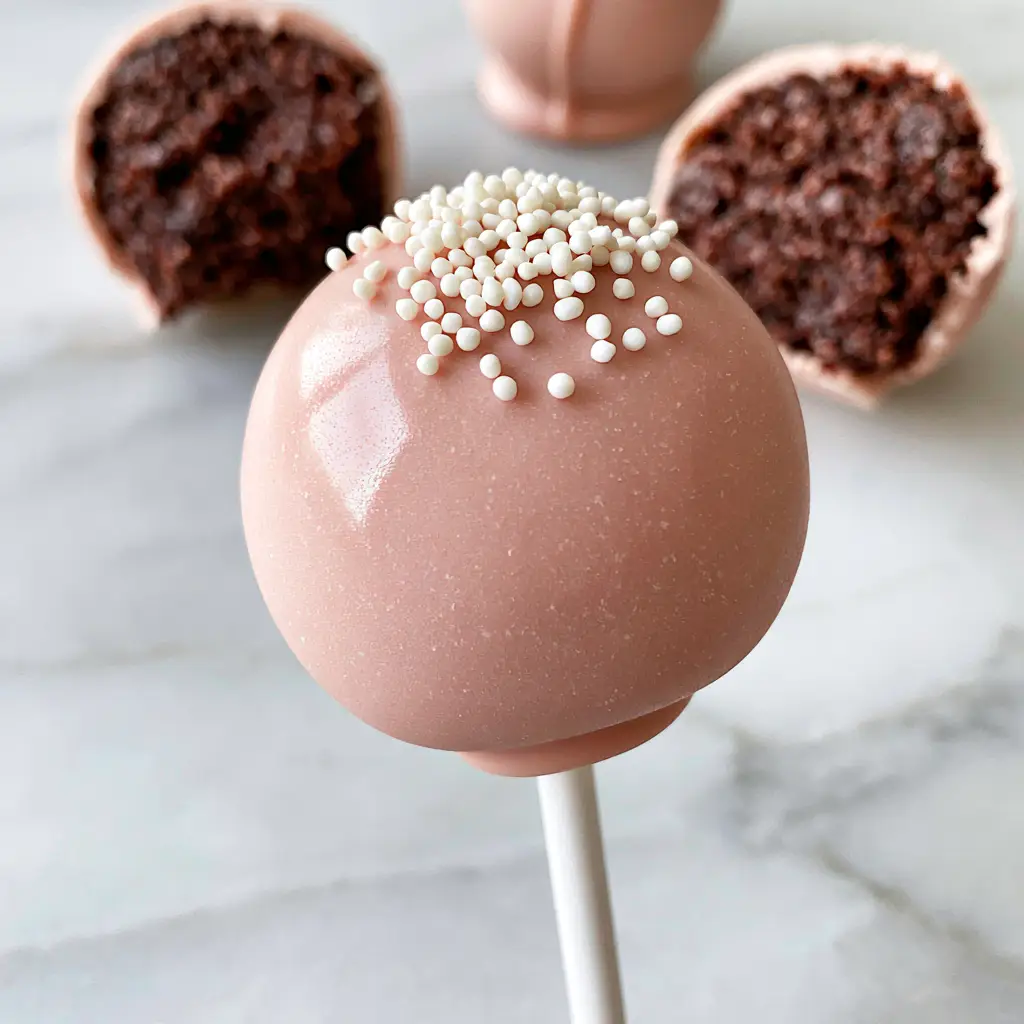
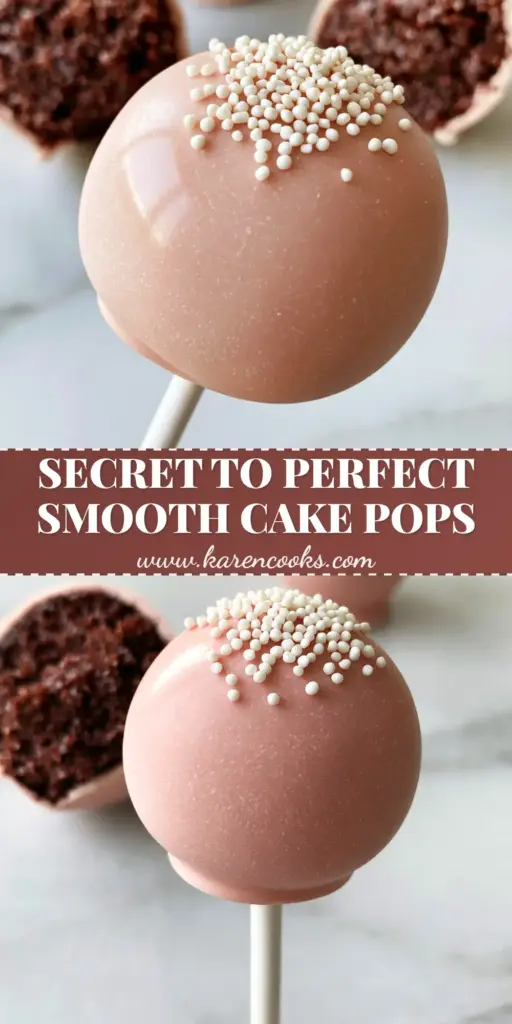
- Professional Finish: Learn the exact temperature tricks for a flawless, glass-smooth white chocolate coating with a soft matte finish.
- Perfect Ratios: No more guessing how much frosting to add; we provide the exact scientific measurements for a stable binder.
- Aesthetic Appeal: The combination of pale pink food coloring and tiny white sugar nonpareils creates a clean, modern look.
Essential Ingredients for Fudgy Chocolate Centers
Success starts with high-quality components. For this Cakepop tutorial, the quality of your chocolate and the moisture level of your cake will dictate the final result. Using a premium white chocolate ensures a smoother melt and a better “snap” when you bite into the pop.
1 lb (450g) Moist Chocolate Cake: You can use a boxed mix or your favorite homemade recipe. The key is that the cake must be fully cooled before crumbling. If you have leftovers from making 4-ingredient brownies, those can also work for an extra-rich center.
1/2 cup (120ml) Creamy Vanilla Frosting: This acts as your binder. You want a frosting that is stiff enough to hold the crumbs together but creamy enough to provide a luxurious mouthfeel. Our classic buttercream icing recipe is a perfect choice here.
12 oz (340g) Premium White Chocolate Wafers: Avoid standard chocolate chips if possible, as they contain stabilizers that prevent a smooth flow. Use high-quality melting wafers or couverture chocolate for that glass-smooth coating.
1 tbsp (15ml) Vegetable Shortening or Coconut Oil: This is a “pro-tip” ingredient. It thins the melted chocolate to the perfect dipping consistency, ensuring a thin, even shell that doesn’t crack.
Pale Pink Gel Food Coloring: Always use gel, not liquid. Liquid coloring can seize the chocolate, ruining the texture. A tiny drop is all you need for that delicate pale pink hue.
White Sugar Nonpareils: These tiny beads add a sophisticated crunch and a professional decorative touch to the top of each pop.
White Paper Lollipop Sticks: Standard 6-inch (15cm) sticks provide the classic handheld look seen in our Cakepop tutorial visuals.
Step-By-Step Guide to the Perfect Cake Pop
Creating the Fudgy Chocolate Core
Start by breaking your cooled chocolate cake into large chunks. Using your hands or a food processor, pulse the cake into fine crumbs. There should be no large pieces remaining; the texture should resemble damp sand. This uniformity is crucial for a smooth exterior later.
Add the vanilla frosting one tablespoon at a time. Mix thoroughly after each addition. You are looking for a consistency where the dough holds together when squeezed but doesn’t feel sticky or greasy. If you add too much frosting, the pops will be too heavy and slide down the sticks.
Precision Rolling and Chilling
Scoop about 1.5 tablespoons (approx 30g) of the mixture and roll it between your palms to form a perfectly spherical ball. Aim for about 1.25 inches (3cm) in diameter. Place the balls on a parchment-lined baking sheet.
CRITICAL STEP: Chill the cake balls in the refrigerator for at least 2 hours or in the freezer for 20 minutes. They must be firm and cold before dipping. If the cake balls are too warm, they will fall apart in the warm chocolate. If they are too frozen, the chocolate coating will crack as the cake expands slightly when it warms up.
Prepping the Pale Pink Coating
Melt your white chocolate wafers in a microwave-safe bowl in 30-second increments, stirring well between each session. Once melted, stir in the shortening until the mixture is liquid and glossy. Add a tiny drop of pink gel coloring and whisk gently until a uniform pale pink is achieved.
Transfer the melted chocolate to a deep, narrow glass. This makes the dipping process much easier and ensures the entire pop is submerged in one go, which is the secret to a glass-smooth finish.
The Professional Dipping Technique
Dip the tip of a lollipop stick into the melted chocolate (about 1/2 inch) and then insert it halfway into a chilled cake ball. This acts as “glue.” Let it set for a minute. Now, plunge the entire cake pop vertically into the pink chocolate until the cake is completely covered.
Pull the pop straight up and gently tap your wrist (not the stick!) to remove excess chocolate. Rotate the pop slowly to ensure the coating settles evenly. Before the chocolate sets, artfully arrange a delicate sprinkle of white nonpareils on the very top.
Expert Tips for Success
- Avoid Over-Mixing: When combining crumbs and frosting, mix just until the dough comes together. Over-mixing can lead to a gummy texture.
- Temperature Control: If your chocolate starts to thicken, reheat it for 10 seconds. Cold chocolate leads to thick, lumpy coatings.
- The “Tap” Method: Always tap your wrist, not the stick against the bowl. Tapping the stick too hard can cause the cake ball to vibrate and fall off into the chocolate.
- Use a Styrofoam Block: To keep your pops perfectly spherical while they dry, poke the sticks into a block of styrofoam or a cardboard box with holes. This prevents “flat heads.”
Storage, Reheating & Freezing
These cake pops are excellent for make-ahead treats! You can store the finished pops in an airtight container in the refrigerator for up to 5 days. The chocolate shell protects the moist interior, keeping it fresh.
If you want to freeze them, I recommend freezing the undipped cake balls. They stay fresh for up to 3 months. When you are ready to serve, thaw them in the fridge, then proceed with the dipping steps in this Cakepop tutorial. Avoid freezing finished pops, as the chocolate can “sweat” or develop condensation spots when thawing.
What to Serve With This
These pops are a sweet highlight, but they pair beautifully with other party favorites. For a refreshing balance, serve them alongside a crisp honey lemon pink soda or a fruity peach paradise punch. The acidity in the drinks cuts through the richness of the chocolate and frosting.
If you are building a dessert table, these pink pops look stunning next to a classic cheesecake or even light and airy vanilla cupcakes. The contrast in textures will keep your guests coming back for more!
Frequently Asked Questions
No, liquid food coloring is water-based and will cause the chocolate to seize and become lumpy. Always use gel-based or oil-based food coloring for chocolate.
Adding a tablespoon of vegetable shortening or coconut oil to your melted chocolate thins it out, allowing excess to drip off easily and creating that glass-smooth, professional finish.
At room temperature, they should set within 15-20 minutes. You can speed this up by placing them in the refrigerator for 5-10 minutes.
This happens if the cake balls are too heavy (too much frosting) or if you didn’t ‘glue’ the stick. Always dip the stick in chocolate before inserting it into the ball, and let it set before dipping the whole pop.
Cracking usually happens due to a temperature shock. If the cake balls are too cold (frozen) and the chocolate is too warm, the cake expands as it hits the heat, cracking the shell. Ensure balls are chilled but not frozen.
The Ultimate Pink Chocolate Cakepop Recipe
Cakepop Tutorial: How to Make Professional Pink Chocolate Cake Pops
Ingredients
Equipment
Method
- Crumble the cooled chocolate cake into fine, sand-like crumbs in a large bowl.
- Add vanilla frosting to the crumbs, mixing until a fudgy dough forms that holds its shape.
- Roll the mixture into 1.25 inch (3cm) spheres and place on a parchment-lined tray.
- Refrigerate for 2 hours or freeze for 20 minutes until firm.
- Melt white chocolate with shortening and tint with pink gel coloring.
- Insert sticks into balls, then plunge the entire ball into the pink chocolate, tapping off excess.
- Add white nonpareils to the top while the chocolate is still wet and let set in a styrofoam block.
Notes
Always use gel food coloring to avoid seizing the chocolate.
Show Off Your Creations!
We hope this Cakepop tutorial helps you create the most beautiful treats you’ve ever made! If you followed this guide, please save this recipe to your favorite Pinterest board so you can find it later. We would love to see your results—take a photo of your perfectly smooth pink pops and share it in the comments below! Don’t forget to leave a 5-star rating if you loved the fudgy chocolate center. Happy baking!