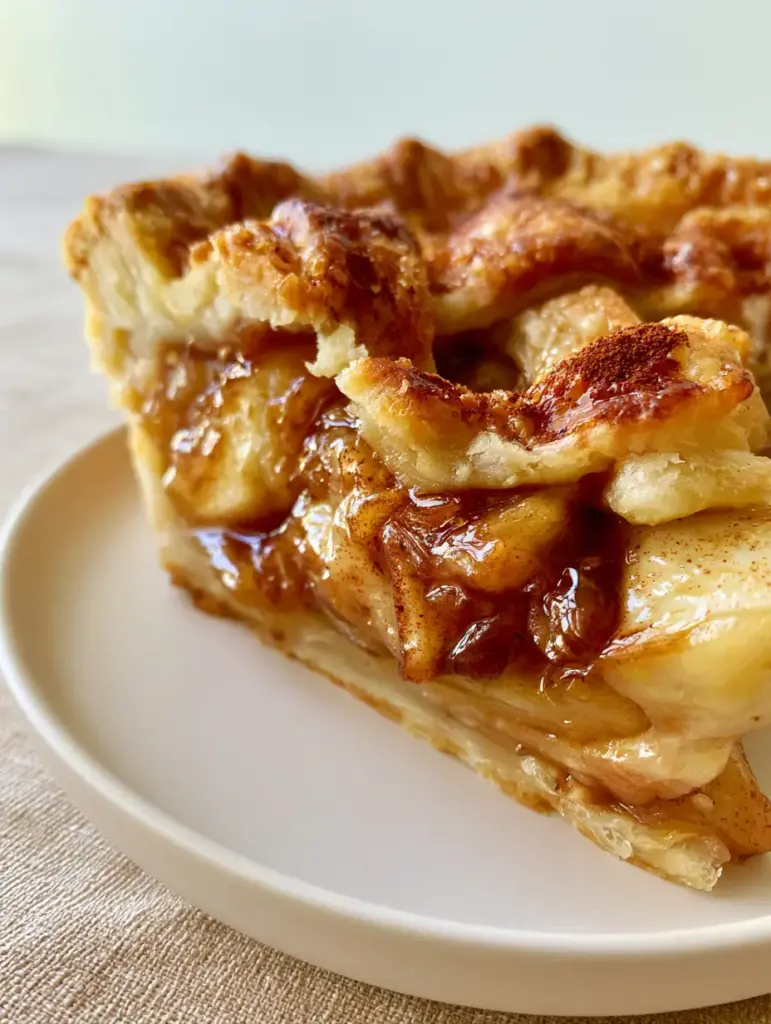
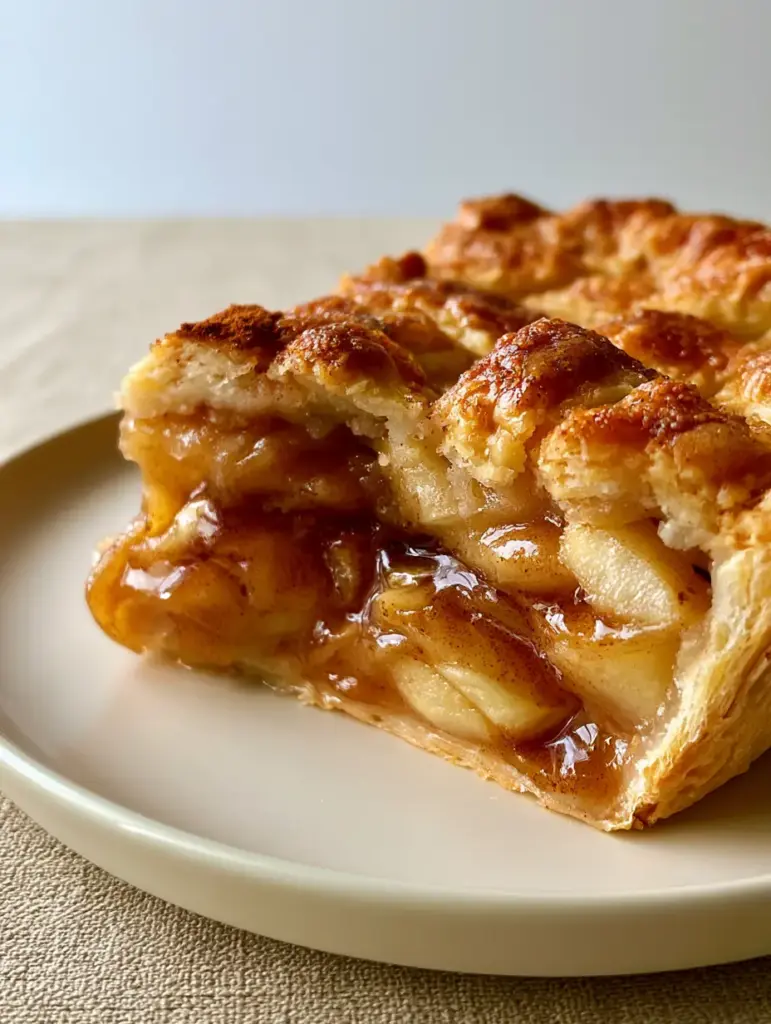
This apple pie recipe is the only one you will ever need to achieve that elusive, picture-perfect slice. We have all been there: you bake a pie for hours only to cut into it and find a watery mess and a soggy bottom. Not today. By focusing on a scientifically-backed crust method and a concentrated fruit reduction, we are creating a masterpiece featuring tender baked apple slices suspended in a thick amber caramelized cinnamon syrup.
Every bite of this apple pie recipe offers a textural symphony. You get the crunch of caramelized sugar crystals on top of a golden lattice pastry crust, followed by the buttery, shattering layers of the bottom crust. This recipe is designed to be the crown jewel of your autumn pie recipes collection, providing the professional results you usually only see in high-end bakeries.
Why This Is The Ultimate Apple Pie Recipe
- No Soggy Bottoms: We use a specific blind-baking or high-heat start technique to ensure the golden-brown flaky pie crust stays crisp under the fruit.
- Viscous Amber Syrup: Instead of raw fruit, we macerate the apples to create a glossy, dark amber, viscous cinnamon-spiced syrup that clings to every slice.
- Perfect Lattice Work: Our dough is formulated for elasticity, allowing you to weave a stunning golden lattice pastry crust without it breaking or shrinking.
- Pinterest-Ready Aesthetic: Finished with a tiny dusting of ground cinnamon and sparkling sugar, it’s a viral-worthy showstopper.
The Science of the Perfect Baking Apple
To make the best apple pie recipe, you cannot just grab any fruit from the crisper drawer. You need apples that hold their shape. We recommend a 50/50 split between Granny Smith (for tartness and pectin) and Honeycrisp or Braeburn (for sweetness and floral notes).
When these apples bake, they release moisture. In a standard classic pie recipes approach, that moisture turns the bottom crust into a sponge. In this recipe, we draw that moisture out early, simmer it down into a concentrate, and pour it back in. This creates that viscous cinnamon-spiced syrup you see in the photos.
Essential Ingredients for Success
The Flaky Pastry Foundation
All-Purpose Flour (375g / 3 cups): Provides the structure. Ensure you measure by weight if possible for consistent results.
Unsalted Butter (225g / 1 cup): It must be ice-cold. As the water in the butter evaporates in the oven, it creates the steam pockets that make the crust flaky.
Ice Water (60-120ml / 4-8 tbsp): Only use as much as needed to hold the dough together. Too much water leads to gluten development and a tough crust.
The Spiced Apple Filling
Fresh Apples (approx. 1.5kg / 3 lbs): Peeled, cored, and sliced to 1/4 inch (6mm) thickness. Uniformity is key for even baking.
Brown Sugar (150g / 3/4 cup): Provides the molasses notes that contribute to the dark amber filling.
Cinnamon and Nutmeg: 2 tsp (10g) of cinnamon and a pinch of nutmeg provide the warmth. Don’t forget the final ground cinnamon dust for the top!
Step-by-Step Instructions for a Bakery-Style Pie
Phase 1: The All-Butter Crust
Combine your flour and salt in a large bowl. Add your cubed, cold butter. Use a pastry cutter to work the butter until the largest pieces are the size of peas. Do not overmix.
Slowly drizzle in ice water, one tablespoon at a time, tossing with a fork until the dough just begins to clump. Divide into two discs, wrap in plastic, and chill for at least 1 hour. This resting period is non-negotiable for a golden-brown flaky pie crust.
Phase 2: Macerating the Fruit filling
Toss your sliced apples with sugar, lemon juice, and spices. Let them sit in a colander over a bowl for 45 minutes. You will see a significant amount of liquid collect in the bowl.
Pour that liquid into a small saucepan and simmer over medium heat until it reduces by half. It should become a glossy, dark amber, viscous cinnamon-spiced syrup. Toss this back with your apples along with 2 tbsp (30g) of cornstarch.
Phase 3: The Lattice Weave
Roll out your bottom crust and fit it into your pie plate. Fill with the apple mixture, piling them high in the center as they will shrink during baking. Roll out the second disc and cut into 1-inch (2.5cm) strips.
Lay half the strips vertically. Fold back every other strip and lay a horizontal strip across. Unfold the vertical strips. Repeat this process, alternating the folds, to create a golden lattice pastry crust. Crimp the edges tightly to seal.
Phase 4: The Finishing Touches
Brush the lattice with a beaten egg wash. This is the secret to the golden-brown finish. Sprinkle generously with caramelized sugar crystals (Turbinado sugar) and a tiny dusting of ground cinnamon.
Expert Tips for the Perfect Slice
- Keep it Cold: If the dough starts to feel warm or greasy while you are weaving the lattice, put the whole pie in the fridge for 10 minutes before continuing.
- Ventilation: The lattice design isn’t just for looks; it allows steam to escape, preventing the filling from becoming soup.
- The Cooling Rule: You must let the pie cool for at least 4 hours. This allows the thick amber caramelized cinnamon syrup to set so the slice stands upright on the plate.
- Glass vs Metal: A glass pie dish allows you to see the bottom crust to ensure it has reached a perfect golden-brown.
Storage, Reheating & Freezing
This pie can be stored at room temperature for up to 2 days, covered loosely. For longer storage, refrigerate for up to 5 days. To regain the crispness of the flaky pastry, reheat in a 350°F (175°C) oven for 10-15 minutes.
To freeze, wrap the unbaked pie tightly in plastic wrap and foil. Bake from frozen, adding about 20 minutes to the total bake time. This is a staple in Grandma’s best pie recipes for a reason—it’s incredibly prep-friendly!
What to Serve With Your Apple Pie
A slice of this pie is a meal in itself, but it pairs beautifully with a scoop of high-quality vanilla bean ice cream. If you’re feeling adventurous, try it alongside one of our cinnamon toast crunch bars for a dessert platter, or pair it with a refreshing cherry vanilla soda to cut through the richness of the butter.
Frequently Asked Questions
Yes! You can prepare the dough up to 2 days in advance, or freeze the entire unbaked pie for up to 3 months. Baked pie stays fresh at room temperature for 2 days.
Yes, peeling is recommended for the best texture. Apple skins can become tough and papery during the long bake time, which interferes with the glossy, tender consistency of the filling.
Macerate your apples first to draw out excess moisture, then reduce that liquid into a syrup before adding it back. Baking on a lower rack or preheating a baking sheet to place the pie on also helps set the bottom crust immediately.
A mix of tart Granny Smith and sweet Honeycrisp or Braeburn apples is ideal. This combination provides a balance of flavor and ensures the slices hold their shape without turning into mush.
Runny filling usually occurs if the apples weren’t drained or if the pie didn’t cool long enough. The starch and natural pectins need at least 4 hours of cooling to thicken into a viscous syrup.
The Ultimate Apple Pie Recipe
Ready to bake the most beautiful pie of your life? Follow the detailed measurements below to achieve that perfect, upright slice with the thick amber syrup and golden lattice.
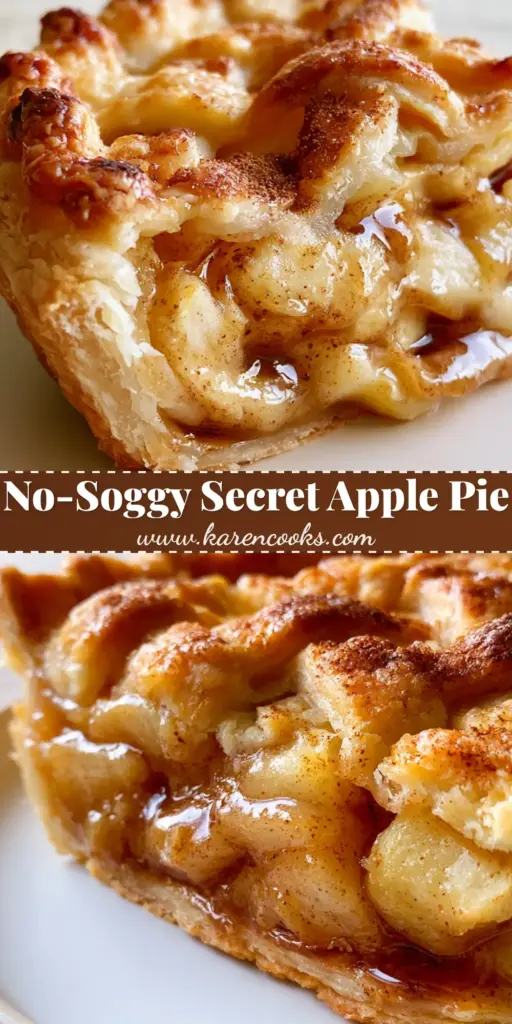
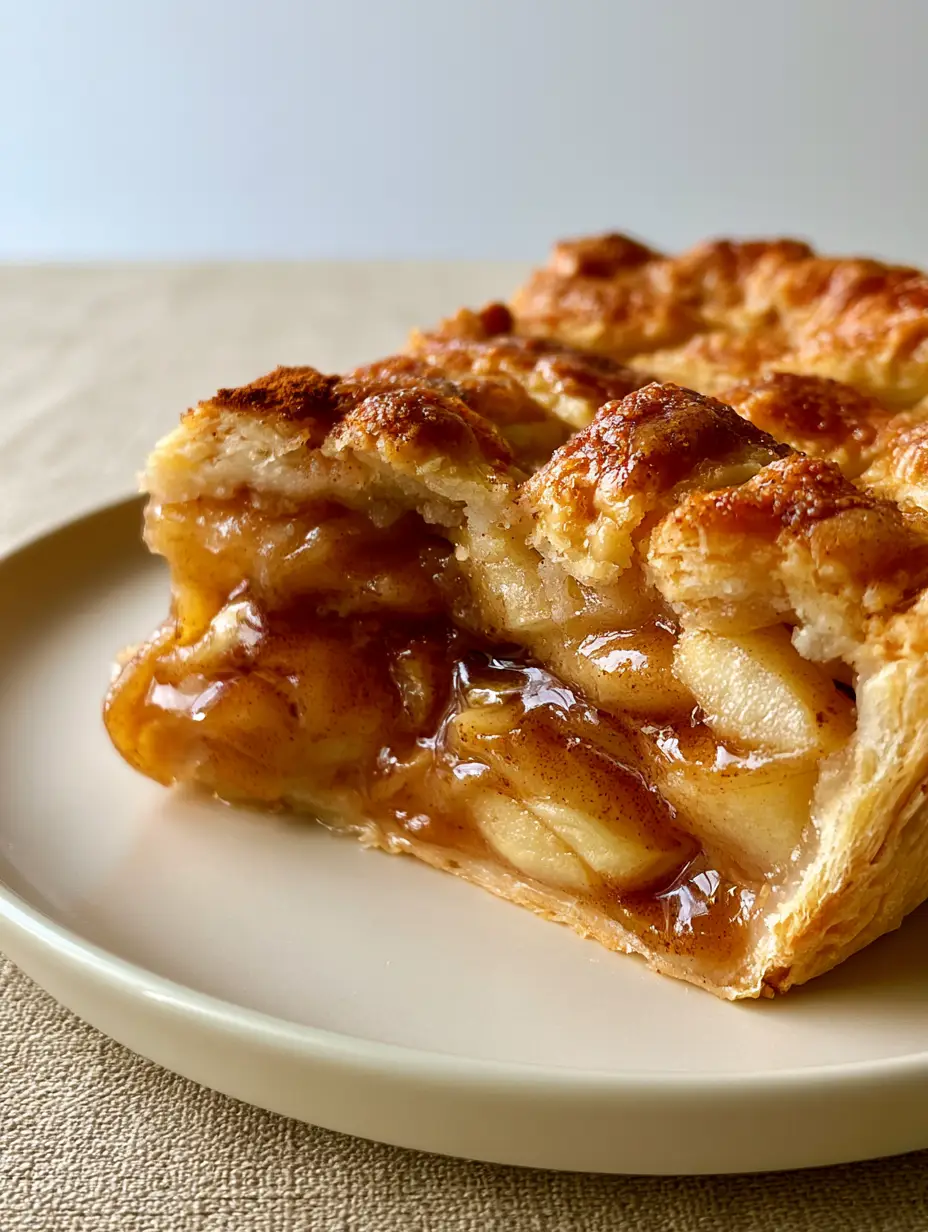
Apple Pie Recipe: The Secret to a Flaky Lattice Crust and Thick Amber Filling
Ingredients
Equipment
Method
- Combine flour and salt. Cut in cold butter until pea-sized crumbs form.
- Add ice water until dough holds. Divide into two discs, wrap, and chill for 1 hour.
- Toss apples with sugar and spices. Let sit in a colander for 45 minutes to collect juices.
- Simmer collected juices in a saucepan until a dark amber viscous syrup forms. Mix back with apples and cornstarch.
- Roll out crusts, fill with fruit, and weave a lattice top. Brush with egg wash and sprinkle with sugar crystals and cinnamon.
- Bake at 400°F (200°C) for 20 mins, then 375°F (190°C) for 35 mins until golden-brown and bubbling.
Notes
Let the pie cool completely to ensure the filling sets into a thick syrup.
Share Your Masterpiece!
Did you master the lattice weave? We want to see! Save this apple pie recipe to your favorite Pinterest board so you never lose it. Follow @karen_cooks_official for more baking secrets and classic pie recipes. Leave a 5-star rating below and upload a photo of your golden-brown crust in the comments!