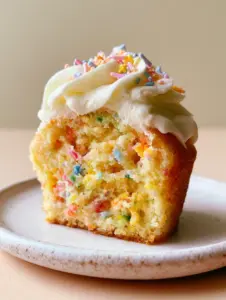
Buttercream icing is the crowning glory of any dessert, but achieving that elusive, professional-grade finish at home can feel like a challenge. If you have ever dreamed of creating billowing clouds of bright white American buttercream frosting that look as good as they taste, you are in the right place. This recipe is designed to produce an ultra-smooth, dense texture with absolutely zero air bubbles, perfect for achieving that high-end bakery look.
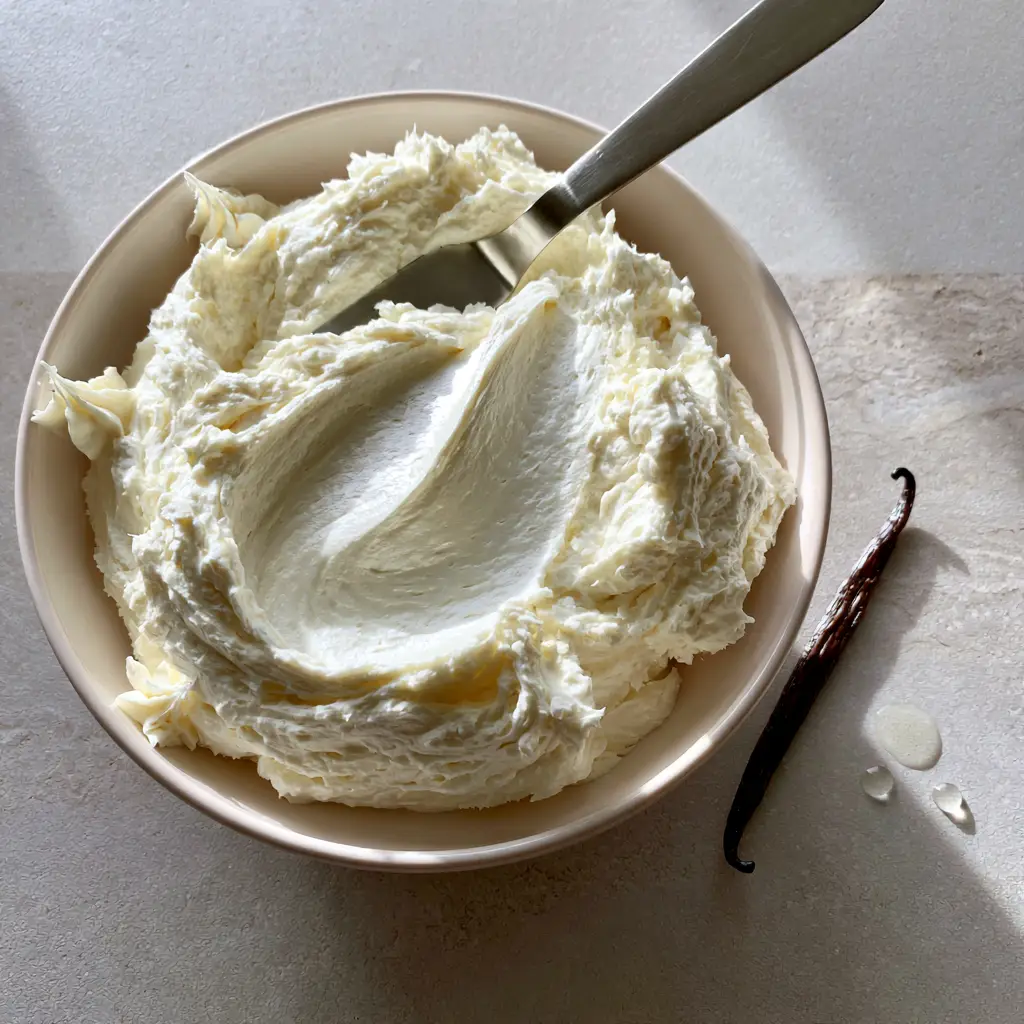
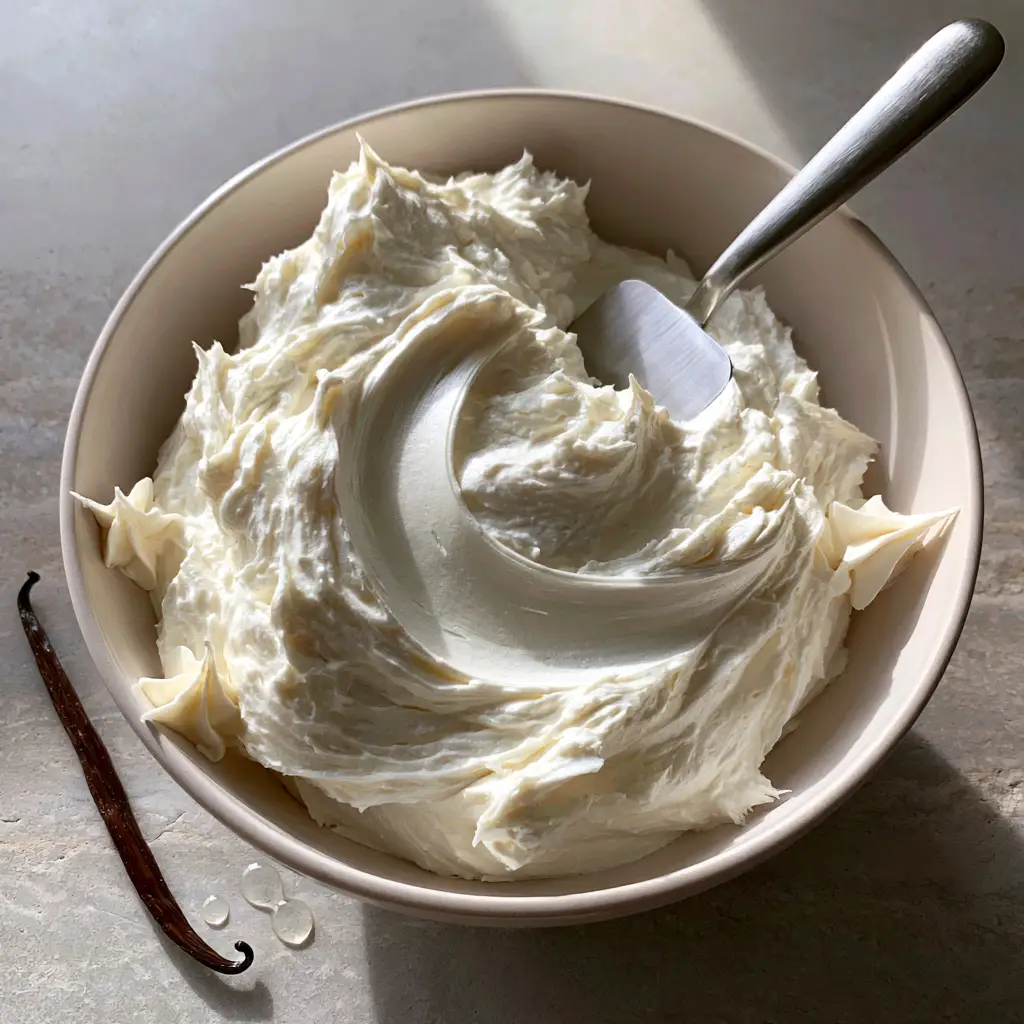
Imagine a minimalist white ceramic bowl overflowing with frosting so creamy it catches the light with a matte-satin sheen. Whether you are frosting a towering layer cake or delicate vanilla cupcakes, this buttercream icing provides the perfect canvas for your culinary creativity. We are moving beyond basic sugar and butter to a refined technique that ensures a stark white finish, punctuated by elegant vanilla bean specks.
Why This Is The Best Buttercream Icing You Will Ever Make
- Unmatched Texture: Unlike aerated frostings, this method focuses on a creamy and dense consistency with zero air bubbles.
- Stark White Aesthetic: By using clear vanilla extract and a specific whipping technique, we eliminate the yellow tint common in homemade frostings.
- Visual Perfection: This icing is sturdy enough to hold a deep, silky smooth ‘s-curve’ wake from a silver metal offset spatula, yet soft enough to melt in your mouth.
- Professional Stability: It holds its shape perfectly for piping onto funfetti cupcakes or spreading over 4-ingredient brownies.
Essential Ingredients for a Snow-White Finish
To achieve the visual recipe blueprint of a pure, bright white buttercream, every ingredient serves a specific culinary purpose. Quality matters when the ingredient list is this focused.
- Unsalted Butter (2 cups / 450g): The foundation of our buttercream icing. Ensure it is slightly cooler than room temperature (about 65°F / 18°C) to maintain a dense, silky structure.
- Powdered Sugar (8 cups / 1kg): Sifted twice to ensure there are no lumps, providing the ultra-smooth mouthfeel.
- Clear Vanilla Extract (2 tsp / 10ml): Critical for maintaining the stark white color while providing that classic nostalgic flavor.
- Vanilla Bean Pod (1 pod): Scraped for those delicate vanilla bean specks that signal a high-end, gourmet dessert.
- Heavy Cream (3-4 tbsp / 45-60ml): Added drop by drop to achieve a matte-satin sheen and the perfect spreadable consistency.
- Fine Sea Salt (pinch): A tiny amount to cut through the sweetness and balance the richness of the butter.
The Science of Achieving Zero Air Bubbles
The biggest enemy of a silky smooth ‘s-curve’ in your frosting is incorporated air. While many recipes tell you to whip the butter for ten minutes, we take a different approach for this buttercream icing.
Step 1: The Low-Speed Creaming Phase
Place your slightly cool butter in a white ceramic bowl or the bowl of a stand mixer. Using the paddle attachment—never the whisk—beat the butter on the lowest speed for about 5 minutes. You want the butter to become pale and smooth without trapping large air pockets. This is the secret to billowing clouds that aren’t full of holes.
Step 2: Incorporating the Sweetness
Add your twice-sifted powdered sugar one cup (125g) at a time. Keep the mixer on low. As the sugar integrates, you will see the mixture transform from a crumbly mess into a creamy and dense paste. Add the clear vanilla extract and the seeds from the vanilla bean pod now.
Step 3: Emulsifying for the Matte-Satin Sheen
Add the heavy cream one tablespoon (15ml) at a time. Watch the texture closely. You are looking for the moment the frosting develops a matte-satin sheen. Once the desired consistency is reached, turn the mixer off. Use a silver offset spatula to hand-stir the buttercream icing for two minutes. This manual labor pushes out any remaining tiny bubbles, leaving you with a stark white, glass-like finish.
Visual & Sensory Cues for Success
When you are finished, the frosting should look exactly like our Midjourney prompt. It should be overflowing in the bowl, looking exceptionally creamy and dense. When you pull your silver metal offset spatula through the center, it should leave a deep, silky smooth ‘s-curve’ wake that catches the light from the side.
The scent should be dominated by the elegant vanilla bean, and the color must be a pure, stark white. If it looks slightly yellow, continue to stir by hand; the mechanical action of the spatula often helps brighten the appearance of the fats.
Expert Tips for Bakery-Quality Buttercream Icing
- The Temperature Sweet Spot: If your butter is too soft, the icing will be greasy. If it’s too cold, it will be lumpy. It should indent slightly when pressed but still feel cool to the touch.
- Paddle Over Whisk: Always use a paddle attachment. Whisk attachments are designed to incorporate air, which creates the bubbles we are trying to avoid in this buttercream icing.
- Sift, then Sift Again: Even high-quality powdered sugar has clumps. Double sifting is the only way to ensure ultra-smooth results.
- Use Purple Food Coloring: If your buttercream icing still looks yellow, add the tiniest microscopic dot of violet gel food coloring. Violet is opposite yellow on the color wheel and will neutralize the tint to create a stark white finish.
How to Store and Revive Your Frosting
This buttercream icing can be made in advance, which is perfect for busy baking days. Store it in an airtight container in the refrigerator for up to two weeks. When you are ready to use it, let it come to room temperature naturally.
Do not re-whip it on high speed, or you will introduce the air bubbles we worked so hard to avoid. Instead, use your silver offset spatula to stir it back to a silky smooth state. You can also freeze this icing for up to three months. Thaw it overnight in the fridge before following the revival steps above.
Creative Ways to Use This Vanilla Bean Frosting
While this buttercream icing is perfect for a classic cheesecake recipe topping or filling snickerdoodle cupcakes, its versatility is endless. Try spreading a thick layer over espresso-infused brownies for a sophisticated contrast of flavors.
It also serves as the perfect base for a cakepop tutorial, providing the necessary moisture to bind the cake crumbs together while maintaining a high-end flavor profile. The stark white color makes it ideal for wedding cakes, birthday parties, or a simple stone countertop display of home-baked goods.
Frequently Asked Questions
Yes, this recipe is dense and sturdy. If you need it firmer for intricate flowers, reduce the heavy cream or add an additional half-cup of sifted powdered sugar.
Yes, because it contains butter and cream, cakes frosted with this icing should be refrigerated. However, always serve at room temperature for the best silky texture.
To achieve a stark white color, use clear vanilla extract instead of brown, and add a microscopic amount of violet gel food coloring to neutralize the natural yellow tint of the butter.
Air bubbles are usually caused by using a whisk attachment or whipping at too high a speed. Use a paddle attachment on low speed and finish by stirring with a spatula by hand.
The Ultimate Buttercream Icing Recipe Card
Buttercream Icing: The Ultimate Ultra-Smooth Vanilla Bean Recipe
Ingredients
Equipment
Method
- Place cool unsalted butter in a large bowl. Using a paddle attachment on the lowest speed, beat for 5 minutes until pale and smooth.
- Gradually add double-sifted powdered sugar one cup at a time on low speed. Mix in clear vanilla extract, vanilla bean seeds, and salt.
- Add heavy cream one tablespoon at a time while mixing on low until a matte-satin sheen develops and the texture is dense and creamy.
- Turn off the mixer. Use a silver offset spatula to stir the icing by hand for 2 minutes, smoothing out any air pockets for a perfect finish.
Notes
Always sift sugar twice for the smoothest possible texture.
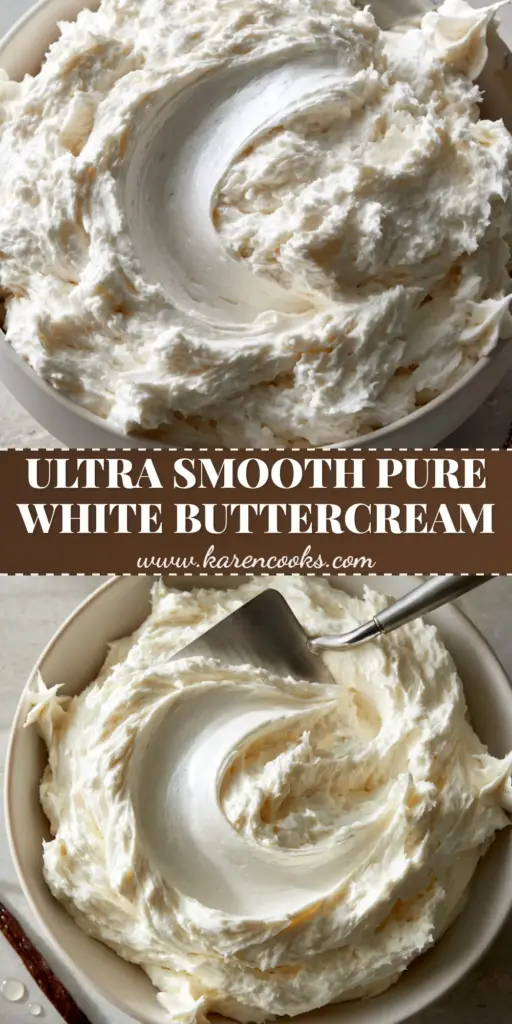
Save This Recipe for Your Next Baking Project!
Ready to level up your cake decorating game? Make sure to save this recipe to your Pinterest boards so you always have the secret to ultra-smooth buttercream icing at your fingertips! If you try this recipe, I would love to see your results. Please follow @karen_cooks_official for more professional baking tips and share a photo of your silky smooth frosting in the comments below.
Don’t forget to leave a 5-star rating if you found these tips helpful! Happy baking!