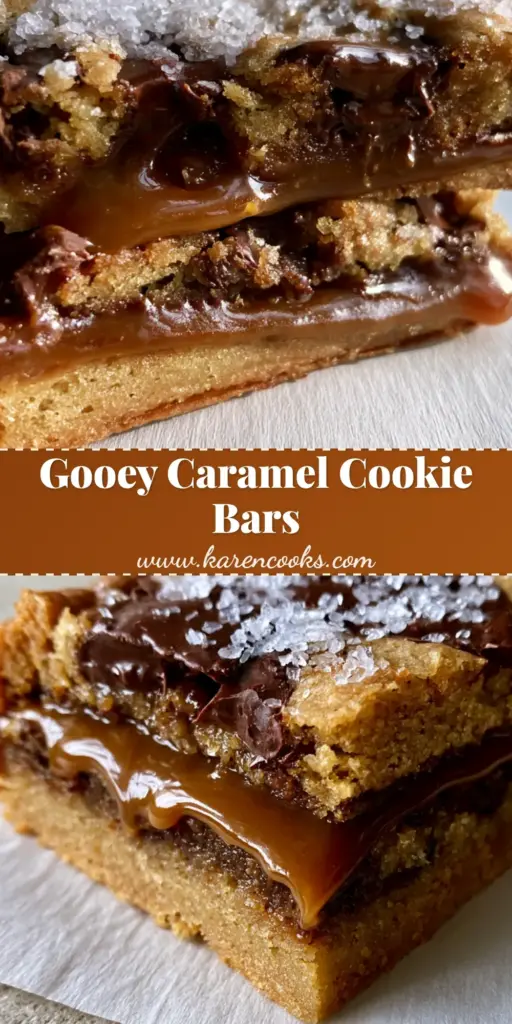
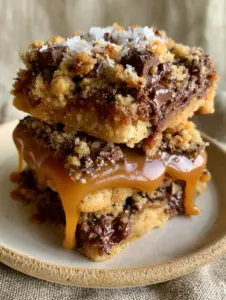
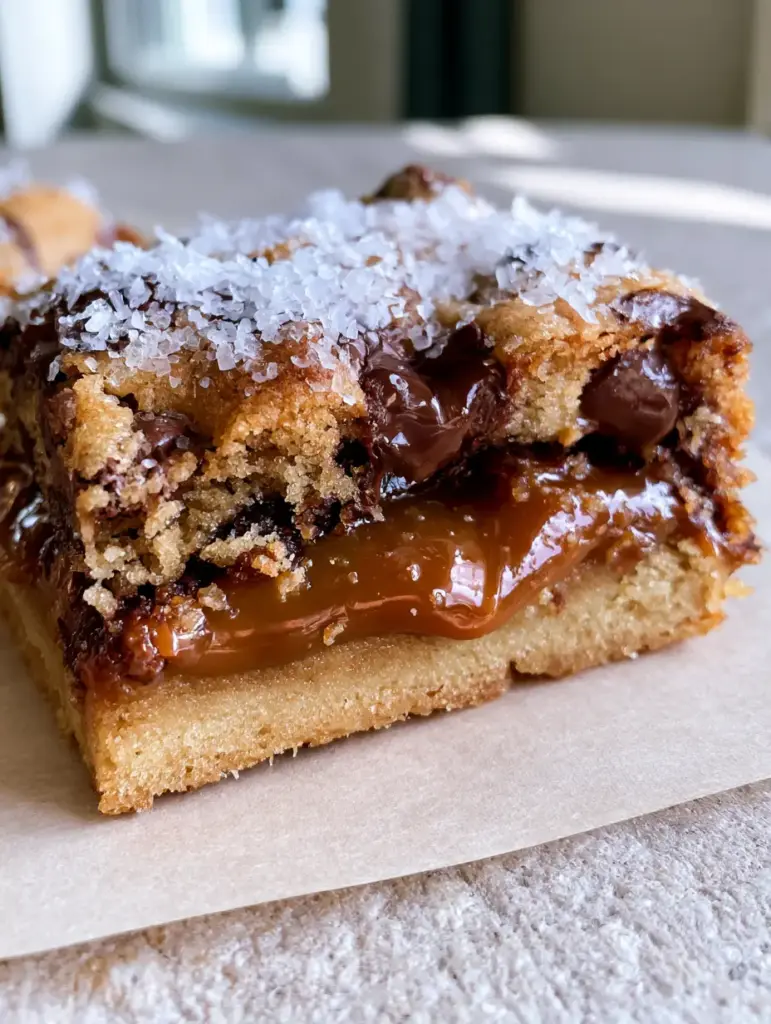
There is something inherently visceral about the perfect handheld dessert. Imagine a heavy, warm square of chocolate chip caramel cookie bars, sliced right down the middle to reveal a literal river of molten amber sugar. The way the light catches the glistening pools of dark chocolate and the sparkling flakes of sea salt isn’t just luck; it is the result of intentional culinary architecture.
When you pull these bars apart, the middle layer offers a dramatic, ultra-gooey stretch that defines a truly professional bake. These aren’t your average thin squares; they are thick, substantial treats designed for those who believe more is more. Resting on clean, textured white parchment paper, these bars represent the ultimate intersection of a classic cookie and an decadent candy bar.
Whether you are baking for a crowd or looking for that one “wow” recipe to keep in your back pocket, this guide will walk you through the science of achieving that specific, lightly browned crust and the soft, rich interior seen in the world’s best bakeries. Let’s dive into the forensics of this masterpiece.
Why These Decadent Bars Are a Game-Changer
- Structural Integrity: A dual-layer baking process ensures a sturdy golden-brown bottom crust that holds the weight of the gooey center without collapsing.
- The Amber Stretch: We use a specific ratio of heavy cream to caramel to achieve that warm, amber-colored sauce that stays soft even at room temperature.
- Sensory Contrast: The bitterness of glistening dark chocolate pools perfectly balances the intense sweetness of the caramel, finished with the crunch of coarse flaky sea salt.
- Textural Harmony: You get the chewy, lightly browned edges of a traditional cookie combined with the fudge-like interior of a gourmet brownie.
The Architectural Foundation: Essential Ingredients
Unsalted Butter (1 cup / 225g): We melt and then slightly cool the butter to ensure a chewier, denser bar rather than a cakey one. It provides the fat necessary to carry the flavor of the brown sugar.
Light Brown Sugar (1.5 cups / 300g): The high molasses content in brown sugar is what gives our chocolate chip caramel cookie bars that signature soft-baked texture and deep caramel-like undertone.
Large Eggs (2): These act as the binder, providing the protein structure needed to support the thick layers of cookie and caramel without crumbling apart when handled.
Pure Vanilla Extract (1 tbsp / 15ml): A generous amount of high-quality vanilla acts as a flavor enhancer, bridging the gap between the salty crust and the sweet filling.
All-Purpose Flour (2.25 cups / 280g): This provides the primary structure; we measure precisely to ensure the dough is thick enough to be pressed into the pan but soft enough to remain tender.
Dark Chocolate Chunks (1.5 cups / 255g): Using high-percentage cacao dark chocolate creates those “glistening pools” rather than standard chips that hold their shape too rigidly.
Caramel Bits or Squares (11 oz / 310g): This is the heart of the recipe; choosing a high-quality caramel ensures that rich, amber hue and a smooth, professional-grade melt.
Heavy Cream (2 tbsp / 30ml): Whisked into the melted caramel, this prevents the filling from turning back into a hard candy, keeping it “ultra-gooey” and pull-apart soft.
Coarse Flaky Sea Salt (1 tsp / 5g): These sparkling white flakes are not just for garnish; they provide a sharp mineral contrast that cuts through the richness of the dark chocolate.
Professional Tools for the Perfect Bake
To achieve the visual result of a thick, uniform bar, you will need a 9×9 inch (23x23cm) metal baking pan. Metal conducts heat more efficiently than glass, which is vital for getting those golden-brown edges. You will also need high-quality white parchment paper; this prevents sticking and allows you to lift the entire slab out of the pan for those clean, handheld smartphone-style photos. A heavy-bottomed saucepan is essential for melting the caramel without scorching it, and a sharp chef’s knife will ensure you can slice through the chocolate pools without shattering the crust.
The Two-Phase Baking Strategy
Preparing the Golden-Brown Foundation
Start by lining your pan with parchment paper, leaving an overhang on the sides. In a large bowl, whisk together your melted butter and brown sugar until smooth and glossy. Add the eggs and vanilla, beating vigorously until the mixture lightens slightly in color.
Gently fold in your dry ingredients (flour, baking soda, and a pinch of salt) until just combined. Fold in half of your dark chocolate chunks. Press exactly half of this dough into the bottom of your prepared pan, smoothing it out into an even layer. Bake this base for 10-12 minutes at 350°F (175°C) until it is just set. This “pre-bake” ensures the caramel doesn’t sink to the bottom and make the crust soggy.
Creating the Ultra-Gooey Amber Center
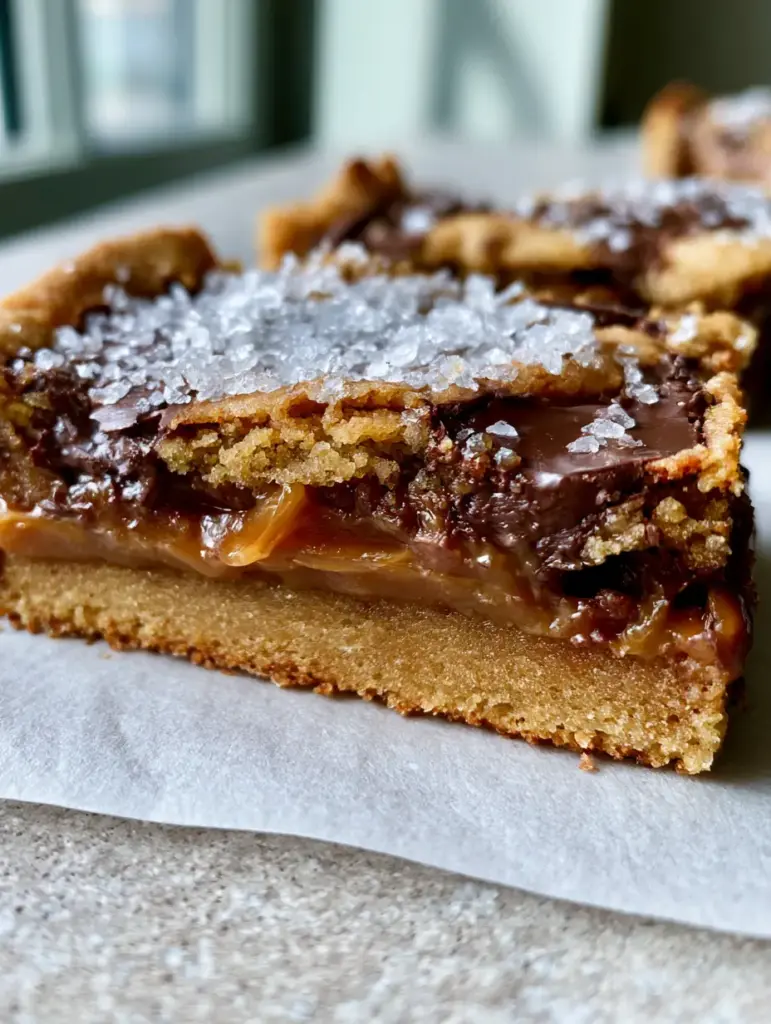
While the base is in the oven, combine your caramel bits and heavy cream in a small saucepan over medium-low heat. Stir constantly until the mixture is a smooth, liquid amber. You should see a gentle steam rising, but do not let it boil. Once the base comes out of the oven, pour this warm caramel sauce directly over the center, leaving a small border around the edges so the caramel doesn’t stick to the pan walls.
The Final Layer and Chocolate Pools
Take the remaining cookie dough and flatten small pieces of it with your hands, placing them over the caramel like a patchwork quilt. It is okay if some caramel peeks through! Sprinkle the remaining dark chocolate chunks over the top, pressing them slightly into the dough. Return to the oven for another 15-20 minutes. Watch for the sensory cues: the top should be lightly browned and the chocolate should look like glistening, half-melted pools.
Expert Tips for Bakery-Style Results
- The Parchment Hack: Always use white parchment paper to mirror the aesthetic of a professional bakery. It also makes cleanup a breeze.
- The Chill Factor: For those perfect “halved” photos where the caramel stretches but doesn’t run everywhere, let the bars cool for at least 30 minutes before slicing.
- The Salt Timing: Sprinkle your coarse flaky sea salt immediately after the bars come out of the oven. The residual heat from the dark chocolate pools will help the salt crystals adhere.
- Avoid Overmixing: Once you add the flour, mix only until the white streaks disappear to keep the crust tender rather than tough.
Maximizing Your Dessert Spread
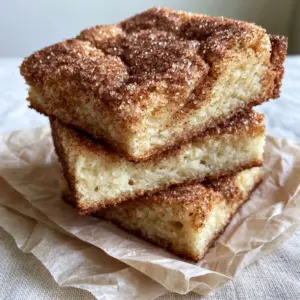
These chocolate chip caramel cookie bars are a centerpiece, but they pair beautifully with other textured treats. If you love the combination of sweet and salty, you might also enjoy these salted caramel cookie bars for a slightly different ratio. For those who enjoy a more complex flavor profile, try serving these alongside cookie butter bars or even a tray of snickerdoodle cookie bars to provide a cinnamon-spiced contrast.
If you are hosting a summer gathering, these bars are sturdy enough to be served alongside a refreshing pineapple mango rum punch. The acidity of the fruit helps cleanse the palate between rich bites of caramel and chocolate.
How to Store and Reheat Your Bars
Keep these bars in an airtight container at room temperature for up to 4 days. If you prefer that “ultra-gooey” interior days later, simply pop a bar in the microwave for 10 seconds. This will re-melt the dark chocolate pools and soften the caramel sauce to its original amber stretch. For long-term storage, these bars freeze exceptionally well; wrap them individually in plastic wrap and store in a freezer bag for up to 3 months.
Frequently Asked Questions
Most jarred caramel sauces are too thin for this recipe and will soak into the dough. It is best to use melted caramel bits or squares mixed with a little cream for that specific thick, amber stretch.
Yes! Pre-baking the base for 10 minutes creates a structural foundation. Without it, the heavy caramel filling would sink to the bottom, resulting in a soggy, sticky mess that won’t hold its shape.
Use high-quality dark chocolate bars chopped into chunks rather than standard chips. Chocolate chunks contain less stabilizers, allowing them to melt into wide, glistening pools during the final stage of baking.
Use a coarse, flaky sea salt like Maldon. Table salt is too fine and will simply make the bars taste salty, whereas flaky salt provides a visible sparkle and a distinct textural crunch.
This usually happens if the caramel is overcooked or if heavy cream was omitted. The heavy cream acts as an interferent, keeping the sugar crystals from hardening back into a firm candy state.
The Ultimate Chocolate Chip Caramel Cookie Bars Recipe
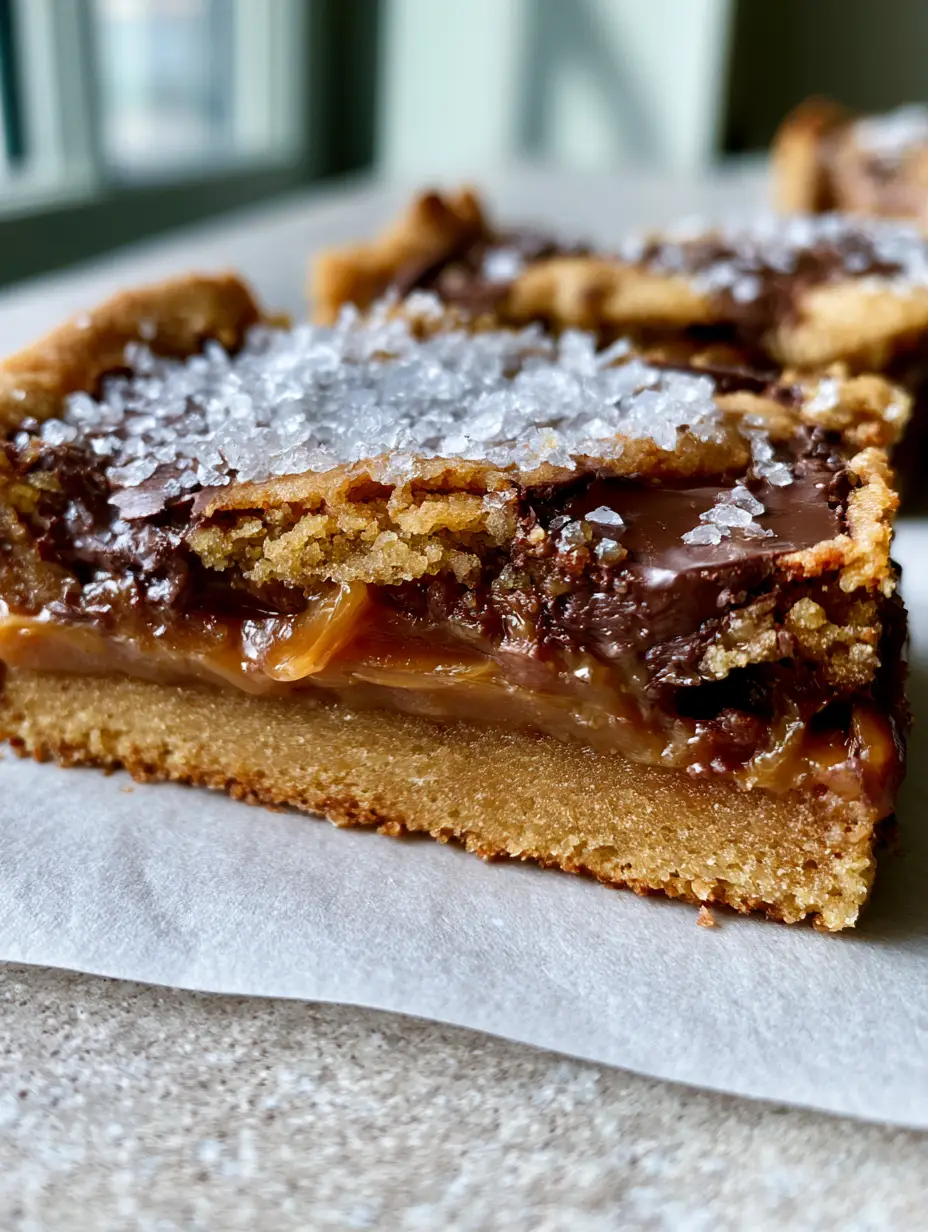
Chocolate Chip Caramel Cookie Bars with a Thick Gooey Salted Center
Ingredients
Equipment
Method
- Whisk melted butter and brown sugar until smooth. Add eggs and vanilla, beating until well combined.
- Fold in flour and half of the chocolate chunks. Press half the dough into a parchment-lined 9x9 pan.
- Bake the bottom layer at 350°F (175°C) for 10-12 minutes until just set.
- Melt caramel bits and heavy cream in a saucepan over low heat until smooth and amber-colored.
- Pour caramel over the baked base. Top with dollops of remaining dough and remaining chocolate chunks.
- Bake for 15-20 minutes until the top is golden-brown and chocolate is glistening. Garnish with sea salt immediately.
Notes
Use a hot knife for clean cuts through the dark chocolate pools.
Share Your Gooey Creations!
There is nothing we love more than seeing these recipes come to life in your kitchens. If you captured that perfect “caramel stretch” photo, be sure to tag us! These chocolate chip caramel cookie bars are designed to be shared, so don’t forget to pin this recipe to your favorite dessert board on Pinterest so you never lose it. Happy baking!