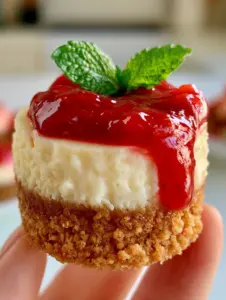
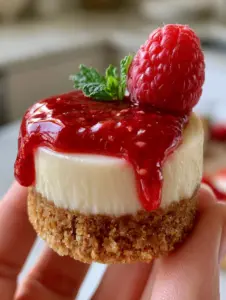
When the sun is shining and the local berry patches are bursting with fruit, nothing captures the essence of summer quite like this Strawberry Shortcake Dip. This isn’t just a simple fruit dip; it is a meticulously layered dessert experience that mirrors the classic flavors of a traditional shortcake in a shareable, crowd-pleasing format.
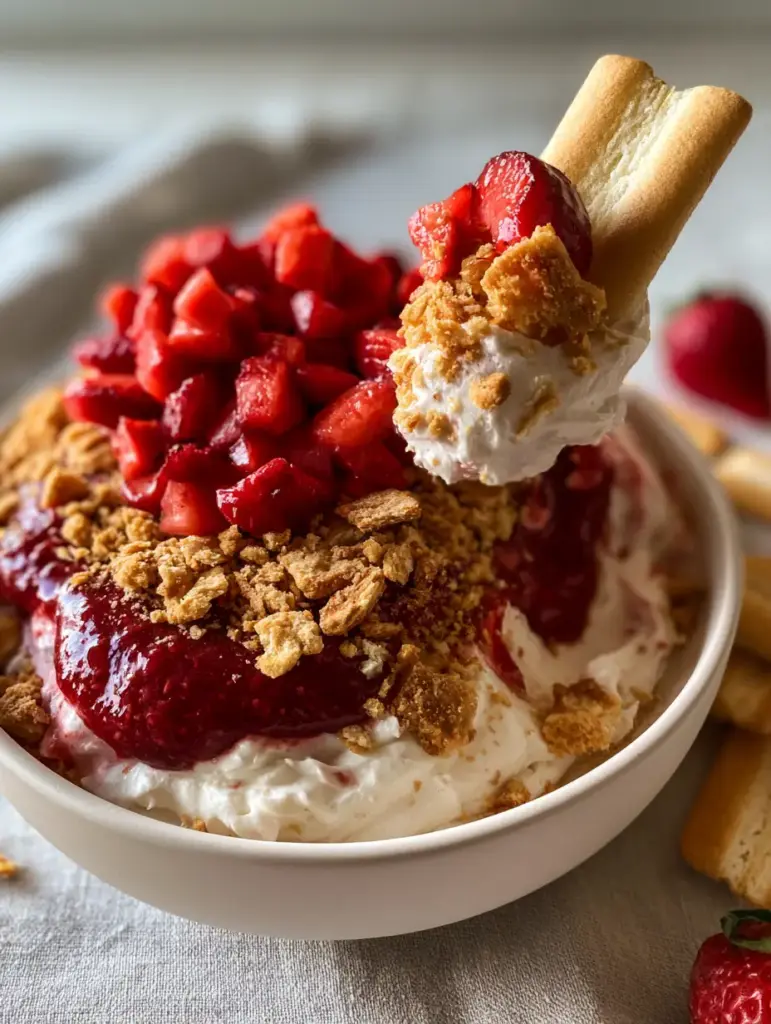
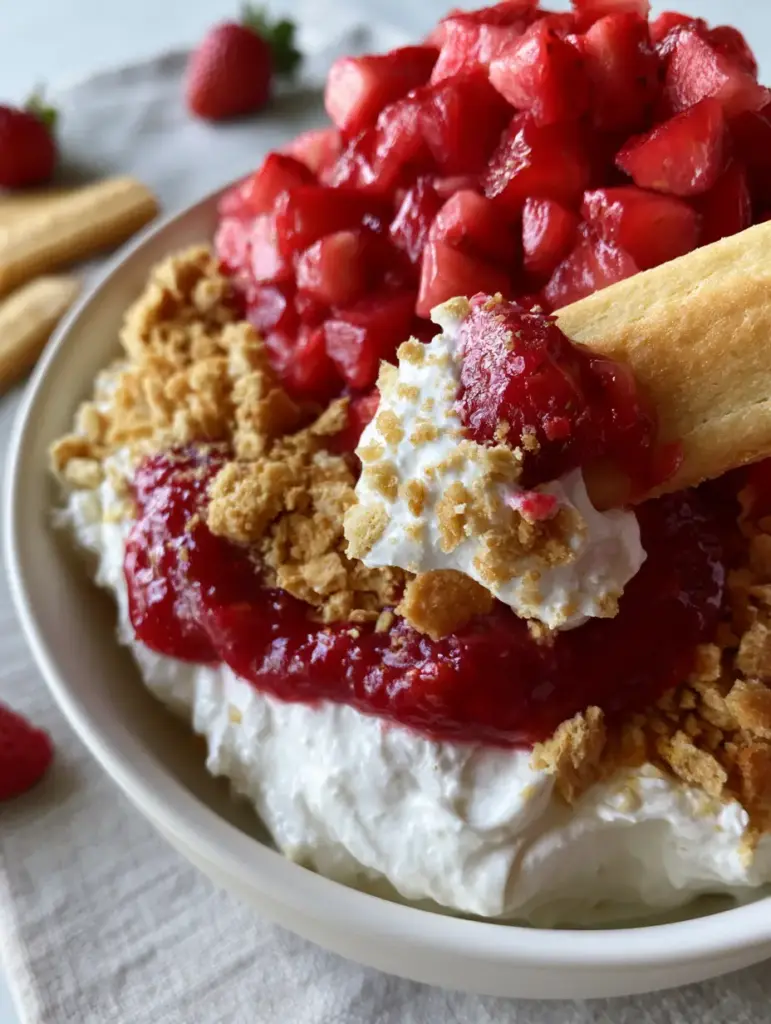
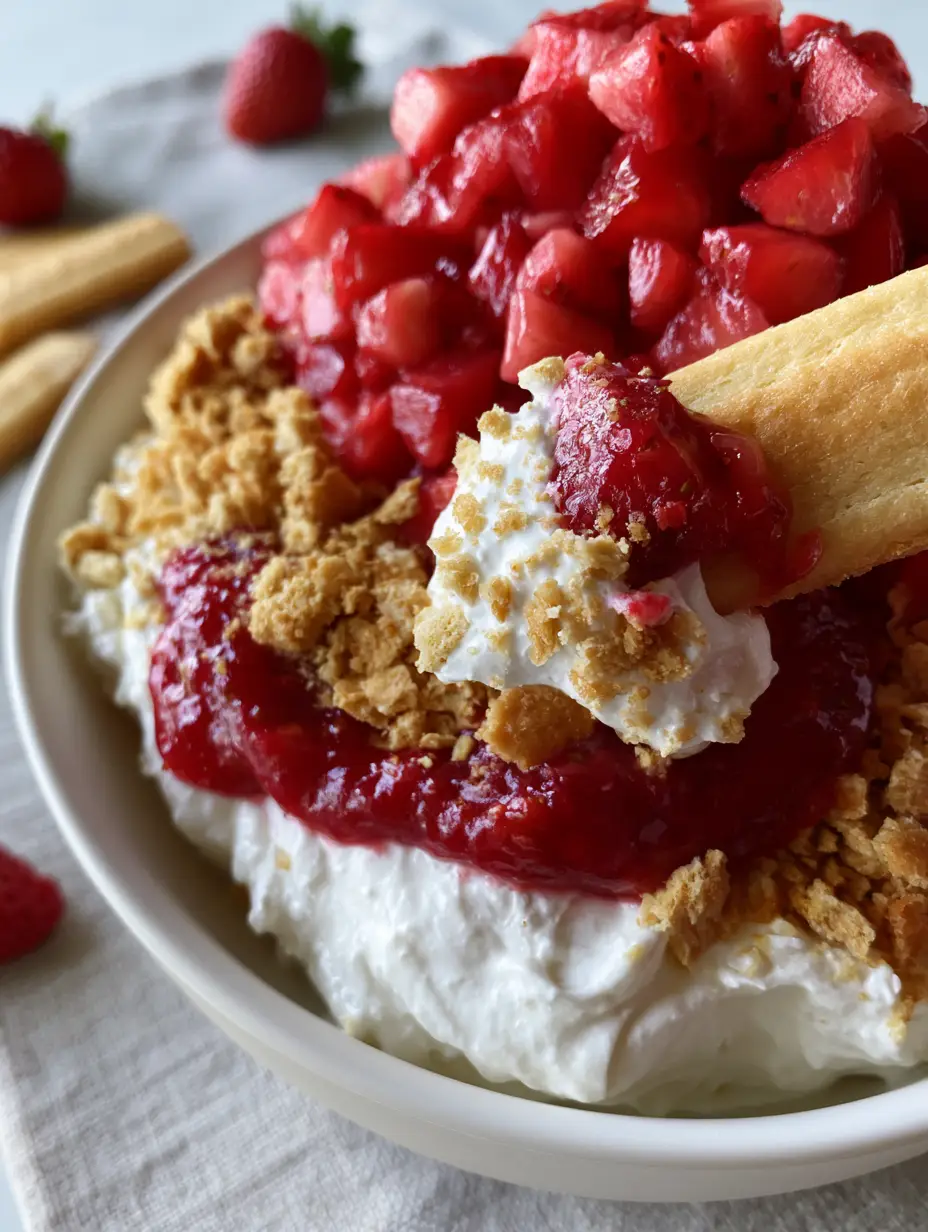
Imagine a velvety, cloud-like foundation of whipped cream cheese and marshmallow cream, topped with the smoky, nostalgic crunch of toasted graham cracker crumbs. We then finish it with a signature glossy red strawberry puree drizzle and a mountain of fresh, hand-diced berries that glisten under the light.
Captured in its best light, this Strawberry Shortcake Dip looks like an authentic, handheld masterpiece—the kind of dish that stops the scroll and demands a vanilla wafer plunge. Whether you are hosting a backyard BBQ or looking for a quick weeknight treat, this recipe delivers professional-grade results with minimal effort.
Why This Layered Strawberry Shortcake Dip is the Ultimate Party Hit
- Textural Contrast: The combination of the “velvety” whipped base and the “golden-brown” toasted crumbs provides a professional mouthfeel that mimics a baked crust.
- Glossy Visual Appeal: Our homemade strawberry reduction creates a deep-red, glossy finish that makes the dip look like it came straight from a high-end patisserie.
- Balanced Sweetness: By using both marshmallow cream and fresh citrus, we achieve a profile that is sweet enough for a treat but bright enough to keep you coming back for “just one more” dip.
- No-Bake Ease: You get all the structural integrity of a strawberry cheesecake trifle without ever having to turn on the oven for a cake base.
The Essential Pantry Staples for a Velvety Dip Base
To achieve the specific visual and structural results seen in our “Visual Recipe Blueprint,” every ingredient serves a dual purpose of flavor and architecture. Here is what you will need for your Strawberry Shortcake Dip.
Full-Fat Cream Cheese (226g / 8oz): Ensure this is completely softened to room temperature to avoid lumps in your whipped foundation. It provides the necessary “thick and velvety” structure that holds up the toppings.
Marshmallow Cream (198g / 7oz): This “invisible” stabilizer provides a unique elasticity and sweetness that regular powdered sugar cannot replicate. It creates that signature “marshmallow cream mixture” look described in the Midjourney prompt.
Salted Butter (30g / 2 tbsp): This is used to toast the graham cracker crumbs in a skillet. The fat carries the heat evenly, ensuring every crumb reaches that perfect “golden-brown” hue.
Graham Cracker Sheets (approx. 5-6): When crushed, these mimic the “shortcake” element. Toasting them with a hint of sugar creates a “textured dollop” on every cookie scoop.
Fresh Strawberries (450g / 1lb): We split these into two roles: half are simmered into a “glossy red strawberry puree” and the other half are “finely diced” for the crowning pile.
Vanilla Wafer Cookies: These are the “golden vanilla wafer cookies” used for dipping. Their circular shape and sturdy crunch make them the ideal vehicle for the heavy cream cheese base.
Professional Culinary Tools for the Perfect Presentation
Achieving the “eye-level smartphone photo” aesthetic requires the right tools to ensure the layers stay distinct and the textures remain vibrant.
Stand Mixer or Hand Mixer: High-speed aeration is the only way to get that “thick, velvety” whipped cream cheese texture. A whisk will not provide enough power to incorporate the marshmallow cream smoothly.
Small Heavy-Bottomed Saucepan: Essential for reducing the strawberry puree. A heavy bottom prevents the sugars from scorching, keeping your drizzle “glossy” and “deep-red” rather than burnt and brown.
Fine-Mesh Sieve: If you want a perfectly smooth “glossy red strawberry puree drizzle,” you will want to strain out the seeds after simmering. This ensures the drizzle looks like a professional glaze.
Offset Spatula: This tool helps you smooth the whipped base into your “off-white ceramic bowl” with those beautiful, intentional swooshes that catch the light.
Step-By-Step Guide to Crafting the Perfect Strawberry Shortcake Dip
Step 1: Engineering the Toasted Graham Cracker “Shortcake” Crumb
In a small skillet over medium-low heat, melt your butter. Add the crushed graham cracker crumbs and a pinch of sugar, stirring constantly for 3-5 minutes.
Watch for the “visual cue”: the crumbs will transition from a pale tan to a “toasted, golden-brown” and emit a nutty, toasted aroma. Remove from heat immediately and spread on a plate to cool; this keeps them crunchy rather than soggy when they hit the dip.
Step 2: Simmering the Glossy Red Strawberry Puree Drizzle
Take 1 cup (150g) of your strawberries and blend them until smooth. Pour into a saucepan with 1 tbsp (15g) of sugar and a teaspoon of lemon juice.
Simmer over medium heat for 6-8 minutes until the liquid reduces by half. You are looking for a “thick, glossy” consistency that coats the back of a spoon—this is your “deep-red strawberry puree” that provides the high-contrast visual pop.
Step 3: Whipping the Velvety Cream Cheese Foundation
In your mixing bowl, beat the softened cream cheese until it is completely smooth and light. Slowly fold in the marshmallow cream and a splash of vanilla extract.
Continue to whip on high speed for 2 minutes until the mixture is “thick and velvety.” You should see soft peaks that hold their shape, ensuring the “Strawberry Shortcake Dip” can support the weight of the toppings without sinking.
Step 4: The Art of the Layered Assembly
Transfer the whipped mixture into a modern ceramic bowl. Smooth the top, then create a generous scattering of the cooled “toasted, golden-brown graham cracker crumbs” around the perimeter.
Drizzle the “glossy red strawberry puree” in a circular motion over the crumbs. Finally, crown the center with a “neat pile of finely diced, juicy ripe red fresh strawberries,” just like a festive Valentine’s Day treat or a summer social centerpiece.
Expert Tips for a Picture-Perfect Result
- Temperature Control: Never add the “glossy red strawberry puree drizzle” while it is hot. It will melt the “whipped cream cheese base” instantly. Let it reach room temperature first.
- Macerate the Berries: For the “finely diced” topping, toss the berries with a teaspoon of sugar 10 minutes before serving. This draws out the juices, making them look “juicy” and “ripe” for the photo.
- The “Cookie Dip” Technique: When serving, place one “golden vanilla wafer cookie” into the mixture at a 45-degree angle. This “scoops up a generous, textured dollop” and invites guests to dive in.
- Prevent Browning: If making ahead, a tiny squeeze of lemon juice on the diced berries keeps them vibrant and “ripe red” for hours.
Storage and Make-Ahead Instructions
This Strawberry Shortcake Dip is best served fresh to maintain the crunch of the “toasted golden-brown graham cracker crumbs.” However, you can prepare the components in advance.
Store the whipped cream cheese base in an airtight container for up to 3 days in the refrigerator. Keep the toasted crumbs in a dry container at room temperature to maintain their snap.
The “glossy red strawberry puree” can be chilled for up to a week. Assemble the layers just before the party starts to ensure the “textured dollop” experience is perfect for your guests.
What to Serve With Your Strawberry Dessert Dip
While “golden vanilla wafer cookies” are the classic choice, you can expand your dipping board for more variety. Think of this as a lighter alternative to a no-bake Oreo cheesecake.
Pretzel twists provide a salty contrast to the sweet “marshmallow cream mixture.” You can also serve this alongside a platter of Rice Krispy treats for a double-dose of marshmallow goodness.
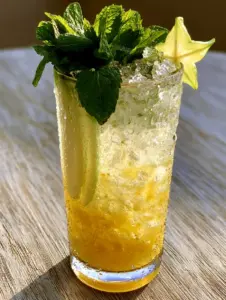
If you are hosting a larger event, this dip pairs beautifully with a refreshing pineapple mango rum punch to cut through the richness of the cream cheese.
Frequently Asked Questions
You can prep the whipped base and the puree 24 hours ahead, but wait to add the toasted graham cracker crumbs and diced berries until just before serving to keep them from getting soggy.
While you can use whipped topping, marshmallow cream provides a thicker, more ‘velvety’ structure that better supports the heavy weight of the diced strawberries and glossy puree drizzle.
The secret is reducing the fresh strawberry puree with a little sugar over medium heat. As the water evaporates, the natural pectins and sugar create a thick, glossy red finish.
Golden vanilla wafer cookies are the standard choice for their ‘shortcake’ flavor, but graham crackers, shortbread cookies, or even fresh apple slices work beautifully with this cream cheese base.
This usually happens if they weren’t toasted in butter or if they were added to the dip while the strawberry puree was still warm. Always toast the crumbs and let all components cool before assembly.
Strawberry Shortcake Dip: The Complete Printable Recipe
Strawberry Shortcake Dip: The Ultimate Creamy 15-Minute No-Bake Dessert
Ingredients
Equipment
Method
- Melt butter in a skillet. Add graham cracker crumbs and stir over medium-low heat for 3-5 minutes until they are toasted golden-brown and fragrant. Set aside to cool.
- Puree 1 cup (150g) of strawberries. Simmer in a saucepan with 1 tbsp (15g) sugar for 6-8 minutes until thick and glossy. Let cool completely.
- In a large bowl, beat softened cream cheese until smooth. Add marshmallow cream and vanilla, whipping for 2 minutes until thick and velvety.
- Spread the mixture into a bowl. Top with toasted crumbs, the glossy red strawberry puree drizzle, and the remaining finely diced fresh strawberries. Serve with vanilla wafers.
Notes
Wait for the puree to cool before drizzling to maintain the dip's structure.
Closing & Call to Action
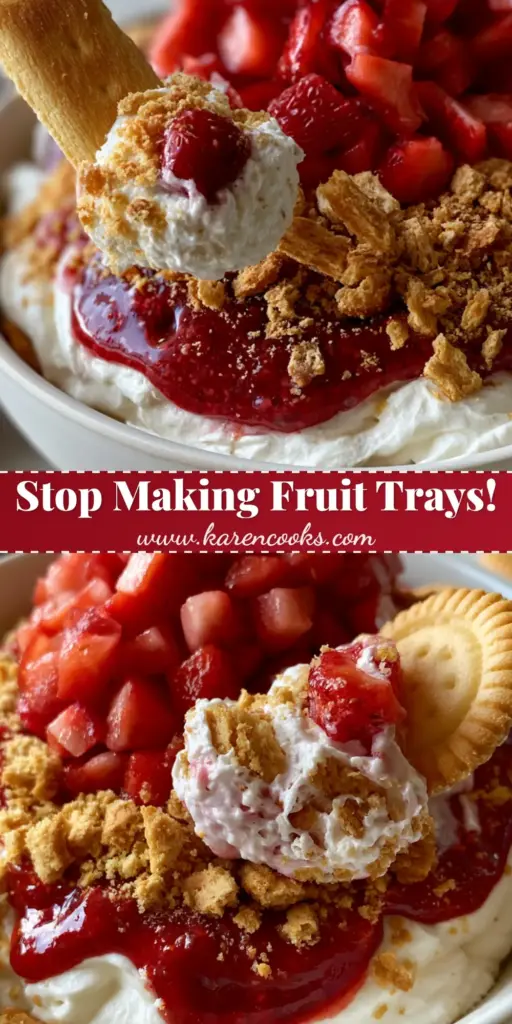
This Strawberry Shortcake Dip is the ultimate solution for those who want a high-impact dessert without the high-stress baking. Its “thick, velvety” base and “glossy, deep-red” finish make it a stunning centerpiece for any gathering. Once you scoop that first “textured dollop” with a vanilla wafer, you will understand why this is a summer staple!
If you loved this recipe, please leave a 5-star review and let me know in the comments how your layers turned out! Don’t forget to follow me and share your creations to Pinterest.