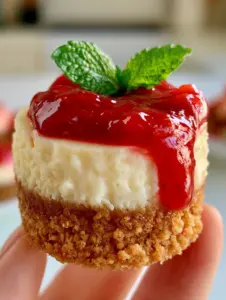
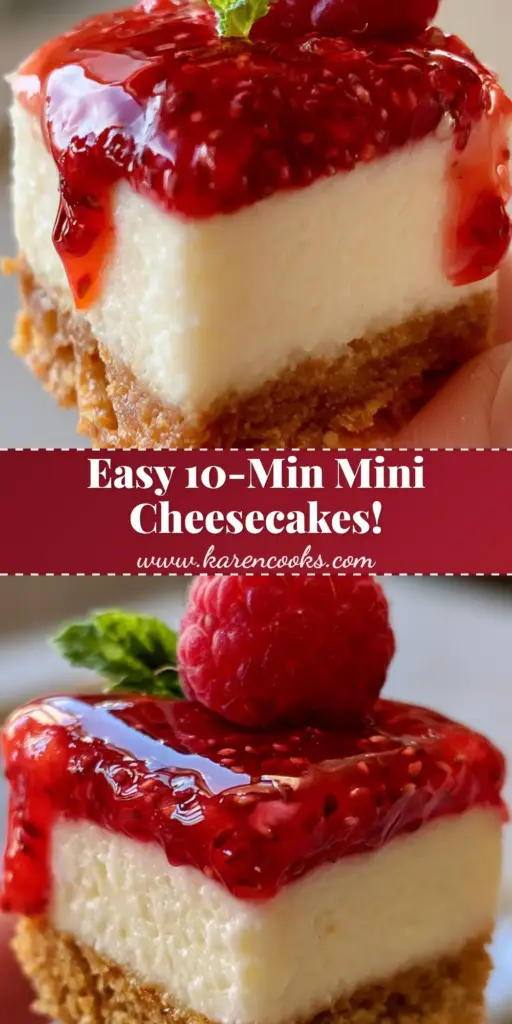
There is nothing quite like the visual appeal of a perfectly executed mini cheesecake recipe. Imagine holding a single, handheld dessert where every layer is a masterpiece of texture and color. The base is a thick, rustic, golden graham cracker crust that offers a satisfying crunch with every bite. Above it sits a thick, ultra-creamy, smooth ivory-white cream cheese filling that melts in your mouth. To finish, a glossy, vibrant red strawberry glaze drips gently down the sides, accented by real fruit bits and tiny seeds.
This recipe isn’t just about flavor; it is about achieving that professional, clean-cut look you see in high-end bakeries. We are recreating the exact POV close-up experience—the kind of dessert that looks so authentic and delicious, it feels like you could reach right through the screen and take a bite. Whether you are preparing these for a party or a quiet night in, these mini cheesecakes are designed to impress both the eyes and the palate.
If you have explored our other best mini cheesecake recipes, you know we take our dessert architecture seriously. From the structural integrity of the crust to the silkiness of the batter, every detail matters. This particular version stands out because of its vibrant garnishes: a single fresh, plump raspberry and a delicate green mint leaf that add the final touch of elegance.
Why This Mini Cheesecake Recipe is a Total Game Changer
- Structural Perfection: A thick, golden-brown graham cracker crust that stays crisp and buttery, providing the perfect foundation for the cream cheese.
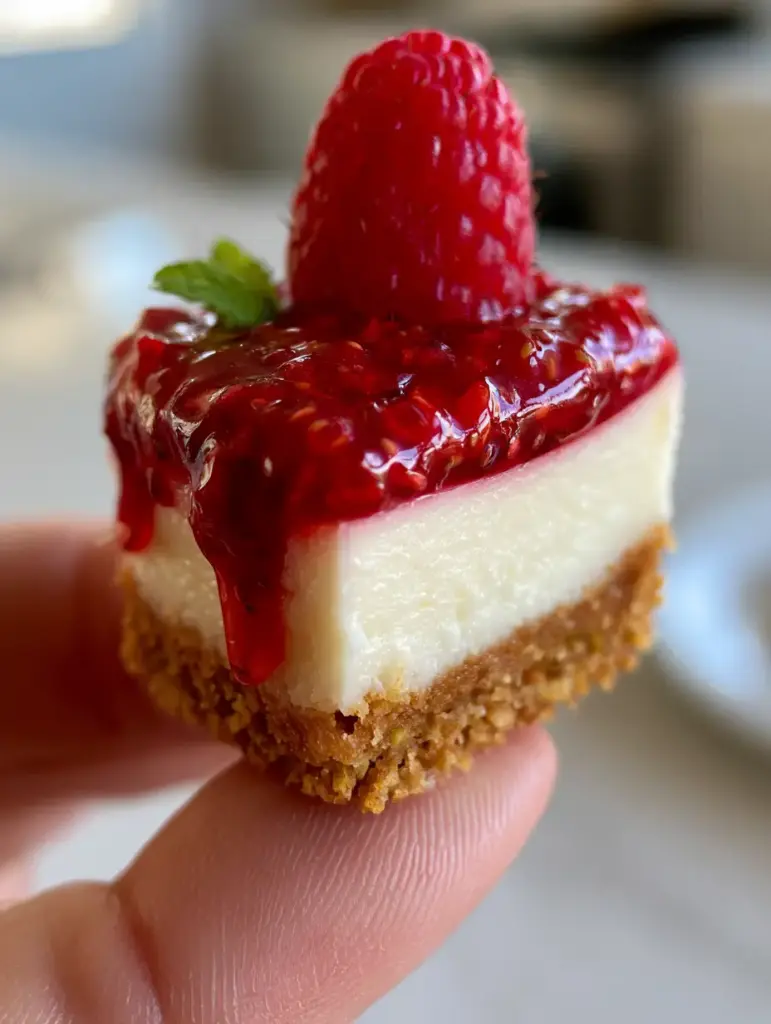
- Visual Contrast: The stark, clean transition between the smooth ivory filling and the glossy, dripping strawberry glaze creates a stunning “clean-cut” aesthetic.
- Sensory Harmony: The balance of tangy cream cheese, sweet strawberry fruit bits, and the fresh pop of a whole raspberry and mint leaf.
- Foolproof Technique: We use specific sensory cues to ensure your cheesecakes never crack and always maintain their ivory-white hue.
The Foundation: Essential Ingredients for Success
Graham Cracker Crumbs: You will need 1 ½ cups (150g) of finely crushed crumbs. These provide the rustic, golden texture and the structural “snap” required for a handheld dessert.
Unsalted Butter: Use 5 tbsp (70g) of melted butter to bind the crumbs. The butter is the “invisible” glue that ensures your crust is golden and visible, rather than dry and sandy.
Full-Fat Cream Cheese: You need 16 oz (450g) of high-quality cream cheese. It must be at room temperature to achieve that smooth ivory-white filling without any unsightly lumps.
Granulated Sugar: ¾ cup (150g) is used to sweeten the batter. It dissolves during the mixing process to maintain the silky, ultra-creamy texture described in our visual blueprint.
Sour Cream: Adding ½ cup (120ml) of room-temperature sour cream is our secret for that specific ivory color. It adds a subtle tang and softens the protein structure of the cheese.
Large Eggs: Two large eggs (approx. 100g) act as the binder. Ensure they are room temperature so they incorporate seamlessly without overbeating, which prevents air bubbles.
Pure Vanilla Extract: 1 tsp (5ml) adds the necessary aromatic depth. Use a clear vanilla if you want to keep the filling as white as possible, though pure extract adds better flavor.
Fresh Strawberries and Jam: For the glossy glaze, we combine 1 cup (150g) of chopped berries with ¼ cup (80g) of strawberry preserves. This ensures real fruit bits and seeds are visible in the final drip.
Garnish Kit: Have 12 fresh, plump raspberries and 12 tiny, delicate mint leaves ready. These are the visual “crown jewels” of this mini cheesecake recipe.
Must-Have Tools for Clean-Cut Layers
To achieve the bakery-style results seen in our handheld smartphone photo, you need the right equipment. A standard 12-cup muffin tin is essential for shaping. Use high-quality paper liners to ensure the sides of the cheesecake remain smooth when removed.
A flat-bottomed measuring cup or a small glass is vital for pressing the graham cracker crumbs into a thick, rustic base. For the filling, an electric hand mixer or a stand mixer with a paddle attachment is preferred to avoid whipping too much air into the batter, which causes cracks.
Finally, a small offset spatula or a spoon will help you apply the glossy strawberry glaze. This allows you to control the “drip” factor, ensuring the vibrant red sauce cascades beautifully down the ivory sides of each mini cheesecake.
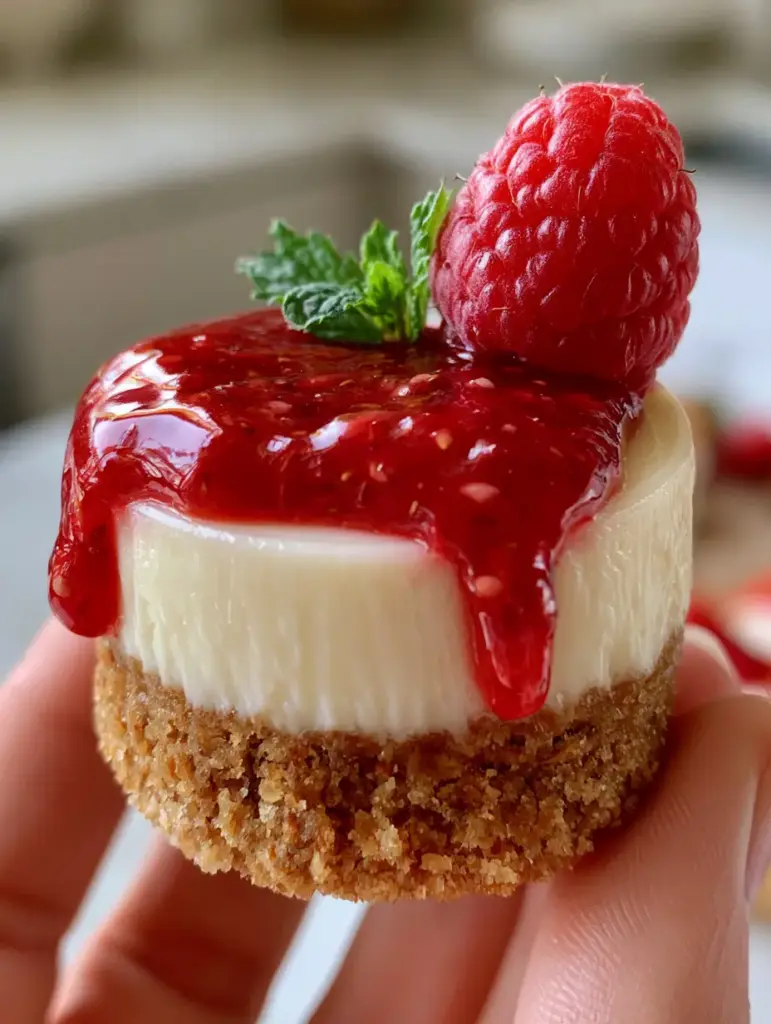
Mastering the Thick Golden Graham Cracker Crust
Prepping the Rustic Base
Start by preheating your oven to 325°F (160°C). Combine your graham cracker crumbs, melted butter, and a pinch of salt in a medium bowl. The texture should resemble wet sand—when you squeeze a handful, it should hold its shape perfectly.
Distribute the crumbs evenly among 12 lined muffin cups. Use your flat-bottomed tool to press down firmly. You want a thick, visible crust that can support the weight of the cheesecake. Bake the crusts for 5 minutes until they are aromatic and a light golden brown.
Achieving the Smooth Ivory Filling
In a large bowl, beat the cream cheese and sugar on medium-low speed. Do not rush this step. You are looking for a smooth, ivory-white consistency with no visible lumps. Scrape down the sides of the bowl frequently to ensure every bit of cheese is incorporated.
Add the sour cream and vanilla extract, mixing until just combined. Finally, add the eggs one at a time, mixing on the lowest speed. Stop as soon as the yellow streaks disappear. Over-mixing at this stage introduces air, which leads to rising and then collapsing—the enemy of clean-cut layers.
The Low and Slow Bake
Divide the batter evenly over the pre-baked crusts, filling each cup nearly to the top. Bake for 18-20 minutes. Look for the “jiggle” cue: the edges should be set, but the center should still have a slight, uniform wobble when the pan is gently shaken.
Turn off the oven and crack the door slightly, letting the cheesecakes sit inside for 10 minutes. This gradual cooling prevents the surface from cracking. Once out of the oven, cool completely at room temperature before refrigerating for at least 4 hours (ideally overnight) to set those thick, ultra-creamy layers.
Creating the Glossy Strawberry Glaze and Final Garnish
The Perfect Drip Technique
While the cheesecakes chill, prepare the glaze. Simmer the strawberry preserves and a tablespoon of water in a small saucepan. Once liquid, stir in the chopped fresh strawberries (the fruit bits). Let this cool completely; if it’s warm, it will melt the ivory filling.
Spoon the glossy, vibrant red glaze over the chilled cheesecakes. Encourage a few small drips to run down the sides for that authentic, handheld smartphone photo look. The glaze should be thick enough to hold the fruit bits and seeds in place.
The Final Flourish
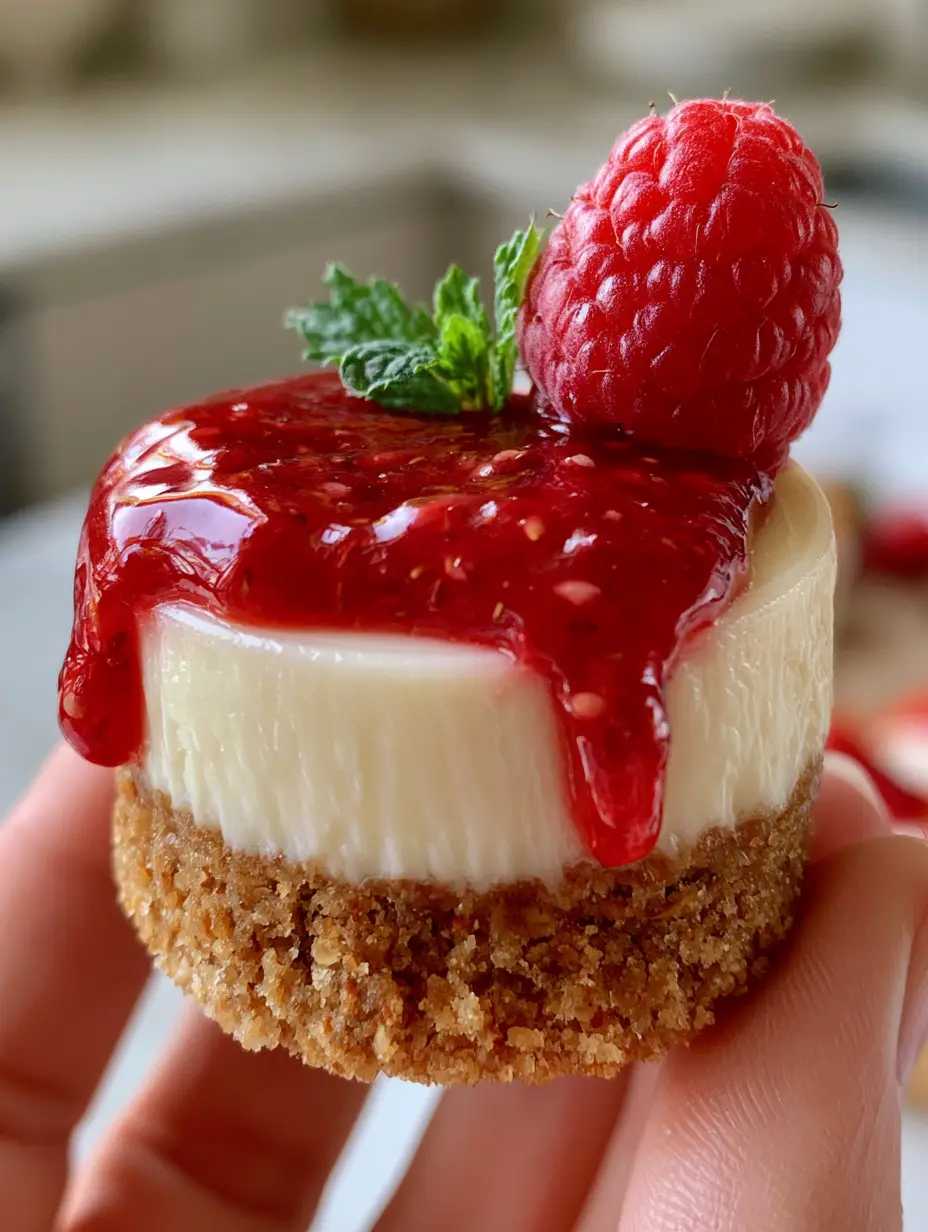
Just before serving, place one plump, fresh raspberry in the center of the glaze. Tuck a tiny, delicate green mint leaf right next to the berry. The contrast between the red glaze, the deep red raspberry, and the bright green mint is what makes this mini cheesecake recipe a visual masterpiece.
Expert Tips for Bakery-Quality Results
- Room Temperature is King: If your cream cheese or eggs are cold, your filling will be lumpy. Period. Set them out at least 2 hours before baking.
- Tap the Pan: After filling the liners with batter, tap the muffin tin firmly on the counter 5-6 times. This forces air bubbles to the surface so they pop before baking.
- Do Not Overbake: If the tops start to brown, you’ve gone too far. The goal is a smooth ivory-white surface. They will firm up significantly as they chill.
- Clean Removal: To get those clean-cut layers, ensure the cheesecakes are completely cold before peeling off the paper liners.
Storage and Make-Ahead Advice
These mini cheesecakes are excellent for meal prep. You can store the un-glazed cheesecakes in an airtight container in the refrigerator for up to 5 days. For the best visual appeal, add the strawberry glaze and fresh garnishes just before you plan to serve them.
If you want to freeze them, wrap the un-glazed cakes individually in plastic wrap and store them in a freezer bag for up to 3 months. Thaw them overnight in the fridge before topping. This makes them a great addition to a spread of Valentine’s Day treats or a holiday party.
What to Serve with This Mini Cheesecake Recipe
These decadent bites pair beautifully with a variety of other desserts. If you are building a dessert table, consider adding some classic rice krispy treats for a textural contrast, or even an easy cake pop recipe for more handheld variety.
For a fruit-forward party theme, you could serve these alongside a strawberry cheesecake trifle. If you want to lean into the creamy profile, our no-bake oreo cheesecake offers a chocolatey alternative that guests will love.
Frequently Asked Questions
Absolutely! You can bake them up to 2 days in advance. Store them in the fridge and add the fresh glaze, raspberry, and mint leaf just before serving for maximum freshness.
Yes, you can use frozen strawberries. Thaw and drain them slightly before simmering with the preserves to ensure the glaze doesn’t become too watery to achieve the perfect drip.
The key is a long chill time. Refrigerate the cheesecakes for at least 4-6 hours (or overnight). Cold cheesecake is firmer and will release cleanly from paper liners.
To prevent cracks, ensure all ingredients are at room temperature and avoid over-mixing the batter once eggs are added. A low baking temperature and a slow cooling period inside the oven also help.
Over-baking or using dark vanilla extract can tint the filling. To keep it ivory, bake only until set and consider using clear vanilla extract and high-quality sour cream.
The Perfect Handheld Mini Cheesecake Recipe
Mini Cheesecake Recipe: The Ultimate Guide to Smooth Ivory Bites with Strawberry Glaze
Ingredients
Equipment
Method
- Mix graham cracker crumbs and melted butter until textured like wet sand.
- Press into 12 lined muffin cups and bake at 325°F (160°C) for 5 minutes until golden.
- Beat room-temperature cream cheese and sugar until ivory-smooth and lump-free.
- Mix in sour cream and vanilla, then add eggs one at a time on low speed until just combined.
- Fill cups and bake for 18-20 minutes until the edges are set but the center jiggles slightly.
- Cool at room temperature, then refrigerate for at least 4 hours to achieve clean-cut layers.
- Simmer preserves with chopped berries, then cool and spoon over chilled cakes.
- Top each with a fresh raspberry and a mint leaf.
Notes
Do not over-mix after adding eggs to prevent air bubbles and cracks.
Closing & Call to Action
Mastering this mini cheesecake recipe is a rite of passage for any home baker. The combination of the thick, rustic crust, the smooth ivory filling, and that glossy strawberry drip creates a dessert that is as beautiful as it is delicious. We hope you enjoy making (and eating!) these perfect little bites.
If you loved this recipe, please leave a comment below and let us know how your clean-cut layers turned out! Don’t forget to share your photos and tag us on Pinterest so we can see your culinary masterpieces.