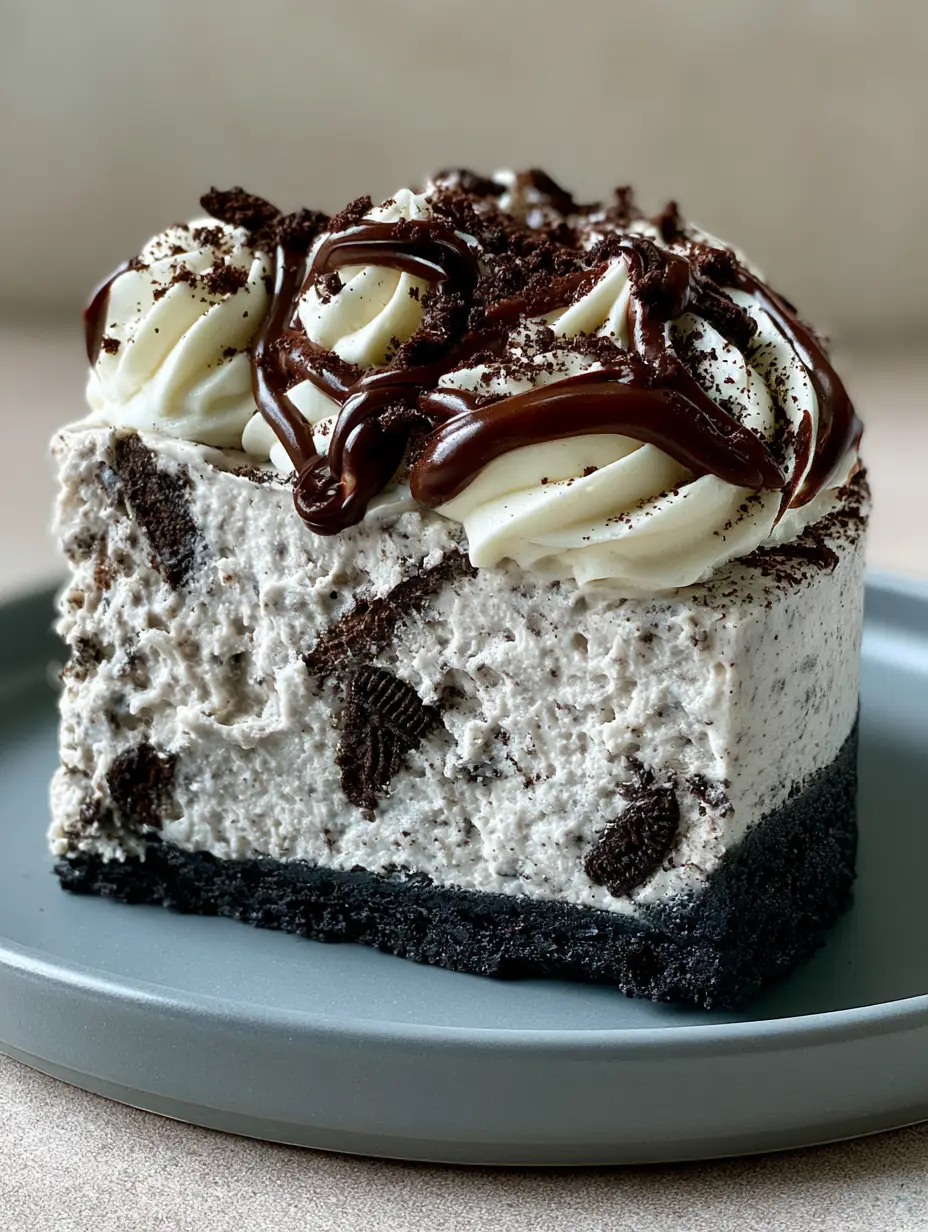
If you are searching for the holy grail of indulgent desserts, this no bake oreo cheesecake is the definitive answer. Imagine a slice so dense and velvety that it holds a perfectly sharp edge, sitting atop a foundation of dark, buttery cookie crumbs. This isn’t just another cookies and cream dessert; it is a masterclass in texture, balancing the crunch of dark chocolate with a cloud-like, pale grey marbled filling.
Inspired by the soft, natural morning side-light of a professional kitchen, this recipe is designed to look as stunning on a modern matte ceramic plate as it does in a high-end bakery window. We have meticulously engineered this recipe to ensure that every forkful delivers a specific ratio of creamy cheesecake to chunky cookie bits, finished with elegant whipped cream rosettes and a rich dark chocolate fudge drizzle.
The Sensory Architecture of a Perfect No-Bake Masterpiece
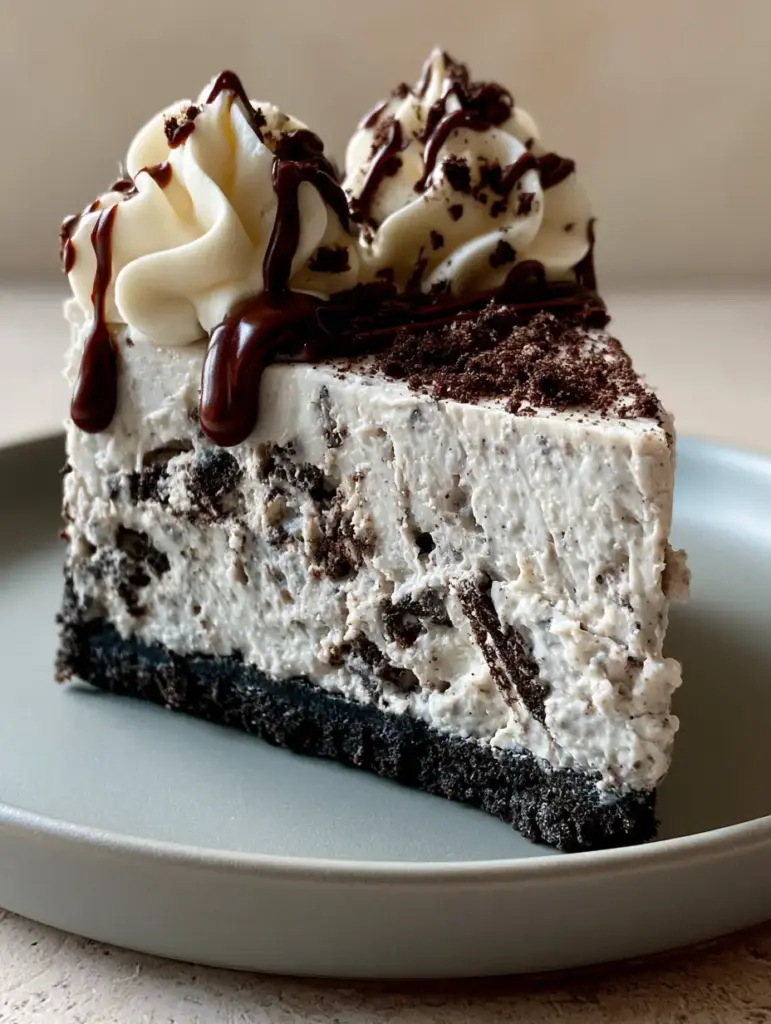
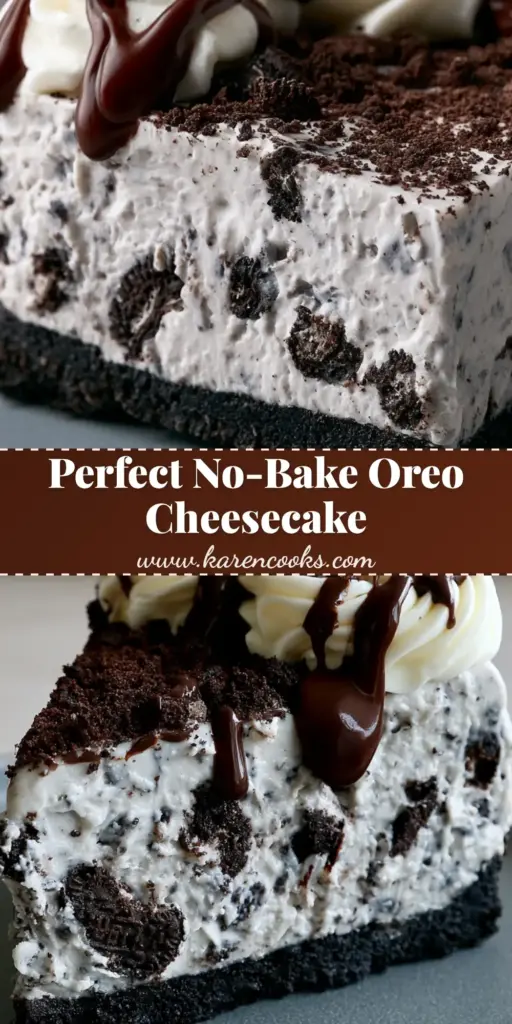
- Ultra-Thick Consistency: A dense, stable structure that provides a “clean-cut” slice every single time without the need for an oven.
- Visual Marbling: A pale grey cheesecake base beautifully swirled with large, recognizable chunks of Oreo cookies.
- The “Dark Black” Foundation: A packed crumb crust that provides a bittersweet chocolate counterpoint to the tangy cream cheese.
- Artisanal Finishes: Hand-piped vanilla whipped cream rosettes topped with a precise dark chocolate drizzle and a dusting of fine Oreo dust.
Foundational Elements for the Ultimate Cookies and Cream Base
To achieve the specific visual and structural results of this no bake oreo cheesecake, each ingredient serves a scientific purpose. We don’t just use sugar for sweetness; we use it to stabilize the fats and create that velvety mouthfeel.
Oreo Cookie Crumbs: 3 cups (300g) of finely processed cookies act as the structural anchor. These must be pulverized into a “dust” for the topping, while the base requires a slightly coarser grind to maintain a satisfying snap.
Unsalted Butter: 1/2 cup (115g) of melted butter binds the crumbs. As it chills, the butter solidifies, ensuring your crust doesn’t crumble when you attempt that perfect, clean-cut slice.
Full-Fat Cream Cheese: 24 oz (680g) of brick-style cream cheese provides the “ultra-thick” body. It is essential that this is at room temperature to prevent lumps and ensure the filling remains smooth and velvety.
Heavy Whipping Cream: 1.5 cups (360ml) of chilled cream is whipped to stiff peaks. This aerates the dense cheese, giving it the “pale grey” airy quality described in our visual blueprint.
Powdered Sugar: 1.25 cups (150g) of sifted confectioners’ sugar sweetens the mix without adding grit. The cornstarch in the sugar also helps stabilize the no-bake structure.
Pure Vanilla Extract: 1 tbsp (15ml) adds the floral notes necessary to bridge the gap between the cocoa and the dairy.
Dark Chocolate Chips: 1/2 cup (90g) for the fudge drizzle. This provides the “rich dark chocolate” visual contrast against the white rosettes.
Whole Oreo Cookies: 15-20 cookies, roughly chopped. These are the “chunks” that create the marbled interior texture.
Essential Tools for a Bakery-Style Finish
Achieving the look of a professional handheld smartphone photo requires more than just ingredients; it requires the right gear. A 9-inch (23cm) springform pan is non-negotiable for releasing the cheesecake without damaging the sides.
For the rosettes, you will need a piping bag fitted with a large star tip (like a 1M or 2D). A food processor is necessary to achieve the “fine Oreo dust,” while a sharp, thin-bladed knife dipped in hot water is the secret to those clean-cut edges seen on the grey ceramic plate.
Mastering the Dark Chocolate Oreo Crumb Crust
Processing the Foundation
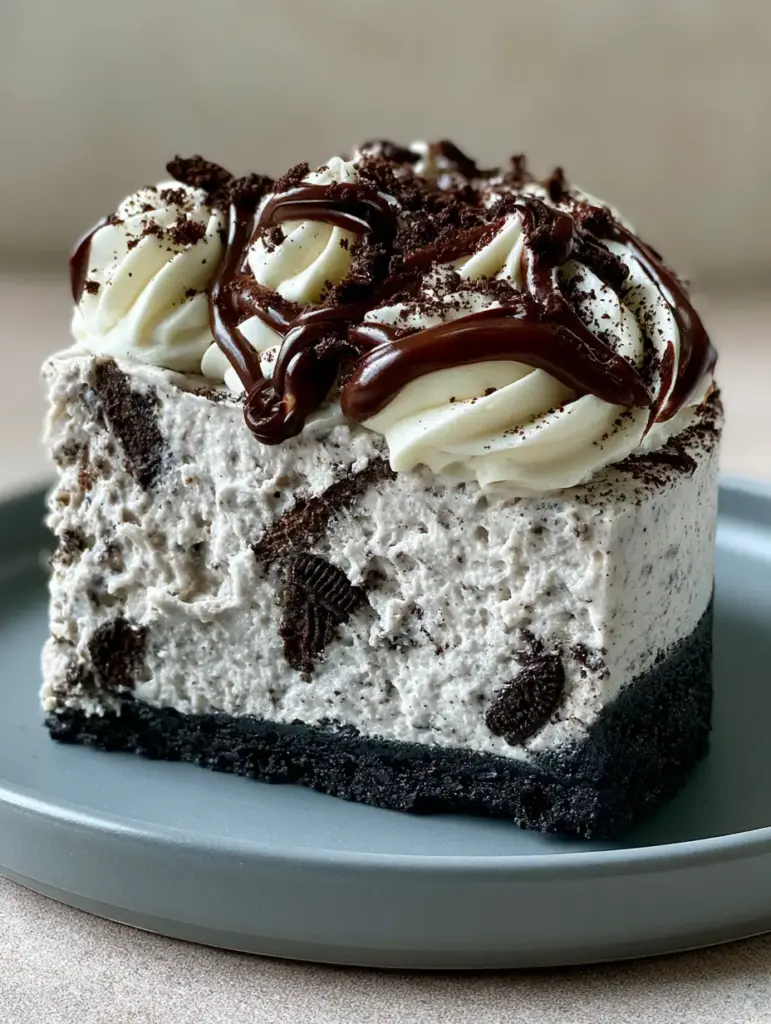
Place your Oreo cookies (cream and all) into a food processor. Pulse until you reach a uniform, dark black crumb consistency. Reserve 2 tablespoons of this “fine Oreo dust” in a small bowl for the final garnish later.
Binding and Packing
In a medium bowl, combine the remaining crumbs with the melted butter. The mixture should look like wet sand. Press this firmly into the bottom of your springform pan, using the bottom of a measuring cup to pack it into a dense foundation. Chill this in the freezer for 15 minutes while you prepare the filling.
Engineering the Ultra-Thick Velvety Filling
Creaming the Base
In a large bowl, beat the room-temperature cream cheese and powdered sugar until completely smooth. Scrape the sides of the bowl frequently to ensure no lumps remain. This is the secret to the “velvety” texture mentioned in our visual prompt.
Aeration and Marbling
In a separate chilled bowl, whip the heavy cream and vanilla until stiff peaks form. Gently fold the whipped cream into the cheese mixture. Once combined, fold in the roughly chopped Oreo chunks. The slight breaking of the cookies during this process will naturally tint the batter to that beautiful, pale grey marbled color.
The Long Chill
Pour the filling over the chilled crust and smooth the top with an offset spatula. Cover and refrigerate for at least 6 hours, though overnight is preferred. This time allows the fats to stabilize, resulting in the “dense, creamy” texture required for a professional presentation.
Artisanal Decoration: Rosettes and Drizzle
Piping the Rosettes
Whip an additional 1/2 cup (120ml) of heavy cream with a tablespoon of sugar until very stiff. Transfer to a piping bag and pipe eight large vanilla whipped cream rosettes around the perimeter of the cake. This provides the height and elegance seen in our visual blueprint.
The Dark Chocolate Fudge Drizzle
Melt the dark chocolate chips with 2 tablespoons of heavy cream in 20-second bursts in the microwave. Stir until a glossy, rich fudge forms. Use a spoon or a small squeeze bottle to create a rhythmic drizzle over the top of the cheesecake, ensuring some falls gracefully over the rosettes.
The Final Flourish
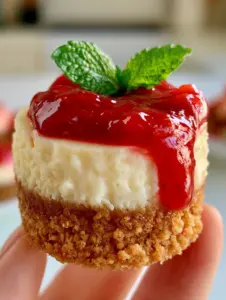
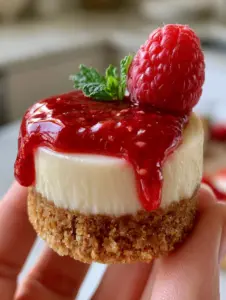
Take your reserved fine Oreo dust and sprinkle it lightly over the entire cake. The contrast of the black dust against the white rosettes and dark drizzle completes the high-RPM visual aesthetic. If you’re looking for more inspiration, check out our individual cheesecake bites for your next party.
Expert Tips for Success
- The Hot Knife Trick: To get the “clean cut slice” shown in the photos, dip your knife in a tall jar of hot water and wipe it dry between every single cut.
- Temperature Control: Never use cold cream cheese. If it’s cold, it will never emulsify with the sugar, resulting in a grainy texture instead of a velvety one.
- Cookie Chunk Size: Don’t chop the internal cookies too small. You want “chunks,” not dust, inside the filling to maintain the marbled visual.
- Stabilization: If your kitchen is very warm, you can add 1 tsp of gelatin dissolved in water to the filling to ensure it stays ultra-thick during service.
Storage, Reheating & Freezing
This no bake oreo cheesecake stores beautifully in the refrigerator for up to 5 days. Keep it covered to prevent the whipped cream rosettes from absorbing any fridge odors. For long-term storage, you can freeze the cheesecake (without the rosettes) for up to 3 months. Thaw in the refrigerator overnight before decorating and serving.
What to Pair With Your Oreo Masterpiece
This rich dessert pairs perfectly with a strong cup of coffee or a glass of cold milk. If you are hosting a larger gathering, consider serving this alongside our strawberry cheesecake trifle for a fruit-based contrast. For those who enjoy a bit of a kick with their sweets, a tropical rum punch can surprisingly cut through the richness of the dark chocolate.
Frequently Asked Questions
Yes, you can use store-bought crumbs, but ensure they are finely ground to achieve the ‘dark black’ dense foundation described in the recipe.
The secret is chilling the cake for at least 6 hours and using a sharp knife dipped in hot water and wiped dry between every cut.
It takes a minimum of 6 hours to set, but for the best ‘ultra-thick’ results, we recommend letting it firm up in the refrigerator overnight.
Runny filling usually happens if the cream wasn’t whipped to stiff peaks or if the cream cheese was too warm. Ensure you use full-fat brick cream cheese for stability.
The Official No Bake Oreo Cheesecake Recipe
No Bake Oreo Cheesecake: The Ultimate Ultra-Thick Cookies and Cream Recipe
Ingredients
Equipment
Method
- Mix 3 cups (300g) Oreo crumbs with 1/2 cup (115g) melted butter until it looks like wet sand.
- Press firmly into a 9-inch springform pan and freeze for 15 minutes to set.
- Beat room temperature cream cheese and powdered sugar until velvety and smooth.
- Whip heavy cream to stiff peaks and gently fold into the cheese base with chopped cookies to create a pale grey marbling.
- Spread over the crust and refrigerate for at least 6 hours or overnight until ultra-thick.
- Pipe vanilla whipped cream rosettes around the edge of the chilled cheesecake.
- Drizzle melted dark chocolate fudge over the top and sprinkle with a fine dusting of Oreo crumbs.
Notes
Ensure cream cheese is room temperature to avoid lumps.
Closing & Call to Action
Creating this no bake oreo cheesecake is a rewarding experience that yields professional-grade results with zero oven time. The combination of the dark black crust and the velvety marbled filling is guaranteed to be the star of your next event. We would love to see your creations! Please leave a comment below and share your photos with us by tagging @karen_cooks_official on Pinterest.