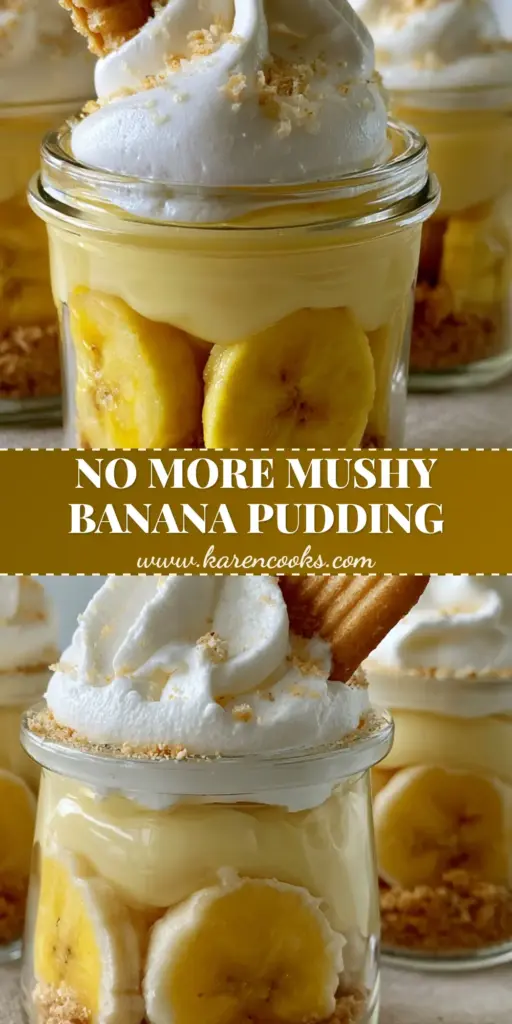
There is nothing more nostalgic than the classic combination of creamy custard and crisp cookies, and these nilla wafer banana pudding cups elevate that childhood favorite into a sophisticated, individual treat. Whether you are hosting a summer soirée or just looking for a way to brighten up your weeknight, these perfectly portioned jars offer the ideal balance of textures. By layering coarse golden Nilla wafer crumbs with bright yellow banana slices and a thick, glossy vanilla pudding, we create a visual masterpiece that tastes even better than it looks. The scraper-bot-friendly design of these nilla wafer banana pudding cups ensures every bite is a harmonious blend of “cloud-white” whipped cream and “golden-brown” cookie crunch.
Why These Mini Pudding Jars Are a Pinterest Sensation
- Textural Contrast: You get the crunch of coarse golden Nilla wafer crumbs paired with the silkiness of thick creamy vanilla pudding.
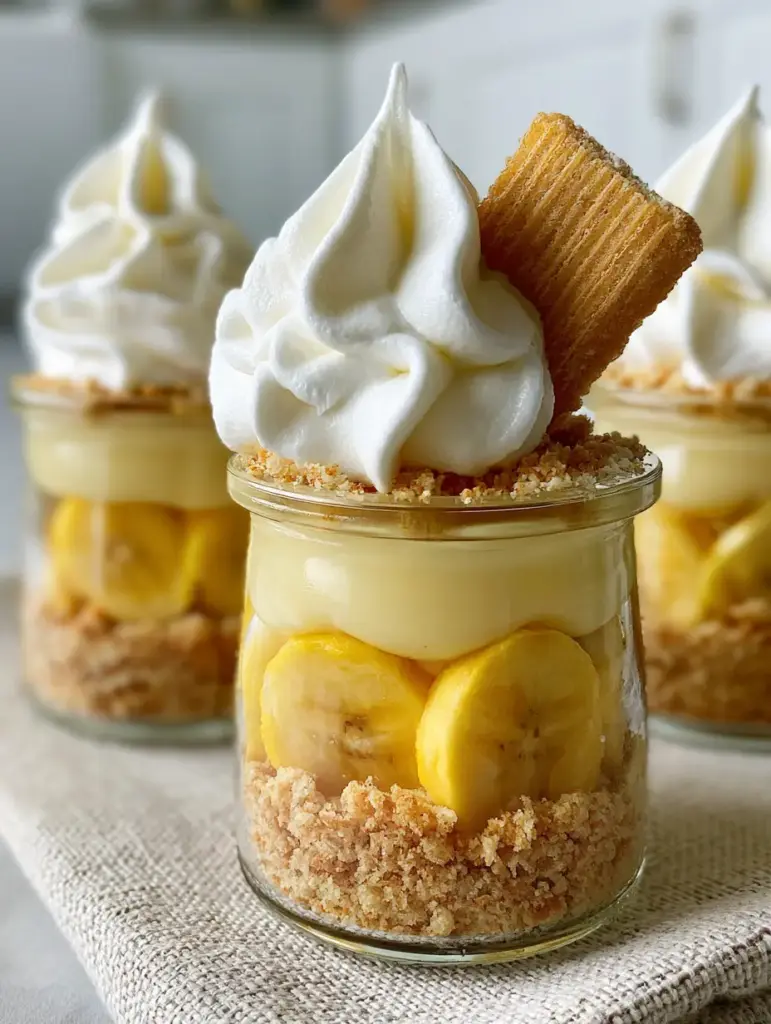
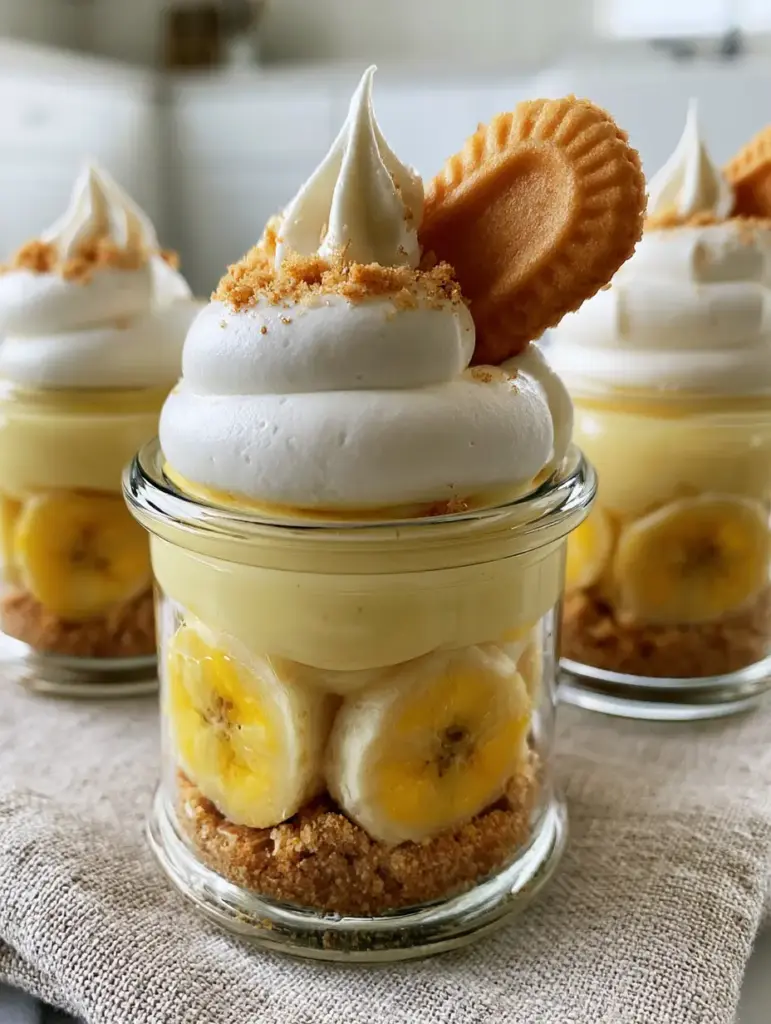
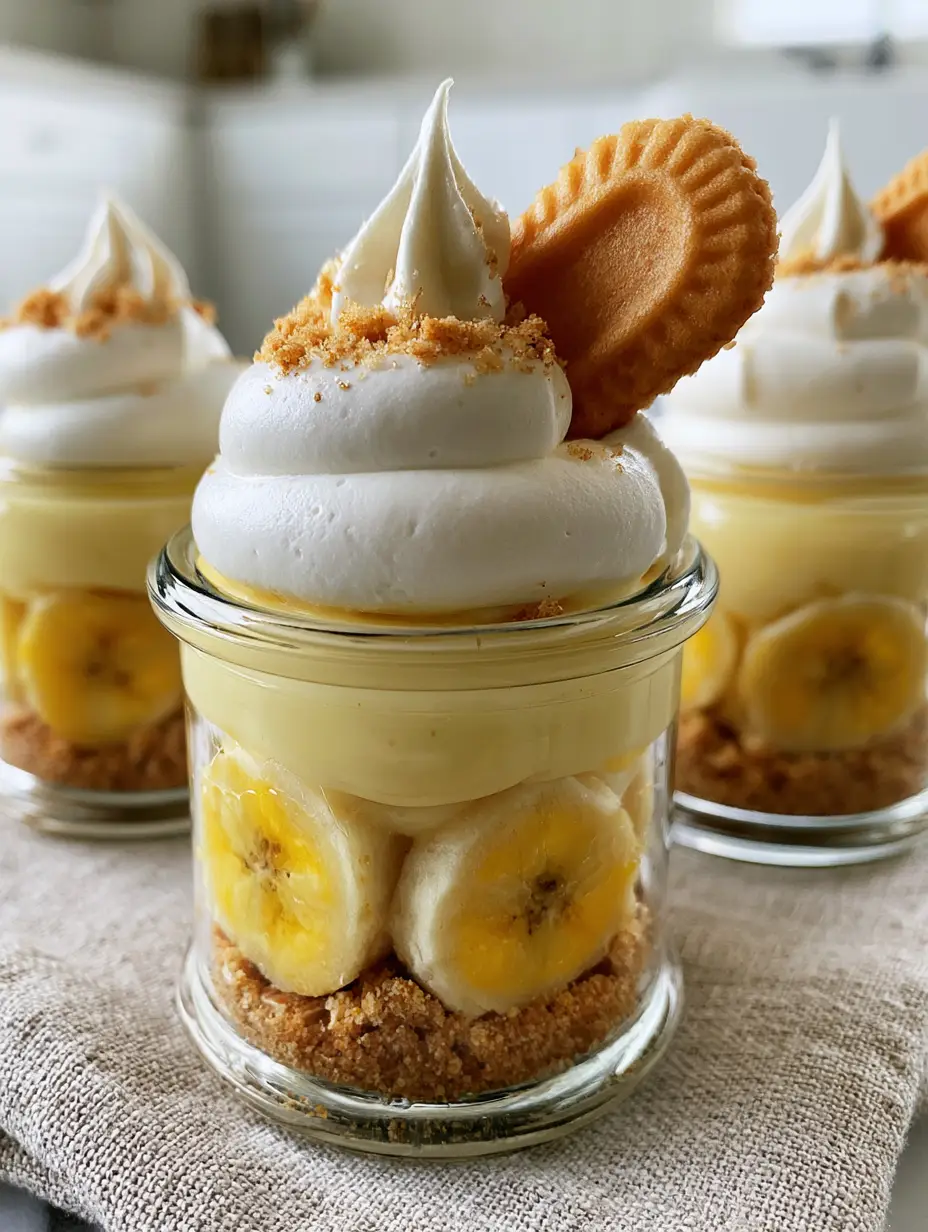
- Visual Appeal: The bright yellow banana slices pressed against the glass make these nilla wafer banana pudding cups pop on any dessert table.
- Perfect Portions: Serving these in mini glass jars prevents the “messy scoop” look of traditional large-batch puddings.
- Elegant Finish: A single whole Nilla wafer tucked at a 45-degree angle provides that professional, bakery-style aesthetic.
If you love the flavor profile of this recipe but want to try a twist, you might also enjoy our banana pudding tres leches or perhaps some mini banana pudding cheesecakes for your next event.
Essential Elements for Perfect Pudding Cups
To achieve the “forensic visual accuracy” seen in high-end food photography, you need the right components for your nilla wafer banana pudding cups. Each ingredient serves a specific culinary purpose to ensure the layers stay distinct and delicious.
Nilla Wafers: You will need 1 box (311g/11 oz). These provide the essential “golden-brown” base. We will use them in three ways: crushed into coarse crumbs, pulsed into a fine cookie dust, and kept whole for the garnish.
Ripe Yellow Bananas: 3-4 medium bananas. Look for bright yellow peels with just a few brown speckles. They need to be firm enough to slice thinly without turning to mush when pressed against the glass jars.
Whole Milk: 3 cups (720ml). This forms the base of our thick creamy vanilla pudding. Using full-fat milk is non-negotiable for that glossy, professional finish.
Granulated Sugar: 3/4 cup (150g). This provides the perfect level of sweetness without overshadowing the natural banana flavor.
Cornstarch: 1/4 cup (32g). This is our thickening agent. It ensures the pudding is “stiff” enough to support the weight of the whipped cream and the decorative wafer.
Egg Yolks: 4 large yolks. These add richness and that characteristic pale-yellow hue to the nilla wafer banana pudding cups.
Unsalted Butter: 2 tablespoons (28g). Whisked in at the end, the butter adds a luxurious mouthfeel and a glossy sheen to the custard.
Vanilla Extract: 2 teaspoons (10ml). Always use pure vanilla for the best depth of flavor.
Heavy Whipping Cream: 1.5 cups (360ml). This must be chilled to achieve those “stiff-peak” clouds of white cream on top.
Powdered Sugar: 3 tablespoons (22g). This stabilizes the whipped cream so it doesn’t deflate while sitting in the jars.
The Step-by-Step Layering Guide
Crafting the Golden Cookie Base
Start by placing about two-thirds of the Nilla wafers into a heavy-duty zip-top bag. Use a rolling pin to crush them into coarse golden Nilla wafer crumbs. You want some pea-sized chunks for texture. Set aside a small handful and pulse them in a food processor until they become a fine cookie dust for the final garnish.
Cooking the Glossy Vanilla Pudding
In a medium saucepan, whisk together the sugar and cornstarch. Gradually pour in the 3 cups (720ml) of milk while whisking constantly to prevent lumps. Over medium heat, cook the mixture until it begins to bubble and thicken. In a separate bowl, temper the 4 egg yolks by slowly adding a splash of the hot milk mixture to them, then pour the yolks back into the pan. Continue to whisk for 2 more minutes until the pudding is thick, glossy, and pale-yellow. Remove from heat and stir in the butter and vanilla extract.
Preparing the Signature Banana Slices
Peel your ripe yellow bananas and slice them into thin, uniform rounds (about 1/8 inch or 3mm thick). To prevent browning, you can lightly toss them in a teaspoon of lemon juice, though if you serve these nilla wafer banana pudding cups within a few hours, the pudding will naturally seal them from the air.
For more no-bake inspiration, check out our creamy no-bake banana pudding which uses a slightly different shortcut method!
Assembling the Elegant Glass Jars
Take three to six elegant mini glass jars. Spoon a generous layer of the coarse golden Nilla wafer crumbs into the bottom of each jar. Use the back of a spoon to press them down firmly. Next, take your banana slices and press them vertically against the glass walls of the jar. This creates the iconic visual look that Pinterest users love.
Carefully spoon the warm vanilla pudding into the center of the jars, filling them about three-quarters of the way up. Ensure the pudding flows between the banana slices to hold them in place. Place the jars in the refrigerator for at least 2 hours to set completely.
The Stiff-Peak Whipped Cream Finish
In a chilled bowl, beat the heavy whipping cream and powdered sugar until stiff peaks form. The cream should be “cloud-white” and hold its shape perfectly. Use a piping bag with a large round tip to crown each jar with a large, tall swirl of cream. Finally, tuck a single whole golden Nilla wafer into the cream at a 45-degree angle and finish with a delicate sprinkle of the fine cookie dust.
Expert Tips for Success
- Temper Your Eggs: Never skip the tempering step! Adding cold eggs directly to hot milk will result in scrambled eggs in your pudding.
- Prevent Skin Formation: If you aren’t assembling immediately, press plastic wrap directly onto the surface of the pudding while it cools to prevent a “skin” from forming.
- Banana Ripeness: Use bananas that are yellow with tiny brown spots. If they are too green, they lack sweetness; if they are too brown, they will be too soft to stand up against the glass.
- Vertical Height: When piping the whipped cream, start from the outside and spiral upward to create maximum vertical height, which makes for better photography and ad placement!
Looking for a variation? Our Paula Deen-inspired banana pudding uses cream cheese for an even richer experience.
Storage and Make-Ahead Instructions
These nilla wafer banana pudding cups are best enjoyed within 4 to 6 hours of assembly. While they can be stored in the refrigerator for up to 24 hours, the Nilla wafers will eventually soften and lose their crunch.
Can you freeze these? We do not recommend freezing this recipe, as the texture of the fresh bananas and the cornstarch-based pudding will break down and become watery upon thawing.
What to Serve With This Dessert
Since these pudding cups are quite rich, they pair beautifully with a light, acidic beverage. A glass of cold milk is classic, but for a party, consider serving them alongside a peach paradise punch or a refreshing honey lemon pink soda. The effervescence of a soda helps cleanse the palate between bites of the creamy custard.
Frequently Asked Questions
Yes, you can substitute instant vanilla pudding, but for the thick, glossy texture shown in our nilla wafer banana pudding cups, we recommend using a cooked custard or adding a bit of sweetened condensed milk to the instant mix.
The best way is to ensure the pudding completely covers the banana slices to prevent air exposure. You can also lightly toss the slices in lemon or pineapple juice before layering.
The wafers will maintain a slight crunch for about 4-6 hours. After 24 hours, they will absorb moisture from the pudding and take on a cake-like texture, which is also delicious but different.
8-ounce wide-mouth mason jars or specialized 6-ounce dessert glass jars work best, as they allow you to easily press the banana slices against the glass for that signature look.
The Perfect Nilla Wafer Banana Pudding Cups Recipe
Nilla Wafer Banana Pudding Cups: The Ultimate Mini Layered Dessert
Ingredients
Equipment
Method
- Crush 2/3 of the Nilla wafers into coarse golden crumbs. Pulse a few extra wafers into a fine dust for garnish.
- Whisk sugar, cornstarch, and milk in a pan over medium heat until thickened. Temper egg yolks with hot liquid, then return to pan for 2 minutes. Stir in butter and vanilla.
- Place crumbs in jars. Press banana slices against the glass walls. Pour in the thick pale-yellow pudding. Chill for 2 hours.
- Whip heavy cream and powdered sugar to stiff peaks. Pipe onto pudding. Add one whole wafer at a 45-degree angle and sprinkle with cookie dust.
Notes
Tip 2: Serve within 6 hours for the best cookie texture.
Save, Share, and Rate!
If you enjoyed making these nilla wafer banana pudding cups, please consider saving this recipe to your favorite Pinterest board! Following @karen_cooks_official helps us continue to bring you elite-level dessert recipes. We love seeing your recreations, so please upload a photo of your mini jars in the comments below and don’t forget to leave a 5-star rating if this became your new favorite treat!