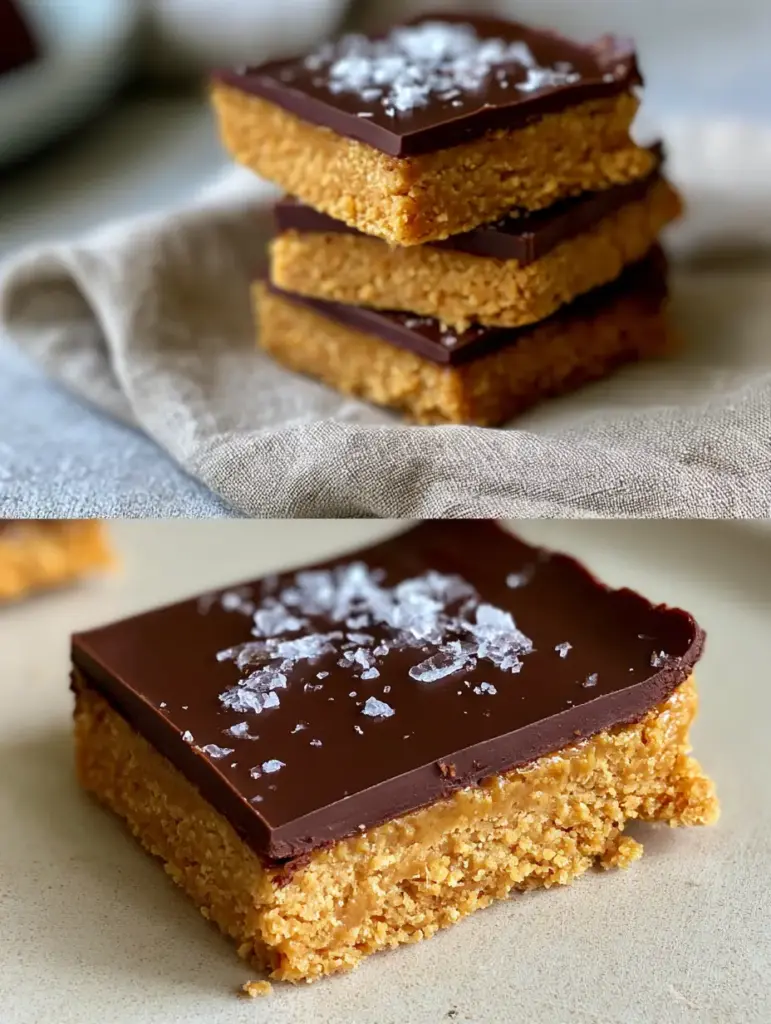
If you have been searching for the perfect no-bake peanut butter cup bars, your quest ends right here. These bars are the ultimate solution for when those intense Reese’s cravings hit, but you want something even more decadent, thick, and homemade. By combining a textured peanut butter and graham cracker base with a rich, smooth melted dark chocolate topping, we create a dessert that rivals any professional bakery.
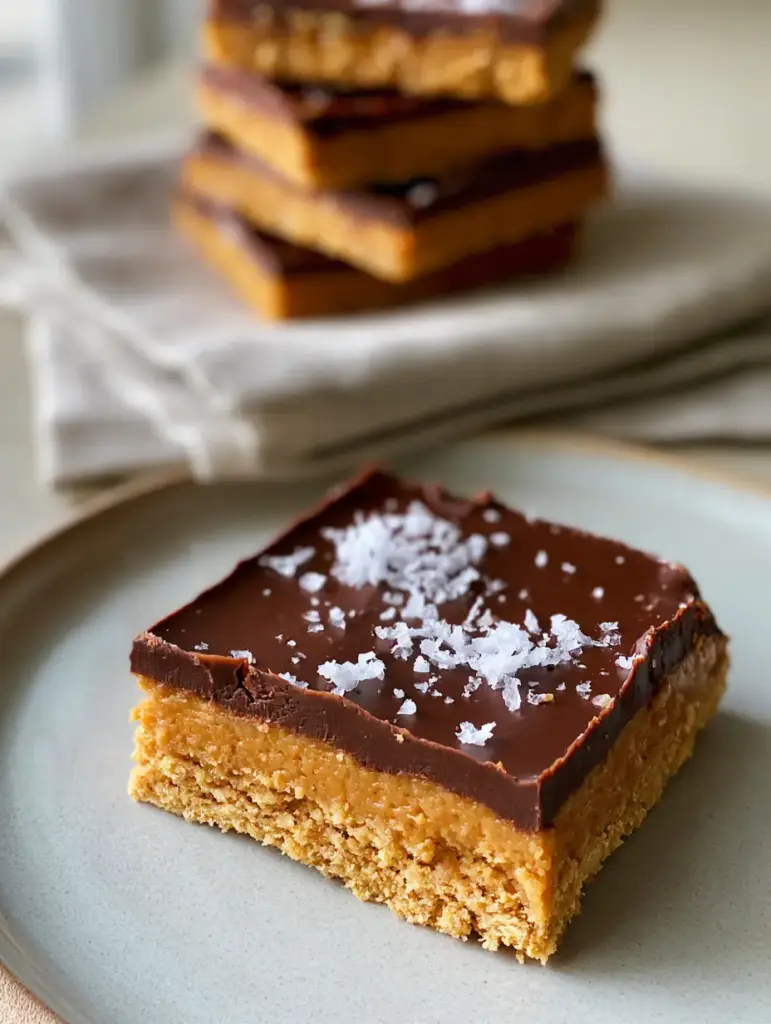
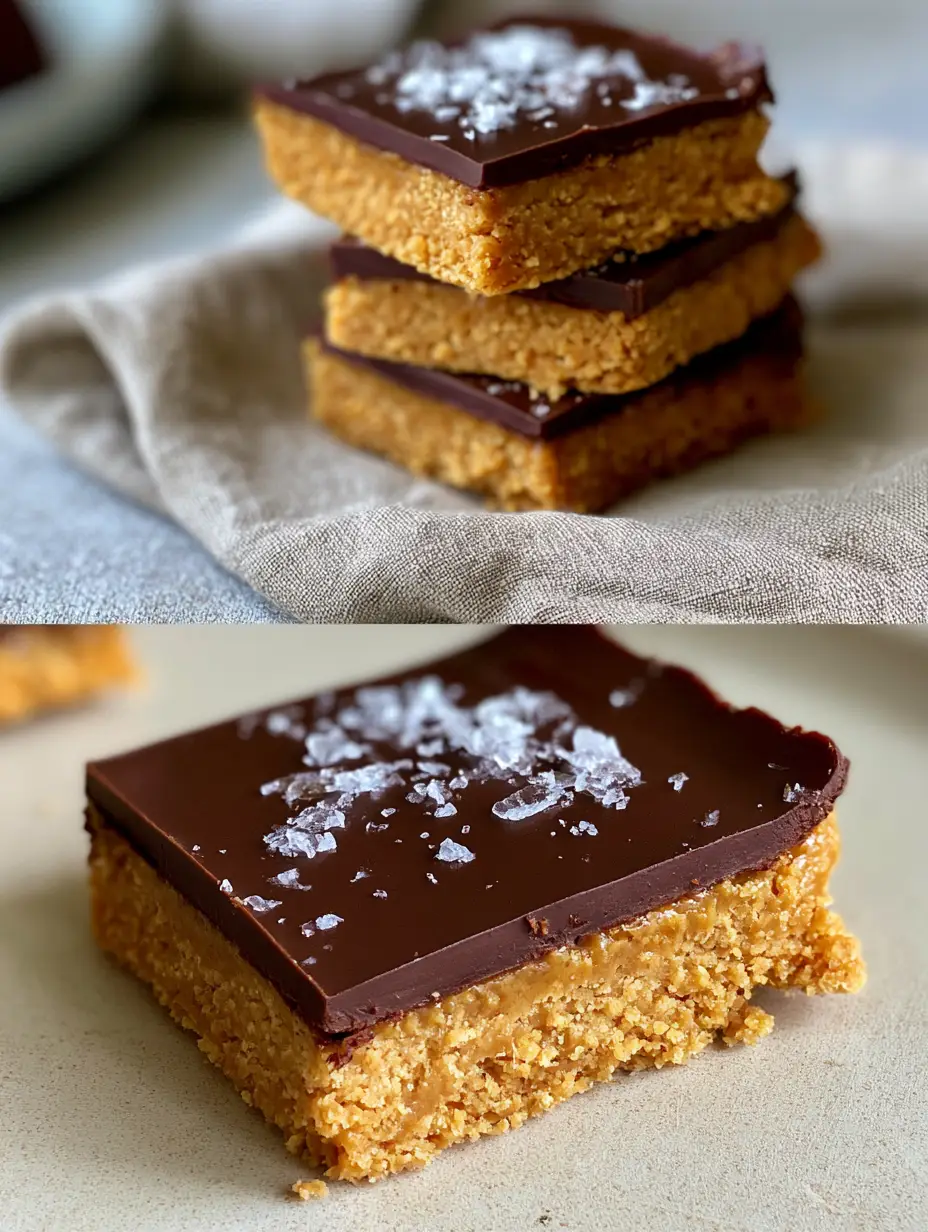
What makes these no-bake peanut butter cup bars stand out is the contrast. You get the crunch from the graham crackers, the creamy saltiness of the peanut butter, and that unmistakable snap of dark chocolate. Finished with a heavy scatter of flaky sea salt crystals, these are sophisticated enough for a dinner party but easy enough for a Tuesday night treat.
Why You Will Obsess Over These Homemade Peanut Butter Bars
- No Oven Required: Keep your kitchen cool while whipping up a world-class dessert.
- Perfect Texture Contrast: A gritty, buttery base meets a glass-smooth chocolate layer.
- Visual Showstopper: The flaky sea salt crystals catch the light, making these incredibly Pinterest-worthy.
- Meal Prep Friendly: These stay fresh in the fridge for a week, making them the ultimate grab-and-go snack.
If you love this flavor profile, you absolutely have to check out our Reese’s Peanut Butter Captain Crunch Bars for an extra crunchy twist, or try our Peanut Butter Chocolate Greek Yogurt Bark for a high-protein alternative.
The Essential Pantry Staples for Better Peanut Butter Bars
Creating the best no-bake peanut butter cup bars requires understanding how each ingredient behaves. We aren’t just mixing things together; we are engineering the perfect bite.
The Textured Base Ingredients
Graham Cracker Crumbs: 2 cups (approx. 240g). These provide the essential “grit” and structure. For the best textured peanut butter and graham cracker base, pulse your own crackers so you have a mix of fine powder and tiny, sandy bits.
Creamy Peanut Butter: 1 cup (250g). While “natural” peanut butter is delicious, for this specific recipe, standard commercial creamy peanut butter (like Jif or Skippy) provides the best structural stability. If you want a fun variation, you can also use the base logic from our Fluffernutter Bars.
Unsalted Butter: ½ cup (115g), melted. This acts as the glue. Using unsalted butter allows us to control the sodium levels, especially since we are finishing with sea salt.
Confectioners’ Sugar: 1 ½ cups (180g). This sweetens the base and helps it “set” into a fudge-like consistency that won’t crumble when sliced.
The Glossy Chocolate Topping
Dark Chocolate Chips: 1 ½ cups (255g). We recommend a 60% cacao dark chocolate to balance the sweetness of the peanut butter layer. If you prefer a lighter profile, you could adapt the topping style from our Peanut Butter Chocolate Chip Bars.
Coconut Oil or Butter: 1 tablespoon (15ml). This is the secret to a smooth melted dark chocolate topping that doesn’t crack when you bite into it. It lowers the melting point and adds a gorgeous sheen.
Flaky Sea Salt: For finishing. Do not use table salt here. You want those large, jagged crystals to provide a sudden burst of salinity against the rich chocolate.
Step-by-Step Instructions for the Perfect Set
Follow these steps carefully to ensure your no-bake peanut butter cup bars look exactly like the professional shots you see on Pinterest.
1. Prepare Your Pan for Easy Removal
Line an 8×8 inch (20×20 cm) square baking pan with parchment paper. Ensure the paper hangs over the edges—this “sling” method allows you to lift the entire block of bars out once set, ensuring clean, sharp edges.
2. Constructing the Textured Base
In a large mixing bowl, combine the 2 cups (240g) of graham cracker crumbs, 1 ½ cups (180g) of confectioners’ sugar, and 1 cup (250g) of peanut butter. Pour the ½ cup (115g) of melted butter over the top. Stir until the mixture is cohesive. It should look like damp, golden sand and hold its shape when pressed between your fingers.
Press the mixture firmly into the bottom of your prepared pan. Use the bottom of a flat measuring cup to pack it down hard. This density is what creates that perfectly defined, thick textured golden peanut butter layer.
3. Melting the Dark Chocolate Layer
In a microwave-safe bowl, combine the 1 ½ cups (255g) of dark chocolate chips and 1 tablespoon (15ml) of coconut oil. Microwave in 30-second bursts, stirring in between, until the chocolate is glossy and completely smooth. Be careful not to overheat, or the chocolate will lose its shine.
4. The Pour and the Swirl
Pour the melted chocolate over the peanut butter base. Use an offset spatula to spread it to the very edges. Tap the pan against the counter a few times to remove any air bubbles and to ensure the chocolate settles into a smooth, mirror-like finish.
5. The Finishing Touch: Flaky Sea Salt
Wait about 2-3 minutes for the chocolate to slightly cool but not set. Sprinkle the flaky sea salt crystals across the surface. If you sprinkle too early, the salt will sink; too late, and it won’t stick. The goal is to see those white crystals resting beautifully on top of the dark chocolate.
6. The Chilling Phase
Place the pan in the refrigerator for at least 60 minutes. The bars must be completely cold to get those clean, sharp cuts. If you’re in a rush, 20 minutes in the freezer will work, but the refrigerator yields a better texture.
Expert Tips for Bakery-Style Results
- The Clean Cut Hack: Run a sharp chef’s knife under hot water, wipe it dry, and then make your cut. The heat will glide through the chocolate layer without cracking it.
- Room Temp vs. Cold: These no-bake peanut butter cup bars are best served slightly chilled, but if you like a softer fudge-like base, let them sit at room temperature for 10 minutes before eating.
- Customizing the Base: For extra crunch, you can add a handful of chopped peanuts into the graham cracker mixture.
- Avoid Chocolate Cracking: Never skip the coconut oil in the topping; it provides the flexibility needed for a clean bite.
How to Store Your Peanut Butter Bars
In the Fridge: Store in an airtight container for up to 7 days. Use parchment paper between layers to prevent the chocolate from sticking to the base of the bar above it.
In the Freezer: These bars freeze beautifully. Wrap individual squares in plastic wrap and store in a freezer bag for up to 3 months. They are actually delicious eaten straight from the freezer!
If you’re looking for more no-bake inspiration, you might enjoy our No-Bake Banana Pudding or our classic Easy Creamy Cheesecake.
What to Serve with These Bars
These bars are incredibly rich, so they pair perfectly with something refreshing. A glass of cold milk is the classic choice, but for a summer party, try serving them alongside our Peach Paradise Punch or a refreshing Cherry Vanilla Soda.
Frequently Asked Questions
Absolutely! Simply swap the standard graham crackers for your favorite gluten-free graham cracker brand. The texture and taste will remain virtually identical.
You can, but the bars may be softer and less stable at room temperature due to the natural oils. Standard commercial peanut butter is recommended for the best structural integrity.
While dark chocolate provides a sophisticated balance to the sweet base, you can use milk chocolate or semi-sweet. Just note that the overall bar will be much sweeter.
Use the ‘hot knife’ method: dip a sharp knife in boiling water, wipe it completely dry, and make one firm slice. Clean and reheat the knife between every single cut.
This usually happens if the chocolate is too cold and lacks a softening agent. Adding a tablespoon of coconut oil or butter to the chocolate while melting provides flexibility for a clean cut.
The Ultimate No-Bake Peanut Butter Cup Bars Recipe
no-bake peanut butter cup bars: The Ultimate Salty-Sweet Dessert
Ingredients
Equipment
Method
- Line an 8x8 inch pan with parchment paper, leaving an overhang on two sides.
- Combine graham cracker crumbs, powdered sugar, peanut butter, and melted butter in a bowl until cohesive.
- Firmly press the mixture into the prepared pan to create a thick, textured golden layer.
- Melt chocolate chips and coconut oil in 30-second increments until smooth and glossy.
- Pour chocolate over the base, spread evenly, and sprinkle with flaky sea salt. Chill for 1 hour.
Notes
Store in the refrigerator to maintain the perfect texture.
Join the Community!
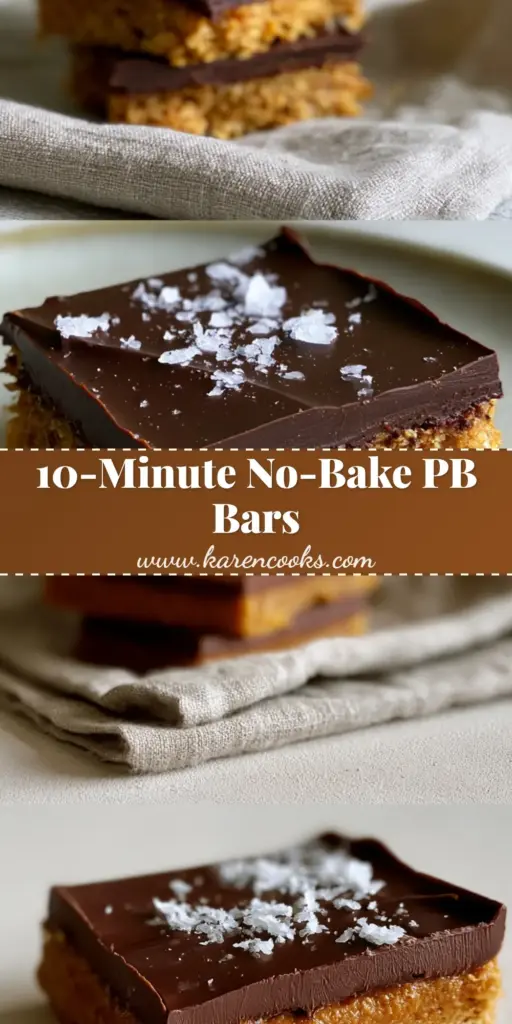
Did you make these no-bake peanut butter cup bars? We want to see your gorgeous layers! Save this recipe to your “Dessert Goals” board on Pinterest and follow karen_cooks_official for more viral treats. Don’t forget to leave a 5-star rating below and upload a photo of your bars in the comments. Happy “baking”!