There is something fundamentally nostalgic about the combination of toasted sugar, melting chocolate, and buttery graham crackers. These S’mores Cookie Bars capture that campfire magic without the need for an open flame, delivering a professional-grade dessert right from your kitchen oven.
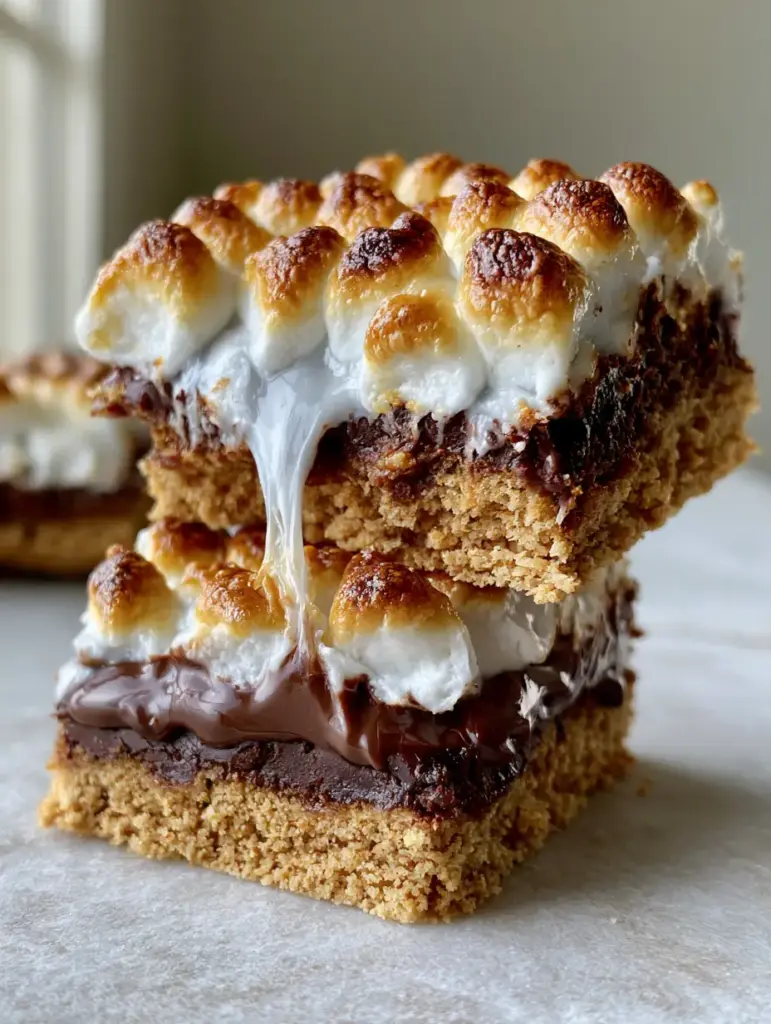
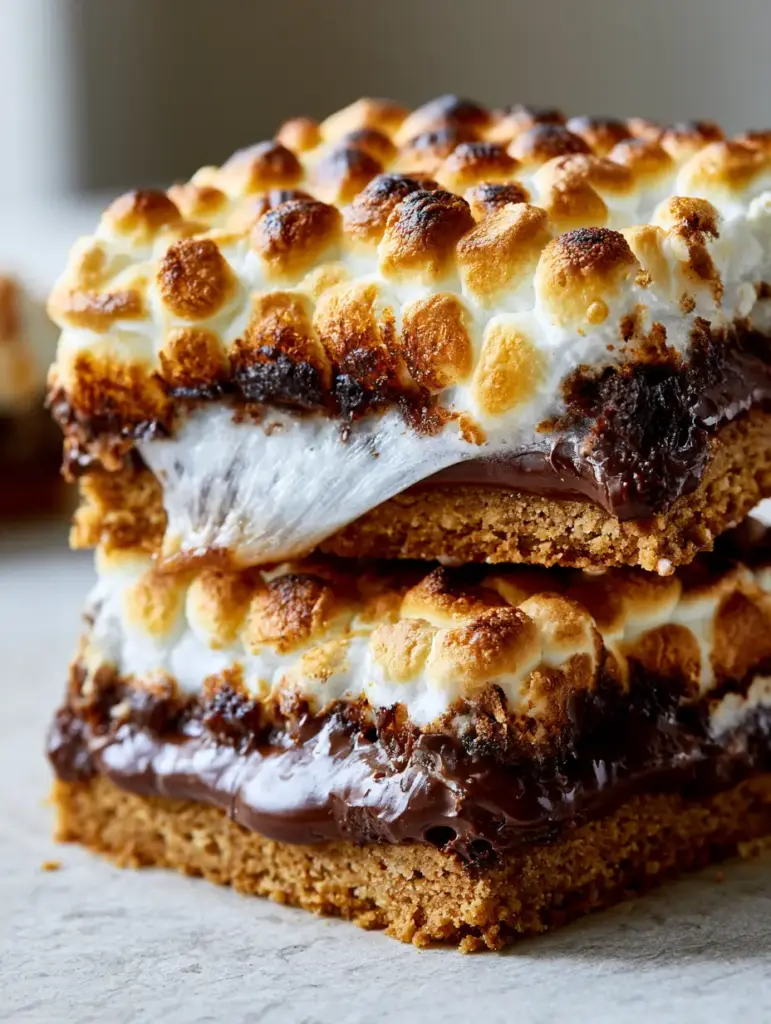
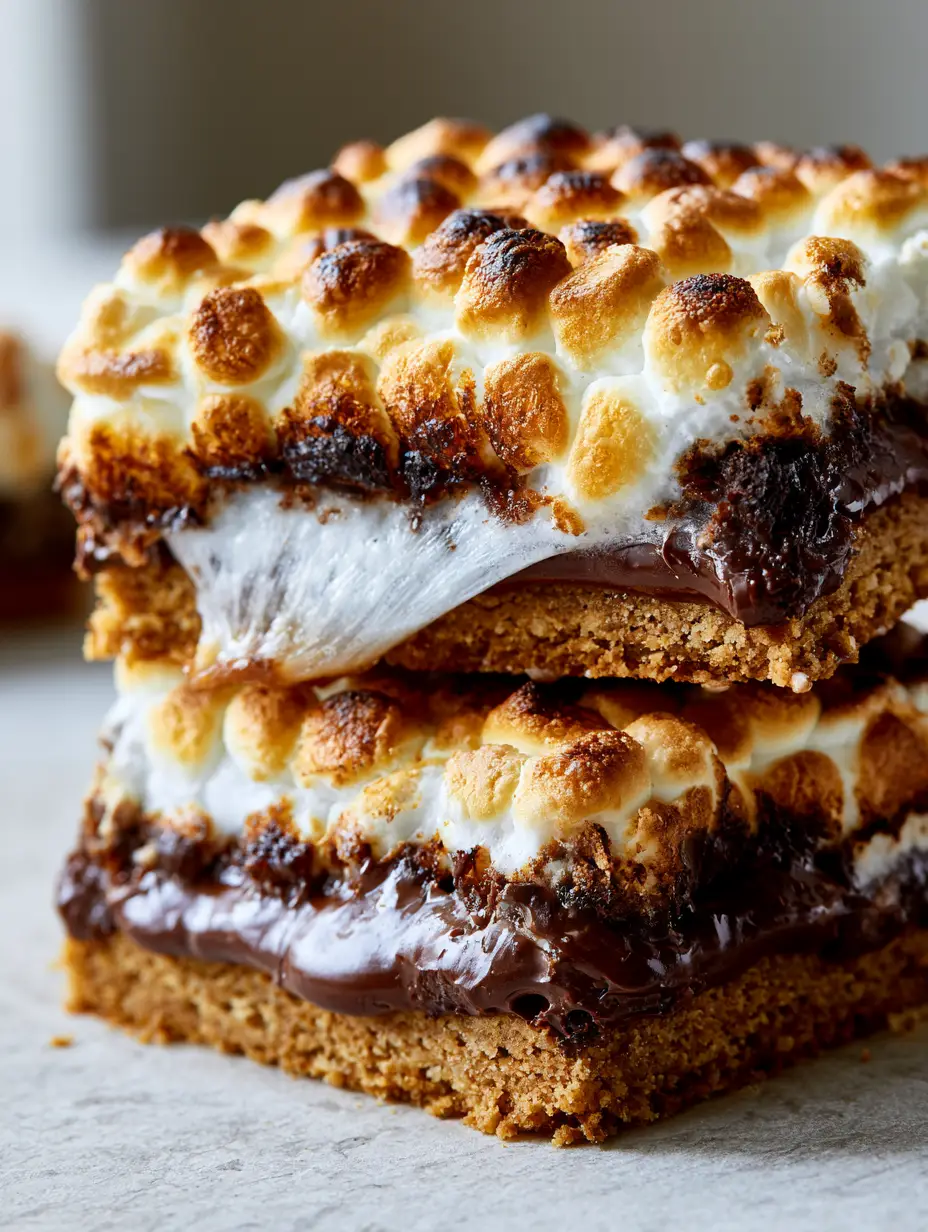
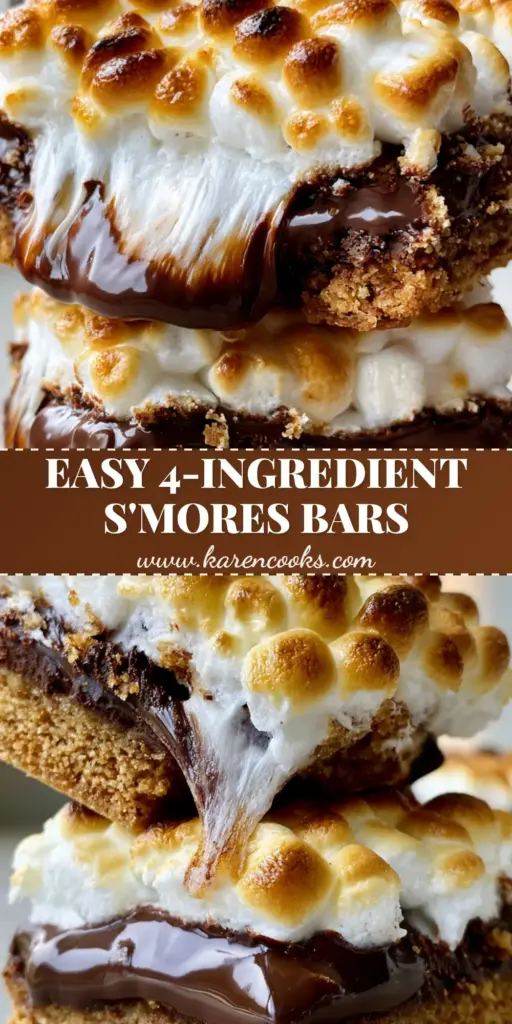
Imagine biting into a thick, golden-brown buttery graham cracker crust that provides the perfect crumbly foundation for a heavy, overflowing layer of glossy dark chocolate. Every square is finished with a dense layer of mini marshmallows, toasted to a perfect gradient of white to deep amber gold with slight charred bubbles.
Whether you are hosting a summer backyard party or simply craving a decadent treat, these S’mores Cookie Bars offer the iconic sticky, translucent marshmallow pull that defines a truly elite dessert experience. Let’s dive into the culinary science of making these Pinterest-perfect bars.
Why You Will Crave These Decadent S’mores Cookie Bars
- The Perfect Texture Contrast: You get a satisfyingly crumbly graham cracker base paired with a velvet-smooth chocolate center and a sticky, gooey top.
- Visual Masterpiece: The mini marshmallows are broiled until they develop charred bubbles and a golden-brown gradient, mimicking a real campfire char.
- The Signature “Pull”: Using high-quality marshmallows and specific temperature control ensures that iconic, translucent marshmallow stretch when you pull a bar apart.
- Better Than a Classic S’more: These bars stay together, providing a much higher chocolate-to-cracker ratio than the traditional version.
The Pantry Essentials for Perfect S’mores Cookie Bars
Achieving the forensic visual accuracy of a professional food photo requires the right building blocks. Each ingredient in these S’mores Cookie Bars serves a structural and flavor-balancing purpose.
Graham Cracker Crumbs: 2 cups (200g). These provide the essential honey-wheat flavor profile and the “crumbly cookie texture” required for a sturdy, buttery base.
Unsalted Butter, Melted: 1/2 cup (115g). The liquid gold that binds the crumbs together, ensuring the crust is rich and holds its shape when sliced.
Granulated Sugar: 1/4 cup (50g). This helps the graham cracker crust caramelize in the oven, giving it that deep golden-brown hue.
Semi-Sweet Chocolate Chips: 2 cups (340g). We use semi-sweet to balance the intense sweetness of the marshmallows, creating that overflowing, glossy dark chocolate middle layer.
Mini Marshmallows: 1 bag (283g). Mini marshmallows are superior to large ones for bars because they create a denser, more even layer of “charred bubbles.”
Fine Sea Salt: 1/2 tsp (3g). An “invisible” but critical ingredient that cuts through the sugar and enhances the complexity of the semi-sweet chocolate.
Pure Vanilla Extract: 1 tsp (5ml). This adds a floral aromatic depth to the buttery base, elevating it from a standard crust to a gourmet cookie layer.
Essential Equipment for a Professional Bake
To achieve the “eye-level close-up” quality seen in our visual blueprint, you will need a few specific tools to manage the heat and texture of these S’mores Cookie Bars.
First, an 8×8 inch (20x20cm) square baking pan is vital for achieving that “thick” bar height. A larger pan will result in thin, brittle bars that lack the satisfying middle layer of chocolate.
Parchment paper is non-negotiable. Because the marshmallow layer is incredibly sticky and translucent, you need a way to lift the entire block out of the pan for clean, sharp cuts.
Finally, a kitchen torch is optional but recommended if your oven broiler is uneven. This allows you to hand-toast the “amber gold” highlights onto the marshmallows for maximum visual appeal.
Mastering the Art of the Golden Marshmallow Char
Step 1: Constructing the Buttery Graham Foundation
Preheat your oven to 350°F (175°C). In a medium mixing bowl, combine the graham cracker crumbs, sugar, and melted butter. Stir until the mixture resembles wet sand and holds its shape when pressed.
Press the mixture firmly into the bottom of your parchment-lined pan. Use the bottom of a flat measuring cup to ensure the base is level and compressed, which prevents the crust from crumbling too much during the marshmallow pull.
Bake the crust for 8-10 minutes. You are looking for a sensory cue: the kitchen should smell like toasted honey, and the edges should be just a shade darker than the center.
Step 2: Creating the Glossy Chocolate Core
While the crust is still warm, pour the semi-sweet chocolate chips evenly over the base. Return the pan to the oven for 2 minutes—just long enough for the chips to lose their matte finish and become glossy.
Remove from the oven and use a spatula to gently spread the chocolate into a heavy, overflowing layer. If you love this gooey texture, you might also enjoy our caramel filled chocolate chip cookie bars for a similar molten middle.
Step 3: The Toasted Marshmallow Finale
Switch your oven to the broiler setting (High). Layer the mini marshmallows across the top of the chocolate, packing them tightly so no chocolate is visible from above.
Place the pan under the broiler for 60-90 seconds. DO NOT LEAVE. Watch through the oven window as the marshmallows transition from white to golden amber. Look for the “slight charred bubbles” to appear before pulling them out.
Expert Tips for the Ultimate S’mores Cookie Bars
- The Clean Cut Secret: To get those professional edges, let the bars cool completely, then chill in the fridge for 2 hours before slicing. Use a hot, wet knife to cut through the sticky marshmallow layer.
- The Marshmallow Pull: If you want the “translucent marshmallow pull” for a photo, serve the bars while they are slightly warm or give a single square a 10-second zap in the microwave.
- Salt is Key: Don’t skip the sea salt. It prevents the dessert from being “one-note” sweet and makes the semi-sweet chocolate taste even richer.
- Prevent Burning: Marshmallows go from golden to burnt in seconds. If your broiler has hot spots, rotate the pan every 20 seconds.
The Best Ways to Store and Reheat Your Bars
S’mores Cookie Bars are best enjoyed within 24 hours of baking to maintain the “crumbly cookie texture” of the base. However, they will stay fresh in an airtight container at room temperature for up to 3 days.
Avoid refrigerating the bars for long-term storage, as the marshmallow layer can become tough and lose its gooey stretch. If you must freeze them, wrap individual bars in plastic wrap and store in a freezer bag for up to a month.
To revive the “half-melted glossy” chocolate and the sticky pull, heat a single bar in the microwave for 10-15 seconds before serving. This softens the chocolate and restores the marshmallow’s elasticity.
What to Serve with S’mores Cookie Bars
These bars are incredibly rich, so they pair perfectly with beverages that offer a bit of acidity or bitterness. A cold glass of milk is the classic choice, but for a party atmosphere, consider something more adventurous.
If you’re hosting a summer bash, these bars pair beautifully with a fruity beverage like our pineapple mango rum punch. The tropical notes cut through the heavy chocolate wonderfully.
For those who prefer more cookie varieties, you could create a dessert platter including these and our snickerdoodle cookie bars for a mix of cinnamon and chocolate flavors. Or, if you want to double down on the fluff factor, try our rice krispy treats on the side.
Frequently Asked Questions
You can, but mini marshmallows are preferred. They melt more evenly and create more surface area for those beautiful charred bubbles, leading to a denser and more visually appealing top layer.
The secret is serving them slightly warm. If the bars have cooled completely, the gelatin in the marshmallows sets. A quick 10-second warm-up in the microwave restores the translucent, stretchy ‘pull’ texture.
The broiler is very intense. Stay by the oven and watch the bars constantly. As soon as you see charred bubbles and a golden-amber gradient, remove them immediately, as they can go from golden to burnt in 5 seconds.
Semi-sweet is highly recommended. Because the graham cracker crust and the marshmallows are very sweet, semi-sweet chocolate provides a necessary cocoa bitterness that balances the overall flavor profile.
Crusts usually crumble if they aren’t pressed down firmly enough or if there isn’t enough butter. Use the bottom of a heavy glass to compress the crumbs into a solid, even layer before baking.
The Complete S’mores Cookie Bars Recipe
S'mores Cookie Bars: The Ultimate Gooey Toasted Marshmallow Recipe
Ingredients
Equipment
Method
- Combine graham cracker crumbs, melted butter, sugar, and vanilla in a bowl until the texture resembles wet sand.
- Press firmly into a lined 8x8 pan. Bake at 350°F (175°C) for 8-10 minutes until golden brown and fragrant.
- Sprinkle chocolate chips and sea salt over the hot crust. Return to oven for 2 minutes, then spread into a glossy, even layer.
- Top with mini marshmallows. Broil on high for 60-90 seconds until they show golden-amber charred bubbles.
Notes
Use a wet knife for the best slicing results without sticking.
Bring the Campfire Home Today!
These S’mores Cookie Bars are more than just a dessert; they are a sensory experience. From the first crumbly bite of the graham crust to the final, sticky marshmallow stretch, they deliver pure indulgence in every square.
If you enjoyed this recipe, please leave a comment below and let us know how your marshmallow char turned out! Don’t forget to sign up for our newsletter for more elite baking guides and share your creations on Pinterest.