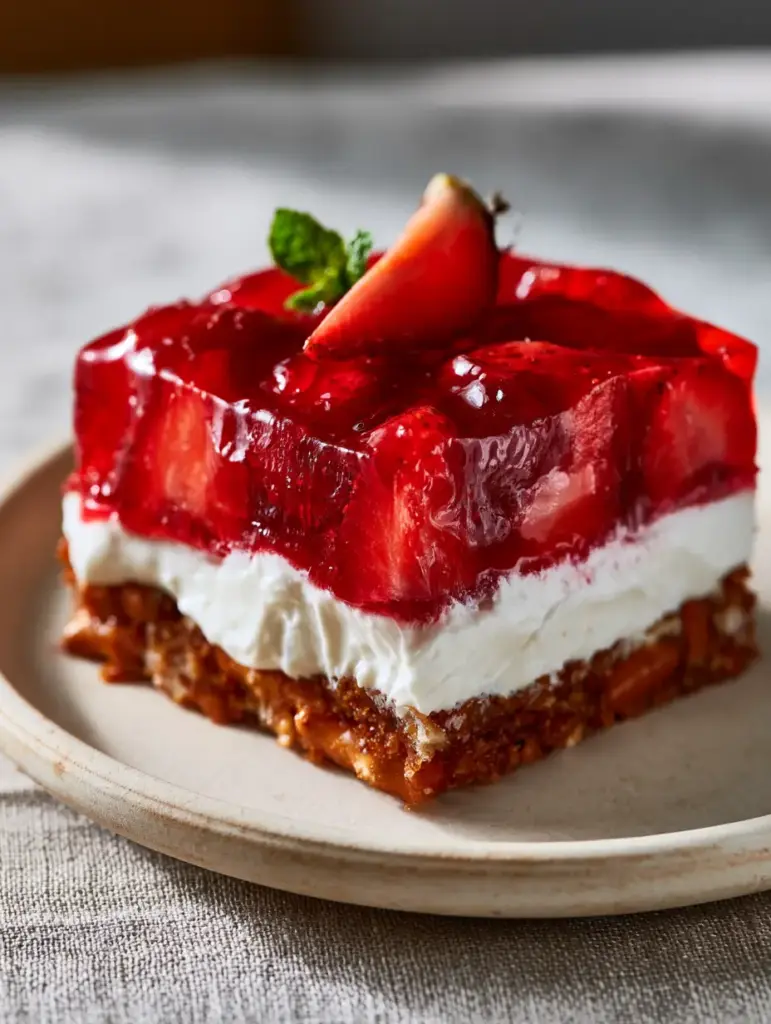
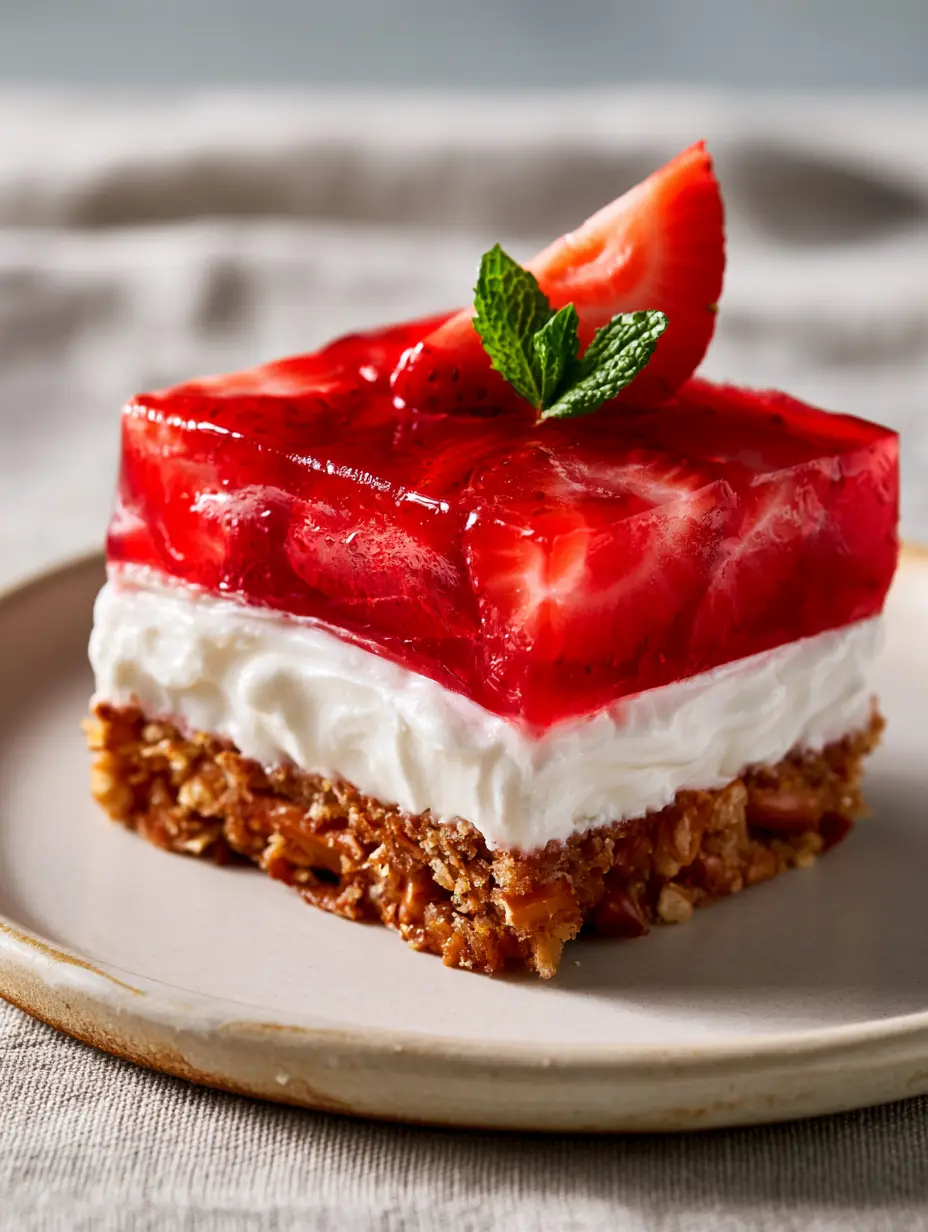
There is nothing quite like the vintage charm of a perfectly executed Strawberry Pretzel Salad. This iconic dessert-meets-salad is a masterclass in textural contrast, featuring a buttery, salty-sweet pretzel base, a cloud-like cream cheese center, and a vibrant, glistening strawberry gelatin topper. Whether you are hosting a summer cookout or a holiday gathering, this dish remains the undisputed champion of the potluck table.
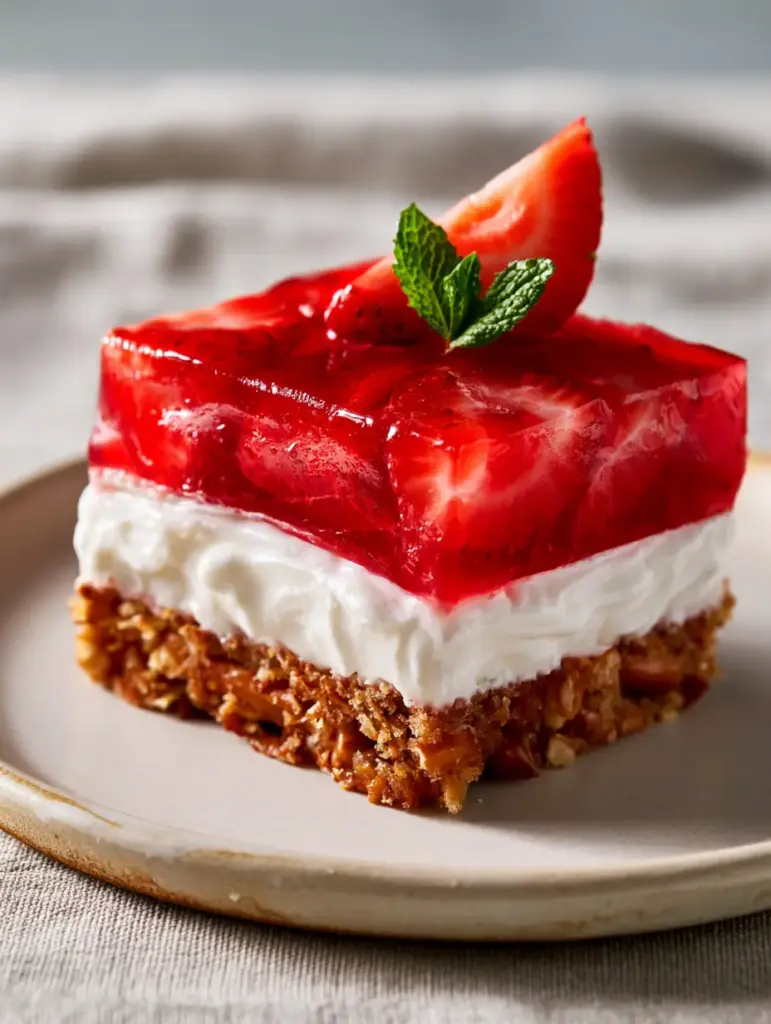
Our version focuses on achieving the professional “culinary forensic” look: three flawlessly defined, clean-cut layers that never bleed into one another. We have engineered this recipe to ensure the crust stays shattering-crisp while the “snow-white” filling creates a watertight seal for the ruby-red gelatin above. This is not just a retro recipe; it is a meticulously balanced dessert designed for modern palates.
The Secret to a Non-Soggy Salty-Sweet Crust
Salted Pretzels: 2 cups (approx. 160g) of finely crushed pretzels provide the structural foundation. The saltiness is essential to balance the sweetness of the upper layers, creating that addictive “salty-sweet” profile.
Melted Unsalted Butter: ¾ cup (170g) of high-quality butter acts as the mortar for our crust. As it bakes and then cools, the butter solidifies, ensuring the base remains “dry and crunchy” even after the layers are added.
Granulated Sugar: 3 tablespoons (38g) of sugar mixed into the crumbs helps the crust caramelize in the oven. This creates a “toasted golden-brown” finish that is as visually appealing as it is delicious.
Achieving That Flawless Snow-White Cream Cheese Layer
Full-Fat Cream Cheese: 8 oz (226g) of brick-style cream cheese, softened to room temperature, provides the “thick and neat” stability required for clean slicing. Avoid whipped or tub varieties, as they lack the structural integrity needed for defined layers.
Powdered Sugar: 1 cup (120g) of sifted powdered sugar sweetens the filling without adding grit. It incorporates smoothly into the fat, maintaining that pristine white color described in our visual blueprint.
Whipped Topping or Stabilized Cream: 8 oz (226g) of whipped topping creates the “whipped white” texture. When folded into the cream cheese, it provides a light, airy mouthfeel while remaining firm enough to support the weight of the gelatin.
Engineering the Glistening Ruby-Red Gelatin Topper
Strawberry Gelatin: One 6 oz (170g) package of strawberry-flavored gelatin provides the intense “vibrant ruby-red” color. It acts as the suspended medium for our fresh fruit, offering a glossy finish that catches the light beautifully.
Boiling and Cold Water: 2 cups (480ml) of boiling water to dissolve the crystals, followed by the addition of the strawberries, ensures the gelatin sets with a translucent, jewel-like clarity.
Fresh Sliced Strawberries: 2 lbs (900g) of fresh, ripe strawberries are essential for that “packed” look. Slicing them uniformly ensures they are evenly distributed throughout the glossy top layer, providing a “glistening” appearance in every slice.
Essential Tools for Precision Dessert Layering
To achieve the “perfectly edge-to-edge” look seen in our photography, you will need a 9×13-inch (23x33cm) glass or ceramic baking dish. A glass dish is particularly helpful as it allows you to monitor the layers from the side to ensure they are perfectly level.
An offset spatula is your best friend for this recipe. It allows you to spread the cream cheese filling with surgical precision, ensuring you create a complete seal against the edges of the pan. This “watertight” seal is what prevents the liquid gelatin from leaking into the pretzel base, which is the most common failure in this recipe.
Step-by-Step Architecture for the Perfect Slice
Step 1: Toasting the Golden-Brown Crust
Preheat your oven to 350°F (175°C). In a medium mixing bowl, combine the crushed pretzels, melted butter, and sugar. Stir until the crumbs resemble wet sand. Press the mixture firmly and evenly into the bottom of your 9×13 dish.
Bake for 10 minutes until you smell a nutty, toasted aroma and the crust is visibly golden-brown. Remove from the oven and allow it to cool completely. Adding the filling to a warm crust is the fastest way to lose that “dry and crunchy” texture.
Step 2: Spreading the Watertight Cream Cheese Seal
In a large bowl, beat the softened cream cheese and powdered sugar until completely smooth. Gently fold in the whipped topping until no streaks remain. The mixture should be a “snow-white” color and hold its shape.
Drop large dollops of the mixture over the cooled crust. Using your offset spatula, spread it “edge-to-edge,” making sure to touch the sides of the dish all the way around. This prevents the gelatin from seeping down. Chill this layer for at least 45 minutes to firm up.
Step 3: Setting the Glossy Strawberry Gelatin
While the middle layer chills, whisk the gelatin powder into the boiling water until fully dissolved. Allow it to sit at room temperature for about 15-20 minutes until it is no longer steaming. Stir in the sliced strawberries.
Carefully pour or spoon the strawberry mixture over the chilled cream cheese layer. The gelatin should look “glossy and ruby-red” as it settles. Refrigerate the entire dish for at least 4-6 hours, or until the top is fully set and “non-bleeding.”
Step 4: The Final Flourish and Garnish
Just before serving, use a sharp, thin-bladed knife to cut the salad into neat squares. For the most “professional slice,” wipe the knife clean with a damp cloth between every single cut. This preserves the “flawlessly defined” look of the layers.
Garnish each slice with a single ripe strawberry wedge and a “tiny fresh mint leaf” as seen in our rustic presentation. This adds a pop of green and a fresh aroma that elevates the entire experience.
Expert Tips for Potluck Success
- Pulse, Don’t Pulverize: When crushing your pretzels, aim for small chunks rather than a fine powder. This ensures the crust has the “visibly dry and crunchy” texture that defines a great Strawberry Pretzel Salad.
- The Temperature Gap: Never pour hot gelatin over the cream cheese layer. If the gelatin is too warm, it will melt the “snow-white” filling, leading to a cloudy, pink mess instead of clean layers.
- Full-Fat is Mandatory: For the middle layer, avoid “low-fat” cream cheese. The higher fat content is what provides the structural “neatness” required for the slice to stand upright on a plate.
- Sealing the Perimeter: Double-check that the cream cheese layer is touching every single millimeter of the dish’s edge. This is the “secret sauce” to preventing a soggy crust.
Storage and Preparation Ahead of Time
Strawberry Pretzel Salad is an excellent make-ahead dessert. You can prepare it up to 24 hours in advance, which actually allows the flavors to meld and the gelatin to achieve its peak “glossy” firmness. Store it covered with plastic wrap in the refrigerator.
We do not recommend freezing this dish. The gelatin will lose its “glistening” texture upon thawing, and the fresh strawberries will become mushy. For the best experience, consume within 2-3 days of assembly. If you love these textures, you might also enjoy our creamy blueberry bars for your next event.
What to Serve With This Salty-Sweet Delight
This Strawberry Pretzel Salad is a star on its own, but it pairs beautifully with other potluck favorites. If you are leaning into the strawberry theme, consider serving it alongside our classic strawberry shortcake.
For a spread that offers variety, this salad acts as a refreshing palate cleanser between richer desserts like decadent chocolate cupcakes or even our creamy banana pudding. The saltiness of the pretzel crust also makes it a great companion to autumn-inspired treats like apple crumble cupcakes.
Frequently Asked Questions
Absolutely! Strawberry Pretzel Salad actually benefits from a long chill time, making it the perfect make-ahead dessert for potlucks and parties.
Yes, you can use frozen strawberries, but ensure they are partially thawed and drained. Be aware that frozen berries may release more moisture, which can slightly affect the clarity of the glossy gelatin layer.
For clean, non-bleeding layers, use a sharp knife dipped in warm water and wiped clean between every single cut. Ensure the salad has chilled for at least 4-6 hours to fully set the gelatin and cream cheese.
You can use stabilized whipped cream (heavy cream whipped with a bit of gelatin or mascarpone). Regular whipped cream may be too soft and could lead to the layers collapsing or bleeding.
Soggy crusts usually occur if the cream cheese layer didn’t create a ‘watertight seal’ against the edges of the dish, allowing gelatin to seep through, or if the crust wasn’t fully cooled before adding the filling.
The Ultimate Strawberry Pretzel Salad Recipe
Strawberry Pretzel Salad Recipe: The Ultimate Three-Layer Classic
Ingredients
Equipment
Method
- Preheat oven to 350°F (175°C). Combine crushed pretzels, melted butter, and sugar in a bowl until well combined.
- Press mixture into a 9x13 inch dish. Bake for 10 minutes until golden-brown and toasted. Cool completely.
- Beat softened cream cheese and powdered sugar until smooth. Fold in whipped topping until snow-white and fluffy.
- Spread the filling over the cooled crust, ensuring you spread it edge-to-edge to create a watertight seal. Chill for 45 minutes.
- Dissolve gelatin in boiling water. Let cool to room temperature, then stir in sliced strawberries.
- Pour strawberry mixture over the cream cheese layer. Refrigerate for 4-6 hours until glossy and firm. Garnish with mint and a strawberry wedge before serving.
Notes
The 'watertight seal' of cream cheese against the dish edges is critical to prevent a soggy crust.
Closing & Call to Action
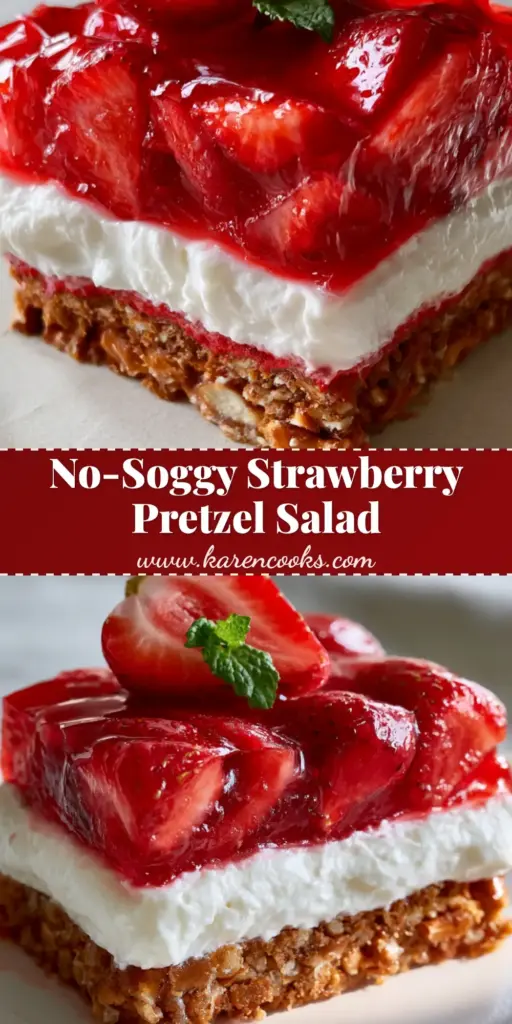
Creating the perfect Strawberry Pretzel Salad is all about patience and precision. By following our tips for the “watertight” cream cheese seal and the “toasted golden-brown” crust, you will produce a dessert that is as visually stunning as it is nostalgic. The contrast of the “ruby-red” fruit and the “snow-white” filling is guaranteed to be the talk of your next gathering.
Did you achieve those flawlessly defined layers? We would love to see your results! Leave a comment below and let us know how your family liked this classic treat. Don’t forget to share your beautiful slices on Pinterest and tag us so we can see your culinary handiwork!