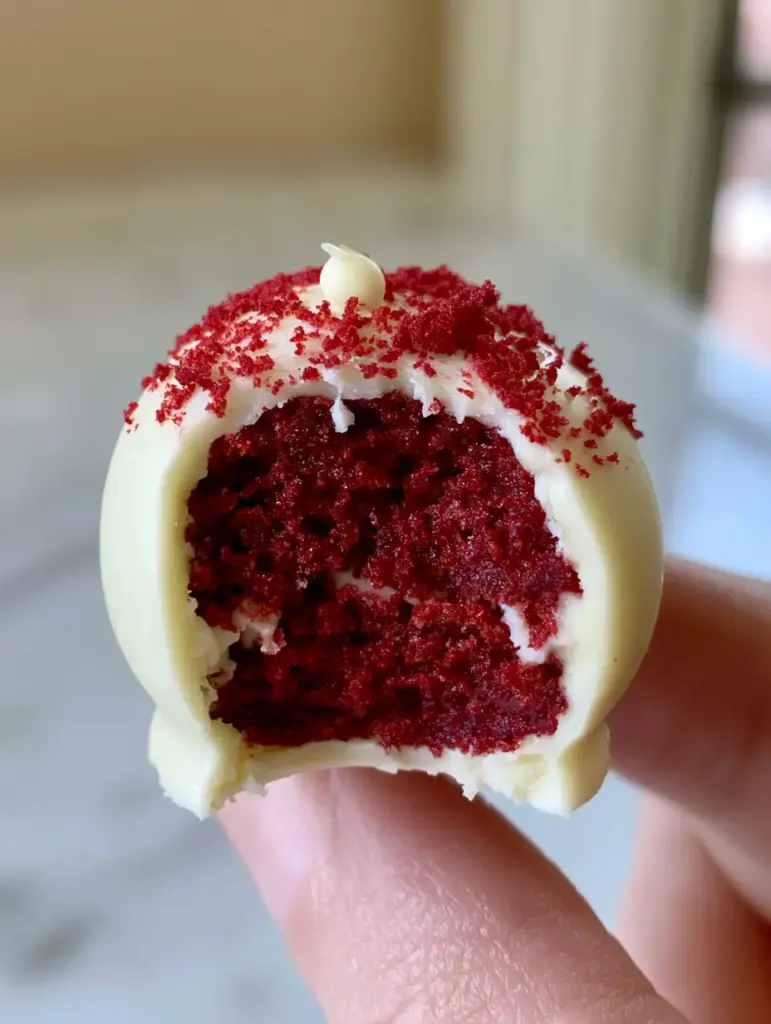
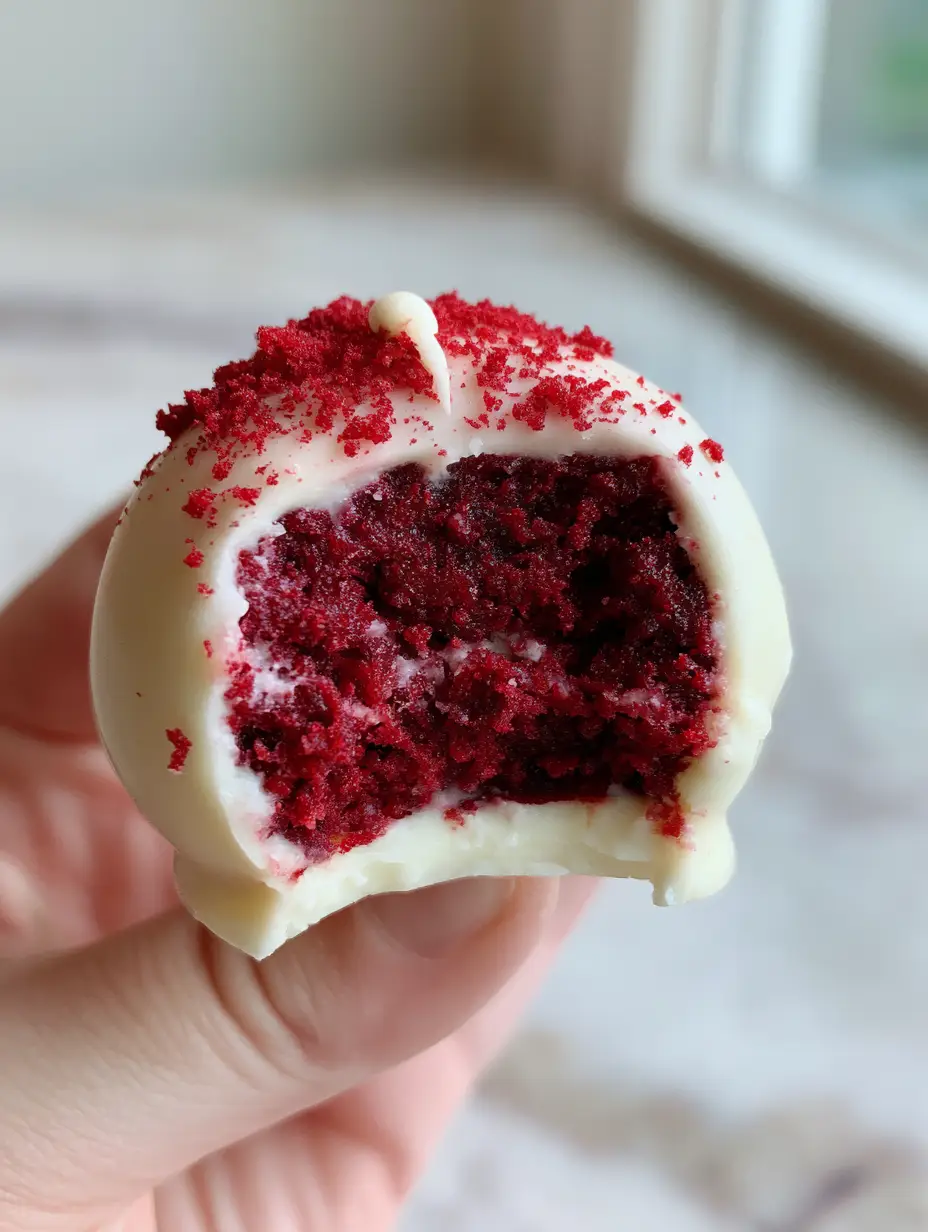
There is something undeniably luxurious about biting into Red Velvet Cake Pops. It is not just the striking contrast between the ivory-white shell and the deep crimson interior; it is the specific textural journey that makes them a cult favorite.
When you take that first bite, you should experience a clean, audible snap of thick white chocolate followed immediately by a dense, ultra-moist crumb. The flavor is a sophisticated balance of mild cocoa, tangy buttermilk, and the unmistakable zing of real cream cheese frosting.
In this guide, we are going to master the forensic details of the perfect cake pop. From achieving that signature “velvet” texture to ensuring your white chocolate coating is high-gloss and opaque, every step is designed for professional results at home.
Why These Crimson Treats Are a Total Showstopper
- The Signature Snap: A thick, opaque white chocolate coating provides a structural crunch that yields to a soft center.
- Forensic Crumb Texture: By using a specific ratio of tangy cream cheese frosting to moist cake, we achieve a dense, fudgy interior that never feels “mushy.”
- Vibrant Visual Contrast: The deep crimson red velvet cake crumbs are highlighted against the stark white of the chocolate and the lollipop stick.
- Artisan Garnish: Finished with a microscopic drizzle of chocolate and a dusting of fine red velvet “dust” for a professional bakery aesthetic.
Pantry Staples for the Ultimate Velvet Foundation
All-Purpose Flour: 2 ½ cups (315g) of high-quality flour provides the necessary structure to hold up once crumbled and rolled. Ensure you scoop and level your measurements to avoid a dry cake.
Unsweetened Cocoa Powder: 2 tbsp (15g) is all you need for that classic red velvet flavor. It provides a hint of chocolate without overpowering the acidity that defines the “velvet” profile.
Granulated Sugar: 1 ½ cups (300g) sweetens the crumb while helping to keep the cake tender and moist through the baking process.
Buttermilk: 1 cup (240ml) of room temperature buttermilk is non-negotiable for the chemical reaction with the vinegar. This creates the tender “velvet” crumb that sets this recipe apart.
Vegetable Oil: 1 ½ cups (360ml) ensures the cake remains ultra-moist even after being crumbled. Oil-based cakes are superior for cake pops because they don’t harden when chilled.
Red Food Coloring: 2 tbsp (30ml) of liquid or 1 tsp of gel coloring gives us that deep, dramatic crimson. Without this, the cake would be a dull, brownish-maroon.
Distilled White Vinegar: 1 tsp (5ml) reacts with the baking soda to provide lift. It also preserves the red hue of the cocoa powder during the bake.
Tangy Cream Cheese: 8 oz (225g) of full-fat brick cream cheese forms the base of our binder. This provides the “tang” that balances the sweet chocolate coating.
White Chocolate Wafers: 16 oz (450g) of high-quality melting wafers or tempered white chocolate. This creates the thick, glossy, opaque shell seen in the professional visual blueprint.
Precision Tools for Cake Pop Perfection
To achieve the handheld perfection shown in our photography, you will need a few specific items. A standard 9×13 inch baking pan is required for the base cake.
For the shaping, a small cookie scoop helps maintain consistent 30g portions. You will also need 20-25 white lollipop sticks and a styrofoam block or cake pop stand to allow the chocolate to set without flat spots.
Finally, a fine-mesh sieve is essential for creating the “red velvet dust” garnish. This ensures the crumbs are microscopic and delicate rather than chunky.
The Secret to Crafting the Signature Velvet Crumb
Start by whisking your dry ingredients—flour, sugar, cocoa, and baking soda—in a large bowl. In a separate pitcher, blend your oil, buttermilk, eggs, vinegar, and that vibrant red food coloring until fully emulsified.
Slowly fold the wet ingredients into the dry. You are looking for a smooth, liquid-velvet consistency with no streaks of white flour remaining.
Bake at 350°F (175°C) for 30-35 minutes. You’ll know it’s ready when a toothpick comes out with just a few moist crumbs; do not overbake, as we need that internal moisture for the rolling phase.
Constructing the Tangy Frosting Binder
While the cake cools, whip your softened cream cheese and a touch of butter until light and airy. Add powdered sugar slowly until you have a stiff, tangy frosting.
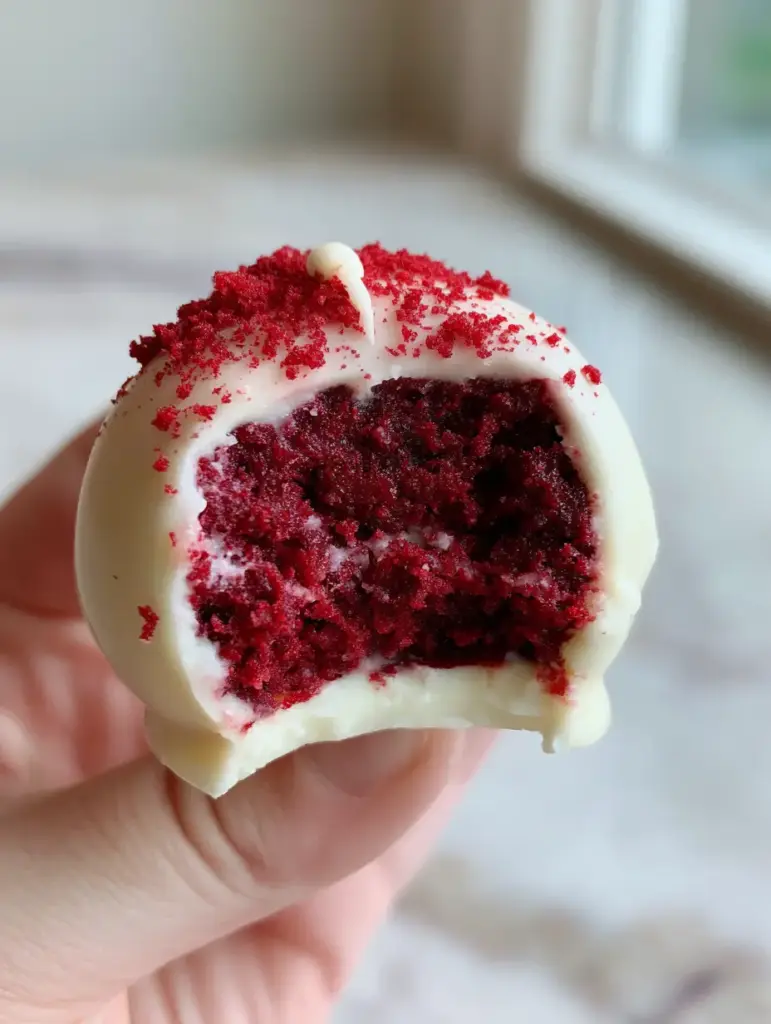
Once the cake is completely cool, trim off any browned edges or “crust.” We only want the vibrant red interior for our cake pops to ensure a uniform color in the bitten cross-section.
Crumble the red cake into a large bowl until it looks like fine sand. Set aside 2 tablespoons of these crumbs for the final garnish; you will toast these slightly to keep them vibrant and dry.
The Art of the Perfect Dip and Snap
Mix your crumbs with the cream cheese binder until the mixture holds together like window putty. Roll into 1-inch (2.5cm) balls and chill in the freezer for exactly 15 minutes.
Melt your white chocolate wafers in a deep, narrow microwave-safe glass. Dip the tip of each white lollipop stick into the chocolate, then insert it halfway into a chilled cake ball.
Now, for the “snap.” Submerge the entire cake pop into the white chocolate in one fluid motion. Lift straight up and gently tap your wrist to remove excess, ensuring a thick, opaque, and high-gloss finish.
Professional Decorating and Finishing Cues
While the coating is still “tacky” but not fully set, use a spoon to create one microscopic drizzle of white chocolate across the top. This adds the subtle texture seen in our visual blueprint.
Immediately after the drizzle, take your reserved fine cake crumbs. Sprinkle them gently over the top so they adhere to the drizzle and the wet chocolate shell.
The result should be a high-gloss sphere with a delicate dusting of crimson. Place the sticks into your stand and let them set at room temperature for a clean, professional finish.
Mastering the Dip: Expert Pro-Tips
- Avoid the “Soggy” Center: Do not over-add frosting. The mixture should feel like moist dough, not sticky paste. If it sticks to your palms, add more dry crumbs.
- Temperature Control: If the cake balls are too cold, the white chocolate will crack as it expands. If they are too warm, they will fall off the stick into the chocolate.
- The Gloss Secret: If your white chocolate is too thick, add 1 tsp (5ml) of coconut oil or paramount crystals. This thins the coating for a smoother, more reflective sheen.
- Clean Snap: For that audible snap, use real cocoa butter-based white chocolate rather than compound coating if you are experienced in tempering.
Make-Ahead, Storage, and Freshness Guide
Red Velvet Cake Pops are the ultimate make-ahead dessert. You can store the un-dipped cake balls in the refrigerator for up to 3 days or freeze them for a month.
Once dipped, store the cake pops in an airtight container in the refrigerator. They will stay fresh and moist for up to 5 days. However, for the best “snap,” let them sit at room temperature for 10 minutes before serving.
Avoid freezing fully decorated cake pops, as the moisture can cause the white chocolate to sweat or the red dust to bleed into the white shell upon thawing.
Elegant Pairings and Sweet Complements
These pops are a rich, handheld indulgence. If you are building a dessert table, they pair beautifully with other textured treats like no-bake Biscoff cheesecake for a spiced contrast.
For a themed party, consider serving these alongside classic chocolate cake pops to give your guests a variety of flavor profiles. The tang of the red velvet also cuts through the sweetness of a creamy strawberry banana pudding.
If you prefer a cookie-based spread, these pops look stunning next to cake batter chocolate chip cookies, bridging the gap between cake and confectionary textures.
Frequently Asked Questions
Yes, but for the forensic crimson color and moist velvet texture shown, a from-scratch buttermilk and vinegar recipe is superior for flavor and structural integrity.
Use high-quality melting wafers and a deep, narrow container for dipping. Avoid stirring the chocolate too much, which can incorporate air bubbles, and add a teaspoon of coconut oil if the chocolate is too thick.
Take a small piece of the baked red velvet cake (interior only), crumble it finely, and toast it in a low oven for 5 minutes. Then, rub it through a fine-mesh sieve to create a delicate powder.
Cracking occurs when there is a drastic temperature difference between the cake and the chocolate. If the cake balls are frozen, let them sit at room temperature for a few minutes before dipping so they don’t expand and crack the shell.
This usually happens if the cake balls are too warm or the frosting binder is too heavy. Ensure the balls are chilled for 15-20 minutes and always dip the stick in chocolate before inserting it into the cake.
The Ultimate Moist Red Velvet Cake Pops
Red Velvet Cake Pops: The Ultimate Guide to the Perfect Crimson Snap
Ingredients
Equipment
Method
- Whisk dry ingredients, then fold in oil, buttermilk, eggs, vinegar, and red coloring. Bake in a 9x13 pan at 350°F (175°C) for 35 minutes until moist crumbs remain on a toothpick.
- Remove the crust from the cooled cake. Crumble the deep crimson interior into fine sand. Reserve 2 tablespoons of crumbs. Mix the rest with tangy cream cheese frosting until it forms a moldable dough.
- Roll the mixture into 1-inch balls. Dip the tip of a lollipop stick into melted white chocolate and insert into the ball. Chill for 15 minutes to set.
- Submerge the chilled pop into deep, melted white chocolate. Lift and tap for a thick, opaque shell. Drizzle a microscopic line of chocolate over the top.
- Immediately dust with the reserved fine cake crumbs through a sieve for a delicate, professional finish. Let set in a stand.
Notes
Use high-quality melting wafers for that specific 'high-gloss' finish seen in professional photography.

Join the Karen Cooks Community!
Mastering the Red Velvet Cake Pop is a badge of honor for any home baker. The combination of that deep crimson crumb and the high-gloss white chocolate shell is a testament to your culinary precision.
Did yours have that perfect snap? We want to see your results! Tag us in your photos and follow our latest creations on Pinterest for more gourmet inspiration.
Don’t forget to leave a comment below with your favorite cake pop flavor variations or any questions you have about the tempering process!


