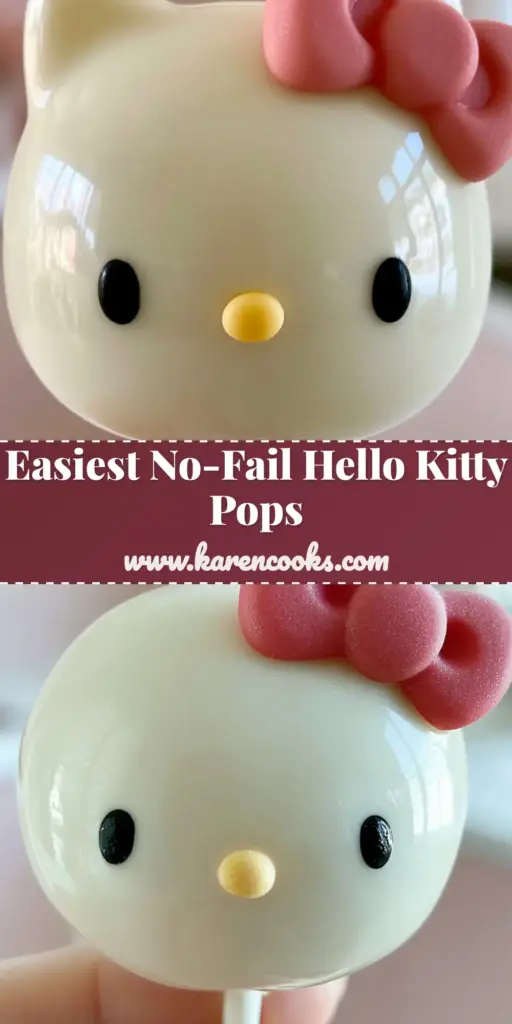
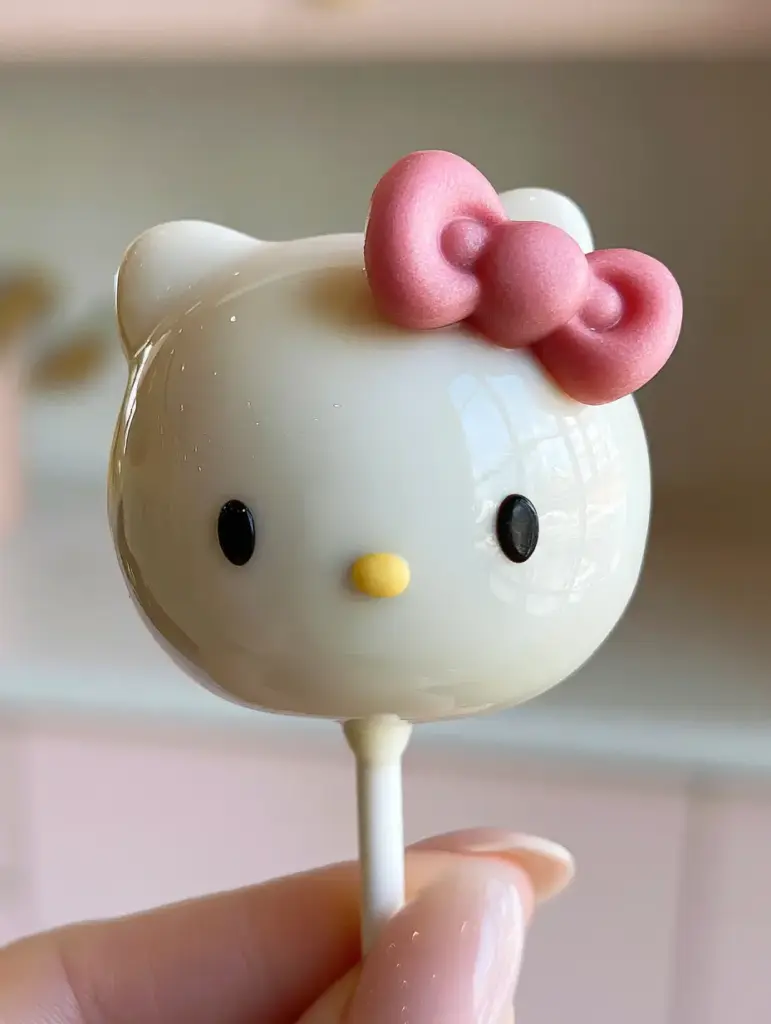
There is something undeniably magical about the perfect hello kitty cake pops. These miniature edible masterpieces represent the pinnacle of “kawaii” culture, blending a dense, fudge-like vanilla center with a professional, glass-like white chocolate exterior. When you hold one of these perfectly spherical treats, the first thing you notice is the reflective, satin-smooth finish that rivals any high-end boutique bakery.
Achieving this level of forensic visual accuracy requires more than just a recipe; it requires an understanding of culinary structure and temperature control. From the vibrant 3D pink chocolate bow to the symmetrical black edible ink eyes, every detail must be intentional. This guide will walk you through the precise steps to create a result that looks exactly like a high-definition smartphone photo from a luxury kitchen.
Whether you are a seasoned baker or a character-treat enthusiast, mastering the hello kitty cake pops will elevate your dessert game to a professional level. We are moving beyond the basic “crumbled cake” and into the realm of architectural confectionery. Let’s dive into the science of the perfect crumb and the art of the tempered shell.
Why These Hello Kitty Cake Pops Stand Out
- The Crumb Texture: A meticulously balanced ratio of moist vanilla cake to creamy frosting binder ensures a center that is dense and rich, never mushy.
- The Glass-Like Finish: We use specific tempering techniques to achieve a flawless white chocolate coating with zero cracks and a reflective sheen.
- Forensic Detailing: Using molded chocolate for the bow and specific candy shapes for the nose ensures a 100% accurate character representation.
- Structural Integrity: These pops are engineered to stay on the stick, utilizing a chilled core and a chocolate “anchor” for maximum stability.
The Foundation: Premium Ingredients for Your Sanrio Masterpiece
All-Purpose Flour (1.5 cups / 190g): This provides the essential structure for our base cake. A medium protein content ensures the cake is sturdy enough to be crumbled without becoming overly gummy when mixed with frosting.
Unsalted Butter (0.5 cup / 115g): High-quality butter at room temperature is the key to a tender, moist vanilla cake crumb. It provides the fat necessary for that “melt-in-your-mouth” feel that sets these hello kitty cake pops apart.
Granulated Sugar (1 cup / 200g): Beyond sweetness, sugar aids in the aeration of the butter during the creaming process. This creates a fine-crumbed cake that breaks down into perfect, uniform pieces for the binder.
Whole Milk (0.5 cup / 120ml): Milk provides moisture and helps to create a soft, delicate crumb. The proteins in the milk also contribute to the gentle browning of the cake, though we keep it light to maintain a pale interior.
Vanilla Extract (1 tbsp / 15ml): We use a generous amount of pure vanilla to ensure the flavor is prominent even after the cake is crumbled and coated in chocolate. It provides the classic, nostalgic aroma we expect from a premium treat.
Creamy Vanilla Frosting (0.3 cup / 75g): This acts as our edible “glue.” It must be professional-grade or a thick homemade buttercream to ensure the cake balls remain spherical and dense during the dipping process.
White Chocolate Couverture (16 oz / 450g): This is the secret to the satin-smooth finish. High-quality white chocolate with a high cocoa butter content flows better and sets with a more brilliant shine than standard grocery store chips.
Pink Candy Melts or Chocolate (2 oz / 55g): Specifically used for the molded bow. We want a matte texture for the bow to contrast against the glass-like finish of the head.
Yellow Candy Sunflower Seeds: These are the perfect oval shape for Hello Kitty’s nose. They provide a centered, 3D element that a flat sprinkle simply cannot match.
Essential Equipment for a Professional Result
To achieve the “smartphone-ready” aesthetic, you will need a few specific tools. A digital kitchen scale is non-negotiable for measuring ingredients in grams, ensuring consistent results every time. You will also need a silicone bow mold to get that perfect 3D matte texture for the pink accessory.
For the coating, a deep, narrow microwave-safe glass or silicone bowl is preferred. This allows for a “deep dive” dip, covering the entire cake pop in one fluid motion. Finally, a styrofoam block or a dedicated cake pop stand is essential for allowing the chocolate to set without flat spots or indentations.
Step 1: Baking the High-Density Vanilla Foundation
Preheat your oven to 350°F (175°C). Begin by creaming your room-temperature butter and sugar together for at least 3-5 minutes. Look for a visual change: the mixture should turn from yellow to a pale ivory and become fluffy in texture.
Add your eggs one at a time, ensuring each is fully emulsified before adding the next. Sift your dry ingredients—flour, baking powder, and salt—to prevent any lumps. Alternate adding the dry ingredients and the milk into the butter mixture, starting and ending with the flour.
Pour the batter into a greased 9-inch (23cm) round pan. Bake for 25-30 minutes, or until a skewer comes out clean. The cake should be light golden on top and springy to the touch. If you have extra cake batter, consider using it for other seasonal treats later.
Step 2: The Art of the Crumb and Binder
Once the cake has cooled completely, remove any dark brown edges with a serrated knife. This ensures your hello kitty cake pops have a uniform, pale interior. Break the cake into large chunks and place them into a food processor, or crumble them by hand in a large bowl.
Pulse until you have fine, sandy crumbs. Add your creamy frosting one tablespoon at a time. The goal is to reach a “playdough” consistency. You should be able to roll a ball that is smooth and does not crack, but it shouldn’t be so wet that it feels greasy.
Weight each portion to approximately 30 grams for consistency. Roll them into perfectly smooth, spherical balls between your palms. Place the spheres on a parchment-lined tray and chill in the refrigerator for at least 2 hours. Do not freeze, as the extreme temperature change can cause the chocolate coating to crack later.
Step 3: Engineering the Chocolate Anchor
Prepare your white paper treat sticks. Melt a small amount of your white chocolate in the microwave in 30-second bursts. Dip the tip of a treat stick about 1/2 inch (1.25cm) into the melted chocolate, then insert it into a chilled cake ball, going about halfway through.
This “chocolate anchor” is what prevents the cake pop from sliding down the stick. Repeat for all balls and return them to the refrigerator for another 15 minutes. This step is a hallmark of professional character treat making, similar to the precision needed for classic red velvet versions.
Step 4: Achieving the Flawless Glass-Like Coating
Melt your white chocolate couverture with a teaspoon of coconut oil or paramount crystals. This thins the chocolate, allowing it to flow smoothly over the sphere and creating that reflective finish. The chocolate should be warm (about 90°F / 32°C), but not hot.
Hold a chilled cake pop by the stick and dip it vertically into the chocolate in one smooth motion. Submerge it until the chocolate reaches the base of the stick, then pull it straight up. Gently tap your wrist (not the stick) to remove excess chocolate.
Watch for the sensory cues: the chocolate should look like a liquid mirror. As it begins to set, the surface will transition from a wet liquid to a satin-smooth solid. Place the stick into your stand and allow it to dry completely before decorating. If you love this smooth finish, you’ll also enjoy the process of making other smooth, chilled desserts.
Step 5: Forensic Character Detailing
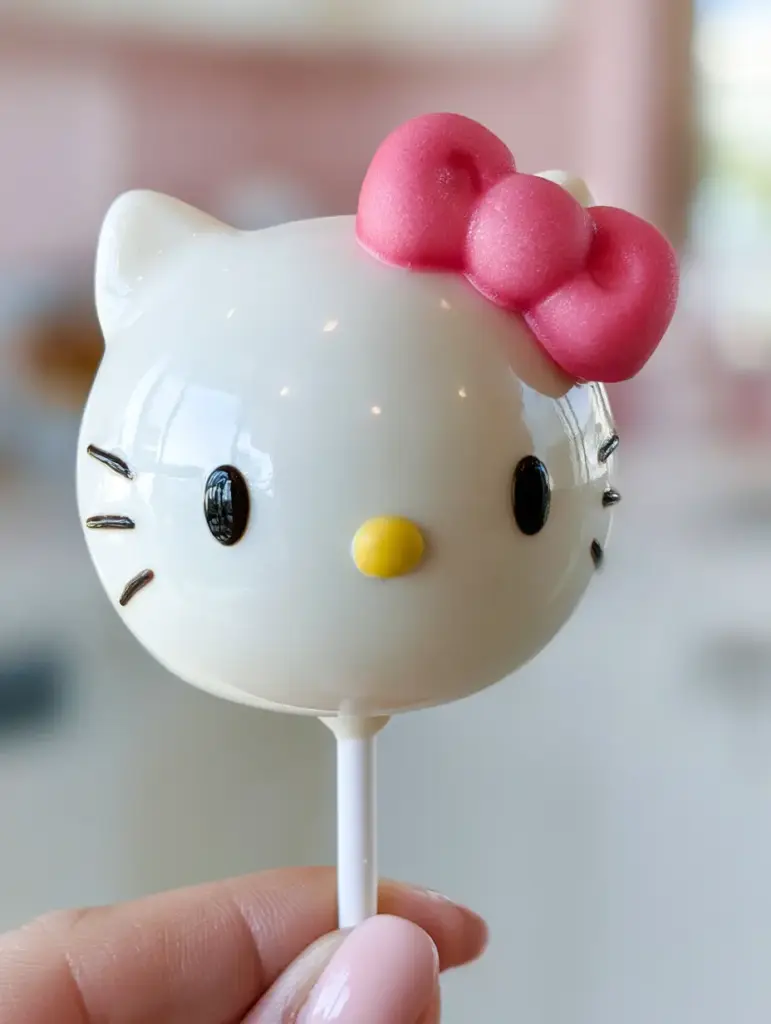
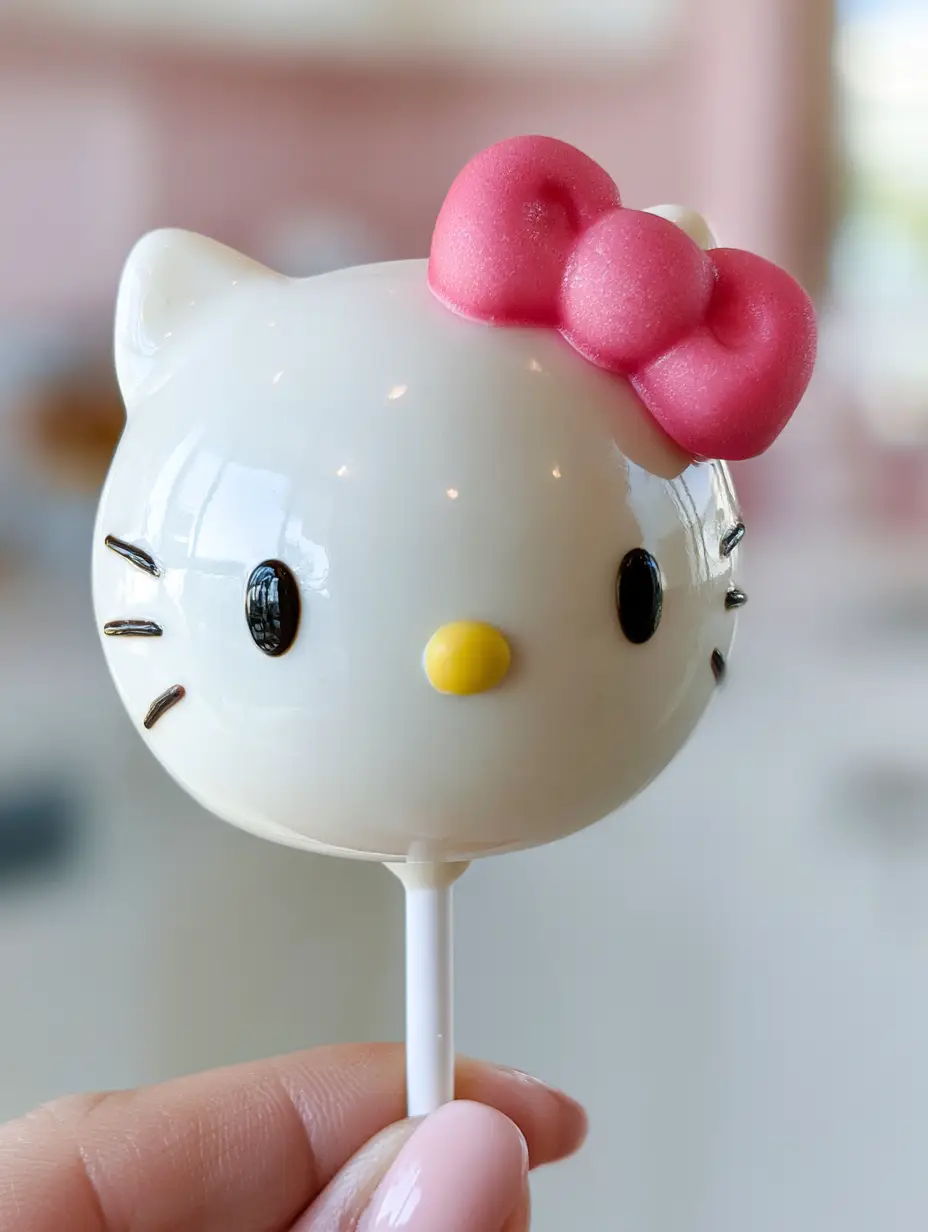
Now we bring Kitty to life. Use your silicone mold to create the pink chocolate bow. Once the bow is set, it should have a matte texture that contrasts beautifully with the shiny head. Use a tiny dot of melted chocolate to “glue” the bow to the upper right side of the pop.
For the eyes, use a fine-tip black edible ink marker. Draw two tiny, symmetrical ovals centered vertically. The placement is key: Hello Kitty’s eyes are surprisingly far apart. Use a second dot of melted chocolate to attach the yellow candy sunflower seed nose exactly in the center between the eyes.
The final result should be a perfectly spherical Hello Kitty with a professional finish. If you’re feeling adventurous with colors, you might find inspiration in the vibrant hues of specialty drinks.
Expert Tips for Perfect Character Cake Pops
- Avoid Over-Mixing: When combining crumbs and frosting, go slow. Over-mixing creates a heavy, oily ball that won’t hold its shape.
- The Dip Temperature: If your chocolate is too thick, add more coconut oil. If it’s too thin, let it cool for a few minutes.
- Say No to Freezing: Frozen cake balls will expand as they warm up, which is the #1 cause of cracked chocolate shells.
- Clean Hands, Clean Finish: Handle the finished pops as little as possible to avoid fingerprints on the satin finish.
Storing and Serving Your Creations
Hello kitty cake pops are best stored in an airtight container in the refrigerator for up to 5 days. For the best flavor and texture, let them sit at room temperature for about 15-20 minutes before serving. This allows the inner cake to soften slightly while the chocolate shell retains its snap.
If you are transporting them, use a dedicated cake pop carrier or wrap each pop individually in a small cellophane bag with a light pink ribbon to match the aesthetic manicure mentioned in our visual prompt. These also make incredible additions to a dessert table alongside creamy fruit desserts.
What to Serve With These Kawaii Treats
To balance the sweetness of the vanilla and white chocolate, serve these pops with a refreshing, slightly tart beverage. A glass of Butterfly Pea Lemonade provides a stunning color contrast that fits the pastel kitchen aesthetic perfectly.
If you’re hosting a full Sanrio-themed party, consider pairing these with Classic Chocolate Cake Pops for variety. For those who prefer a more “cookie” experience, a side of Cake Batter Chocolate Chip Cookies complements the vanilla flavor profile beautifully.
Frequently Asked Questions
Yes, but ensure the chocolate has fully set and is at room temperature. Use high-quality fine-tip edible ink markers and apply very light pressure to avoid cracking the smooth surface of your hello kitty cake pops.
The secret is using high-quality white chocolate couverture and thinning it slightly with coconut oil or paramount crystals. This lowers the viscosity, allowing the chocolate to flow smoothly and set with a reflective, satin-like sheen.
Cracking is usually caused by an extreme temperature difference. If the cake balls are too cold (frozen) or the chocolate is too hot, the cake will expand as it warms, causing the shell to snap. Always dip chilled—not frozen—cake balls into warm chocolate.
This happens if you skip the ‘anchor’ step. You must dip the stick in melted chocolate before inserting it into the cake ball and let it chill to set. Additionally, ensure your cake-to-frosting ratio isn’t too heavy or greasy.
The Master Recipe for Hello Kitty Cake Pops
Hello Kitty Cake Pops: The Ultimate Professional Guide to Kawaii Treats
Ingredients
Equipment
Method
- Cream butter and sugar until fluffy. Add eggs and vanilla. Alternate adding dry ingredients and milk. Bake at 350°F (175°C) for 25-30 minutes.
- Cool completely. Remove brown edges. Process into fine crumbs using a food processor or by hand.
- Add frosting to crumbs one tablespoon at a time until the mixture holds together like playdough. Roll into 30g balls.
- Dip paper treat sticks in melted chocolate and insert halfway into chilled cake balls. Chill for 15 minutes to set the anchor.
- Dip each pop vertically into melted white chocolate thinned with coconut oil. Tap wrist gently to remove excess. Place in stand to set.
- Attach molded pink bows with melted chocolate. Draw eyes with edible ink and attach the yellow seed nose with a dot of chocolate.
Notes
Use high-quality couverture chocolate for the most reflective, satin finish.
Share Your Kawaii Creations!
Creating these hello kitty cake pops is an exercise in patience and precision, but the result is undeniably rewarding. The look of a perfectly smooth, professional character pop is something every baker should experience. If you followed this guide, I would love to see your results!
Tag me in your photos and be sure to follow karen_cooks_official on Pinterest for more visually stunning recipes. Your support helps us continue to provide high-level culinary guides and forensic recipe blueprints for home cooks everywhere.