There is a specific, undeniable magic in the way a barista-crafted beverage catches the light on a bright morning. When you recreate a starbucks classic at home, you aren’t just making coffee; you are engineering a sensory experience that rivals the most premium cafes. This recipe captures the exact visual and flavor profile of a high-end coffee masterpiece, featuring a dark espresso foundation and a velvety, vanilla-flecked cloud.
Imagine a premium ribbed glass, heavy in your hand, its exterior already wearing a delicate veil of realistic beads of condensation. At the base, a thick, golden swirl of salted caramel clings to the glass, waiting to be integrated into two shots of dark, oily espresso. As you pour the heavy, vanilla bean cold foam over the top, you witness a dramatic white-and-tan marbling effect that bleeds into the coffee like liquid silk.
This isn’t your average morning brew. It is a calculated construction of temperature, texture, and tone. From the precise dusting of Ceylon cinnamon to the tiny black flecks of real vanilla bean, every element is designed to provide the ultimate “experience” for the enthusiastic home cook. Get ready to master the art of the pour and bring the coffeehouse luxury directly to your marble countertop.
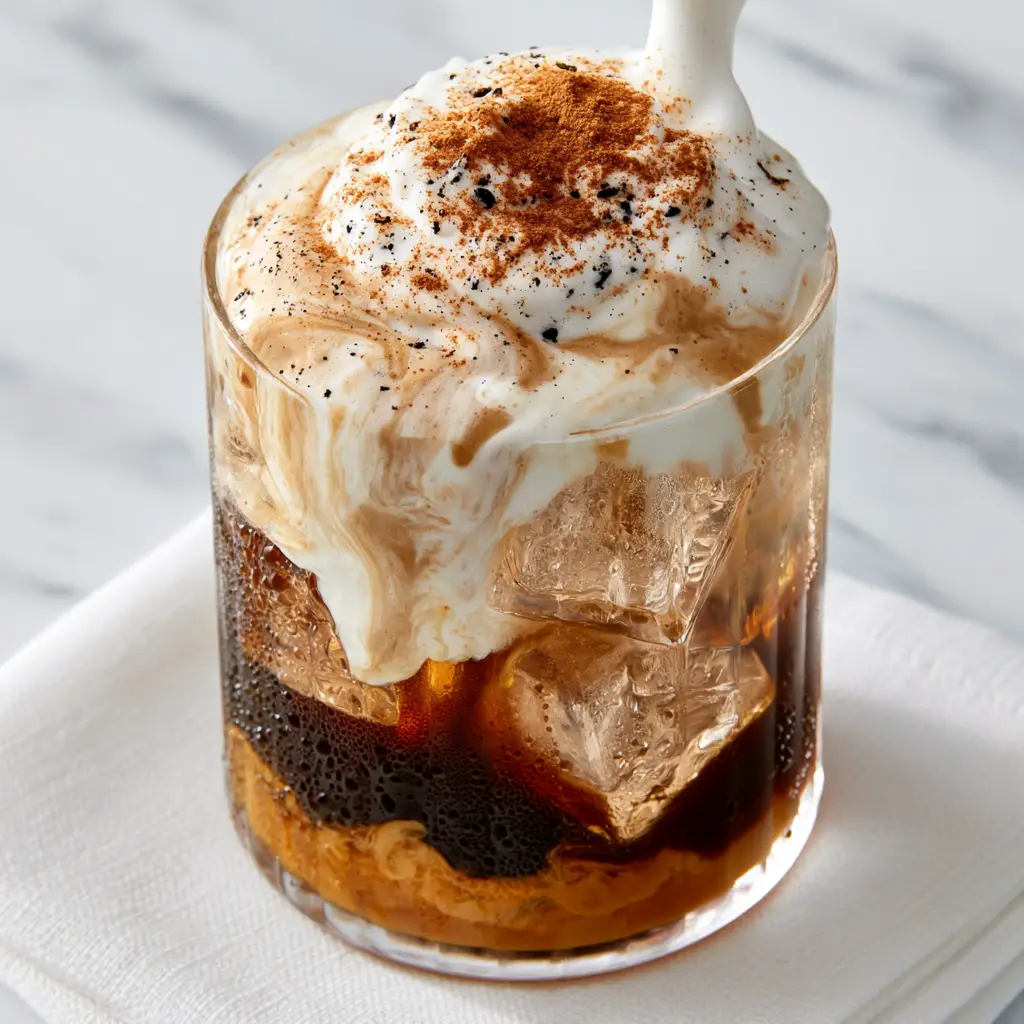
The Anatomy of a Coffeehouse Masterpiece
- Viscosity Contrast: The thick, heavy salted caramel sauce provides a structural anchor at the bottom of the glass, ensuring the sweetness lingers through every sip.
- Aromatic Depth: A double shot of espresso provides the necessary “oily” richness and dark intensity to cut through the creamy topping.
- Textural Elevation: The vanilla bean cold foam is aerated to a “heavy cloud” consistency, creating a distinct layer that slowly descends into the espresso.
- Visual Precision: Crystal-clear square ice cubes maintain the drink’s temperature without diluting the visual marbling effect too quickly.
- Garnish Sophistication: Real vanilla bean flecks and a dusting of Ceylon cinnamon provide both olfactory appeal and a professional aesthetic finish.
Essential Components for the Perfect Starbucks Replication
To achieve the visual and flavor standards of this starbucks inspired creation, the quality of your ingredients is paramount. Each component serves a scientific and aesthetic purpose in the final glass.
Dark Roast Espresso: You will need 2 shots (approx. 60ml) of high-quality espresso. The beans should be roasted dark enough to produce visible oils on the surface, which contributes to the “tan” part of the marbling effect seen in the visual blueprint.
Salted Caramel Sauce: 2 tbsp (30ml) of thick, golden sauce. This provides the “swirl” at the base; ensure it is at room temperature so it creates those beautiful ribbons against the glass wall.
Heavy Cream & Whole Milk: 1/4 cup (60ml) heavy cream and 2 tbsp (30ml) whole milk. The combination of fats and proteins is scientifically necessary to create a cold foam that holds its shape like a “velvety cloud.”
Vanilla Bean Paste: 1 tsp (5g). Unlike extract, paste contains the tiny black flecks that are essential for the visual accuracy of the cold foam, signaling the use of premium ingredients.
Crystal Ice Cubes: Roughly 1 to 1.5 cups (140-210g). Large, square, clear ice cubes are preferred to prevent rapid melting and to provide the structural support for the foam pour.
Ceylon Cinnamon: A light dusting (approx. 1/8 tsp). This specific variety of cinnamon is lighter and more floral, providing a precise finish that doesn’t overpower the vanilla.
Foundational Salt: A tiny pinch (less than 1/16 tsp) of fine sea salt. Even if your caramel is salted, adding a microscopic amount to the espresso itself helps to suppress bitterness and enhance the caramel’s depth.
Barista Tools for Professional Results
Achieving a vertical high-angle shot worthy of a smartphone photo requires more than just a spoon. You will need a few specific tools to mimic the professional starbucks workflow.
First, an Espresso Machine or Moka Pot is required to get that concentrated, oily base. Standard drip coffee is too watery and will not support the weight of the cold foam. Second, a High-Speed Milk Frother (handheld or electric) is the only way to reach the “heavy, velvety cloud” consistency for the foam.
The vessel is equally important. To match the visual prompt, use a premium ribbed glass. The ridges help catch the light and emphasize the condensation beads. Finally, a Fine-Mesh Sifter is needed for the “precise dusting” of cinnamon to avoid clumps on the white foam surface.
Engineering the Layers: Step-by-Step Instructions
Phase 1: The Espresso Foundation
Begin by pulling two shots (60ml) of espresso. While the espresso is still hot, stir in a tiny pinch of sea salt. This “blooms” the coffee oils, which are visible in the visual blueprint. Allow the espresso to cool for 2 minutes; if it is too hot, it will instantly shatter your crystal ice cubes and melt your foam.
Phase 2: The Caramel Swirl
Take your premium ribbed glass. Drizzle 2 tbsp (30ml) of salted caramel sauce along the inner walls of the glass while rotating it. You want to create a “thick swirl” that pools slightly at the bottom. This creates the dark-to-light gradient essential for the starbucks look.
Phase 3: The Ice Structure
Carefully drop your crystal-clear square ice cubes into the glass. Do not drop them from a height, or you will splash the caramel. Fill the glass nearly to the brim. The ice acts as a “scaffolding” that the cold foam will eventually sit upon before it begins its marbling descent.
Phase 4: Creating the Vanilla Bean Cold Foam
In a separate small pitcher, combine the 1/4 cup (60ml) heavy cream, 2 tbsp (30ml) whole milk, and 1 tsp (5g) vanilla bean paste. Insert your frother just below the surface and aerate for 20-30 seconds. You are looking for a “velvety cloud” texture—it should be thick enough to hold a soft peak but fluid enough to pour.
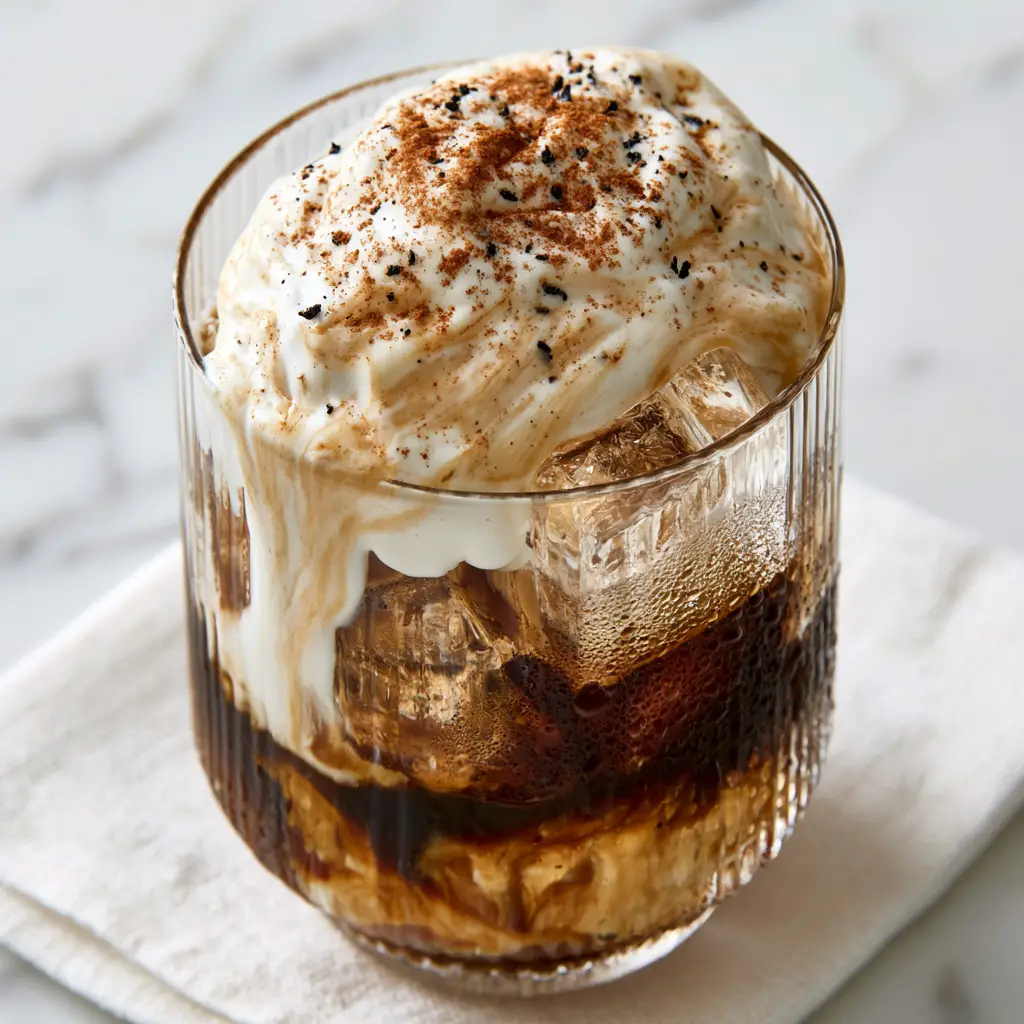
Phase 5: The Dramatic Pour & Garnish
Slowly pour the vanilla bean cold foam over the ice. Watch for the “dramatic white-and-tan marbling effect” as the foam bleeds down through the espresso gaps. Immediately finish with a precise dusting of Ceylon cinnamon through a sifter. The tiny black flecks of vanilla should be visible on the surface. Set the glass on a white linen napkin to catch any condensation beads.
Expert Tips for Barista-Level Success
- The Fat Ratio: Never use skim milk for cold foam. The “heavy cloud” described in the visual prompt requires the fat from heavy cream to maintain its structural integrity against the heat of the coffee.
- Temperature Control: If your glass isn’t showing “realistic beads of condensation,” your espresso was likely too warm. Chill your glass in the freezer for 5 minutes before assembly to encourage immediate moisture contact.
- Espresso Quality: Look for beans labeled “Full City” or “French Roast” to get those dark oils that create the beautiful marbling contrast.
- Vanilla Selection: If you cannot find vanilla bean paste, you can scrape the seeds from half a vanilla bean pod. This is the only way to get those authentic “tiny black flecks.”
Storage and Preparation in Advance
Because this starbucks style drink relies on specific textures, it is best enjoyed immediately. However, you can prepare the components ahead of time. You can brew your espresso and store it in a sealed jar in the refrigerator for up to 24 hours. Cold-brewed espresso actually produces a smoother marbling effect.
The salted caramel sauce can be kept at room temperature for a week, but the cold foam must be made fresh. If you try to store the foam, the air bubbles will collapse, and you will lose the “heavy cloud” effect. Always froth your milk and cream right before the pour for the most dramatic visual result.
Perfect Pairings for Your Coffee Masterpiece
This rich, decadent espresso drink pairs beautifully with buttery or fruit-forward pastries. If you are hosting a brunch, consider serving it alongside fluffy cinnamon rolls to echo the cinnamon notes in the coffee. The spice of the roll complements the salted caramel perfectly.
For a truly indulgent dessert experience, a slice of classic cheesecake or even a decadent white chocolate mocha cake provides a creamy texture that matches the vanilla bean cold foam. If you’re looking for something festive, this drink is the perfect accompaniment to a birthday cheesecake celebration.
Frequently Asked Questions
Yes, you can use a Moka Pot or highly concentrated cold brew. The key is to ensure the coffee is strong and dark enough to maintain its flavor profile against the heavy caramel and cream.
Absolutely. To get the dramatic white-and-tan bleed, the ice must be in the glass first to support the foam. Pouring the foam slowly over the ice allows it to drip gradually into the espresso, creating the marbled look.
You can use the seeds from a fresh vanilla bean pod. Simply slice the pod lengthwise and scrape the tiny black seeds into your cream mixture before frothing.
The secret lies in the fat-to-protein ratio. Using a mix of heavy cream and whole milk ensures there is enough fat to hold the air bubbles, creating that signature ‘heavy cloud’ texture that doesn’t immediately dissolve into the coffee.
Cold foam usually collapses if the milk is too warm or if you used low-fat milk. Always use cold dairy straight from the fridge and a handheld frother for at least 20 seconds to stabilize the proteins.
The Ultimate Starbucks Salted Caramel Iced Espresso
Ready to create this visual and culinary masterpiece? Follow the recipe card below to achieve the perfect balance of espresso, caramel, and foam.
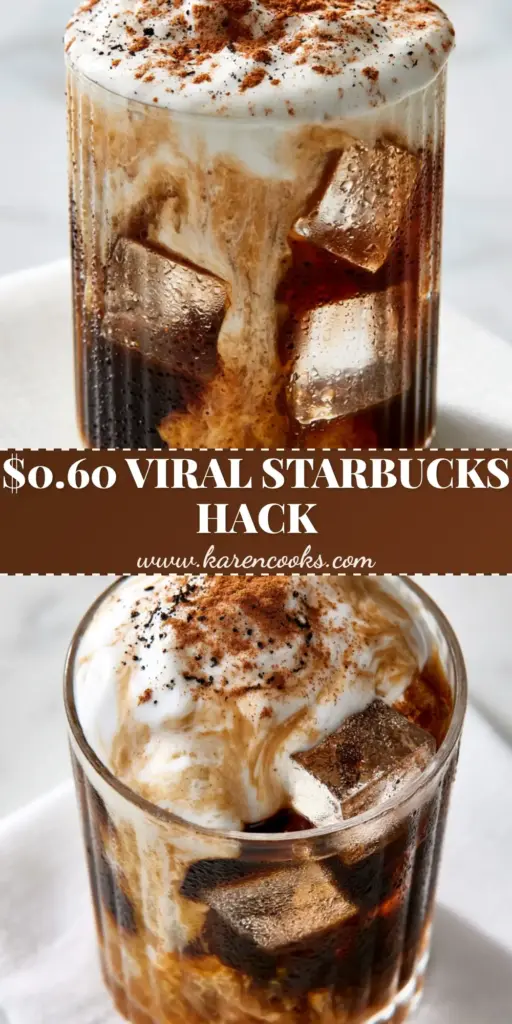
Starbucks Salted Caramel Iced Espresso with Vanilla Bean Cold Foam
Ingredients
Equipment
Method
- Pull 2 shots of espresso and stir in a pinch of salt. Allow it to cool slightly so it doesn't melt the ice immediately.
- Swirl the salted caramel sauce inside the ribbed glass, creating thick golden ribbons on the walls.
- Fill the glass to the top with crystal-clear square ice cubes.
- In a small pitcher, combine heavy cream, milk, and vanilla bean paste. Froth with a handheld frother for 20-30 seconds until a velvety cloud forms.
- Pour the espresso over the ice, then slowly pour the cold foam on top. Finish with a precise dusting of Ceylon cinnamon.
Notes
Chill your glass beforehand to get those beautiful condensation beads.
Final Thoughts on the Home Barista Experience
Recreating the starbucks experience at home is an exercise in both chemistry and art. By focusing on the “marbling effect,” the “velvety cloud” of foam, and the “crystal ice,” you elevate a simple caffeine fix into a moment of pure luxury. The interplay of the salted caramel against the bitter espresso and sweet vanilla is a profile that never fails to impress.
If you enjoyed making this layered masterpiece, please leave a comment below and let me know how your marbling turned out! Don’t forget to share your photos and follow me on Pinterest for more coffeehouse-style inspiration.


