The quest for the perfect classic cheesecake ends here, at the intersection of professional pastry science and home-kitchen accessibility. There is something deeply nostalgic and undeniably sophisticated about a slice of tall, pale-ivory cheesecake sitting atop a thick, buttery graham cracker foundation.
This isn’t just a recipe; it’s a blueprint for achieving that iconic, crack-free surface and the dense, velvety texture that defines a true New York landmark dessert. We are focusing on a high-fat, high-reward method that ensures every bite is rich enough to linger on the palate while remaining perfectly smooth.
By following this guide, you will master the art of the gentle water bath and the patience of a slow-cool technique. The result is a visually stunning dessert, topped with a glossy ruby-red strawberry compote and a single fresh green mint leaf, exactly like the one you’d find in a high-end Manhattan bistro.
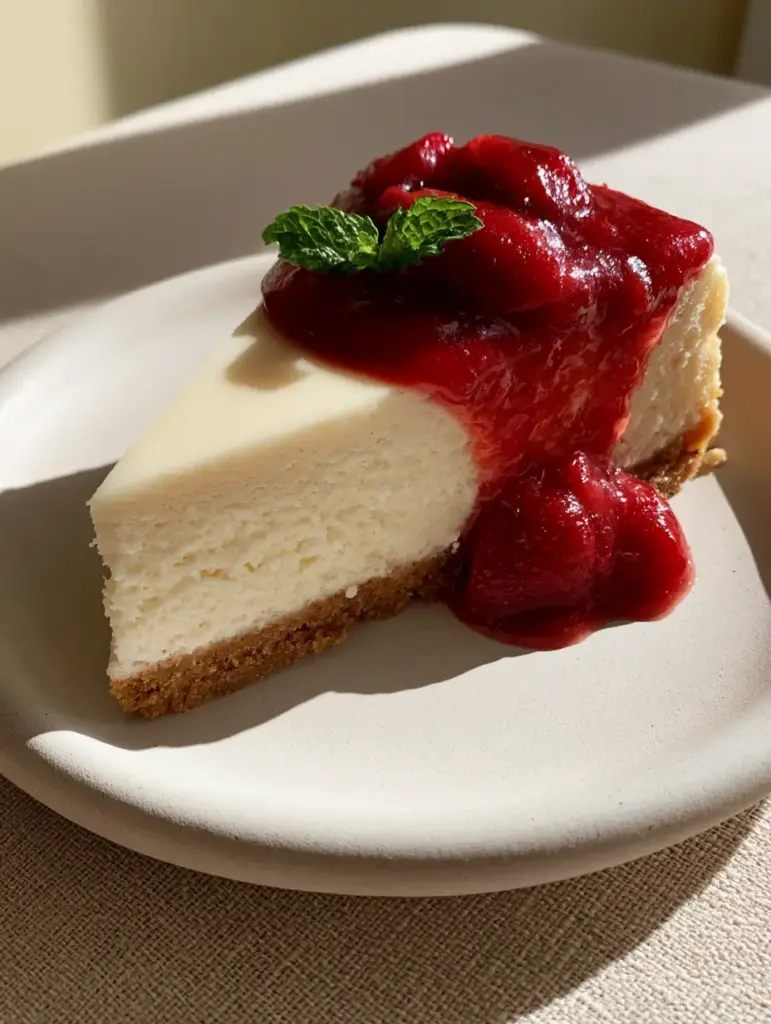
Why This Classic Cheesecake Recipe Stands Above the Rest
- Structural Integrity: A robust, golden-brown graham cracker crust that provides a salty-sweet crunch to contrast the creamy filling.
- Visual Perfection: A smooth, pale-ivory top surface that is guaranteed to be crack-free thanks to our specific temperature-controlled cooling method.
- Glossy Fruit Finish: A homemade strawberry compote featuring whole simmered strawberries that provide a vibrant, ruby-red cascade down the side of each slice.
- Profound Texture: Achieving that signature “dense” New York mouthfeel without the airiness of a whipped cheesecake or the graininess of overbaked eggs.
The Architectural Foundation: Essential Ingredients for Success
To create a classic cheesecake that rivals the best bakeries, every ingredient must serve a specific structural or flavor-based purpose. We leave nothing to chance when building this dessert from the bottom up.
Honey Graham Cracker Crumbs (1.5 cups / 180g): These provide the sandy, sweet base. Use high-quality crackers and pulse them until they resemble fine sand to ensure the crust remains intact when sliced.
Unsalted Butter, Melted (6 tbsp / 85g): This acts as the glue for your crust. It hydrates the crumbs and solidifies in the oven to create a stable, buttery platform for the heavy filling.
Full-Fat Philadelphia Cream Cheese (32 oz / 900g): The gold standard for any authentic cream cheese base. It must be at true room temperature to emulsify properly without lumps.
Granulated White Sugar (1.25 cups / 250g): Beyond sweetness, sugar breaks down the protein bonds in the cream cheese, contributing to that velvety, smooth-as-silk texture we crave.
Full-Fat Sour Cream (1 cup / 240ml): This is the secret to the New York “tang.” It adds moisture and fat without the thinning effect of milk, ensuring a dense, stable crumb.
Large Eggs (4 whole): Eggs provide the structure. They should be added one at a time at low speed to prevent incorporating too much air, which causes the cheesecake to rise and then collapse (cracking).
Pure Vanilla Extract (1 tbsp / 15ml): High-quality vanilla is non-negotiable for that aromatic, floral backnote that balances the richness of the dairy.
Cornstarch (2 tbsp / 16g): A small amount of starch acts as a safety net. It binds with the proteins to help prevent the eggs from curdling and adds to the signature density of a well-structured dessert.
Fresh Strawberries (1 lb / 450g): Used for the compote. We keep some whole during the simmering process to create that professional, high-gloss visual appeal described in our blueprint.
Fresh Mint Leaves: A single leaf provides the essential color contrast against the ruby-red sauce and the ivory cake, signaling freshness to the diner.
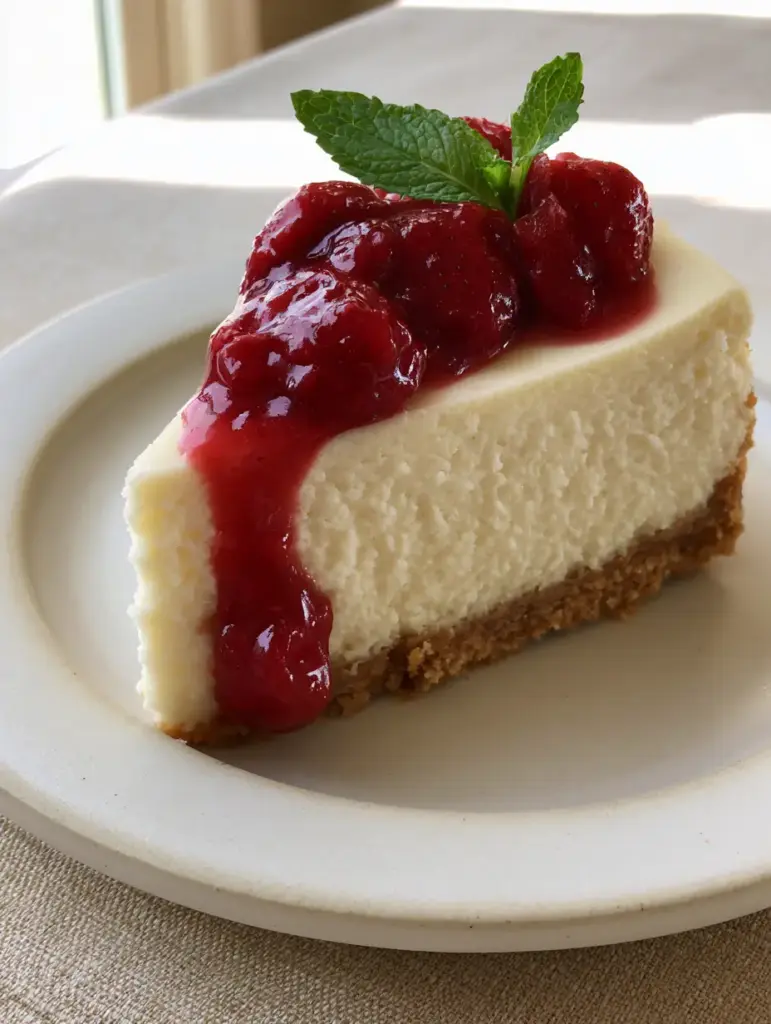
Professional Equipment for the Home Pastry Chef
While you don’t need a commercial kitchen, certain tools are essential for achieving the visual and structural results of a professional classic cheesecake. Don’t skip these if you want a “perfect slice” result.
A 9-inch (23cm) springform pan is mandatory. This allows you to remove the sides of the pan without disturbing the delicate edges of the cake. You will also need heavy-duty aluminum foil to wrap the pan, creating a waterproof seal for the water bath.
A large roasting pan is required to hold the springform pan and the hot water. The water bath (bain-marie) acts as a heat buffer, ensuring the edges don’t bake faster than the center, which is the primary cause of cracks.
A stand mixer or high-powered hand mixer is necessary for achieving a completely smooth batter. However, use the paddle attachment rather than the whisk to avoid whipping air into the cream cheese.
The Step-by-Step Blueprint for a Flawless Classic Cheesecake
Constructing and Pre-Baking the Golden Crust
Begin by preheating your oven to 350°F (175°C). Combine your graham cracker crumbs, melted butter, and a tablespoon of sugar in a bowl. Mix until the texture resembles wet sand.
Press the mixture firmly into the bottom of your springform pan. Use the flat bottom of a measuring cup to ensure an even, compact layer. Bake for 10 minutes until you smell a nutty aroma and the edges are a light golden-brown. Let it cool completely before adding the filling.
The Art of the Emulsified Cream Filling
In your mixer, beat the room-temperature cream cheese and sugar on medium-low speed. Watch for the transition: the mixture will move from chunky to a thick, glossy paste. Scrape the sides of the bowl frequently.
Add the sour cream, vanilla, and cornstarch. Mix until just combined. Now, reduce the speed to the lowest setting and add the eggs one by one. Stop mixing the second the yellow yolk disappears. Over-mixing at this stage is the enemy of a dense perfectly smooth filling.
The Waterproof Seal and Water Bath Technique
Wrap the outside of your cooled springform pan in three layers of heavy-duty foil. Place the pan inside the roasting pan. Pour the ivory-colored batter over the crust, smoothing the top with an offset spatula until it is absolutely level.
Place the roasting pan in the oven and carefully pour boiling water into the roasting pan until it reaches halfway up the sides of the springform pan. This steam-heavy environment keeps the surface moist and the temperature stable.
The Slow-Cool Method for a Crack-Free Surface
Bake at 325°F (160°C) for 75-90 minutes. Look for the “visual cue”: the edges should be set and slightly puffed, but the center 2-3 inches should still have a slight “jiggle” like firm gelatin when shaken gently.
Turn off the oven and crack the door slightly. Leave the cheesecake inside for one full hour. This gradual temperature drop is the secret to a smooth, unblemished top. After an hour, remove it, let it reach room temperature on the counter, then refrigerate for at least 8 hours (or overnight) to fully set the proteins.
Simmering the Glossy Ruby-Red Strawberry Compote
In a small saucepan, combine half of your strawberries (chopped), sugar, and a splash of lemon juice. Simmer over medium heat until the fruit breaks down into a thick syrup. Stir in a cornstarch slurry (1 tsp cornstarch + 1 tsp water) to achieve a high-gloss finish.
Fold in the remaining whole strawberries and simmer for only 2 more minutes. You want these strawberries to be soft and simmered through but still hold their “whole” shape for the visual presentation. Let the sauce cool completely before spooning it over the chilled cheesecake.
Expert Tips for a Bakery-Quality Result
- Room Temperature is Non-Negotiable: If your cream cheese or eggs are cold, you will get lumps. Period. Set them out at least 2 hours before you begin.
- Avoid the “Soufflé” Effect: If your cheesecake rises like a cake in the oven, you’ve incorporated too much air. Keep the mixer on low speed.
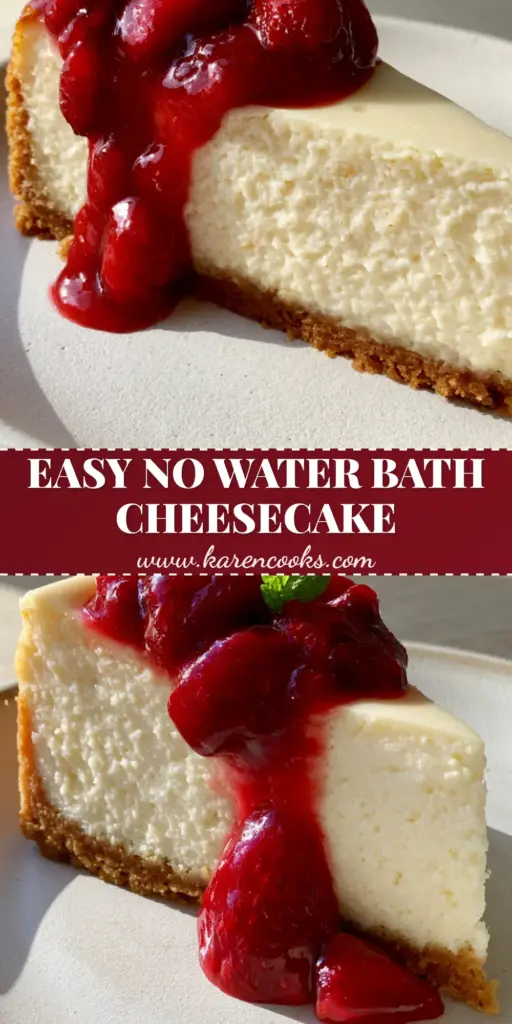
- The Clean Slice: To get the perfect slice seen in the photo, dip a sharp knife in hot water and wipe it clean between every single cut.
- Fat Content Matters: Never use “light” cream cheese or “low-fat” sour cream. The water content is too high, and the cheesecake will fail to set with the required density.
Storage and Make-Ahead Advice
Classic cheesecake is the ultimate make-ahead dessert because it actually tastes better after 24 hours in the fridge. The flavors meld and the texture becomes even more velvety. You can store the cheesecake in the refrigerator for up to 5 days, covered loosely with plastic wrap.
For freezing, wrap the chilled cheesecake (without the topping) tightly in plastic wrap and then foil. It will stay fresh for up to 3 months. Thaw it overnight in the refrigerator before adding the fresh strawberry compote and mint garnish.
What to Pair with Your New York Masterpiece
While this classic cheesecake is a star on its own, it fits beautifully into a dessert spread. If you are hosting a party, consider offering a variety of textures. You might pair it with a fruit-forward crumble option or even a decadent chocolate alternative for those who prefer cocoa over cream.
For a themed event, this recipe serves as the perfect base. You can adapt the topping to create a festive celebration cake by adding sprinkles or specialized ganaches. For a unique twist, try serving it alongside a nutty, Mediterranean-style dessert to give your guests a range of flavor profiles.
Frequently Asked Questions
It is difficult because the cheesecake is too delicate to flip out of a standard cake pan. If you must use a regular pan, line it with parchment paper ‘slings’ to lift the cake out vertically.
Yes, frozen strawberries work well for the sauce, but they may release more water. Simmer them slightly longer to achieve the desired glossy thickness.
Use the ‘jiggle test.’ The edges should be set and slightly puffed, but the center two inches should still wobble slightly like a firm pudding when the pan is gently shaken.
The key is a water bath and slow cooling. The water bath buffers the heat, while leaving the cheesecake in the oven with the door cracked for an hour prevents a sudden temperature shock.
Lumps occur when the cream cheese is too cold. Ensure the cheese is softened to room temperature so it can emulsify smoothly with the sugar and sour cream.
The Ultimate Classic Cheesecake Recipe
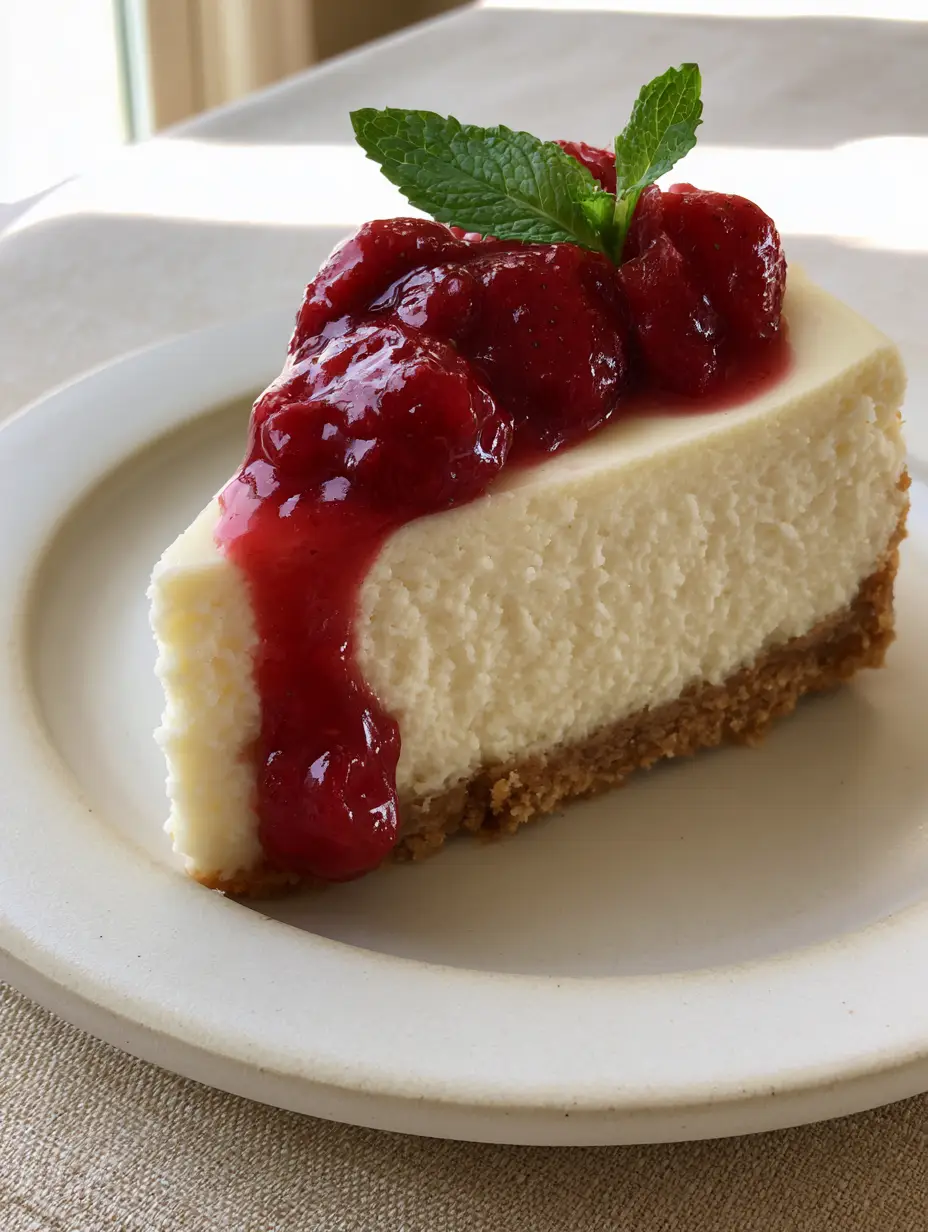
Classic Cheesecake: The Definitive New York Style Guide to a Dense and Velvety Masterpiece
Ingredients
Equipment
Method
- Combine graham cracker crumbs, melted butter, and sugar. Press into the bottom of a 9-inch springform pan.
- Bake at 350°F (175°C) for 10 minutes until golden-brown. Cool completely.
- Beat room temperature cream cheese and sugar on medium-low until smooth and velvety. Scrape sides often.
- Mix in sour cream, vanilla, and cornstarch until fully combined.
- Incorporate eggs one at a time on the lowest speed just until the yolk disappears to avoid adding air.
- Wrap the pan in three layers of foil. Place in a roasting pan and pour batter over the crust.
- Add boiling water to the roasting pan until it reaches halfway up the springform sides.
- Bake at 325°F (160°C) for 75-90 minutes. Turn off oven, crack the door, and let cool inside for 1 hour.
Notes
Chill the cheesecake for at least 8 hours before slicing for the best texture.
Sharing the Love for Classic Desserts
Creating a classic cheesecake is a labor of love that rewards you with every decadent, creamy bite. Whether you are serving this for a holiday, a birthday, or just a Sunday dinner, it is a showstopper that never goes out of style. The contrast of the golden crust, the ivory filling, and the ruby-red strawberries is a visual feast before you even take your first bite.
If you enjoyed this recipe, please leave a comment below and tell us how your water bath went! Don’t forget to share your beautiful creations on Pinterest so others can find the secret to the perfect New York slice. Happy baking!


