There is a specific kind of magic that happens when a dense, dark cocoa brownie meets a velvety, ivory-colored cheesecake. This Brownie Bottom Cheesecake is not just a dessert; it is a structural masterpiece designed for those who refuse to choose between a fudgy chocolate fix and the tangy elegance of a classic baked cheesecake.
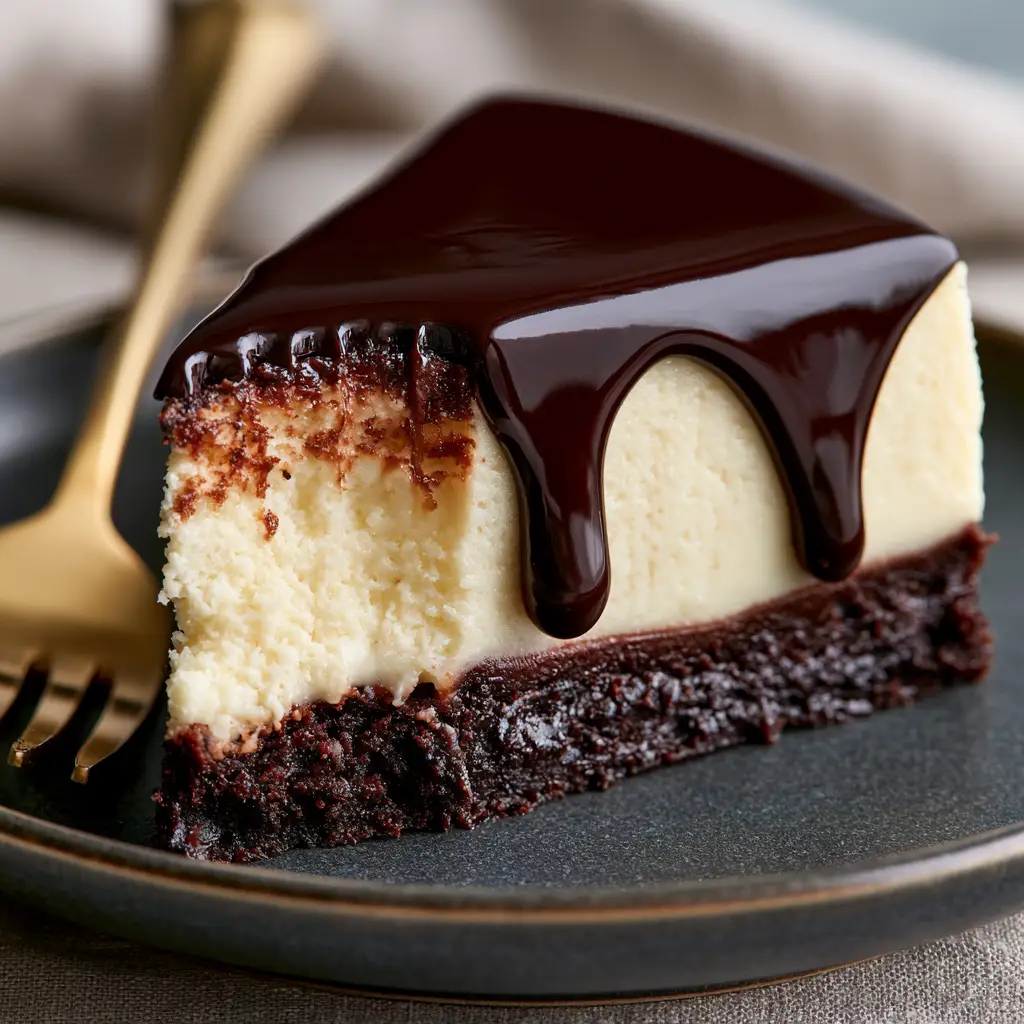
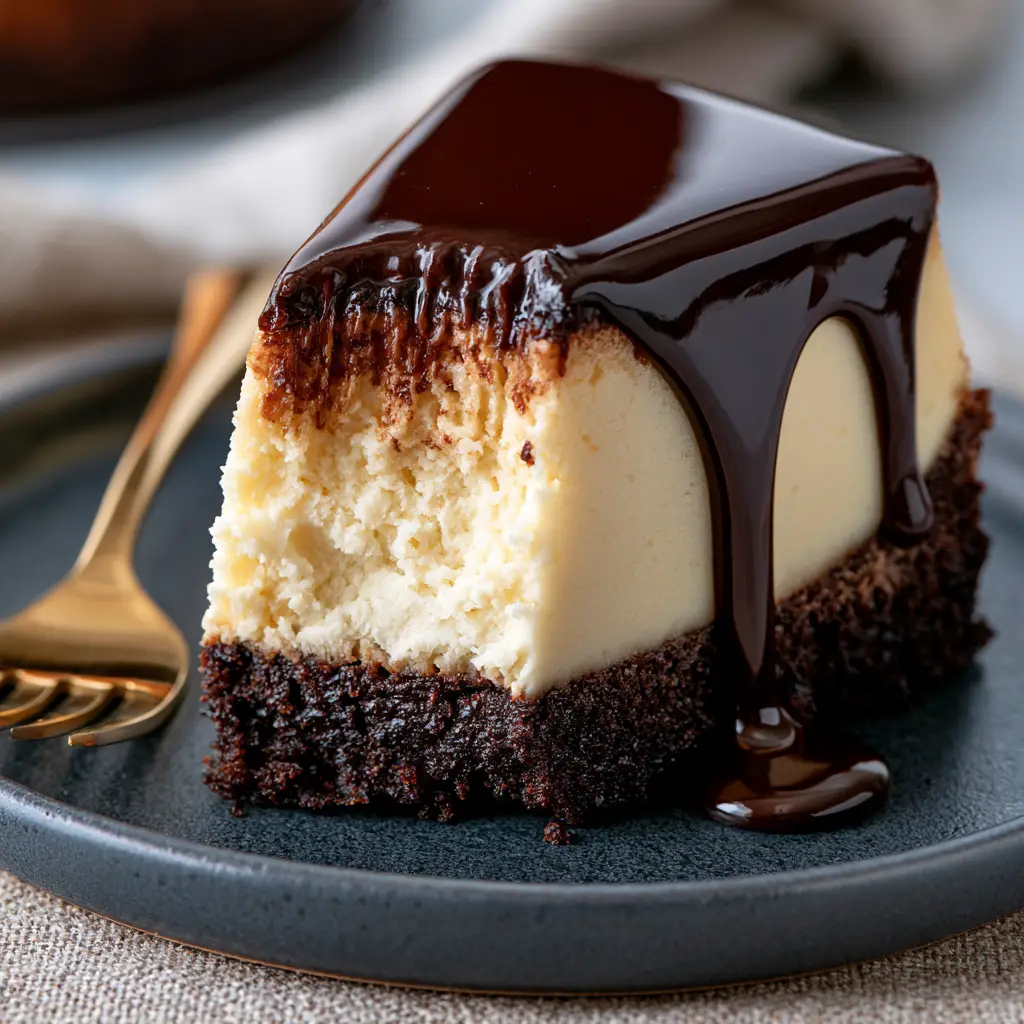
Imagine a thick, one-inch base of ultra-moist brownie, so dark it looks like obsidian, supporting a towering two-inch layer of smooth cream cheese. Topped with a mirror-like chocolate ganache that drips lazily down the sides, this recipe is a visual and sensory powerhouse that belongs on the finest matte ceramic plating.
Whether you are serving this at a high-end dinner party or simply satisfying a deep craving, the contrast between the matte dark brownie and the glossy chocolate glaze creates a striking aesthetic. Every bite offers a transition from the bite of sea salt flakes to the richness of dark cocoa, making it a must-have for any serious baker’s repertoire.
Why This Decadent Hybrid Works Every Single Time
- Unrivaled Texture Contrast: The base provides a dense, 1-inch thick ultra-fudgy dark cocoa brownie anchor, while the middle is a 2-inch thick, velvety smooth baked cheesecake.
- Visual Sophistication: Finished with a glossy dark chocolate ganache and chocolate micro-shavings, this dish looks like it was plucked from a professional food photography set.
- Scientifically Sound Structure: We use specific ratios of fats and proteins to ensure the brownie stays moist beneath the weight of the heavy cheesecake layer.
- Balanced Flavor Profile: Tiny sea salt flakes cut through the intense dark chocolate, highlighting the tang of the pale ivory-colored filling.
The Foundation: Essential Ingredients for the Perfect Layers
To achieve the hyper-realistic textures seen in our visual blueprint, we must select ingredients that behave predictably under heat. Every component in this Brownie Bottom Cheesecake serves a specific culinary purpose, from structural integrity to color vibrancy.
For the Ultra-Fudgy Brownie Base:
Unsalted Butter (1/2 cup / 115g): We melt this to ensure a dense, fudgy texture rather than a cake-like crumb. High-fat butter provides the moisture needed for that 1-inch thick foundation.
Dutch-Processed Cocoa Powder (1/2 cup / 45g): This is non-negotiable for the dark cocoa brownie base. It provides the deep, nearly black color and a smooth, mellow chocolate flavor that isn’t too acidic.
Granulated Sugar (1 cup / 200g): Sugar does more than sweeten; it liquefies during baking to create that “moist fudgy texture” we are aiming for in the blueprint.
Large Eggs (2 units): These act as the primary binder, giving the brownie enough strength to hold up the heavy cheesecake layer without crumbling.
All-Purpose Flour (1/2 cup / 65g): We use a minimal amount of flour to keep the brownie dense and fudgy rather than airy. This ensures the base remains exactly 1-inch thick.
For the Ivory Cheesecake Layer:
Full-Fat Cream Cheese (24 oz / 680g): You must use the brick style for a “velvety smooth” result. Ensure it is at room temperature to avoid any lumps in the ivory filling.
Sour Cream (1/2 cup / 120ml): This adds a subtle tang and contributes to the pale ivory color, preventing the cheesecake from looking too yellow or “eggy.”
Granulated Sugar (3/4 cup / 150g): This sweetens the cream cheese while helping to create a smooth, aerated structure that remains firm after baking.
Vanilla Extract (1 tbsp / 15ml): High-quality vanilla provides the aromatic depth that distinguishes a professional classic cheesecake from a basic one.
For the Mirror-Glaze Ganache and Garnish:
Dark Chocolate 60% Cacao (4 oz / 115g): High-quality couverture chocolate ensures a “glossy dark chocolate ganache” that reflects light beautifully.
Heavy Cream (1/2 cup / 120ml): When heated and stirred into the chocolate, it creates the perfect viscosity for those “heavy, slow droplets” seen in the macro shots.
Chocolate Micro-Shavings & Sea Salt Flakes: These are the final “forensic” details. The micro-shavings add texture, while the salt flakes create tiny pops of white against the dark glaze.
Professional Equipment for a Studio-Quality Result
Achieving a 3-inch tall slice with perfectly defined layers requires more than just a standard pan. To mirror the matte charcoal ceramic plating aesthetics, you need precision tools.
9-inch (23cm) Springform Pan: This is essential for removing the cheesecake without damaging the sides. It ensures your 2-inch cheesecake layer remains perfectly vertical.
Parchment Paper: Lining the bottom and sides is the secret to getting those clean, smooth edges visible in the handheld smartphone photo style.
Electric Hand Mixer or Stand Mixer: To achieve a velvety smooth, ivory-colored filling, you must be able to cream the ingredients thoroughly without over-incorporating air.
Fine Microplane: This is the only way to achieve the “chocolate micro-shavings” specified in the blueprint. A regular grater will produce chunks that are too large.
Step-by-Step Architecture of the Brownie Bottom Cheesecake
Constructing the Fudgy Brownie Foundation
Preheat your oven to 350°F (175°C) and grease your 9-inch (23cm) springform pan. In a medium bowl, whisk together the melted butter and cocoa powder until a smooth, dark paste forms.
Stir in the sugar and eggs one at a time, beating until the batter looks glossy and pulls away from the sides of the bowl. Gently fold in the flour until just combined—do not overmix, or you will lose that “moist fudgy texture.”
Spread the batter evenly into the bottom of the pan. Bake for 15-18 minutes. You are looking for a visual cue: the edges should be set, but the center should still have a slight wobble. Set aside to cool slightly while you prep the next layer.
Crafting the Velvety Ivory Cheesecake Layer
Lower the oven temperature to 325°F (160°C). In a large bowl, beat the room-temperature cream cheese and sugar until completely smooth and pale ivory in color. This usually takes about 3 minutes on medium speed.
Add the sour cream and vanilla, mixing until combined. Incorporate the eggs one at a time on the lowest speed. Visual Cue: The batter should look like liquid silk with no visible air bubbles on the surface.
Pour the cheesecake mixture over the partially baked brownie base. Use an offset spatula to smooth the top so it is perfectly level. This will ensure your 2-inch layer is uniform across the entire diameter.
The Precision Bake and Cooling Phase
Bake the cheesecake for 45-55 minutes. You are looking for the “jiggle test”: the edges should be firm and slightly puffed, but the center 2 inches should still shake like gelatin when the pan is moved. The color should remain a pale ivory, not browned.
Turn off the oven and crack the door open about 1 inch. Leave the cheesecake inside for one hour. This gradual cooling prevents the surface from cracking, maintaining that “velvety smooth” appearance required for our cheesecake recipe standards.
Once at room temperature, refrigerate for at least 6 hours, or ideally overnight. This step is critical for structural integrity; a warm cheesecake will collapse under the weight of the ganache.
Creating the Glossy Dark Chocolate Ganache Drip
Place your chopped dark chocolate in a small glass bowl. Heat the heavy cream in a saucepan until it just begins to simmer—look for small bubbles forming around the edges, but do not let it boil.
Pour the hot cream over the chocolate and let it sit undisturbed for 5 minutes. Gently whisk from the center outward until a glossy, mirror-glaze style ganache forms. Let it cool for 10 minutes until it reaches a coating consistency.
Pour the ganache over the chilled cheesecake, allowing it to spill over the edges to create those “heavy, slow droplets.” Immediately garnish with the chocolate micro-shavings and tiny sea salt flakes so they adhere to the wet glaze.
Expert Tips for a Flawless Dessert Presentation
- The Clean Cut: To get the “crisp glint” on the chocolate ganache in your photos, use a thin knife dipped in hot water and wiped dry between every single cut.
- Room Temperature Ingredients: If your cream cheese is cold, the ivory filling will be lumpy. If you see lumps, your cheesecake won’t have that velvety smooth interior shown in the macro shot.
- Avoid Over-Beating: Once you add the eggs to the cheesecake, stop as soon as they are incorporated. Too much air will cause the cheesecake to rise and then fall, ruining the flat 2-inch profile.
- Dutch Cocoa is Key: Regular cocoa powder is too light and acidic. For that 1-inch thick ultra-fudgy dark cocoa brownie, the alkalinity of Dutch-process is essential.
Storage, Reheating, and Freezing Advice
This Brownie Bottom Cheesecake is a labor of love, so protecting its texture is paramount. Store any leftovers in an airtight container in the refrigerator for up to 5 days. The ganache will lose some of its mirror-glaze gloss over time but will remain delicious.
For long-term storage, you can freeze individual slices. Wrap them tightly in plastic wrap and then aluminum foil. They will stay fresh for up to 3 months. Thaw overnight in the fridge; do not use a microwave, or the cheesecake layer will lose its velvety smooth structure.
The Best Pairings for an Indulgent Experience
Because this dessert is so rich, it pairs beautifully with elements that provide acidity or a clean palate. A side of tart raspberry coulis or a scoop of Madagascar vanilla bean ice cream works wonders.
If you are looking to create a dessert spread, consider adding a blueberry cheesecake crumb cake for a fruit-forward contrast, or a triple chocolate cheesecake for the ultimate chocolate-lover’s flight. For a lighter accompaniment, a cup of strong espresso or a glass of tawny port complements the dark cocoa brownie base perfectly.
Frequently Asked Questions
Dutch-processed cocoa is highly recommended for its dark color and mellow flavor. Regular cocoa powder is more acidic and will result in a lighter, more cake-like base.
While a water bath is traditional, this recipe uses a low-and-slow baking method with a cracked-door cooling phase to prevent cracks without the hassle of a water bath.
Dip a long, thin knife in very hot water, wipe it completely dry, and make one clean slice. Repeat the dipping and wiping for every single cut.
No, it should be slightly under-baked (par-baked). This ensures it stays ‘ultra-fudgy’ and doesn’t dry out during the second round of baking with the cheesecake.
Browning occurs if the oven temperature is too high or the cake is placed too close to the top heating element. Ensure your oven is calibrated and the cake is on the center rack.
The Master Recipe: Brownie Bottom Cheesecake
Brownie Bottom Cheesecake: The Ultimate Fudgy and Creamy Hybrid
Ingredients
Equipment
Method
- Whisk melted butter and cocoa powder. Add sugar and eggs, beating until glossy. Fold in flour until just combined.
- Spread batter in a 9-inch springform pan. Bake at 350°F (175°C) for 15-18 minutes until edges are set.
- Beat cream cheese and sugar until ivory-colored and smooth. Add sour cream and vanilla.
- Incorporate eggs one at a time on low speed to avoid air bubbles. Pour over the brownie base.
- Bake at 325°F (160°C) for 45-55 minutes. Cool in the oven with the door cracked for 1 hour, then chill for 6 hours.
- Pour hot cream over chopped chocolate. Let sit for 5 minutes, then whisk until glossy. Pour over chilled cheesecake.
Notes
Ensure all cheesecake ingredients are at room temperature to avoid lumps.
Bring This Culinary Masterpiece to Your Kitchen
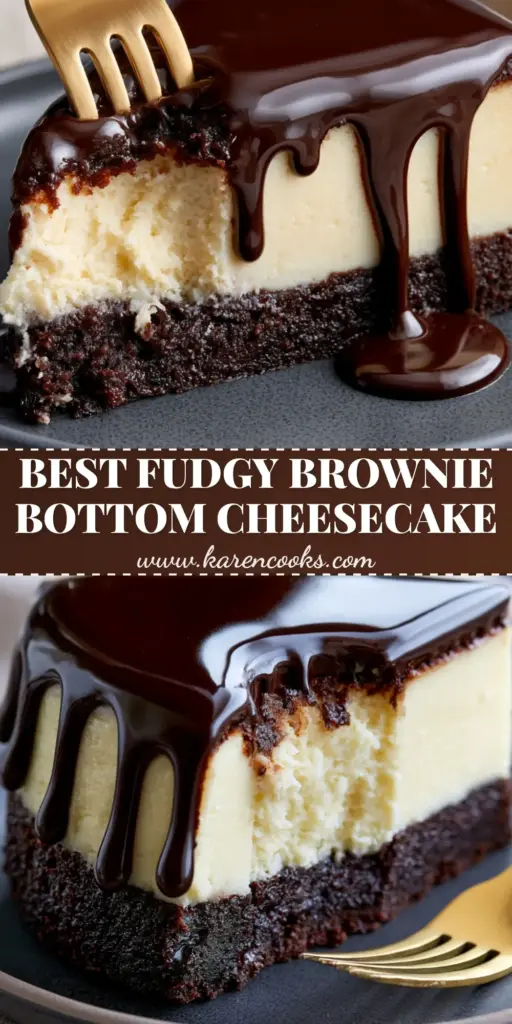
The Brownie Bottom Cheesecake is more than a recipe; it is an exploration of texture and depth. From the 1-inch thick fudgy base to the glossy mirror-glaze top, every element has been designed to provide a professional-grade experience for the home cook.
We invite you to share your results and tag us in your photos! If you enjoyed this deep-dive into the science of baking, please consider signing up for our newsletter for more forensic recipe breakdowns. Don’t forget to save this to your favorite dessert board on Pinterest.


