The ultimate strawberry poke cake is more than just a dessert; it is a masterclass in moisture management and flavor layering. This recipe transforms a classic, fluffy white cake into a decadent masterpiece by infusing it with two distinct textures: a creamy sweetened condensed milk and a vibrant, tart strawberry puree.
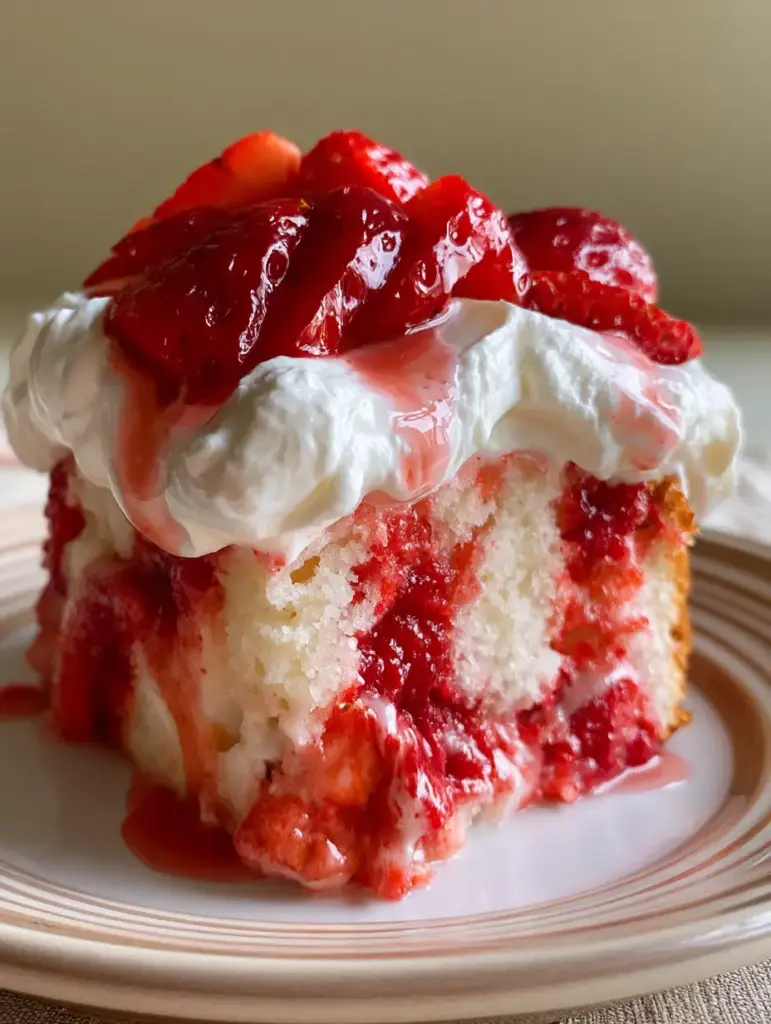
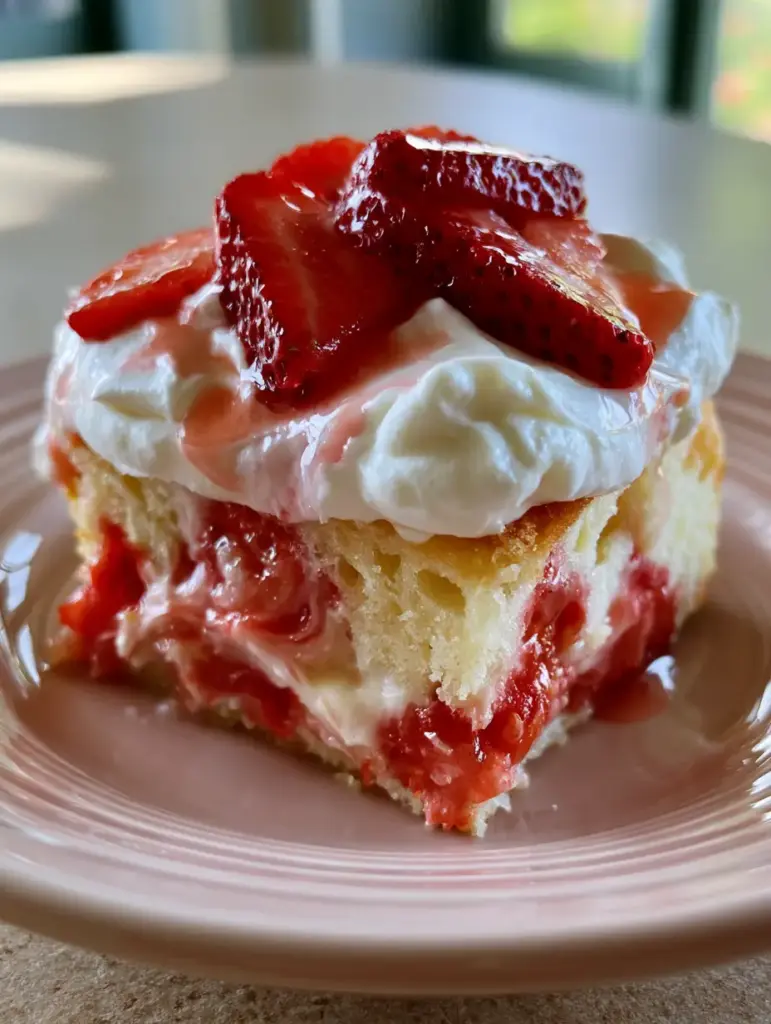
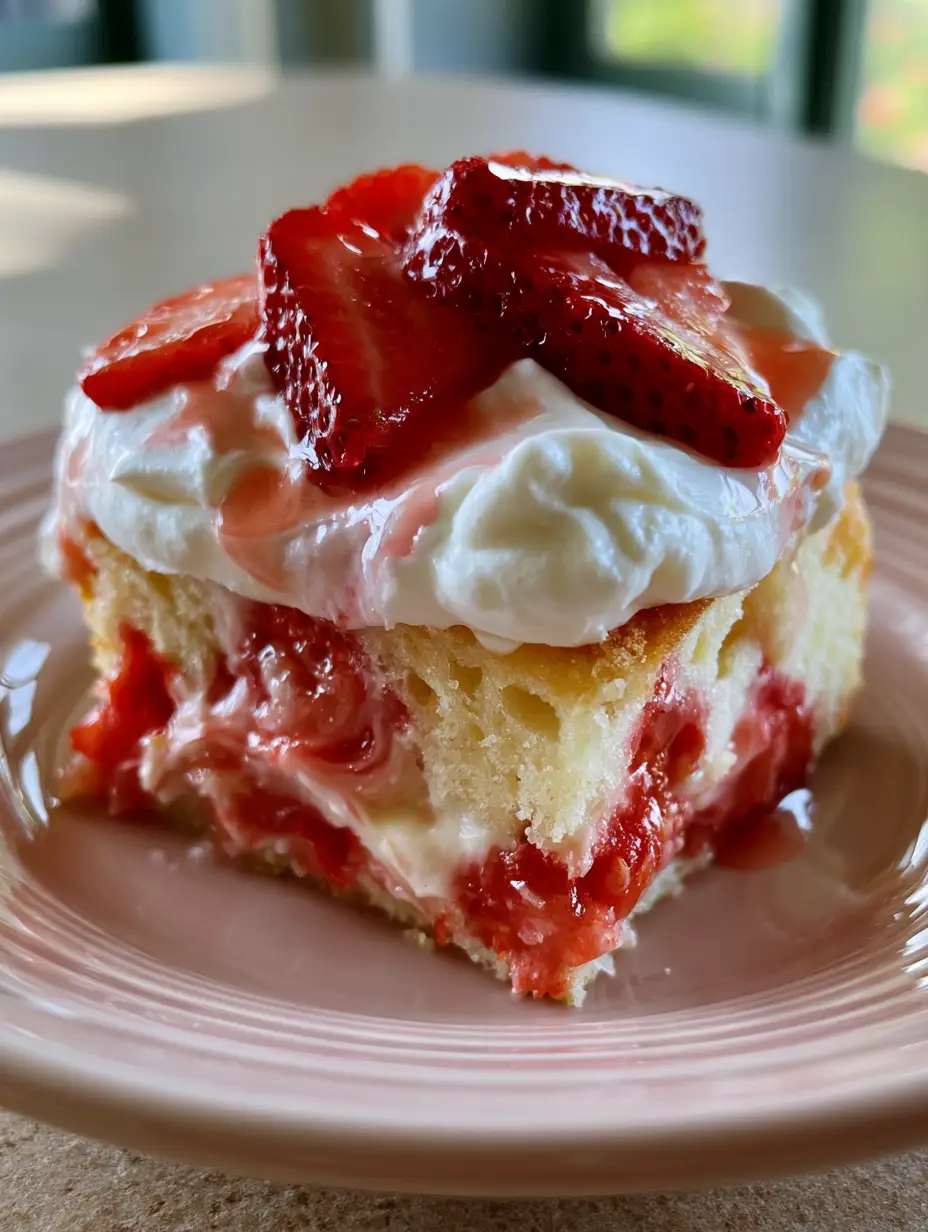
Imagine biting into a slice where the crumb is perfectly saturated but never soggy, yielding a rich mouthfeel that balances the airy lightness of the cake. Every forkful offers a visual symphony of red swirls against a snowy white backdrop, topped with a cloud-like layer of homemade whipped cream.
This handheld-style dessert, as captured in our vision, relies on the contrast between the glossy, macerated strawberries and the soft, matte finish of the cream. Whether you are hosting a summer garden party or seeking the perfect potluck closer, this strawberry poke cake is designed to be the focal point of the table.
Why This Strawberry Infusion Recipe Stands Out
- Dual-Infusion Depth: Unlike standard recipes that use only gelatin, we use a combination of sweetened condensed milk for richness and a fresh strawberry reduction for authentic fruit intensity.
- Scientifically Balanced Moisture: The ratios are calibrated to ensure the cake absorbs the liquids without losing its structural integrity.
- Textural Contrast: We move from a moist cake base to a dense puree swirl, topped with a 2-inch (5cm) layer of stabilized whipped cream and crisp, fresh fruit.
- Visual Forensics: The glossy finish on the sliced strawberries is achieved through a controlled maceration process, ensuring the “handheld photo” perfection every time.
The Essential Elements for Your Berry Masterpiece
White Cake Foundation: You will need 1 box (432g) of premium white cake mix or a standard scratch recipe. To maintain the “bright white” look seen in the prompt, we use only egg whites to prevent the yolk from tinting the batter yellow.
Sweetened Condensed Milk: 1 can (397g / 14oz) provides the “rich swirls” mentioned in our blueprint. It acts as the creamy binder that keeps the cake moist for days.
Fresh Strawberry Puree: 2 cups (300g) of hulled strawberries, blended and reduced. This creates the vibrant red veins that permeate the cake layers.
Heavy Whipping Cream: 2 cups (480ml) of cold, high-fat cream (at least 36% milkfat). This is essential for achieving the “thick, pillowy layer” that supports the weight of the fresh berries.
Glossy Sliced Strawberries: 1 lb (450g) of fresh, deep red berries. Selecting berries at peak ripeness is crucial for the natural gloss required for the final aesthetic.
Granulated Sugar: 1/4 cup (50g) for macerating the berries. This draws out the natural juices to create that signature strawberry syrup drizzle.
Vanilla Extract: 2 tsp (10ml) of pure Madagascar vanilla. This bridges the flavor gap between the sweet milk and the tart fruit.
The Toolkit: Equipment for Precision Baking
To achieve the perfect crumb and infusion, a 9×13 inch (23x33cm) glass or ceramic baking dish is non-negotiable. Glass allows you to monitor the “blonding” of the cake edges, ensuring you don’t overbake the delicate white base.
You will also need a wooden spoon with a rounded handle, roughly 1/2 inch (1.25cm) in diameter. This specific size creates “pockets” rather than “holes,” allowing the strawberry puree to settle into distinct swirls rather than disappearing into the crumb.
A high-speed blender or food processor is required to pulverize the strawberries into a smooth coulis. For the whipped cream topping, an electric hand mixer or stand mixer with a balloon whisk attachment is necessary to incorporate the volume needed for a 2-inch (5cm) thick layer.
Mastering the Swirl: A Step-By-Step Culinary Guide
Baking the Fluffy White Foundation
Preheat your oven to 350°F (175°C) and grease your baking dish with a light coating of neutral oil. Prepare your white cake batter according to the package or scratch instructions, ensuring you whisk the egg whites to soft peaks before folding them in for maximum aeration.
Bake for 25-30 minutes, or until a toothpick inserted into the center comes out with just a few moist crumbs. Do not wait for the cake to turn dark brown; a pale, golden-blonde surface is the visual cue for a tender strawberry poke cake.
The Precision Poking Technique
Allow the cake to cool for exactly 10 minutes. This “warm-but-not-hot” window is vital; if the cake is too hot, the liquids will turn it to mush, but if it is too cold, the crumb will be too tight to absorb the infusion.
Using your wooden spoon handle, poke holes across the entire surface of the cake at 1-inch (2.5cm) intervals. Ensure you press down about 3/4 of the way through the cake, but do not hit the bottom of the pan to prevent the liquids from pooling at the base.
Creating the Dual-Layer Infusion
In a small bowl, whisk together the sweetened condensed milk and half of your prepared strawberry puree. Pour this mixture slowly over the holes, using a spatula to encourage the liquid into the openings.
Take the remaining pure strawberry puree and drop small spoonfuls into the holes randomly. This technique creates the “vibrant red strawberry puree swirls” specified in the visual blueprint, rather than a uniform pink interior.
Whipping the Pillowy Topping
In a chilled metal bowl, combine the heavy cream, 1/4 cup (30g) of powdered sugar, and vanilla. Whisk on medium-high speed until stiff peaks form—look for the cream to hold its shape firmly when the whisk is lifted.
Spread the whipped cream over the completely cooled cake in a thick, even layer. Use an offset spatula to create gentle “billows” or peaks in the cream, which will catch the daylight beautifully in your final presentation.
The Finishing Glossy Garnish
Slice your remaining strawberries into 1/4-inch (6mm) thick rounds. Toss them gently with 2 tablespoons (25g) of sugar and let them sit for 15 minutes until they are shiny and a natural syrup has formed in the bottom of the bowl.
Arrange the glossy slices across the top of the cream. Finally, take the remaining syrup from the bowl and use a spoon to create a light drizzle over the entire cake, emphasizing the “strawberry syrup drizzle” from our Midjourney prompt.
Chef’s Secrets for a Non-Soggy Crumb
- The 10-Minute Rule: Never pour liquids over a cake straight out of the oven. The steam needs to escape first to stabilize the starches.
- Temperature Control: Ensure your sweetened condensed milk is at room temperature. If it is too cold, it will sit on top of the cake rather than seeping into the holes.
- Stabilize Your Cream: If you are serving this in a warm environment, add 1 tablespoon (8g) of instant vanilla pudding mix to your heavy cream to keep it “pillowy” for hours.
- Puree Reduction: If your strawberry puree seems too watery, simmer it on the stove for 5 minutes to concentrate the flavor and color before poking.
Keep it Fresh: Storage and Make-Ahead Magic
This strawberry poke cake actually tastes better after a few hours of refrigeration, as the flavors have time to marry and the cake sets. Cover the dish loosely with plastic wrap, ensuring it doesn’t touch the whipped cream peaks, and store in the refrigerator for up to 3 days.
We do not recommend freezing the fully assembled cake, as the fresh strawberries will release too much water upon thawing, ruining the cream. However, you can bake and “poke” the cake base, freeze it, and add the fresh toppings the day of serving.
Perfect Pairings for Your Berry Celebration
This dessert is a standout on its own, but it pairs beautifully with other summer-inspired treats. For a full dessert spread, consider serving it alongside a refreshing strawberry banana cheesecake salad or a crunchy strawberry pretzel salad.
If you love the combination of fruit and cream, you might also enjoy the classic textures found in a homemade strawberry shortcake. For those who prefer bite-sized options, these cake balls can be adapted using the same strawberry-infused base.
Your Pressing Strawberry Cake Questions
Absolutely! It is best after chilling for 4-24 hours. However, wait to add the fresh sliced strawberries until just before serving to keep them looking glossy and fresh.
Yes, frozen strawberries work well for the internal puree. Thaw them completely and drain excess water before blending and reducing to ensure the cake doesn’t become too soggy.
Ensure the cake is completely cold before topping. You can also stabilize the cream by adding a tablespoon of instant vanilla pudding mix or gelatin while whipping.
A wooden spoon handle with a diameter of about 1/2 inch is ideal. It creates large enough pockets for the thick puree and milk mixture to settle into.
This usually happens if you poke the holes all the way to the bottom of the pan. Aim to poke only 3/4 of the way down to allow the cake base to support the liquids.
The Ultimate Strawberry Poke Cake Recipe
Strawberry Poke Cake with Fresh Puree and Pillowy Whipped Cream
Ingredients
Equipment
Method
- Bake the white cake according to package instructions in a 9x13 dish. Ensure it is just golden and a toothpick comes out clean.
- Cool for 10 minutes, then poke holes every 1 inch using the handle of a wooden spoon.
- Whisk condensed milk with half the puree and pour over holes. Spoon remaining puree into holes for swirls.
- Let the cake cool completely in the refrigerator for at least 2 hours.
- Beat heavy cream and powdered sugar until stiff peaks form. Spread over the cooled cake.
- Top with macerated sliced strawberries and drizzle with the remaining strawberry syrup.
Notes
Ensure the cake is completely cold before adding the whipped cream to prevent melting.
Closing & Call to Action
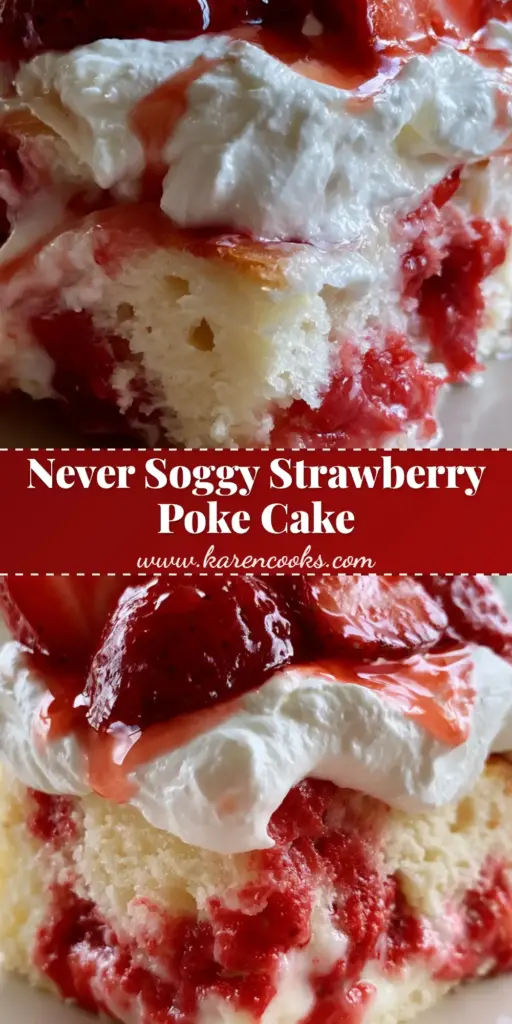
Mastering the strawberry poke cake is a rewarding journey into the world of infused desserts. With its vibrant red swirls, rich condensed milk soak, and that undeniable pillowy whipped cream topping, it is a recipe that looks just as good as it tastes.
If you enjoyed this forensic breakdown of a classic dessert, please leave a comment below with your results! Don’t forget to follow me on Pinterest for more visually stunning recipe inspiration and share your cake photos with our community.