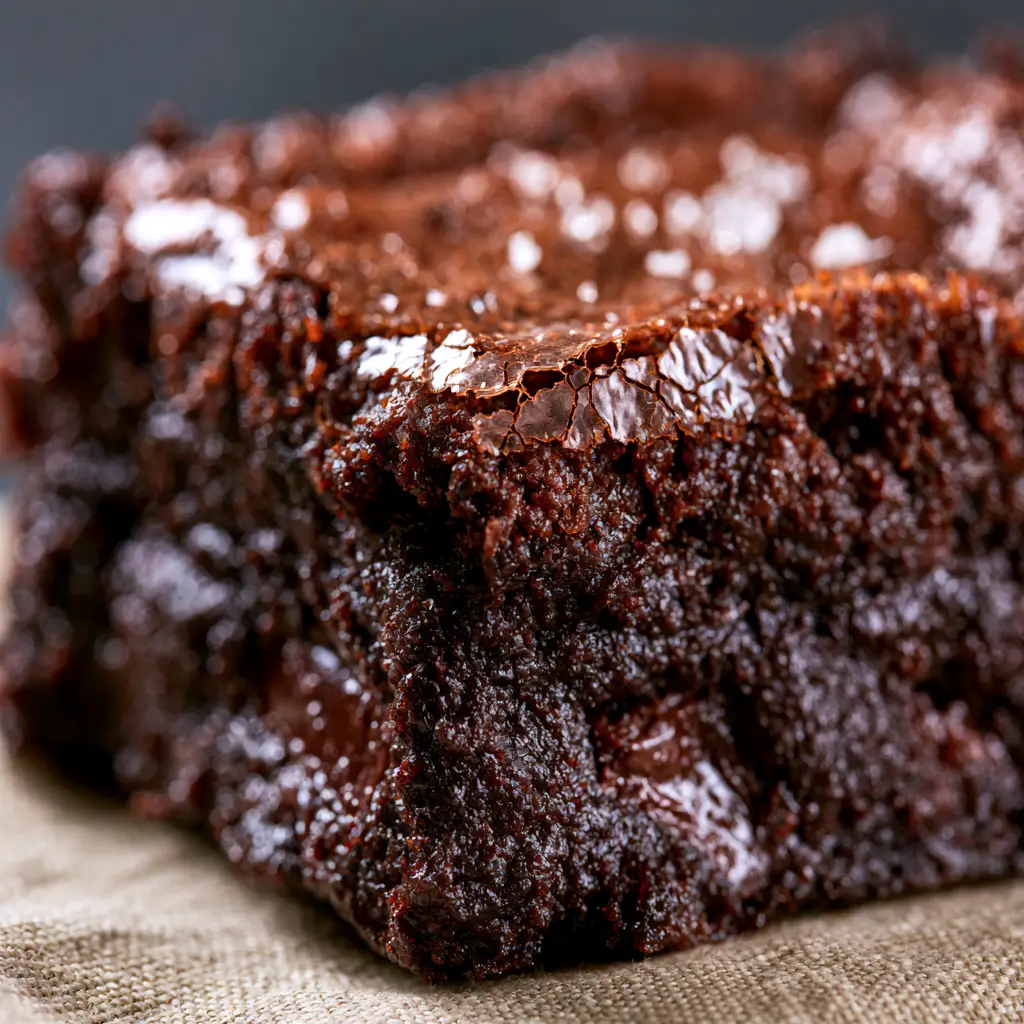
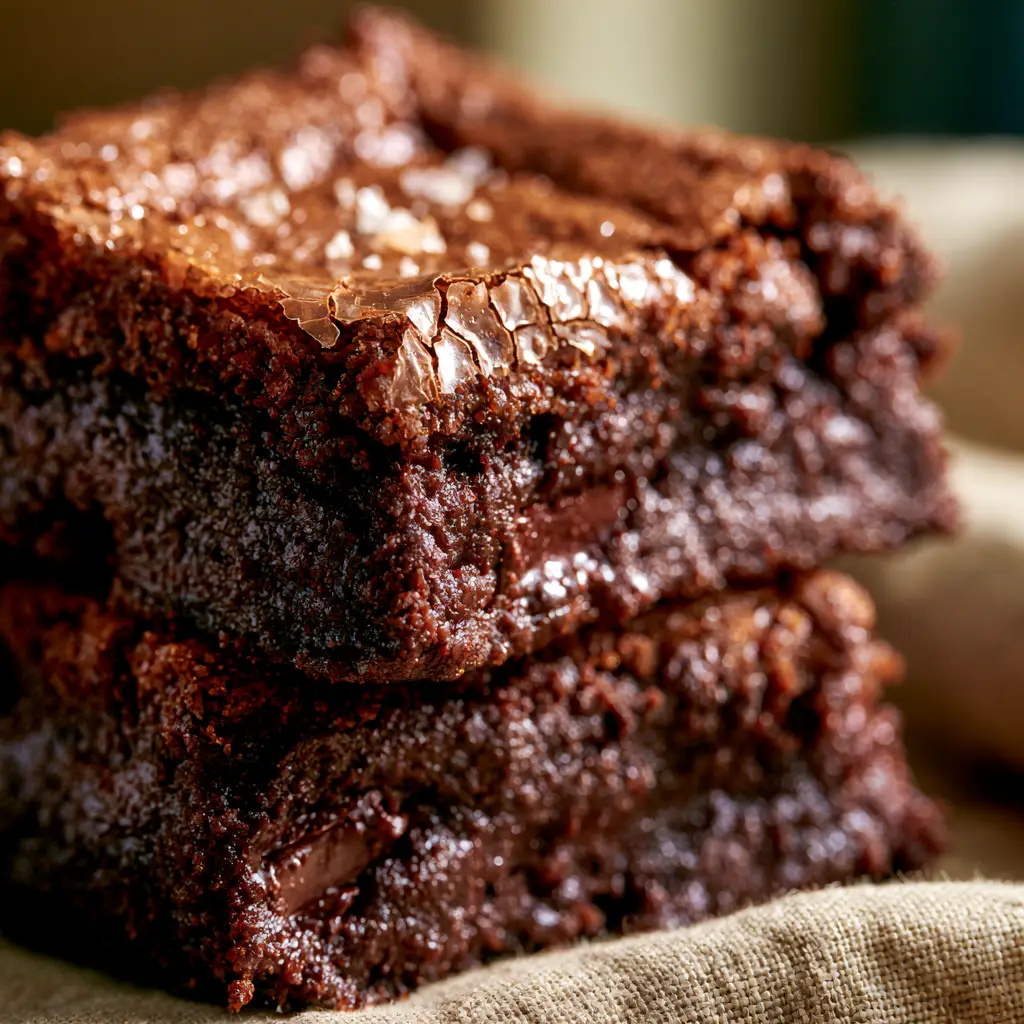
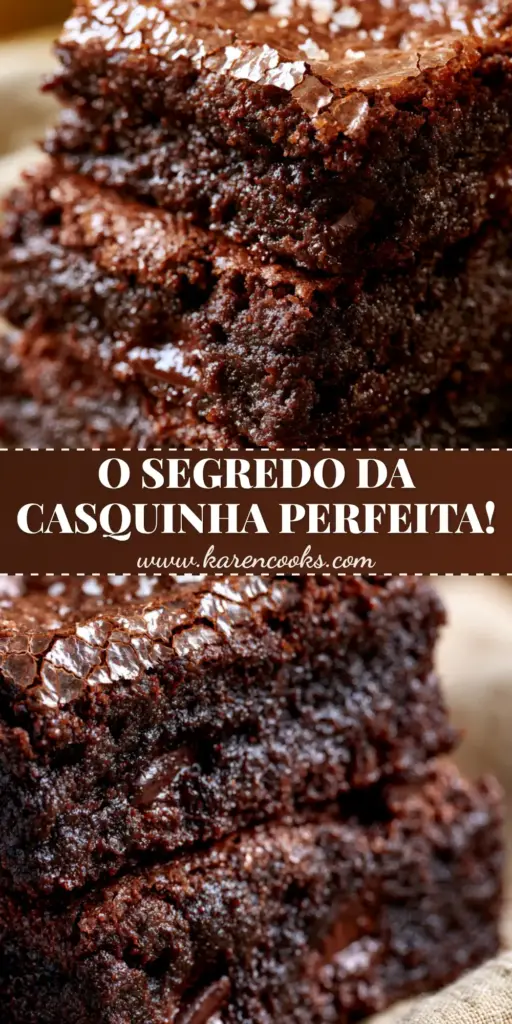
There is a specific, almost architectural beauty in a perfect Brownie de chocolate. It starts with that micro-thin, translucent, paper-like crackled crust that shatters under the slightest pressure of a fork. Beneath that delicate silver-sheen layer lies a landscape of ultra-dark, dense fudgy chocolate, punctuated by molten pockets of semi-sweet chunks.
Achieving this specific visual and textural contrast isn’t just about luck; it is a matter of culinary forensics. To replicate the “extreme macro” look of a world-class dessert, we must master the science of sugar dissolution and fat emulsification. This recipe delivers a brownie that looks exactly like a high-end food photography spread, complete with deep shadows and a rich, moist interior.
In this guide, we will explore the precise techniques required to create that signature fissure-filled top and the gooey, heavy center that defines an elite Brownie de chocolate. Whether you are baking for a crowd or seeking the ultimate comfort food, these steps ensure a professional result every single time.
Why This Brownie de chocolate Is the Only Recipe You Need
- The Signature Crackle: We use a specific whisking method to create a meringue-like top layer that is shiny and paper-thin.
- Triple Chocolate Intensity: A combination of rich dark cocoa powder, melted butter, and hand-chopped semi-sweet chocolate chunks provides layers of flavor.
- Unmatched Texture: This recipe contains zero chemical leaveners, ensuring the center stays dense, fudgy, and ultra-moist rather than cakey.
- The Salted Finish: A deliberate sprinkle of flaky sea salt balances the sugar and highlights the dark fruit notes of the cacao.
The Scientific Anatomy of Our Premium Ingredients
Every ingredient in this Brownie de chocolate serves a structural or sensory purpose. Understanding the “why” behind the “what” is the first step toward mastery.
Unsalted Butter (225g / 1 cup): Melted butter provides the fat base that carries the chocolate flavor across the palate. Using unsalted butter allows us to control the sodium levels precisely for that final flaky salt finish.
Granulated White Sugar (300g / 1.5 cups): White sugar is the key to the crackled crust. When whisked thoroughly with eggs, it migrates to the surface during baking to form that thin, shiny meringue-like shell.
Light Brown Sugar (100g / 0.5 cup): The molasses in brown sugar adds hygroscopic properties, meaning it pulls moisture from the air to keep the brownie centers incredibly fudgy and chewy.
Large Eggs (3 units): Eggs provide the structure. By beating them vigorously with the sugars, we incorporate just enough air to create the crust fissures without making the brownie rise like a cake.
Pure Vanilla Extract (5ml / 1 tsp): Vanilla acts as a flavor enhancer for the chocolate, much like salt does for savory foods. It rounds out the bitterness of the dark cocoa.
Dutch-Processed Dark Cocoa Powder (90g / 0.75 cup): This provides the “ultra-dark” base color seen in our visual blueprint. It is less acidic than natural cocoa, offering a smoother, deeper chocolate profile.
All-Purpose Flour (65g / 0.5 cup): We use a minimal amount of flour to ensure the brownies remain dense. Too much flour would lead to a bready, dry texture.
Semi-Sweet Chocolate Chunks (175g / 1 cup): Hand-chopping a bar of chocolate creates irregular “pockets” of melted joy. These chunks stay semi-liquid even after the brownies have cooled slightly.
Flaky Sea Salt (for finishing): These large, flat crystals provide a textural crunch and a sharp contrast to the rich, dark chocolate interior.
Essential Equipment for Professional Results
To achieve the height and even baking seen in our handheld smartphone photo style, you need the right tools. A 20x20cm (8×8 inch) metal baking pan is superior to glass, as metal conducts heat more efficiently for those crisp edges.
You will also need a high-quality whisk or an electric hand mixer. The physical labor of dissolving the sugar into the eggs is what guarantees the shiny top. Finally, parchment paper is non-negotiable for lifting the brownies out of the pan to get those perfect, clean side-angle shots.
Mastering the Method: Step-by-Step Instructions
Creating the Chocolate Fat Base
Begin by melting your butter in a small saucepan over medium heat. Once melted, remove from heat and whisk in the dark cocoa powder while the butter is still hot. This “blooms” the cocoa, releasing the aromatic oils and deepening the flavor of the Brownie de chocolate.
Allow this mixture to cool slightly. If it is too hot, it will scramble the eggs in the next step. You want it to be warm to the touch but not boiling.
The Secret to the Paper-Thin Crackled Crust
In a large mixing bowl, combine the granulated sugar, brown sugar, and the three large eggs. This is the most critical stage. Use an electric mixer to beat these together for at least 5 to 8 minutes.
You are looking for the “ribbon stage”—the mixture should become pale, thick, and fall off the whisk in ribbons that hold their shape for a few seconds. This process ensures the sugar is fully dissolved, which is the only way to get that translucent, shiny top layer.
Folding for Density
Gently pour the cocoa-butter mixture into the egg and sugar base, folding with a spatula until just combined. Sift in the flour and salt. Sifting is vital to avoid flour clumps in such a low-moisture batter.
Fold the dry ingredients in by hand. Over-mixing at this stage will develop gluten, which leads to a tough brownie. Stop as soon as no white streaks remain.
Incorporating the Molten Chunks
Gently fold in your hand-chopped semi-sweet chocolate chunks. By using chunks instead of chips, you get those “small pockets of half-melted chocolate” described in our visual prompt. Chips often contain stabilizers that prevent them from melting into the batter.
Pour the batter into your prepared pan and smooth the top. You should already see a glossy sheen on the batter’s surface.
Baking and Sensory Cues
Bake at 175°C (350°F) for 25-30 minutes. At the 25-minute mark, start looking for visual cues. The edges should be set and slightly pulled away from the sides of the pan.
The center should no longer wobble like liquid, but it should still have a slight “jiggle” when shaken. The top must be covered in those delicate fissures and a micro-thin crust. Do not overbake! A toothpick inserted into the center should come out with moist crumbs, not clean.
Expert Tips for Visual Perfection
- The “Slap” Technique: Halfway through baking, lift the pan and gently drop it against the oven rack. This deflates any large air bubbles and creates those iconic surface cracks.
- Temperature Matters: Ensure your eggs are at room temperature before whisking. Cold eggs prevent the sugar from dissolving properly.
- Wait for the Set: As tempting as it is to cut into them immediately, these brownies need at least 2 hours to cool. This allows the fudgy center to set into that “ultra-dark” dense texture.
- Clean Cuts: For those perfect side-angle photos, wipe your knife with a warm, damp cloth between every single cut.
How to Store Your Brownie de chocolate
These brownies actually improve on the second day as the flavors deepen. Store them in an airtight container at room temperature for up to 4 days. If you prefer them extra chewy, you can store them in the refrigerator.
For long-term storage, wrap individual squares in plastic wrap and place them in a freezer bag. They will stay fresh for up to 3 months. Simply thaw at room temperature for an hour before serving.
Creative Pairings and Serving Suggestions
While a Brownie de chocolate is a masterpiece on its own, it plays well with others. If you enjoy the depth of dark cocoa, you might also love my decadent chocolate cupcakes which use a similar high-fat ratio for moisture.
For a complete dessert spread, serve these brownies alongside bakery-style chocolate chip cookies. The contrast between the crunchy cookie and the fudgy brownie is a crowd-pleaser.
If you are feeling adventurous, crumble these brownies over a salted caramel brownie cheesecake for an incredible multi-textured experience. A side of cold milk or a dollop of smooth chocolate buttercream can also elevate the dish for a special occasion.
Frequently Asked Questions
You can, but the flavor will be more acidic and the color will be lighter. Dutch-processed cocoa provides the ‘ultra-dark’ look and smooth flavor seen in the photos.
Chunks are preferred because they lack the stabilizers found in chips. This allows them to melt into ‘pockets’ of chocolate, creating the gooey texture seen in the macro shots.
The shiny crust is actually a thin layer of meringue. It is achieved by beating the eggs and sugar together for 5-8 minutes until the sugar is fully dissolved and the mixture reaches the ‘ribbon stage’ before adding the chocolate.
Look for the ‘jiggle’ test. The edges should be firm, but the center should still have a slight wobble. A toothpick should come out with a few moist crumbs, not liquid batter and not clean.
Cakey brownies usually result from too much flour or the addition of baking powder/soda. This recipe omits leaveners and uses a low flour-to-fat ratio to ensure a dense, fudgy texture.
The Ultimate Brownie de chocolate Recipe
Brownie de chocolate: The Ultimate Guide to the Perfect Crackled Crust
Ingredients
Equipment
Method
- Whisk the melted butter and dark cocoa powder together in a bowl until smooth; let cool slightly.
- In a separate large bowl, beat the eggs, granulated sugar, and brown sugar with an electric mixer for 5-8 minutes until thick and pale (ribbon stage).
- Fold the chocolate butter mixture into the eggs, then sift in the flour and salt. Fold gently until no streaks remain.
- Fold in the chocolate chunks. Pour into a lined 8x8 pan and bake at 175°C (350°F) for 25-30 minutes.
- Top with flaky sea salt immediately after removing from the oven. Cool completely before slicing.
Notes
Don't overbake; a slight jiggle in the center is okay.
Closing & Call to Action
Creating the perfect Brownie de chocolate is a rewarding journey into the science of baking. When you pull that pan out of the oven and see the sunlight hitting the crackled, shiny crust, you’ll know the effort was worth it. The dense, fudgy center and the pop of sea salt make this a world-class treat.
Did you achieve the perfect crackle? I would love to hear about your results in the comments below! If you found this guide helpful, please share it with your fellow chocolate lovers and pin this recipe to your favorite board on Pinterest.