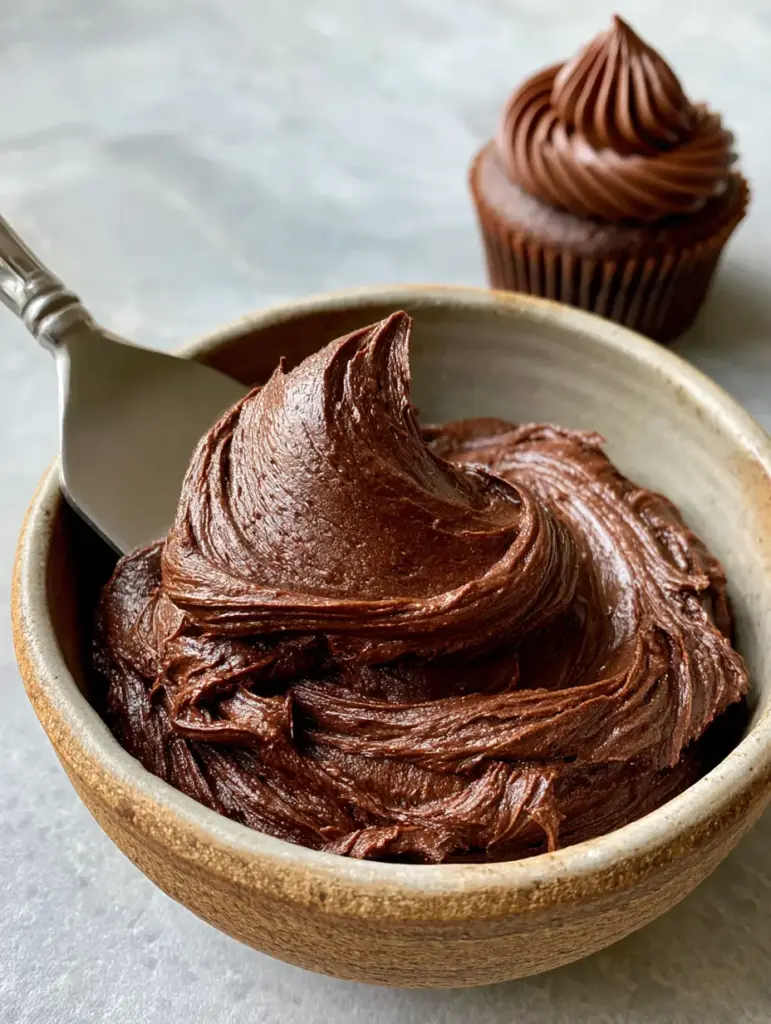
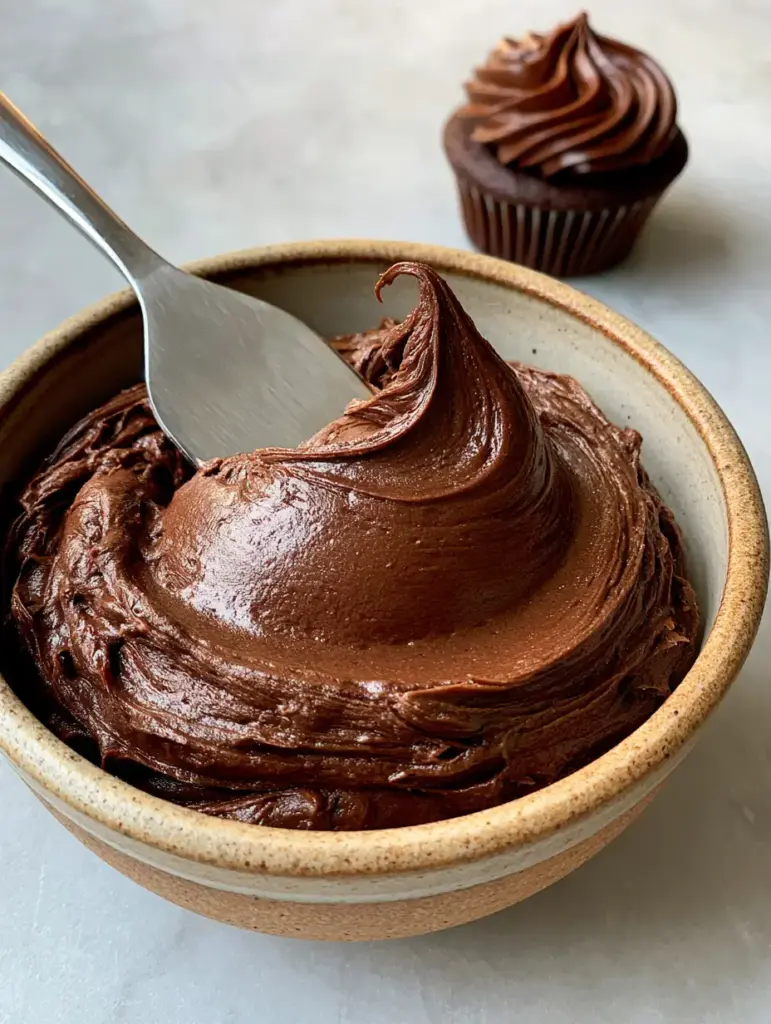
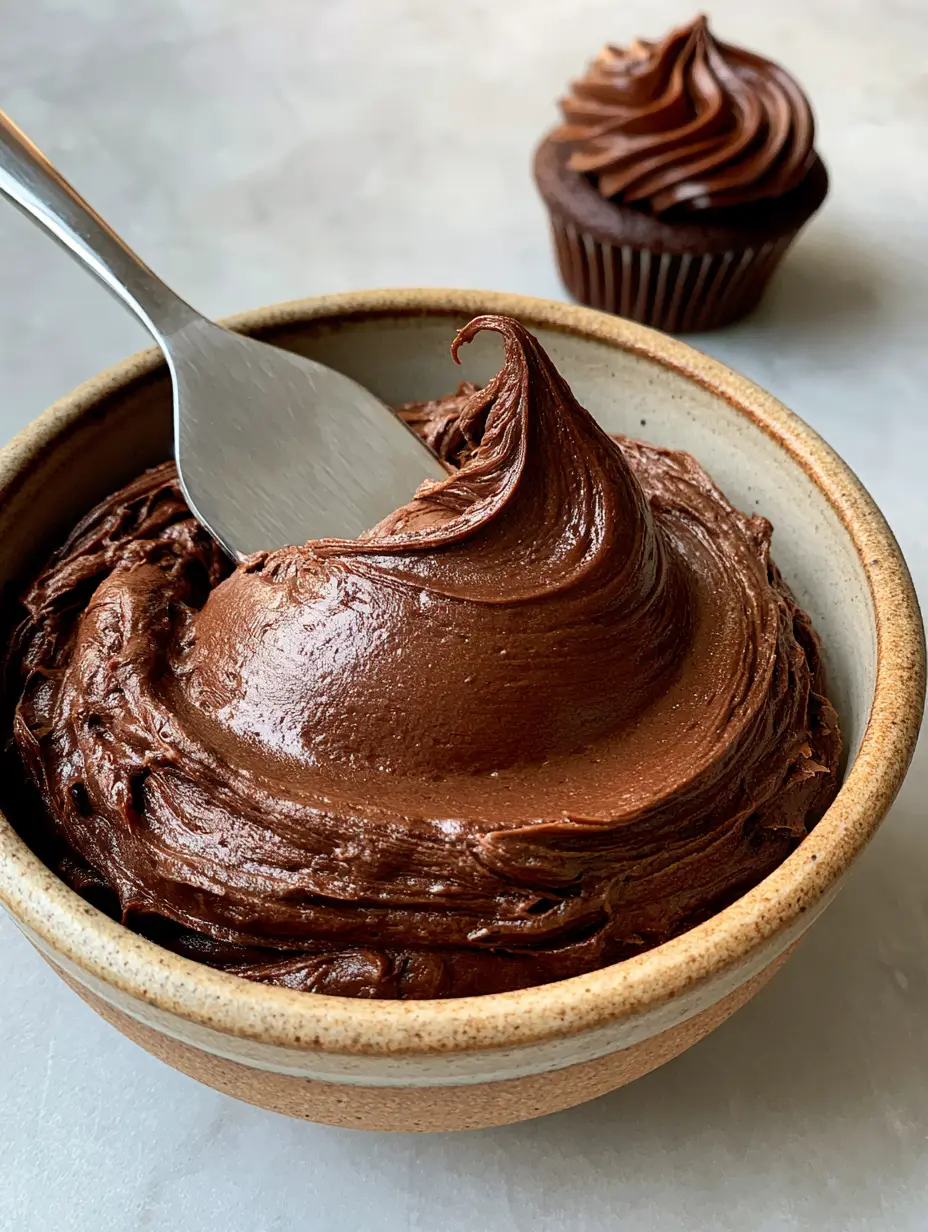
There is a specific, visceral joy in watching a silver offset spatula glide through a rustic ceramic bowl filled with chocolate buttercream frosting. This isn’t just a topping; it is a structural masterpiece of culinary science, designed to catch the soft natural daylight with a satin-like sheen. If you have been searching for a frosting that achieves a deep cocoa-brown color without looking dull or feeling grainy, you have arrived at the definitive guide.
Achieving that thick, velvety wave requires more than just mixing sugar and butter. It demands a precise balance of temperature and fat content to ensure the texture remains ultra-smooth and entirely air-pocket-free. Whether you are finishing a batch of moist chocolate cupcakes or filling a decadent layer cake, this recipe delivers the sharp-ridged piped swirls seen in professional patisseries.
The Anatomy of a Perfect Satin-Sheen Frosting
- Deep Cocoa Visuals: We utilize a combination of Dutch-processed cocoa and melted chocolate to reach that elusive, dark mahogany hue.
- Glossy Swirl Texture: A specific emulsification technique ensures the frosting reflects light rather than absorbing it.
- Stability for Piping: This frosting is engineered to hold sharp ridges, perfect for the professional piped look on a caramel apple cupcake.
- Air-Pocket-Free Finish: We use a final low-speed “paddle-down” technique to remove the tiny bubbles that often ruin a smooth finish.
Essential Components for Deep Cocoa Depth
Unsalted High-Fat Butter: 1.5 cups (340g) of room temperature butter provides the structural foundation. Using a European-style butter with higher fat content ensures a creamier mouthfeel and better stability at room temperature.
Dutch-Processed Cocoa Powder: 3/4 cup (75g) of sifted cocoa provides the foundational chocolate flavor. Dutch-processing neutralizes the acidity, resulting in a darker color and a smoother, more mellow flavor profile.
Melted Semi-Sweet Chocolate: 4 oz (113g) of high-quality chocolate, melted and cooled, is the “secret” to the glossy finish. This adds a layer of fat that solidifies slightly, giving the frosting its signature satin sheen and “velvety” texture.
Powdered Sugar: 4 cups (500g) of organic or finely-sifted confectioners’ sugar provides the sweetness and bulk. Sifting is non-negotiable here to prevent the tiny white clumps that destroy the visual of a deep brown wave.
Heavy Cream: 3-4 tbsp (45-60ml) of cold heavy cream is used to adjust the viscosity. The high fat content in cream (compared to milk) keeps the frosting from breaking or becoming “short” and crumbly.
Pure Vanilla Extract & Sea Salt: 1 tbsp (15ml) vanilla and a pinch of salt act as flavor enhancers. Salt is scientifically necessary to cut through the sugar and highlight the complex notes of the cocoa.
Tools for Professional Piped Perfection
To replicate the visual in our blueprint, you will need a rustic ceramic bowl for mixing and a silver offset spatula. The spatula’s flexibility is key for creating those thick, velvety waves. A stand mixer with both a paddle and whisk attachment is recommended for managing the aeration levels of the chocolate buttercream frosting. For the background cupcake look, a piping bag fitted with a large star tip (like a 1M or 2D) is essential for those sharp ridges.
Step-by-Step to Air-Pocket-Free Perfection
1. The Aeration Phase
In your stand mixer fitted with the whisk attachment, beat the 1.5 cups (340g) of butter on medium-high speed for exactly 5 minutes. You are looking for a visual change: the butter should turn from a yellow hue to a pale, nearly white ivory. This creates a stable matrix of micro-bubbles that will eventually hold the chocolate.
2. Integrating the Cocoa and Sugar
Turn the mixer to the lowest setting and gradually add the sifted 3/4 cup (75g) cocoa powder and 4 cups (500g) powdered sugar. Once the dust has settled, increase the speed to medium and beat for another 2 minutes. The mixture will look slightly dry at this stage, which is perfectly normal.
3. The Gloss Factor: Melted Chocolate
Slowly pour in the 4 oz (113g) of melted and cooled chocolate while the mixer is running on low. Immediately follow this with the vanilla and 3 tbsp (45ml) of heavy cream. Watch as the chocolate buttercream frosting transforms from a matte brown to a glossy, satin-like finish before your eyes.
4. Refining the Texture
Switch from the whisk attachment to the paddle attachment. Turn the mixer to the lowest possible speed and let it run for 3-5 minutes. This “massages” the frosting, knocking out the large air pockets created by the whisk. You will see the texture become ultra-smooth, looking like a thick, velvety wave in the bowl.
Expert Tips for a Professional Finish
- Temperature Control: Ensure your melted chocolate is lukewarm (about 90°F / 32°C). If it is too hot, it will melt the butter; too cold, and it will create tiny hard chocolate flecks.
- Sift Everything: Cocoa powder is notoriously prone to clumping. Even the most powerful mixer cannot fully break down cocoa clumps once they are wet.
- The Paddle Secret: If your frosting looks “holy” (full of air holes) when you spread it, it hasn’t been paddle-mixed long enough. This step is what separates home bakers from professionals.
- Avoid Over-Whipping: Once you add the cream and chocolate, don’t whip on high speed, or you will re-introduce the air bubbles you just worked to remove.
Preserving Your Glossy Masterpiece
This chocolate buttercream frosting can be stored in an airtight container at room temperature for up to 2 days. For longer storage, refrigerate for up to 2 weeks or freeze for 3 months. When ready to use from the fridge, let it come to room temperature naturally. You must re-whip it with the paddle attachment for 2 minutes to restore the glossy, velvety texture before piping onto sour cream funfetti cupcakes.
What to Pair with Chocolate Buttercream
While this frosting is a star on its own, it pairs beautifully with high-contrast flavors. Try using it as a filling for a decadent chocolate brownie or as a topping for banana chocolate muffins. If you prefer a salty-sweet combination, it provides a stunning base for a drizzle of caramel, similar to the profile of salted caramel chocolate chip cookies.
Yes, this recipe is specifically designed to be stable. The addition of melted chocolate helps the frosting set firmer than a standard American buttercream, allowing it to hold sharp ridges.
It is safe at room temperature for up to 2 days because of the high sugar content. However, if your kitchen is very warm, the butter and melted chocolate may soften too much, so refrigeration is recommended for stability.
The combination of Dutch-processed cocoa powder and melted semi-sweet chocolate provides a deep mahogany color naturally. You can also add a teaspoon of espresso powder to further darken the hue.
Graininess is typically caused by un-sifted powdered sugar or cocoa powder. Always sift your dry ingredients through a fine-mesh strainer to ensure the ultra-smooth, velvety texture shown in the photos.
Air bubbles are usually caused by whipping the frosting at high speeds for too long. To fix this, switch to a paddle attachment and mix on the lowest speed for 3-5 minutes to ‘massage’ the air out.
The Ultimate Chocolate Buttercream Recipe
Chocolate Buttercream Frosting: The Ultimate Glossy and Velvety Secret
Ingredients
Equipment
Method
- In a stand mixer with the whisk attachment, beat the room temperature butter for 5 minutes until it is ivory-white and fluffy.
- Add the sifted powdered sugar and cocoa powder on low speed, then increase to medium and beat for 2 minutes.
- Pour in the lukewarm melted chocolate, vanilla, and heavy cream. Mix on low until combined and glossy.
- Switch to the paddle attachment and mix on the lowest speed for 3-5 minutes to remove all air pockets and create a velvety wave.
Notes
Always sift the cocoa powder to prevent small brown lumps in the final frosting.
Elevate Your Baking Today
Mastering the chocolate buttercream frosting is a milestone for any home cook. Its deep cocoa color and silky-smooth finish turn simple cakes into centerpiece-worthy desserts. If you found this guide helpful, please leave a comment below with your results! Don’t forget to share your glossy frosting swirls on Pinterest and join our community of enthusiastic bakers for more technical deep-dives.