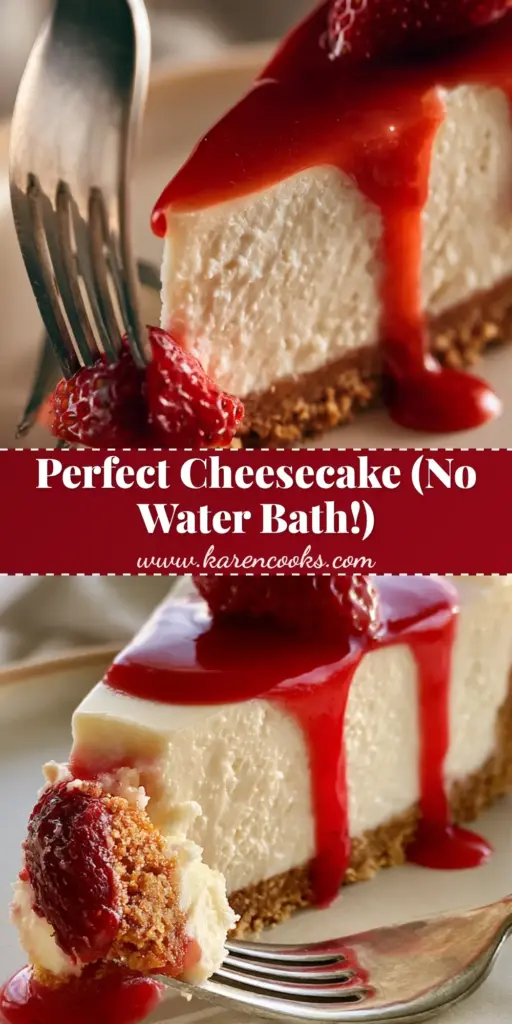
When you think of the ultimate dessert, few things rival the visual and sensory satisfaction of the perfect slice. Among all cheesecake recipes, the classic baked version with a vibrant fruit topping remains the undisputed champion of the dessert table.
Imagine a silver dessert fork pressing into the tip of a slice, revealing a rich, velvety texture that holds its shape perfectly. This recipe focuses on achieving that specific professional density while ensuring a crack-free surface and a thick, golden graham cracker crust.
Whether you are a seasoned baker or looking for reliable cheesecake recipes to start your journey, this guide bridges the gap between home baking and professional pastry arts. We are focusing on every detail from the glossy strawberry compote glaze to the soft natural lighting cues that signal a perfectly set center.
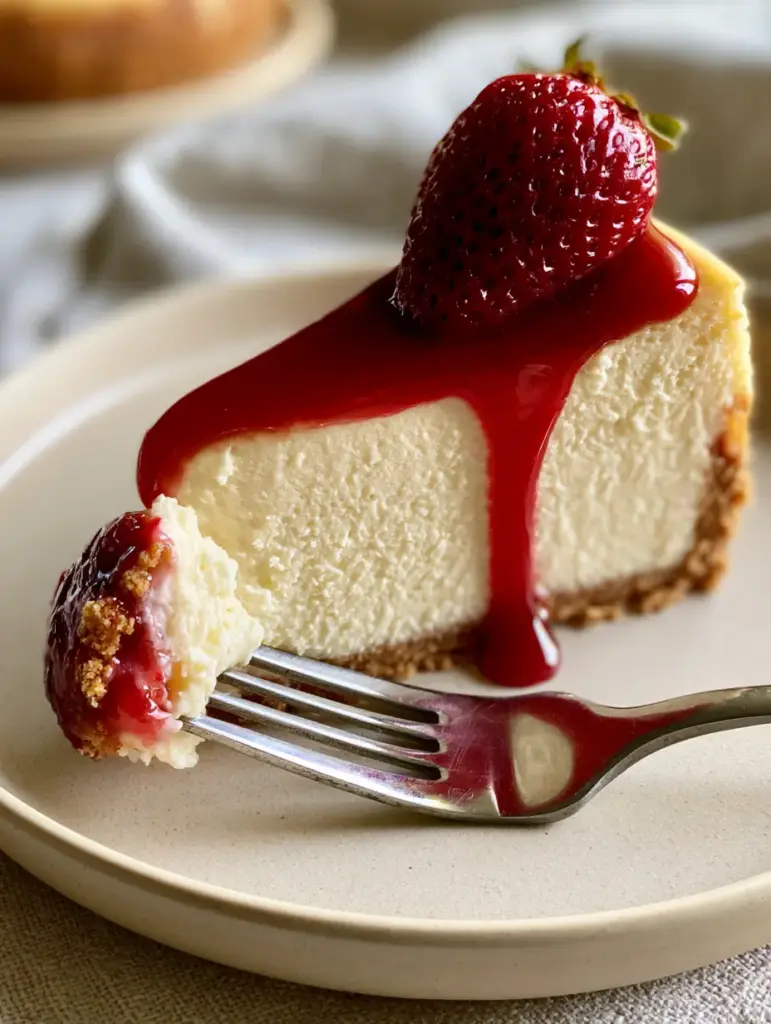
The Anatomy of an Iconic Cheesecake
- Structural Integrity: A thick, golden-brown graham cracker crust that provides a crunchy counterpoint to the creamy filling.
- Dense, Velvety Filling: A perfectly smooth, crack-free cream cheese interior that is rich without being overly airy.
- Vibrant Glaze: A glossy strawberry compote that drips elegantly down the sides, offering a tart contrast to the sweetness.
- Visual Precision: A finish that looks exactly like a high-end bakery display, topped with a single, pristine fresh strawberry.
The Foundation: Essential Ingredients for Architectural Success
To achieve the result found in professional cheesecake recipes, every ingredient must serve a specific culinary purpose. We are not just mixing; we are engineering a texture that is both stable and meltingly tender.
Full-Fat Brick Cream Cheese: You need 32 ounces (900g) of high-quality cream cheese. This is the structural heart of the dish, providing the necessary fat content for that signature “dense” mouthfeel described in our visual prompt.
Graham Cracker Crumbs: Use 2 cups (200g) of finely ground crumbs. These, when combined with melted butter, create the thick, golden graham cracker crust that supports the heavy filling without becoming soggy.
Granulated Sugar: 1.25 cups (250g) of sugar sweetens the filling and helps to macerate the strawberries for the glaze. Sugar also plays a role in the tenderization of the proteins in the eggs and cheese.
Large Room-Temperature Eggs: You will need 4 large eggs (approximately 200g). Eggs are the primary binder; using them at room temperature ensures they emulsify perfectly without introducing excess air that causes cracking.
Sour Cream: 1 cup (240ml) of full-fat sour cream adds a subtle tang and softens the texture of the cream cheese. This is the secret to achieving that “rich, velvety texture” when the fork presses into the slice.
Pure Vanilla Extract and Lemon Juice: 1 tablespoon (15ml) of vanilla and 1 teaspoon (5ml) of lemon juice act as flavor enhancers. The acid in the lemon juice brightens the strawberry compote glaze and balances the richness of the fats.
Cornstarch: 2 tablespoons (15g) in the filling adds insurance against cracking, while 1 tablespoon (8g) in the glaze creates that vibrant, glossy finish. It allows the glaze to “drip” down the side without being watery.
Fresh Strawberries: 2 cups (300g) for the compote and extra whole berries for garnish. The contrast between the cooked compote and the fresh whole strawberry is a hallmark of elite cheesecake recipes.
Professional Tools for a Flawless Finish
Achieving a “perfectly smooth, crack-free” surface requires more than just ingredients; it requires the right environment. You will need a 9-inch (23cm) springform pan to ensure the cheesecake can be released without damaging the sides.
A large roasting pan is essential for the water bath, which regulates the temperature of the batter during the long bake. High-quality parchment paper and heavy-duty aluminum foil are also required to waterproof the pan and prevent sticking.
Finally, a high-speed blender or food processor is recommended for the crust crumbs to ensure a uniform, thick golden base. For the filling, a stand mixer with a paddle attachment is preferred over a whisk to minimize air incorporation.
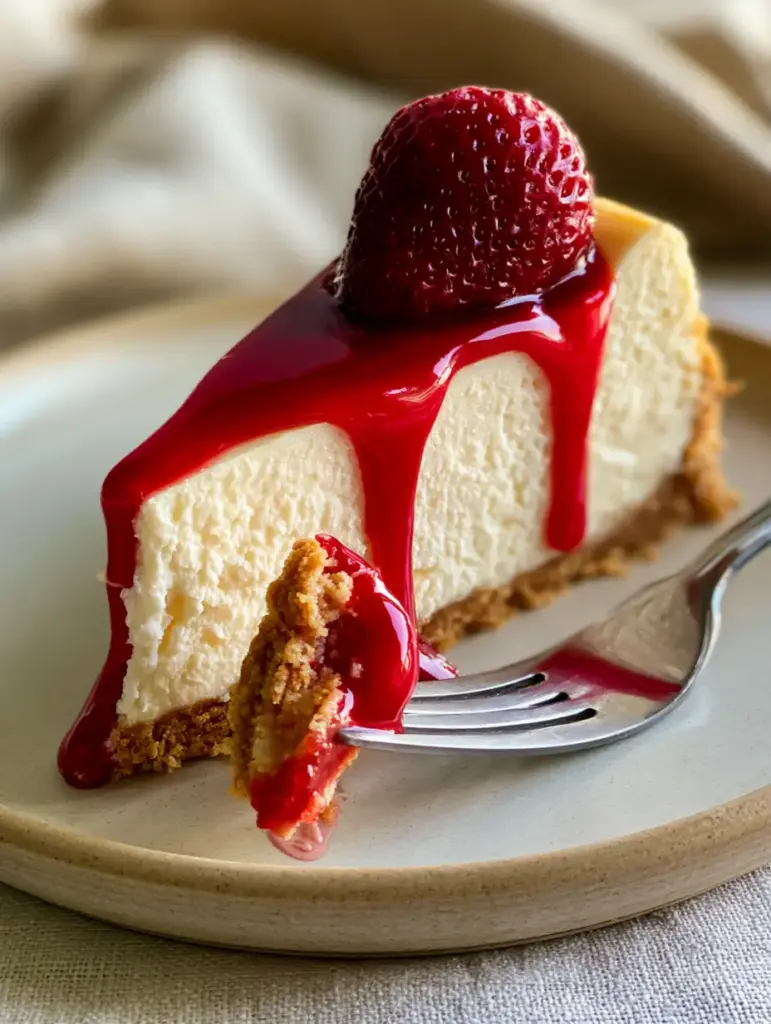
Mastering the Thick Golden Graham Cracker Crust
Prepping the Base
Combine your 2 cups (200g) of graham cracker crumbs with 6 tablespoons (85g) of melted unsalted butter and 2 tablespoons (25g) of sugar. The mixture should feel like wet sand and hold its shape when squeezed in your palm.
The Firm Press Technique
Press the mixture into the bottom and slightly up the sides of your springform pan. Use the bottom of a flat measuring cup to pack it tightly; this density is what allows for the thick, golden appearance once baked.
The Par-Bake Secret
Bake the crust at 350°F (175°C) for 10 minutes. This “sets” the crust, ensuring it remains crisp even after the dense filling is added and the entire cake is refrigerated overnight.
Engineering the Dense Cream Cheese Filling
The Room Temperature Rule
Before you begin, ensure your cream cheese, eggs, and sour cream are at true room temperature. Cold ingredients lead to lumps, and over-mixing to remove those lumps introduces air, which leads to the dreaded surface cracks.
Mixing for Density
Beat the cream cheese and sugar on low speed until completely smooth. Add the sour cream, vanilla, and lemon juice, scraping the bowl frequently. Add the eggs one at a time, mixing only until the yellow disappears.
The Gentle Pour
Pour the batter over the par-baked crust. Tap the pan firmly on the counter several times to force any trapped air bubbles to the surface, maintaining that “perfectly smooth” visual target.
The Art of the Water Bath and Cooling
Waterproofing the Pan
Wrap the exterior of the springform pan in three layers of heavy-duty aluminum foil. Place it inside the roasting pan and fill the roasting pan with boiling water until it reaches halfway up the sides of the cheesecake pan.
The Slow Bake
Bake at 325°F (160°C) for 75-90 minutes. Look for the “sensory cue”: the edges should be set and slightly puffed, but the center two inches should still wobble slightly like Jell-O when the pan is nudged.
The Gradual Cool-Down
Turn off the oven and prop the door open with a wooden spoon. Let the cheesecake sit in the water bath for one hour; this slow decline in temperature prevents the filling from shrinking too quickly and cracking.
Creating the Glossy Strawberry Compote Glaze
While the cheesecake chills for at least 6 hours (ideally overnight), prepare the topping. In a small saucepan, combine 2 cups (300g) of sliced strawberries, 1/4 cup (50g) of sugar, and 1 tablespoon (15ml) of lemon juice.
Simmer until the berries break down, then stir in a slurry of 1 tablespoon (8g) cornstarch and 1 tablespoon water. Cook until the mixture becomes “vibrant red and glossy,” then strain through a fine-mesh sieve for a professional, seedless finish.
Allow the glaze to cool completely before pouring it over the chilled cake. The consistency should be thick enough to cling to the top but thin enough to create that iconic “drip down the side” when sliced.
Troubleshooting Your Cheesecake Recipes
- Preventing Cracks: Never over-beat the eggs. Air is the enemy of a dense, smooth cheesecake filling.
- Avoiding Sogginess: Ensure your aluminum foil wrap is airtight to prevent the water bath from seeping into the graham cracker crust.
- Perfect Slices: Dip a sharp thin-bladed knife in hot water and wipe it clean between every single cut to maintain the velvety texture.
- Glaze Consistency: If the glaze is too thick, whisk in a teaspoon of warm water; if too thin, simmer for two more minutes.
Perfect Pairings for a Dessert Spread
This classic strawberry cheesecake is a showstopper on its own, but it fits beautifully into a larger dessert repertoire. If you enjoy the fruit-forward profile, you might also love a blueberry cheesecake crumb cake for a textural variation.
For those looking for more adventurous flavors, consider a pistachio cheesecake to contrast the red strawberry glaze with a vibrant green hue. If you are hosting a celebration, this recipe easily adapts into a birthday cheesecake with the addition of festive garnishes.
For a lighter, handheld option, these flavors can be distilled into dessert cup recipes, which are perfect for parties where guests prefer smaller portions.
Frequently Asked Questions
Absolutely. In fact, cheesecake recipes require at least 6-8 hours of chilling to set the fats. Making it 24 hours in advance results in the best flavor and texture.
Yes. Room temperature cream cheese and eggs emulsify smoothly. Cold ingredients create lumps, and over-beating to remove those lumps ruins the dense texture.
The secret is a cornstarch slurry and straining the compote. The cornstarch provides the gloss and thickness, while straining removes seeds for a smooth, vibrant red finish that drips perfectly.
Use a long, thin knife dipped in hot water. Wipe the blade completely clean and dry between every single cut to ensure the dense filling doesn’t smudge.
Cracks are usually caused by over-mixing the eggs, which introduces air that expands and then collapses, or by cooling the cake too quickly. Using a water bath and the ‘oven-door-ajar’ cooling method prevents this.
The Ultimate Strawberry Glazed Baked Cheesecake
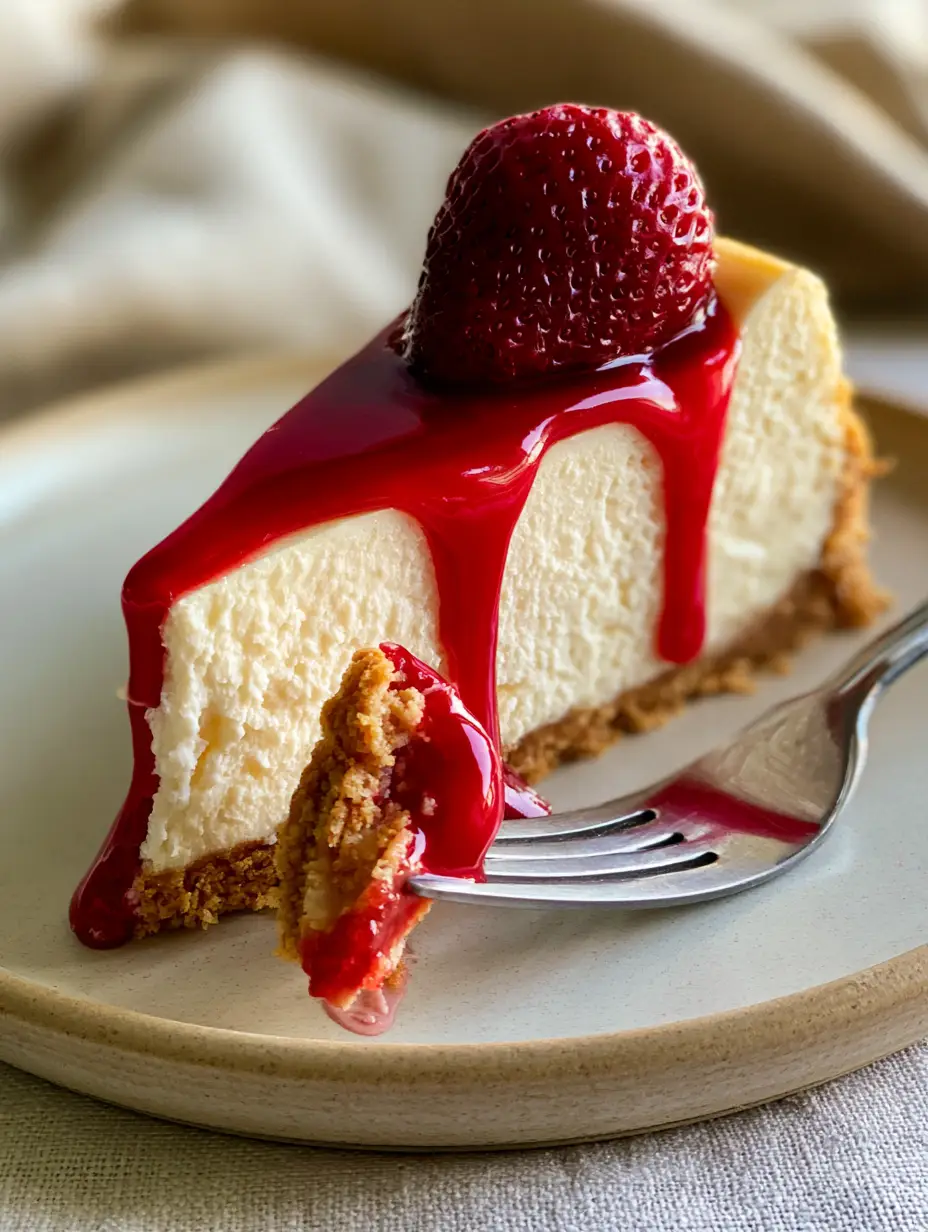
Cheesecake Recipes: The Ultimate Dense and Creamy Strawberry Glazed Masterpiece
Ingredients
Equipment
Method
- Mix crumbs, butter, and sugar. Press into a 9-inch springform pan.
- Bake at 350°F (175°C) for 10 minutes, then cool.
- Beat cream cheese and sugar on low until smooth.
- Mix in sour cream, vanilla, and cornstarch. Add eggs one at a time.
- Wrap pan in foil. Place in roasting pan with boiling water. Bake at 325°F (160°C) for 90 minutes.
- Cool in turned-off oven for 1 hour, then chill 6 hours.
- Simmer glaze ingredients until glossy. Strain and pour over chilled cheesecake.
Notes
Do not open the oven door during baking to maintain a constant temperature.
A Slice of Perfection
Mastering cheesecake recipes is a rite of passage for every home baker. By following these scientific steps to achieve a dense filling and a glossy glaze, you are creating more than just a dessert; you are creating a culinary experience.
We would love to see your results! Share your baking journey in the comments below, sign up for our newsletter for more technical baking guides, and be sure to pin this recipe to your favorite boards on Pinterest.