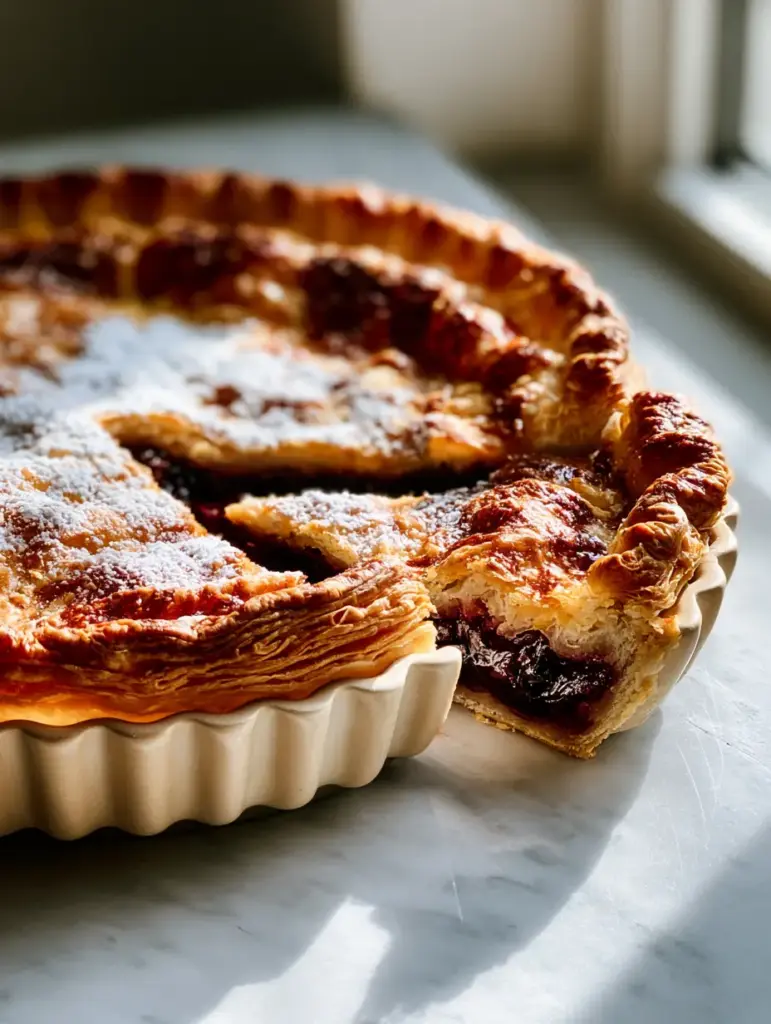
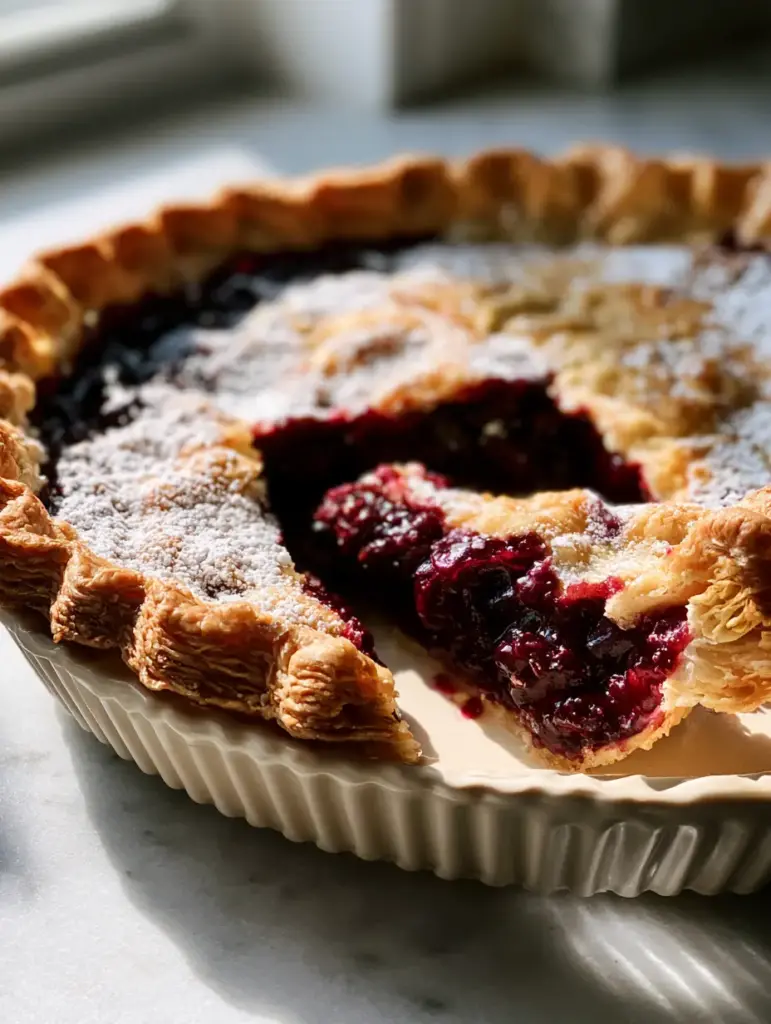
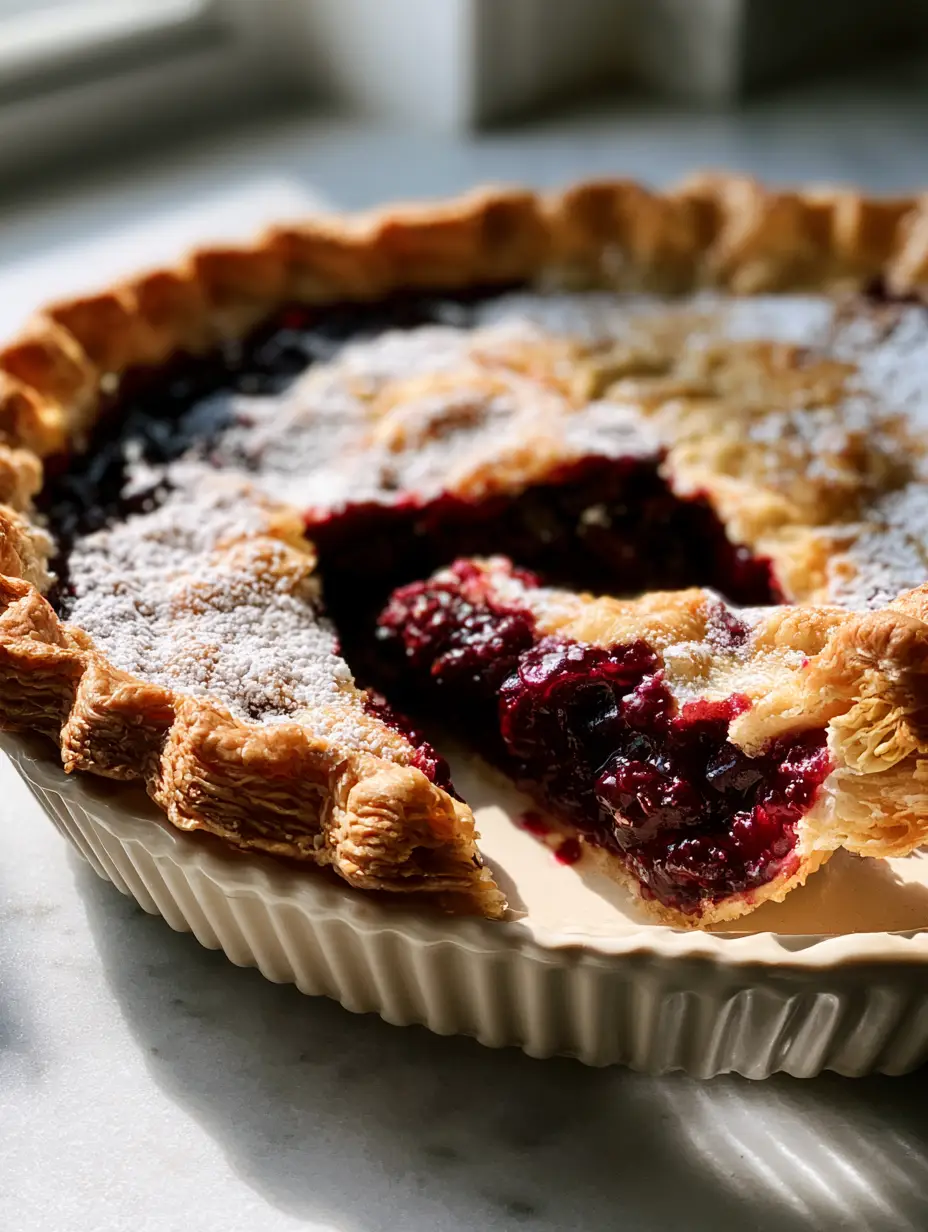
Mastering easy pie recipes is a rite of passage for every home baker, and nothing captures the heart quite like a classic cherry pie. Imagine pulling a masterpiece from the oven, its golden-brown flaky pastry crust shimmering under soft morning light while a thick, bubbling, glossy dark-red cherry filling beckons from within.
This particular recipe isn’t just about flavor; it is about achieving that specific professional aesthetic found in high-end bakeries. We are focusing on a crust that shatters upon impact and a filling that holds its shape while remaining luscious and bright.
Whether you are a seasoned pro or just starting your journey into the world of pie recipes, this guide will walk you through the science of the perfect bake. We have designed this process to be foolproof, ensuring your cream-colored fluted ceramic dish holds a result that looks exactly like a gourmet magazine cover.
What Makes This Cherry Pie a Standout Success
- The Forensic Flake: An all-butter crust designed with visible delicate layers along the fluted edge for maximum crunch.
- Glossy Consistency: A dark-red cherry filling that is thick and bubbling, never runny or watery.
- Perfect Color Palette: A deep golden-brown finish achieved through specific wash techniques and precise oven temperatures.
- Elegant Finish: A very light, elegant dusting of powdered sugar that highlights the pastry’s texture.
Essential Components for a Glossy Cherry Center
Frozen or Fresh Dark Sweet Cherries: You will need 6 cups (approx. 900g) of pitted cherries to ensure a towering, thick filling. These provide the foundational dark-red hue and natural sweetness required for the visual profile.
Granulated Sugar: 3/4 cup (150g) of sugar draws out the juices from the fruit to create the syrup. It also aids in the “bubbling” effect seen in the Midjourney prompt as it caramelizes slightly during the bake.
Cornstarch (Thickening Agent): 1/4 cup (32g) of cornstarch is the “invisible” ingredient that turns fruit juice into a glossy, translucent gel. This ensures your slice reveal stays clean and structured rather than collapsing into a puddle.
Lemon Juice and Zest: 1 tbsp (15ml) of juice provides the acidity needed to brighten the dark-red color. It also balances the sugars, preventing the filling from tasting one-dimensional.
Unsalted High-Fat Butter: 1 cup (226g) of cold, cubed butter is essential for the crust. The water content in the butter evaporates in the oven, creating steam pockets that lift the dough into those visible delicate layers.
All-Purpose Flour: 2.5 cups (312g) of flour provides the structural lattice for the fats. We use a lower protein content to keep the crust tender and “short” rather than chewy.
Ice Water: 6-8 tbsp (90-120ml) of water binds the dough. Keeping it ice-cold prevents the butter from melting before it hits the oven, which is the secret to a flaky texture.
The Professional Toolset for Easy Pie Recipes
To achieve the visual result described in our blueprint, you will need a 9-inch (23cm) cream-colored fluted ceramic dish. The ceramic material retains heat evenly, which is crucial for preventing the dreaded “soggy bottom” and ensuring the edges turn golden-brown.
A pastry blender or two forks will help you incorporate the butter without overworking the dough. You should also have a fine-mesh sieve on hand for that elegant dusting of powdered sugar at the very end.
If you enjoy the process of crafting these components, you might also find joy in experimenting with peach raspberry pie or even creating handheld treats like apple pie cupcakes.
Phase 1: Engineering the Perfect Flaky Pastry
Cutting the Fat for Maximum Lift
In a large bowl, whisk your flour and a pinch of salt. Add the cold, cubed butter and use a pastry cutter to press the fat into the flour until you see pea-sized lumps.
These lumps are the “secret” to those visible delicate layers along the fluted edge. Do not over-mix; if the dough looks like fine sand, you have gone too far and lost the flakiness.
The Hydration Process
Drizzle the ice water over the flour mixture one tablespoon at a time. Toss gently with a spatula until the dough just begins to clump together when pressed between your fingers.
Divide the dough into two discs, wrap in plastic, and chill for at least one hour. This allows the gluten to relax and the butter to re-firm, which is vital for maintaining the shape of your fluted edges.
Phase 2: Developing the Bubbling Glossy Filling
Macerating the Cherries
In a large saucepan, combine your pitted cherries, sugar, lemon juice, and cornstarch. Let the mixture sit for 15 minutes to allow the juices to release and the cornstarch to hydrate.
Heat the mixture over medium heat, stirring constantly. You are looking for a visual change: the liquid will go from cloudy to a translucent, glossy dark-red as the cornstarch reaches its thickening point.
The Cooling Step
Never pour hot filling into a raw crust. Allow the filling to cool to room temperature before assembly to prevent the butter in the bottom crust from melting prematurely.
Phase 3: Assembly and The Golden Bake
Rolling and Fluting
Roll out your bottom disc on a floured surface until it is 12 inches (30cm) in diameter. Drape it into your cream-colored fluted ceramic dish, pressing gently into the curves.
Pour in the cooled cherry filling. Roll out the second disc and place it over the top, or cut into strips for a lattice. Crimp the edges tightly against the fluted rim of the dish to create that signature textured border.
The Egg Wash and Oven Cues
Brush the crust with a beaten egg and a splash of milk. This is how you achieve the “perfectly golden-brown” finish. Bake at 400°F (200°C) for 20 minutes, then reduce to 375°F (190°C) for another 30-35 minutes.
Look for the visual cue: the filling should be thick and bubbling through the vents in the crust. The pastry should look deeply bronzed and feel firm to the touch.
Expert Tips for Success
- Temperature Control: If your kitchen is hot, chill your flour and your bowl before starting the crust.
- The “Window” Test: Always cut vents in your top crust to allow steam to escape; this prevents the filling from becoming trapped and making the pastry soggy.
- Resting Time: You must let the pie cool for at least 3-4 hours before cutting. This allows the cornstarch to fully set, creating that clean slice reveal.
- Sifting Technique: Wait until the pie is completely cool before applying the powdered sugar, or it will melt into the crust instead of sitting on top elegantly.
Storage, Reheating, and Freezing
This cherry pie can be kept at room temperature for up to 2 days, covered loosely with foil. For longer storage, refrigerate for up to 5 days. To maintain the flaky texture, reheat slices in a 350°F (175°C) oven for 10 minutes rather than using a microwave.
To freeze, wrap the unbaked pie tightly in several layers of plastic wrap and foil. It will keep for up to 3 months. Bake directly from frozen, adding an extra 15-20 minutes to the total baking time.
What to Serve With This Classic Bake
A slice of warm cherry pie is traditionally served with a scoop of vanilla bean ice cream. However, if you are looking for more unique easy pie recipes or pairings, consider serving it alongside a fresh cup of brew using nespresso coffee recipes for a sophisticated brunch.
If you are hosting a dessert party, this pie pairs beautifully with other textures. Consider adding chocolate pie recipe or pecan pie cheesecake to your spread to offer guests a variety of flavor profiles.
Frequently Asked Questions
Yes, frozen cherries work perfectly. Just ensure you simmer them with the cornstarch long enough to reach a thick, glossy, bubbling consistency.
Use a ceramic fluted dish for even heat distribution and ensure your cherry filling is completely cooled before adding it to the raw pastry crust.
This recipe uses dark sweet cherries for a deep-red visual, but you can use tart cherries; just increase the sugar by 1/4 cup to balance the acidity.
A simple egg wash (one egg beaten with a tablespoon of milk) brushed over the pastry before baking provides that professional, high-gloss golden finish.
This usually happens if the cornstarch wasn’t fully activated by heat or if the pie wasn’t allowed to cool for at least 3-4 hours to set the gel.
The Ultimate Easy Cherry Pie Recipe
Easy Pie Recipes: The Ultimate Glossy Deep-Red Cherry Pie
Ingredients
Equipment
Method
- Mix flour and salt, then cut in cold butter with a pastry blender until pea-sized lumps form.
- Add ice water 1 tbsp at a time until dough clumps. Divide, wrap, and chill for 1 hour.
- Combine cherries, sugar, cornstarch, and lemon juice in a pan. Heat until thick, bubbling, and glossy.
- Allow the dark-red filling to cool completely before adding to the crust.
- Roll dough, fit into a fluted dish, add filling, and top with second crust. Crimp edges.
- Brush with egg wash. Bake at 400°F (200°C) for 20 mins, then 375°F (190°C) for 30-35 mins until golden-brown.
- Once cooled, use a sieve to apply a light dusting of powdered sugar over the crust.
Notes
Ensure cherries are fully pitted to avoid dental accidents.
Closing & Call to Action
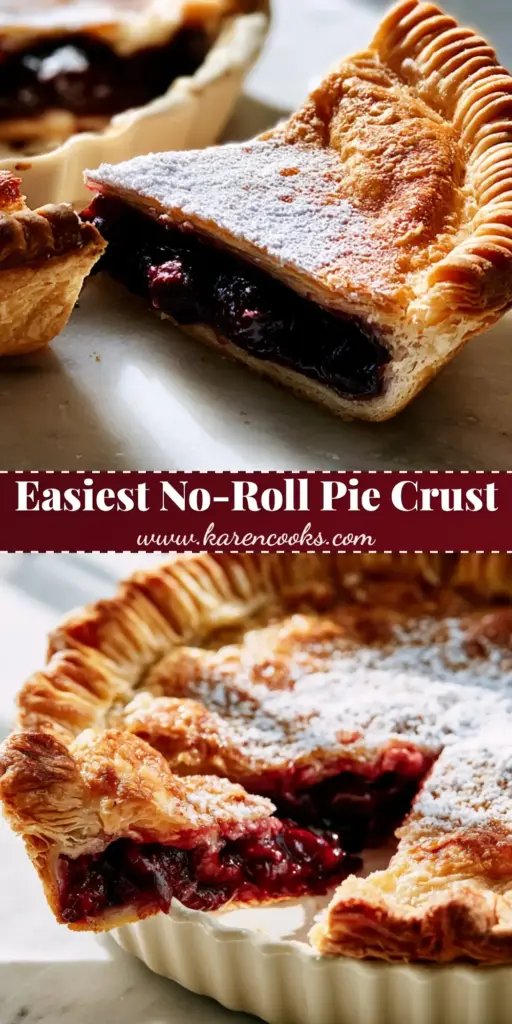
There is nothing quite as satisfying as mastering easy pie recipes and presenting a dish that looks as good as it tastes. This glossy dark-red cherry pie, with its buttery, golden-brown crust and elegant sugar dusting, is sure to become a staple in your kitchen.
If you enjoyed this recipe, please leave a comment below and let me know how your fluted crust turned out! Don’t forget to share your photos and follow me on Pinterest for more culinary inspiration.