There is something undeniably sophisticated about a dessert that looks like it belongs in a high-end bistro but requires absolutely no oven time. This Chocolate pie recipe is designed for the home cook who craves that professional, clean-cut aesthetic without the stress of a water bath or a cracked crust.
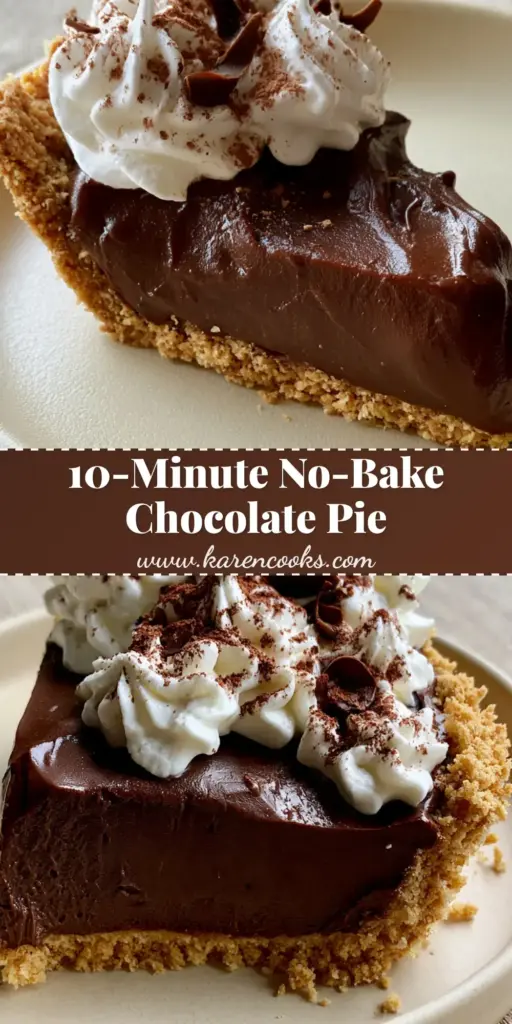
Imagine a slice with perfectly sharp edges, a glossy, deep mahogany filling, and a buttery, golden-brown graham cracker foundation. It is the kind of dessert that stops a dinner party conversation the moment you bring it to the table.
Capturing the essence of a handheld smartphone photo under soft daylight, this pie is as photogenic as it is delicious. Whether you are a seasoned baker or just looking for easy pie recipes, this guide will help you master the art of the perfect dark chocolate set.
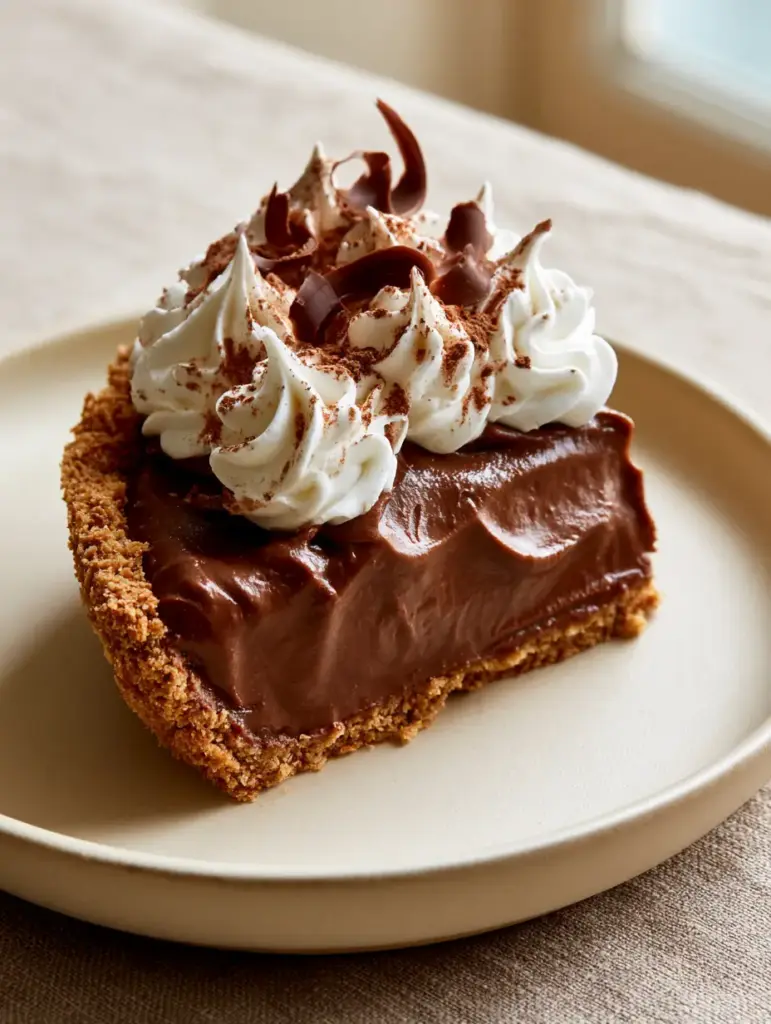
The Visual Allure of the Perfect Slice
- Structural Integrity: A thick, velvety dark chocolate pudding that holds a sharp, clean-cut edge even after the first slice is removed.
- Contrast of Textures: A crunchy, tightly packed graham cracker crust paired with cloud-like whipped cream swirls.
- Gourmet Finishing: A sophisticated dusting of bitter cocoa powder and delicate curls of dark chocolate shavings for a professional look.
- Glossy Finish: A mirror-like sheen on the pudding surface that signals a rich, indulgent mouthfeel.
The Anatomy of a Perfect Dark Chocolate Pie
Graham Cracker Crumbs: 1.5 cups (150g). These provide the essential golden-brown color and the structural foundation for your pie slice.
Unsalted Butter: 1/2 cup (115g), melted. This acts as the “glue” for your crust, ensuring it stays tightly packed and doesn’t crumble when sliced.
Dark Chocolate (60-70% Cocoa): 6 oz (170g), finely chopped. Using high-quality bar chocolate instead of chips ensures that signature glossy, velvety pudding texture.
Dutch-Processed Cocoa Powder: 1/4 cup (25g). This intensifies the “dark” visual of the filling and provides the light dusting required for the garnish.
Cornstarch: 3 tbsp (24g). This is the “invisible” scientific hero that allows the pie to achieve those perfectly sharp, professional edges without baking.
Whole Milk & Heavy Cream: 2 cups (480ml) milk and 1/2 cup (120ml) cream. This combination creates the “thick” pudding consistency described in the visual blueprint.
Granulated Sugar: 2/3 cup (135g). Just enough to balance the bitterness of the dark chocolate without masking the cocoa notes.
Heavy Whipping Cream (for Garnish): 1 cup (240ml). When whipped to stiff peaks, this creates the delicate, fluffy swirls seen in the final photo.
Essential Tools for Professional Results
To achieve the “smartphone-ready” look of this Chocolate pie recipe, you will need a 9-inch (23cm) pie plate, preferably ceramic or glass to showcase the golden crust. A heavy-bottomed saucepan is vital for simmering the pudding without scorching the dairy.
For the garnishes, a piping bag fitted with a large star tip will create those iconic swirls. Finally, a vegetable peeler is the secret weapon for creating the dark chocolate curls that add height and elegance to the center of the pie.
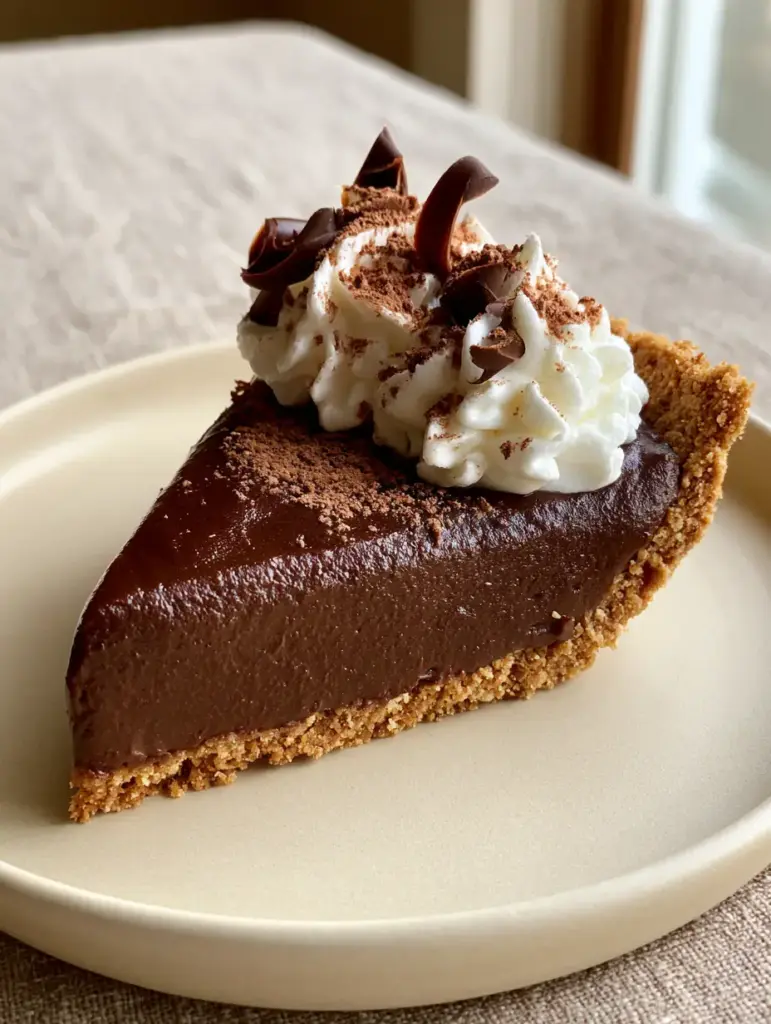
Crafting the No-Bake Masterpiece Step-by-Step
Constructing the Golden-Brown Foundation
In a medium bowl, combine the graham cracker crumbs, a pinch of salt, and a tablespoon of sugar. Pour in the melted butter and stir until the mixture resembles wet sand.
Press the mixture firmly into the bottom and up the sides of your pie plate. Use the bottom of a flat measuring cup to ensure the crust is “tightly packed,” which prevents the pudding from seeping into the crumbs.
Simmering the Glossy Dark Chocolate Filling
In your saucepan, whisk together the sugar, cocoa powder, cornstarch, and a pinch of salt. Slowly pour in the milk and heavy cream, whisking constantly to prevent any lumps from forming.
Place the pan over medium heat. Stir continuously until the mixture thickens and begins to bubble—you are looking for a “thick, glossy” consistency that coats the back of a spoon.
Remove from heat and immediately stir in the chopped dark chocolate and vanilla extract. The heat of the pudding will melt the chocolate, resulting in a velvety, deep mahogany filling with a mirror-like sheen.
The Art of the Chill and the Clean Cut
Pour the warm pudding into the prepared crust, smoothing the top with an offset spatula. To prevent a skin from forming and maintain that glossy surface, press a piece of plastic wrap directly onto the pudding.
Refrigerate for at least 4 to 6 hours, though overnight is best. This duration is scientifically necessary for the cornstarch to fully set, giving you those “perfectly sharp edges” when you slice into it.
The Final Flourish: Whipped Swirls and Curls
Before serving, whip the cold heavy cream and a tablespoon of powdered sugar until stiff peaks form. Pipe “delicate, fluffy swirls” around the perimeter of the pie.
Using a fine-mesh sieve, apply a “light dusting of cocoa powder” over the entire surface. Finish by using a vegetable peeler on a room-temperature chocolate bar to create “curls of dark chocolate” to pile in the center.
Expert Tips for Visual Perfection
- The Clean Slice Secret: Dip your knife in hot water and wipe it dry between every single cut. This ensures the pudding doesn’t drag, preserving the sharp edges.
- Temperature Matters: Ensure your chocolate bar is slightly warm (hold it in your hand for a minute) before using the peeler; this prevents the curls from snapping.
- Bloom Your Cocoa: Whisking the cocoa powder with the sugar and starch before adding liquid prevents those tiny “cocoa bombs” of dry powder in your filling.
- Heavy Cream Swap: If you want an even richer filling, similar to brownie de chocolate, increase the heavy cream ratio slightly.
Protecting Your Masterpiece: Storage & Shelf Life
This Chocolate pie recipe is best enjoyed within 2-3 days of assembly. Keep it loosely covered in the refrigerator to protect the whipped cream swirls from absorbing other fridge odors.
While the crust can be made ahead of time, we do not recommend freezing the fully assembled pie. Freezing can cause the cornstarch-thickened pudding to “weep” or become grainy upon thawing, ruining the velvety texture.
Elevating the Experience: What to Serve
To balance the intense dark chocolate, serve this pie with a side of fresh raspberries, perhaps inspired by a peach raspberry pie flavor profile. The acidity of the berries cuts through the richness of the pudding perfectly.
If you are hosting a larger dessert bar, these slices look beautiful next to cake balls or a batch of perfect chocolate chip cookies. The contrast between the soft pie and crunchy cookies is a crowd-pleaser.
Frequently Asked Questions
Yes, you can substitute full-fat coconut milk for the dairy and use a high-quality vegan dark chocolate, though the texture may be slightly softer.
While chips work, high-quality dark chocolate bars contain more cocoa butter, which results in a glossier, more velvety texture in the pudding.
Ensure the pie has chilled for at least 4-6 hours to let the cornstarch set. Use a sharp knife dipped in hot water and wiped dry between every cut.
It is recommended for this recipe because it provides a darker color and a smoother, less acidic chocolate flavor that complements the dark chocolate bar.
This usually happens if the pudding didn’t reach a full simmer to activate the cornstarch, or if it wasn’t chilled long enough to set completely.
The Signature No-Bake Dark Chocolate Pie
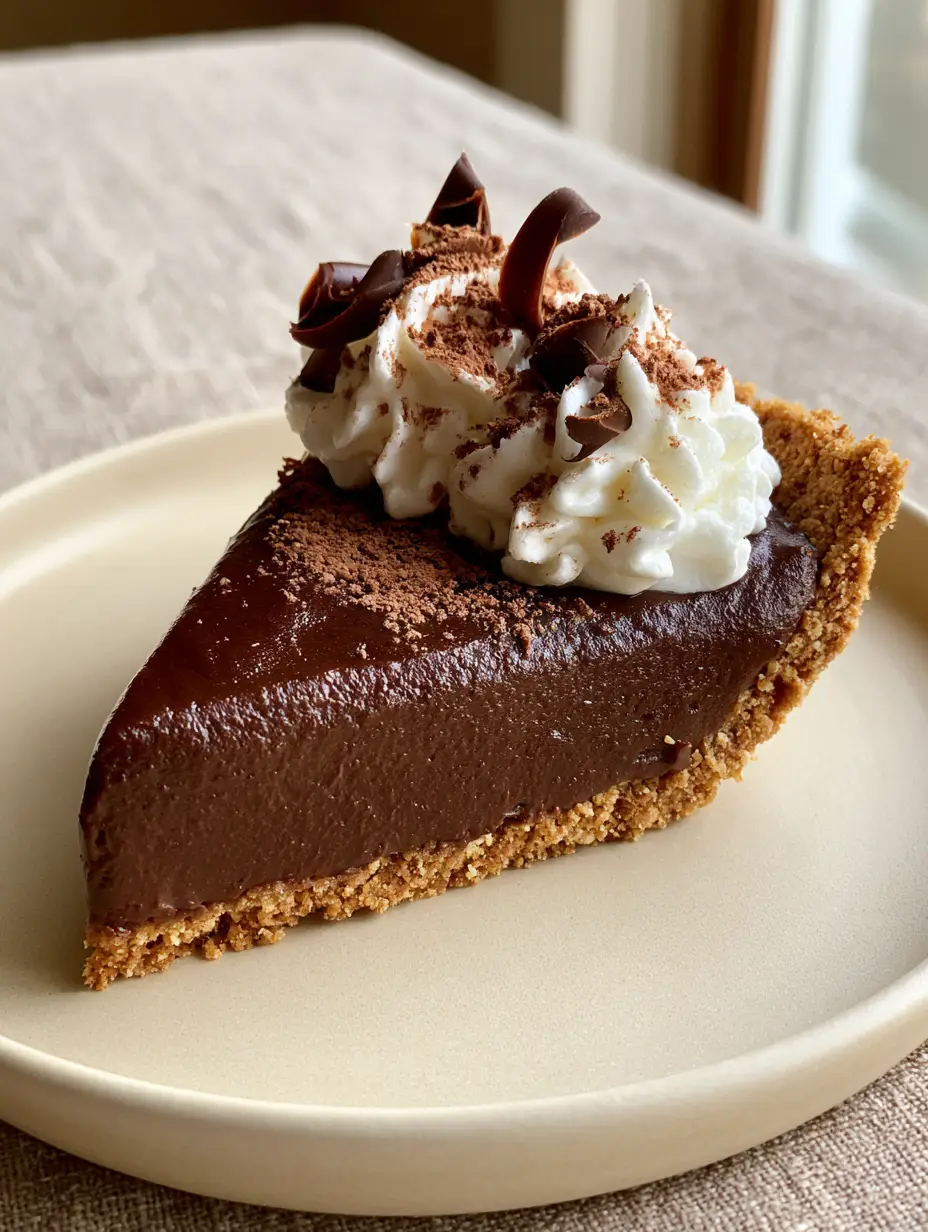
Chocolate Pie Recipe: The Ultimate No-Bake Dark Chocolate Dream
Ingredients
Equipment
Method
- Combine graham cracker crumbs, sugar, and melted butter. Press firmly into a 9-inch pie plate to form a tightly packed base.
- In a saucepan, whisk sugar, cocoa, and cornstarch. Slowly add milk and cream. Heat over medium, whisking until thick and glossy.
- Remove from heat. Stir in chopped dark chocolate and vanilla until the mixture is deep mahogany and perfectly smooth.
- Pour filling into crust. Press plastic wrap to the surface and refrigerate for 4-6 hours until firm with sharp edges.
- Whip cream and sugar. Pipe swirls onto the pie. Dust with cocoa powder and top with dark chocolate curls using a peeler.
Notes
Do not substitute milk for water, as the fat is needed for the velvety texture.
Join the Culinary Conversation
We hope this Chocolate pie recipe brings a touch of professional elegance to your kitchen! If you loved the sharp edges and glossy finish of this dish, please leave a comment below and let us know how it turned out.
Don’t forget to share your beautiful slices on Pinterest and follow Karen Cooks Official for more visual recipe inspiration! You might also enjoy our full collection of pie recipes for your next gathering.