There is a specific kind of culinary magic reserved for a No-Bake Peanut Butter Pie that manages to be both airy and incredibly dense at the same time. Imagine a slice so perfectly clean-cut that it reveals three distinct layers of texture: a gritty, deep-cocoa Oreo base, a velvety beige-tan peanut butter mousse, and a cloud-like crown of whipped cream. This isn’t just a quick dessert; it is a masterpiece of balance designed to catch the soft morning daylight on your kitchen table.
Inspired by the minimalist aesthetic of high-end bistro photography, this pie is as much a visual triumph as it is a nostalgic treat. We are moving away from the overly sweet, stabilizer-heavy versions of the past and focusing on a rich, cream cheese-fortified filling that holds its shape without the need for gelatin. Every element, from the glossy zigzag drizzle to the delicate chocolate curls, has been scientifically considered to provide the ultimate mouthfeel and visual contrast.
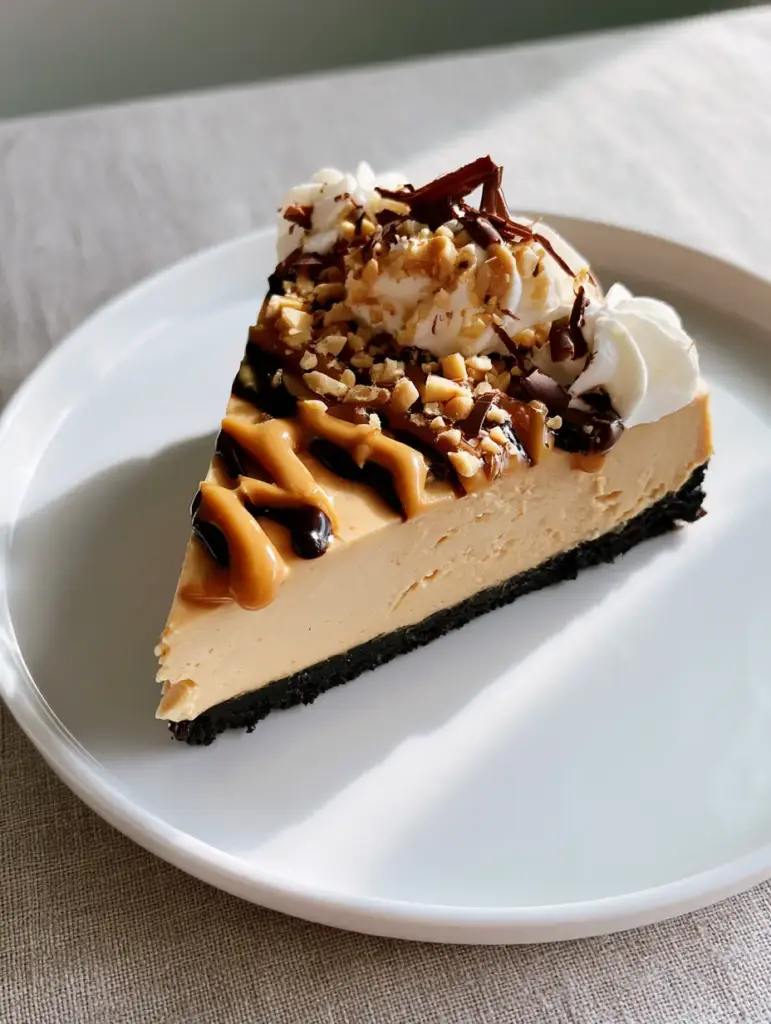
Why This Velvety Peanut Butter Masterpiece Works
- Textural Contrast: The crunch of the finely chopped roasted peanuts and the snap of the dark chocolate Oreo crust provide a necessary counterpoint to the thick, velvety smooth filling.
- Visual Sophistication: By using a dual-drizzle technique (peanut butter and dark chocolate), we create a professional “handheld smartphone photo aesthetic” that looks unedited and effortlessly gourmet.
- Structural Integrity: Unlike many no-bake recipes that turn into puddles at room temperature, our ratio of cream cheese to heavy cream ensures a slice that remains “clean-cut” and sharp on the plate.
- Flavor Depth: We balance the intense nuttiness of the roasted peanuts with the bitterness of dark chocolate curls and a pinch of sea salt, elevating it beyond a simple sugar-heavy dessert.
Sourcing the Foundation: Essential Ingredients and Substitutions
To achieve the rich beige-tan color and the specific density required for this No-Bake Peanut Butter Pie, each ingredient must be selected for its functional properties. We aren’t just looking for flavor; we are looking for the science of emulsification and stabilization.
Chocolate Oreo Cookies: 24 cookies (approx. 270g). These provide the dark, near-black visual anchor for the pie. If you cannot find Oreos, any high-quality chocolate sandwich cookie will suffice, but the dark cocoa content is key for that color contrast.
Unsalted Butter: 6 tbsp (85g), melted. This acts as the glue for your crust. Ensure it is fully incorporated into the crumbs so the base doesn’t crumble when you attempt those “perfectly clean-cut” slices.
Full-Fat Cream Cheese: 8 oz (225g), softened to room temperature. This is the structural heartbeat of the filling. It provides the tang that cuts through the fat of the peanut butter and creates the velvety, thick consistency seen in the visual blueprint.
Creamy Peanut Butter: 1 cup (250g). Avoid “natural” varieties that separate, as the excess oil will prevent the filling from setting correctly. We need a stabilized, smooth peanut butter to achieve that uniform beige-tan hue.
Powdered Sugar: 1 cup (120g), sifted. Sifting is non-negotiable here; we want a “velvety smooth” filling with zero graininess. The sugar also helps stabilize the cream cheese and peanut butter emulsion.
Heavy Whipping Cream: 1.5 cups (360ml), chilled. We divide this between the filling and the decorative dollops. The high fat content (at least 36%) is what allows the whipped cream to stand tall in “fluffy dollops” without weeping.
Dark Chocolate & Extra Peanut Butter: For the drizzle. Use a high-quality dark chocolate (60% cacao or higher) to ensure the drizzle looks “glossy” and rich against the lighter filling.
Roasted Peanuts & Chocolate Curls: For the garnish. The peanuts should be finely chopped to add a subtle grit, while the chocolate curls provide a delicate, high-end finish that mimics professional pastry work.
Professional Tools for a Flawless Presentation
Achieving a slice that looks like a handheld smartphone photo requires more than just good ingredients; you need the right tools to manage the textures. A 9-inch (23cm) springform pan is highly recommended to ensure you can remove the pie without damaging the delicate Oreo crust edges.
You will also need a high-speed stand mixer or electric hand mixer to aerate the heavy cream effectively. For the garnish, a small offset spatula helps create the smooth surface on top of the pie before the drizzles are applied. A vegetable peeler is the secret weapon for creating those “delicate chocolate curls” from a room-temperature block of dark chocolate.
Crafting the Perfect Slice: Step-by-Step Instructions
Engineering the Dark Chocolate Oreo Base
Begin by pulsing your Oreo cookies in a food processor until they reach the consistency of fine sand. You don’t want any large chunks, as these will cause the crust to crack. In a medium bowl, combine the crumbs with the 6 tbsp (85g) of melted butter, stirring until the mixture resembles wet sand.
Press the mixture firmly into the bottom and up the sides of your 9-inch pan. Use the bottom of a flat measuring cup to pack the crust tightly. This density is what creates the “thick, dark chocolate Oreo cookie crust” seen in our visual guide. Chill the crust in the freezer for 15 minutes to set the butter before adding the filling.
Mixing the Velvety Beige-Tan Filling
In a large bowl, beat the 8 oz (225g) of room-temperature cream cheese until it is completely smooth and free of lumps. Add the 1 cup (250g) of creamy peanut butter and 1 cup (120g) of sifted powdered sugar. Beat on medium-high speed until the mixture is light, fluffy, and has achieved that signature beige-tan color.
In a separate chilled bowl, whip 1 cup (240ml) of the heavy cream until stiff peaks form. Gently fold the whipped cream into the peanut butter mixture using a rubber spatula. Do not over-mix; you want to maintain the airiness while ensuring a “velvety smooth” result. Pour this into your chilled crust and smooth the top with your offset spatula.
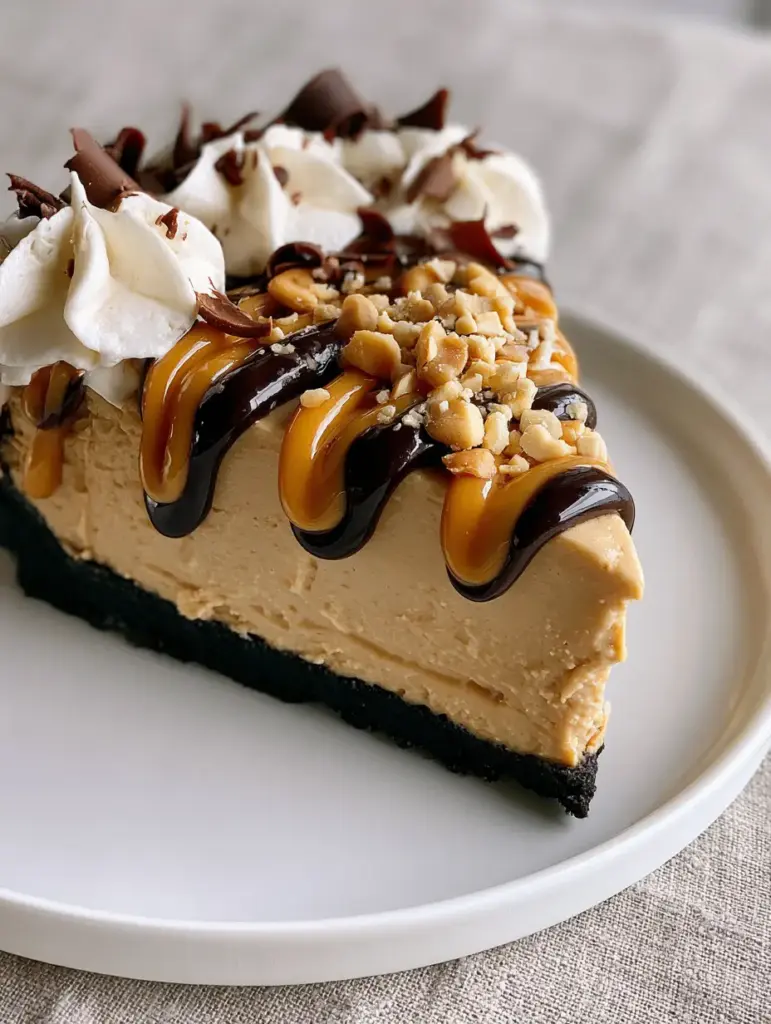
Achieving the Signature Glossy Drizzle
While the pie chills for at least 4 hours (preferably overnight), prepare your drizzles. Melt 2 tbsp (30g) of peanut butter in the microwave for 20 seconds until it is fluid. Similarly, melt 1/4 cup (45g) of dark chocolate chips with a teaspoon of coconut oil to create a “glossy” chocolate sauce.
Using a spoon or a small piping bag, create a “zigzag drizzle” across the surface of the set pie. The contrast of the dark chocolate against the warm tan peanut butter is the visual hook of this No-Bake Peanut Butter Pie. The drizzle should look intentional but slightly organic, as if captured in a “natural morning daylight” setting.
The Final Flourish: Dollops, Peanuts, and Curls
Whip the remaining 1/2 cup (120ml) of heavy cream with a tablespoon of powdered sugar until very stiff. Pipe “fluffy dollops of white whipped cream” around the perimeter of the pie. Sprinkle the finely chopped roasted peanuts over the center, ensuring they catch in the sticky sauce drizzles.
Finally, take your dark chocolate block and use a peeler to shave “delicate chocolate curls” directly over the dollops. These curls add height and a sense of luxury to the slice. When ready to serve, use a thin knife dipped in hot water and wiped dry between each cut to achieve that “perfectly clean-cut slice.”
Expert Tips for Bakery-Quality Results
- The Temperature Secret: Ensure your cream cheese is truly at room temperature. If it is even slightly cold, you will end up with tiny white flecks in your “beige-tan” filling, ruining the visual homogeneity.
- Stabilizing the Drizzle: Adding a tiny bit of oil to your chocolate prevents the drizzle from becoming too brittle. This ensures that when you bite into the pie, the sauce yields to the fork rather than snapping.
- The Clean Cut: To get the slice shown in the Midjourney prompt, the pie MUST be fully set. If you cut it too early, the filling will bulge. Six hours of chilling is the minimum for professional results.
- Peanut Butter Choice: Stick to commercial brands like Jif or Skippy for this specific recipe. The emulsifiers in these brands are what guarantee the “velvety smooth” texture we are aiming for.
Storage and Make-Ahead Instructions
This No-Bake Peanut Butter Pie is an excellent candidate for make-ahead entertaining. It can be stored in the refrigerator, covered loosely with plastic wrap or a pie dome, for up to 4 days. The Oreo crust actually benefits from a bit of time, as it softens slightly into the filling, making it easier to slice.
For longer storage, you can freeze the pie (without the whipped cream dollops). Wrap it tightly in a double layer of plastic wrap and then foil. It will keep for up to 1 month. Thaw in the refrigerator for 24 hours before adding the fresh whipped cream and chocolate curls for serving.
What to Serve With This Creamy Delight
Because this pie is so rich and decadent, it pairs beautifully with items that offer a bit of acidity or a different textural profile. If you are hosting a dessert party, consider serving this alongside a classic strawberry shortcake to provide a fruit-forward contrast.
For those who want to double down on the cheesecake-like texture of the filling, you might also enjoy comparing it to a traditional Philadelphia cheesecake. If you love the combination of cookies and cream, our no-bake chocolate cheesecake is another fantastic addition to your dessert repertoire. Finally, a cold glass of peach lemonade can provide a refreshing citrus lift to cut through the richness of the peanut butter.
Frequently Asked Questions
Yes! Simply swap the standard Oreo cookies for gluten-free chocolate sandwich cookies. The rest of the ingredients are naturally gluten-free.
It is not recommended. Natural peanut butter often separates, and the excess oil can prevent the cream cheese filling from setting properly, leading to a runny pie.
No, if you use full-fat cream cheese and whip the heavy cream to stiff peaks, the pie will be perfectly stable in the refrigerator. Freezing is only necessary for long-term storage.
Dip a sharp, thin-bladed knife into a tall glass of hot water, wipe it completely dry, and make one clean cut. Repeat the dipping and wiping process for every single slice.
This usually happens if the crumbs weren’t packed tightly enough or if there wasn’t enough melted butter to bind them. Use a flat-bottomed cup to press the crust firmly into the pan.
The Ultimate No-Bake Peanut Butter Pie Recipe
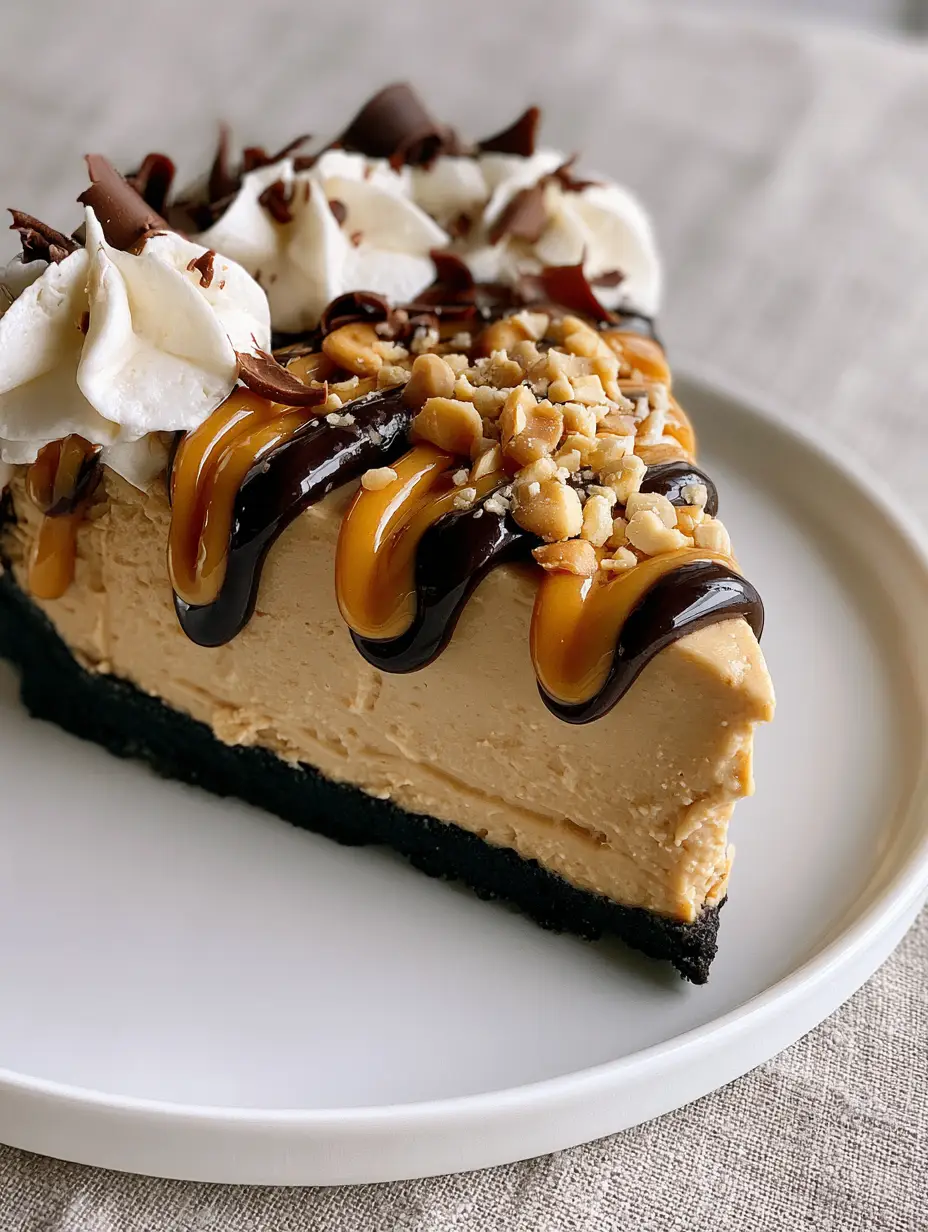
No-Bake Peanut Butter Pie with a Decadent Oreo Crust
Ingredients
Equipment
Method
- Pulse cookies in a food processor until fine crumbs form.
- Mix crumbs with melted butter. Press firmly into a 9-inch springform pan and freeze for 15 minutes.
- Beat cream cheese, peanut butter, and powdered sugar until smooth and beige-tan in color.
- Whip 1 cup of heavy cream to stiff peaks and gently fold into the peanut butter mixture.
- Spread filling into the crust and refrigerate for at least 4 hours.
- Zigzag melted peanut butter and chocolate sauce over the top.
- Add whipped cream dollops, chopped peanuts, and chocolate curls.
Notes
Dip your knife in hot water to achieve a perfectly clean slice.
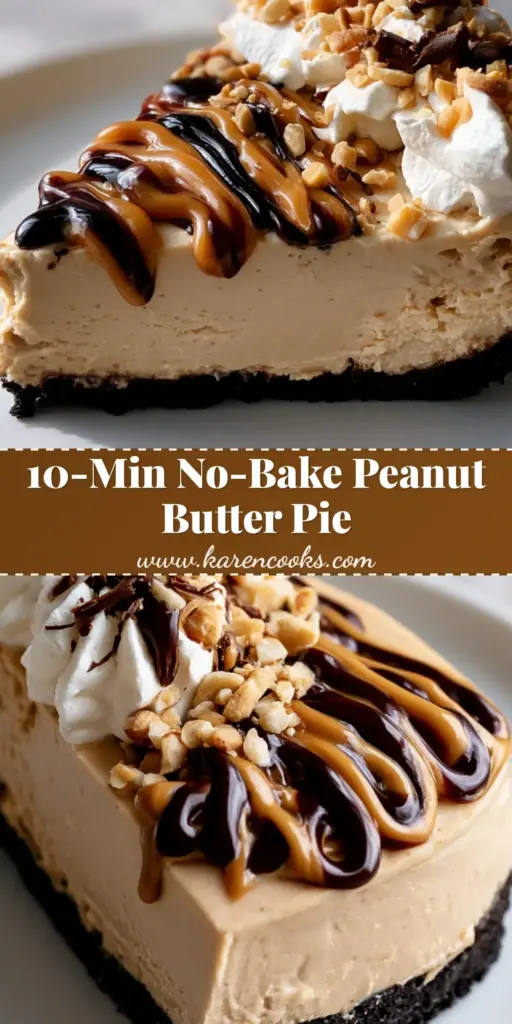
Closing & Call to Action
This No-Bake Peanut Butter Pie is more than just a dessert; it’s a masterclass in balancing textures and visual aesthetics. Whether you are making this for a summer potluck or a quiet morning treat, the combination of the dark Oreo crust and the velvety peanut butter filling is guaranteed to impress. The clean lines and glossy drizzles make it a photographer’s dream, but the flavor is what will keep your guests coming back for seconds.
Did you manage to get that perfectly clean slice? I’d love to see your results! Leave a comment below and tell me how your drizzle turned out. Don’t forget to share your beautiful creations and follow me on Pinterest for more visually stunning recipe inspiration.


