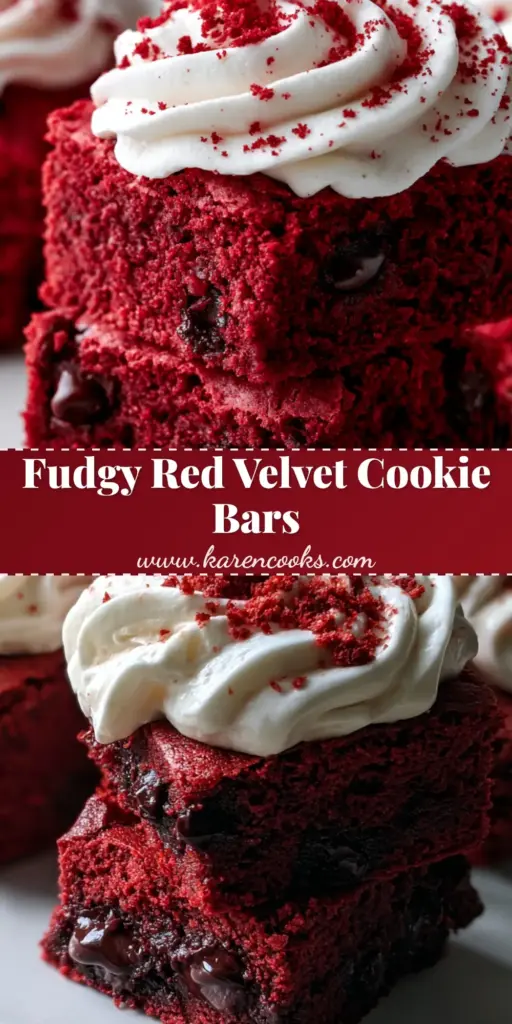
There is something undeniably magnetic about the deep crimson hue of red velvet cookie bars. It is a color that promises indulgence, a visual cue that signals a perfect balance between cocoa-infused richness and the tangy brightness of cream cheese. These aren’t your average cake-like bars; we are aiming for a dense, fudgy, and decadent handheld dessert.
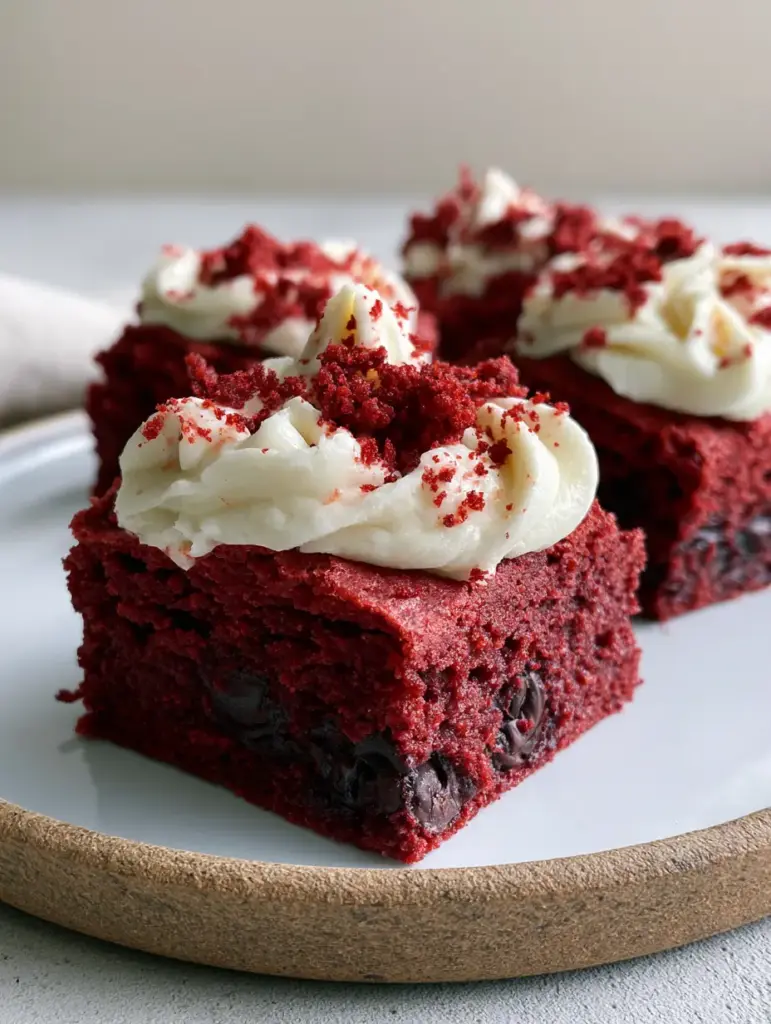
When you pull these red velvet cookie bars out of the oven, the kitchen fills with the scent of toasted sugar and premium cocoa. The sight of those melted dark chocolate chips peeking through the vibrant red base is enough to make anyone reach for a glass of cold milk. This recipe was designed specifically to bridge the gap between a chewy cookie and a rich chocolate brownie.
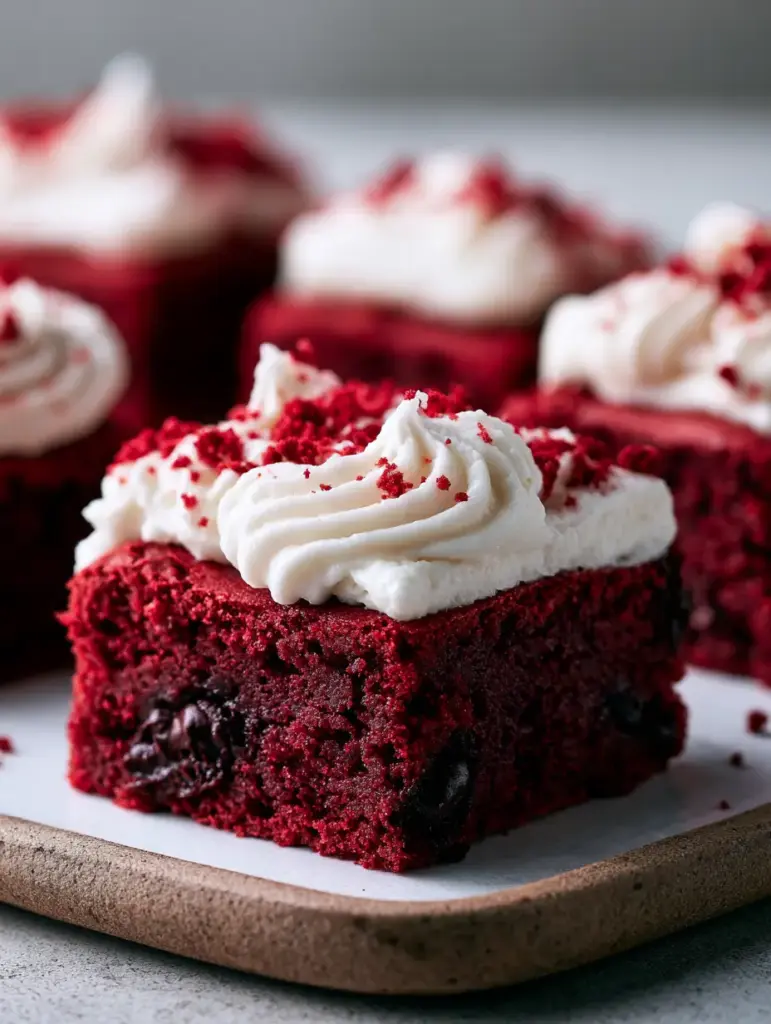
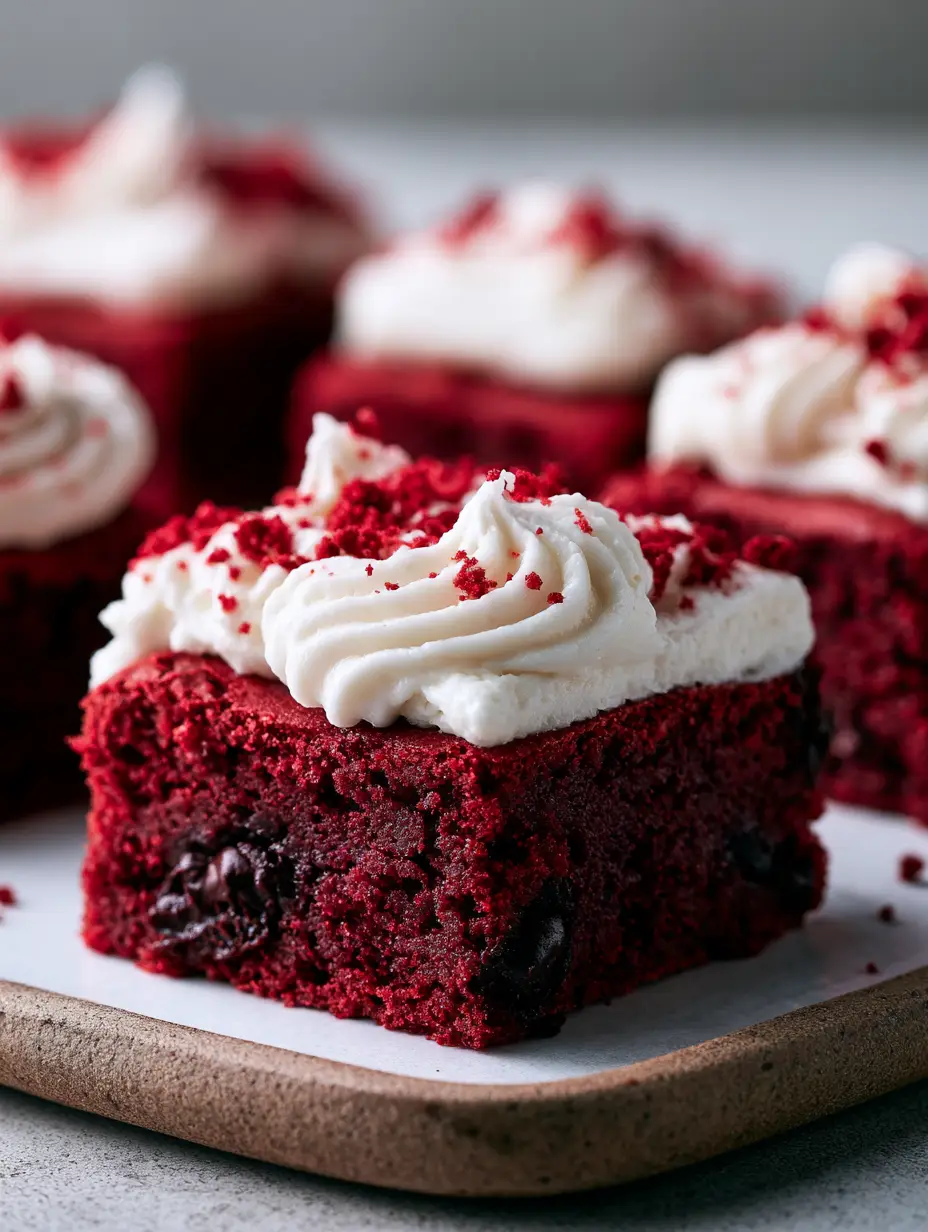
Imagine biting into a thick, handheld treat where the base is soft yet structurally sound, providing a velvety mouthfeel that gives way to pools of dark chocolate. Topping it off is a thick, beautifully swirled layer of white cream cheese frosting that provides the necessary acid to cut through the sugar. Every element, down to the fine red crumbs on top, is crafted for maximum visual impact and flavor harmony.
The Science of the Perfect Fudgy Crimson Texture
- Ultra-Dense Fudgy Base: Unlike cake-based bars, this recipe uses a higher fat-to-flour ratio to ensure a fudgy, melt-in-your-mouth consistency that mimics the best brownies.
- Molten Dark Chocolate Pockets: We incorporate high-quality dark chocolate chips that remain soft and luscious, contrasting beautifully with the deep red crumb.
- Cloud-Like Frosting Swirls: A whipped cream cheese topping adds a professional bakery aesthetic while providing the signature “velvet” tang.
- Artisanal Finishes: Finishing the bars with fine red velvet crumbs provides a professional, high-end look that is perfect for food photography and special events.
Achieving the perfect red velvet cookie bars requires more than just adding red dye to a standard dough. It involves a careful manipulation of cocoa powder and acidity to ensure the color stays vibrant and doesn’t turn a muddy brown during the baking process.
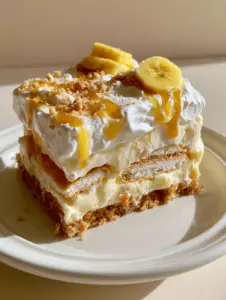
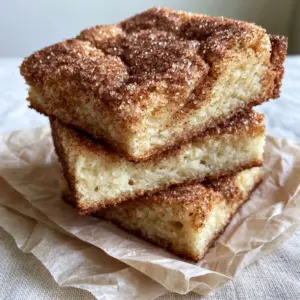
Much like our decadent cookie butter bars, these treats rely on high-quality butter and precise baking times. If you enjoy the textural contrast found in classic snickerdoodle bars, you will fall in love with how the smooth frosting interacts with the dense cookie base here.
Essential Ingredients for Gourmet Red Velvet Bars
Unsalted Butter (1 cup / 225g): We melt and then slightly cool the butter to ensure a chewier, more fudgy texture. This foundational fat provides the richness needed to carry the cocoa flavors.
Granulated Sugar (1 cup / 200g) & Light Brown Sugar (1/2 cup / 100g): The combination of both sugars ensures the bars have crisp edges and a moist, tender center. The molasses in the brown sugar deepens the red color naturally.
Large Eggs (2): These act as the primary binding agent, providing structure to the thick bars. Ensure they are at room temperature to emulsify perfectly with the fats.
Premium Red Gel Food Coloring (1 tbsp / 15ml): Gel coloring is superior to liquid for these red velvet cookie bars because it provides an intense crimson without altering the moisture content of the dough. You want a color that pops against the dark chocolate chips.
Unsweetened Cocoa Powder (1/4 cup / 25g): We use just enough cocoa to provide that signature “velvet” flavor without overpowering the red hue. Sift it to avoid any lumps in your fudgy base.
All-Purpose Flour (2 1/4 cups / 280g): This provides the necessary structure for a thick, handheld bar. Be careful to measure by weight or the “spoon and level” method to avoid dry, crumbly bars.
Dark Chocolate Chips (1 1/2 cups / 255g): The dark cocoa solids in these chips provide a sophisticated bitterness that balances the sweet cream cheese frosting. Look for chips with at least 60% cocoa.
Full-Fat Cream Cheese (8 oz / 225g): This is the heart of the frosting. It must be brick-style and fully softened to achieve those beautiful, photogenic swirls described in the visual blueprint.
Powdered Sugar (2 cups / 240g): Sifted sugar ensures the frosting is smooth and stable enough to hold its shape when piped or swirled with a spatula.
Must-Have Tools for Professional Results
To achieve the look of the handheld smartphone photo in the prompt, you will need an 8×8 inch (20x20cm) square baking pan. This specific size ensures the bars are thick and “fudgy” rather than thin and crispy.
A high-quality stand mixer or electric hand mixer is essential for aerating the cream cheese frosting. Without proper whipping, you won’t get that “beautifully swirled” texture that defines the top of these red velvet cookie bars.
Finally, a piece of parchment paper is non-negotiable. Leaving an overhang (a “sling”) allows you to lift the entire block of bars out of the pan, ensuring clean, sharp edges when you slice them into squares.
Step-by-Step Guide to Baking Red Velvet Perfection
Preparing the Crimson Dough
Start by preheating your oven to 350°F (175°C) and lining your pan with parchment paper. In a large bowl, whisk together the melted butter and both sugars until the mixture looks like wet sand and no lumps of brown sugar remain.
Add the eggs one at a time, followed by the vanilla extract and the red gel coloring. Use a whisk to vigorously combine until the color is a uniform, deep crimson; this is the stage where you set the visual tone for the entire batch.
In a separate bowl, sift the flour, cocoa powder, and salt. Gently fold the dry ingredients into the red mixture using a rubber spatula. Stop as soon as no white streaks remain to avoid overworking the gluten, which would make the bars tough.
Folding in the Dark Chocolate
Once the dough is uniform, fold in the dark chocolate chips. These will be suspended in the crimson base, creating those beautiful “melted chocolate” pockets seen in the visual prompt. Press the dough firmly into the prepared pan, smoothing the top with the back of a spoon.
Bake for 20-25 minutes. A sensory cue to look for is the edges slightly pulling away from the sides of the pan while the center still has a very slight jiggle. This “underbaked” state is the secret to a fudgy cookie bar.
The Art of the Cream Cheese Swirl
While the bars cool completely (this is vital!), prepare the frosting. Beat the softened cream cheese and butter until pale and fluffy. Gradually add the powdered sugar and a splash of heavy cream, whipping until the mixture can hold a stiff peak.
Once the red velvet cookie bars are cold to the touch, spread the frosting in a thick layer. Use an offset spatula to create “C” shaped motions, building the beautiful swirls described in the blueprint. The soft side-light in your kitchen will catch these peaks perfectly.
Creating the Signature Crumb Garnish
Before frosting, trim a very thin sliver off one of the edges of the baked bars. Use your fingers to crumble this small piece into fine, bright red crumbs. Sprinkle these over the white frosting for that artisanal, professional finish.
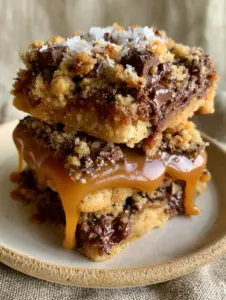
If you love the process of layering flavors like this, you might also enjoy our s’mores cookie bars or our cinnamon roll bars which also feature a decadent topping.
Expert Tips for Bakery-Quality Bars
- Room Temperature Ingredients: Ensure your cream cheese and eggs are not cold. This prevents the frosting from breaking and ensures the dough emulsifies properly.
- The “Clean Cut” Secret: For the sharpest squares, chill the frosted bars in the refrigerator for at least 30 minutes before slicing. Wipe your knife clean with a warm towel between every single cut.
- Don’t Overmix the Cocoa: Over-mixing cocoa powder can lead to a dry crumb. Fold it in gently to keep the “velvet” texture intact.
- Color Concentration: If your dough looks pink instead of crimson, add another half-teaspoon of gel. The color will deepen slightly as it bakes, but it needs to be vibrant before going into the oven.
Preserving the Freshness of Your Bars
Because these bars feature a fresh cream cheese frosting, they must be stored in the refrigerator. Place them in an airtight container with a piece of parchment paper between layers to prevent the frosting from smudging. They will remain fudgy and delicious for up to 5 days.
For long-term storage, you can freeze the unfrosted red velvet cookie bars for up to 3 months. When ready to serve, thaw them overnight in the fridge and apply a fresh batch of whipped cream cheese frosting and crumbs.
What to Serve with Red Velvet Cookie Bars
These bars are incredibly rich, so they pair best with beverages that offer a bit of contrast. A bitter espresso or a tall glass of cold milk is the classic choice. If you are serving these at a party, consider a fruit-forward pairing like our strawberry cheesecake trifle for a complete dessert spread.
For a holiday gathering, these bars look stunning next to a tray of chocolate marshmallow bars. If you’re looking for something festive to drink alongside them, our peppermint shots or a glass of Jamaican rum punch can add a fun, celebratory vibe to the table.
Common Questions About Red Velvet Baking
While you can, liquid coloring is less concentrated and adds extra moisture to the dough, which can affect the fudgy texture. Gel coloring provides a much deeper color without changing the consistency.
Yes, because the frosting contains real cream cheese and butter, they need to be kept in the refrigerator for food safety and to keep the frosting stable.
The secret is to trim a tiny sliver off the edge of the cooled, unfrosted bars and crumble it between your fingers. It’s an easy way to get a professional garnish that matches the base perfectly.
Look for the edges to be firm and slightly pulling away from the pan, while the center should still have a very slight jiggle. They will firm up as they cool, resulting in a fudgy, dense center.
This usually happens if you use too much cocoa powder or if your food coloring isn’t concentrated enough. Use a high-quality gel food coloring and stick to the 1/4 cup of cocoa powder to maintain the vibrant crimson hue.
The Ultimate Red Velvet Cookie Bar Recipe
Red Velvet Cookie Bars with Fudgy Dark Chocolate and Whipped Cream Cheese
Ingredients
Equipment
Method
- Whisk melted butter, granulated sugar, and brown sugar in a large bowl until well combined.
- Beat in the eggs one at a time, then stir in the red food coloring until the mixture is a deep, uniform crimson.
- Sift in flour, cocoa powder, and salt. Fold gently with a spatula until nearly combined, then fold in dark chocolate chips.
- Press dough into a lined 8x8 pan. Bake at 350°F (175°C) for 20-25 minutes until edges are set but center remains fudgy.
- Cool completely in the pan. Once cool, trim a small sliver from the edge and crumble it into fine red dust for garnish.
- Beat cream cheese and butter until smooth. Add powdered sugar and cream, whipping until thick and swirled.
- Spread frosting over the bars using an offset spatula to create beautiful swirls. Sprinkle with reserved red crumbs.
Notes
Chill the bars before slicing to get perfectly clean, professional edges.
Join the Karen Cooks Community!
We hope you love these thick, fudgy red velvet cookie bars as much as we do! They are the perfect marriage of visual beauty and culinary science. If you make them, please leave a comment below and let us know how your crimson swirls turned out!
Don’t forget to follow us on Pinterest for more decadent dessert inspiration and kitchen tips. Sharing a photo of your bake? Tag us so we can see your handheld masterpiece!