There is perhaps no dessert more iconic in the streets of New York City than the legendary Magnolia Bakery banana pudding. If you have ever stood in the winding line at the Bleecker Street corner, you know the anticipation of that first spoonful—a massive, fluffy scoop lifted from a glass trifle bowl, revealing a cloud-like texture that feels lighter than air. This isn’t just a simple pudding; it is a culinary phenomenon defined by its stiff peaks of whipped heavy cream and perfectly integrated layers of golden vanilla wafers.
Recreating this masterpiece at home requires more than just mixing ingredients; it requires an understanding of aerated texture and structural integrity. Our version stays true to the visual blueprint of the original, featuring a rich vanilla bean custard base, freshly sliced ripe yellow bananas, and those signature whole vanilla wafers that provide a satisfying bite. Whether you are serving this at a summer gathering or a cozy family dinner, the result is a hyper-realistic replica of the bakery’s most famous export.
Imagine plunging a silver spoon into a deep bowl and emerging with a mountainous heap of cream, where the slight sheen on the bananas catches the natural side-light of your kitchen. This recipe captures that exact sensory experience. We have meticulously tested the ratios to ensure your whipped cream holds those crucial stiff peaks without becoming grainy, maintaining a creamy matte finish that looks as professional as a food blogger’s handheld smartphone photo.
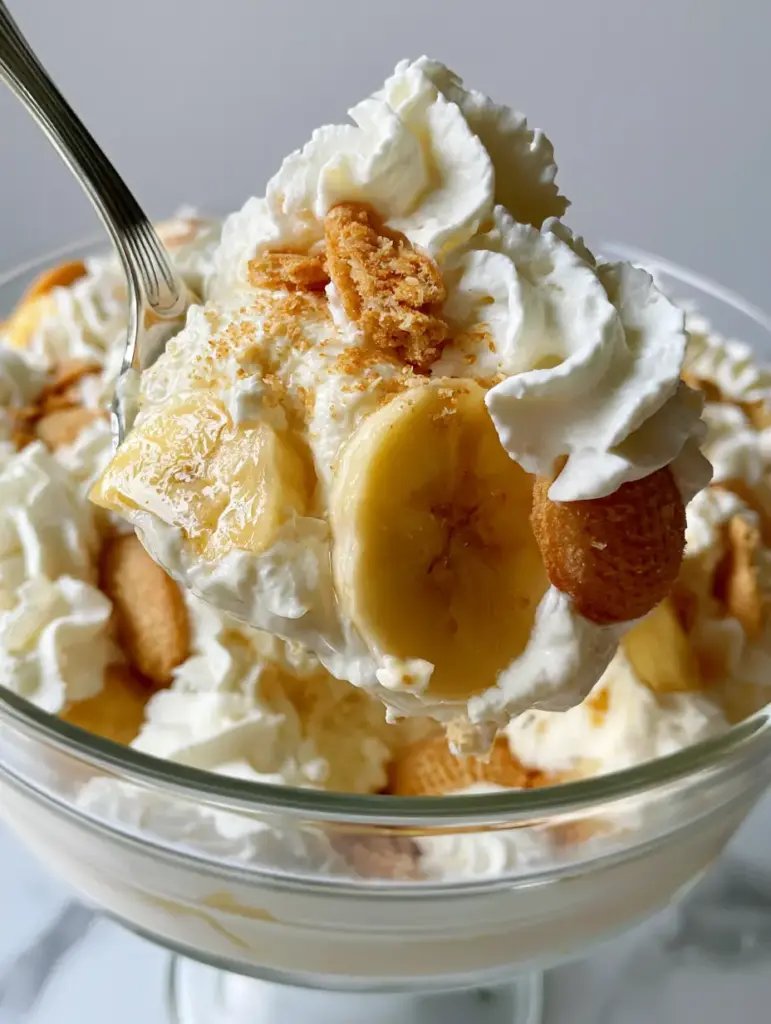
The Science of the Scoop: Why This Recipe Works
Achieving the world-famous consistency of Magnolia Bakery banana pudding relies on a specific interplay of fats and air. Unlike traditional stovetop custards that can be dense and heavy, this method utilizes an “aerated folding” technique. This ensures that the heavy whipped cream peaks stay lofted rather than collapsing under the weight of the bananas and wafers.
- Structural Aeration: By whipping the heavy cream to stiff peaks before folding, we create millions of tiny air bubbles that provide the “cloud-like” lift seen in the professional trifle bowls.
- Moisture Management: Using whole vanilla wafers rather than just crumbs allows the cookies to slowly absorb moisture, transforming into a cake-like texture while still appearing crisp and distinct in the scoop.
- Enzymatic Precision: We select bananas at the “perfect yellow” stage—no green tips and no brown spots—to ensure the sweetness is peak without the fruit becoming mushy or releasing excess liquid into the custard.
- Vanilla Depth: The inclusion of real vanilla bean flecks in the base provides a visual and flavor complexity that elevates the pudding from a simple snack to a gourmet dessert.
The Anatomy of Ingredients for a Flawless Custard Base
Every ingredient in this Magnolia Bakery banana pudding has been selected to match the visual and structural requirements of the elite food blogger’s standard. We don’t just want it to taste good; it must stand tall on the spoon.
Sweetened Condensed Milk (14 oz / 396g): This provides the foundational sweetness and the “matte” creamy finish. It acts as the stabilizer for the pudding mix, ensuring the base doesn’t run.
Instant Vanilla Pudding Mix (5.1 oz / 144g): A culinary “invisible ingredient” that provides the necessary starches for immediate thickening. Ensure you use high-quality instant mix for the smoothest mouthfeel.
Ice Cold Water (1.5 cups / 360ml): The temperature is critical here. Cold water prevents the starches in the pudding mix from clumping, resulting in a silkier vanilla bean custard base.
Heavy Whipping Cream (3 cups / 720ml): Use cream with at least 36% milkfat. This is the only way to achieve the “massive, fluffy scoop” look with stiff peaks that hold their shape.
Pure Vanilla Bean Paste (1 tsp / 5ml): While the original uses extract, the paste adds those beautiful black specks. These specks provide a visual cue of high-quality craftsmanship in every bite.
Vanilla Wafers (11 oz / 312g box): We use whole wafers for the layers and crushed wafer garnish for the top. This dual-texture approach is essential for the “hyper-realistic” food photography look.
Ripe Yellow Bananas (4-5 large): Select bananas that are firm but fragrant. Slicing them into thick rounds (about 1/2 inch or 1.25cm) ensures they stay visible and integrated within the scoop.
Essential Tools for the Professional Trifle Look
To achieve the “massive fluffy scoop” lift shown in our visual blueprint, you need the right equipment. A large glass trifle bowl is non-negotiable, as it showcases the beautiful striations of cream, wafers, and bananas from the side.
A high-powered stand mixer or hand mixer is necessary for whipping the heavy cream to the correct “stiff peak” stage. You will also need a large silicone spatula for the folding process. Using a metal spoon to fold can pop the air bubbles, leading to a flat, soggy pudding rather than the aerated masterpiece we are aiming for.
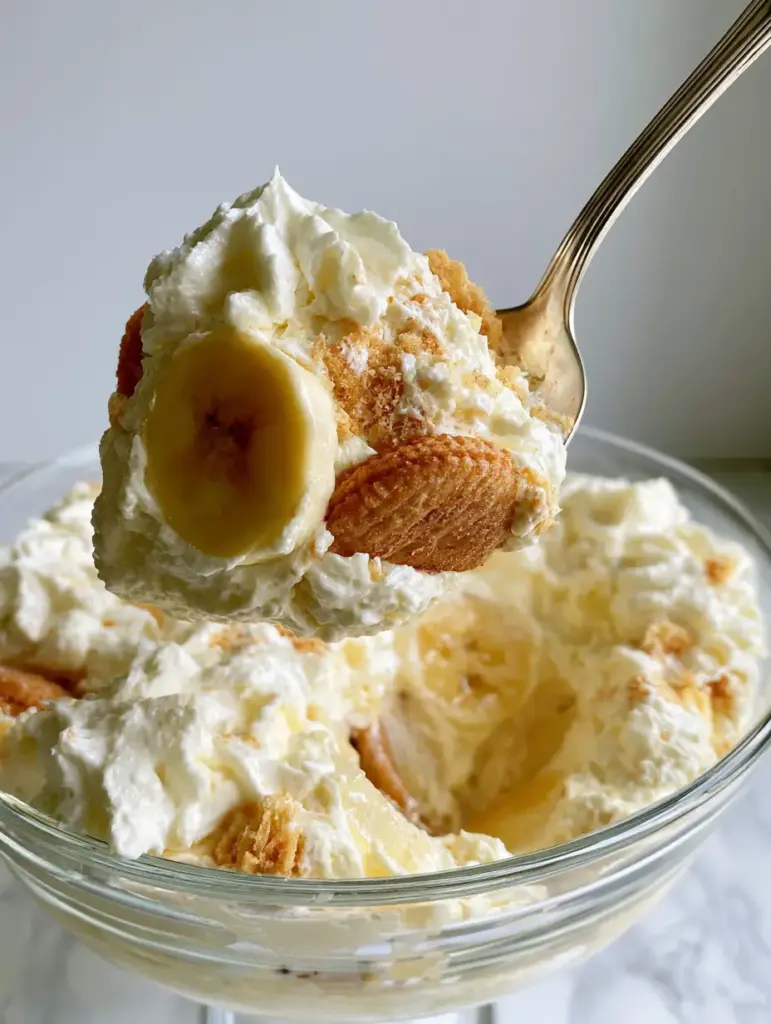
Step-by-Step Guide to Mastering the Magnolia Fold
Phase 1: Engineering the Custard Foundation
In a large mixing bowl, combine the sweetened condensed milk and the ice-cold water. Whisk these together until they are perfectly homogenous and no streaks of milk remain. Slowly sprinkle in the instant vanilla pudding mix while whisking constantly. Continue whisking for two minutes until the mixture begins to thicken and you see the vanilla bean flecks evenly distributed. Cover this base tightly with plastic wrap and refrigerate for at least 4 hours, or ideally overnight. The base must be completely set and cold to support the cream.
Phase 2: Achieving Stiff Whipped Peaks
In a chilled metal bowl, pour in your heavy whipping cream and vanilla bean paste. Start your mixer on low speed to break up the proteins, then gradually increase to high. Watch for sensory cues: the cream will move from “soft ribbons” to “glossy waves” and finally to “stiff peaks.” You know you are there when you lift the whisk and the cream stands straight up without drooping. This is the secret to that cloud-like texture that resists collapsing.
Phase 3: The Delicate Aeration Fold
Remove your chilled pudding base from the fridge and give it a quick whisk to loosen it slightly. Add about one-quarter of your whipped cream to the pudding base and stir it in. This “sacrificial” scoop lightens the base. Now, add the remaining whipped cream. Using your silicone spatula, cut through the center, scrape the bottom, and fold over. Rotate the bowl and repeat until no yellow streaks remain. The mixture should look like a voluminous, aerated cloud.
Phase 4: Constructing the Visual Layers
Grab your large glass trifle bowl. Start with a layer of whole vanilla wafers at the bottom—don’t worry about gaps. Follow with a layer of the thick-sliced bananas. Spoon about one-third of your aerated pudding mixture over the top, smoothing it to the edges. Repeat these layers twice more. For the final touch, take a handful of vanilla wafers and crush them into varying sizes (fine dust to chunky bits) and sprinkle them over the top. This creates the “high texture detail” required for a professional presentation.
Expert Tips for Success and Visual Perfection
- The Ripeness Rule: Avoid over-ripe bananas with brown spots. The enzymes in very ripe bananas will break down the cream’s structure over time, making the pudding liquidy.
- Chill the Bowl: Before whipping your heavy cream, place your bowl and whisk attachment in the freezer for 10 minutes. This helps the fat globules emulsify faster for more stable stiff peaks.
- Whole vs. Crushed: Using whole wafers in the layers is what creates that “crisp rather than soggy” look. The wafers soften into a cake-like consistency while retaining their shape visually.
- Wait for the Set: While it is tempting to eat it immediately, the Magnolia Bakery banana pudding needs at least 4-6 hours in the fridge to allow the wafers to hydrate properly.
Preserving Your Dessert: Storage and Shelf Life
This pudding is best enjoyed within 24 hours of assembly. Beyond 48 hours, the bananas will begin to oxidize (turn brown) and the wafers will lose their structural integrity. To store, press a piece of plastic wrap directly onto the surface of the pudding to prevent a skin from forming. We do not recommend freezing this dish, as the emulsion of the heavy cream and the cellular structure of the bananas will break upon thawing, resulting in a grainy, watery mess.
What to Serve With This Iconic Pudding
This dessert is a showstopper on its own, but it pairs beautifully with other classic treats. If you are hosting a dessert bar, consider serving it alongside a classic cheesecake or even a Philadelphia cheesecake recipe for a variety of textures. For those who love fruit-forward sweets, a strawberry shortcake recipe provides a bright contrast to the rich vanilla base of the pudding.
If you’re looking for more no-bake inspiration, my no-bake peanut butter pie uses a similar whipped base technique. To wash it all down, a refreshing strawberry piña colada punch or a tall glass of cold milk is the perfect accompaniment to the creamy sweetness of the banana pudding.
Frequently Asked Questions
Yes, it is best made 4-24 hours in advance so the wafers can soften slightly into a cake-like texture while the flavor deepens.
While you can use a homemade vanilla custard, the instant mix is actually what Magnolia Bakery uses to achieve that specific, stable texture that doesn’t weep over time.
Ensure your bananas are fully covered by the pudding mixture to prevent air exposure, and only use bananas that are just ripe (yellow without many spots).
Use ice-cold heavy cream and a chilled bowl. Watch the texture closely; as soon as it stops drooping and holds its shape, stop mixing immediately.
Watery pudding usually happens if the whipped cream was under-beaten or if the pudding base didn’t chill long enough to fully set before assembly.
The Famous Magnolia Bakery Banana Pudding Recipe
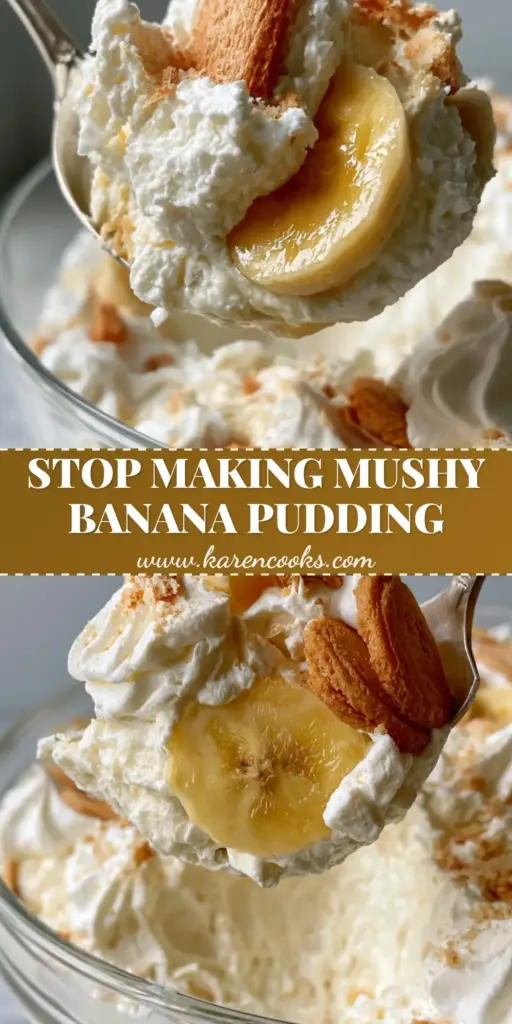
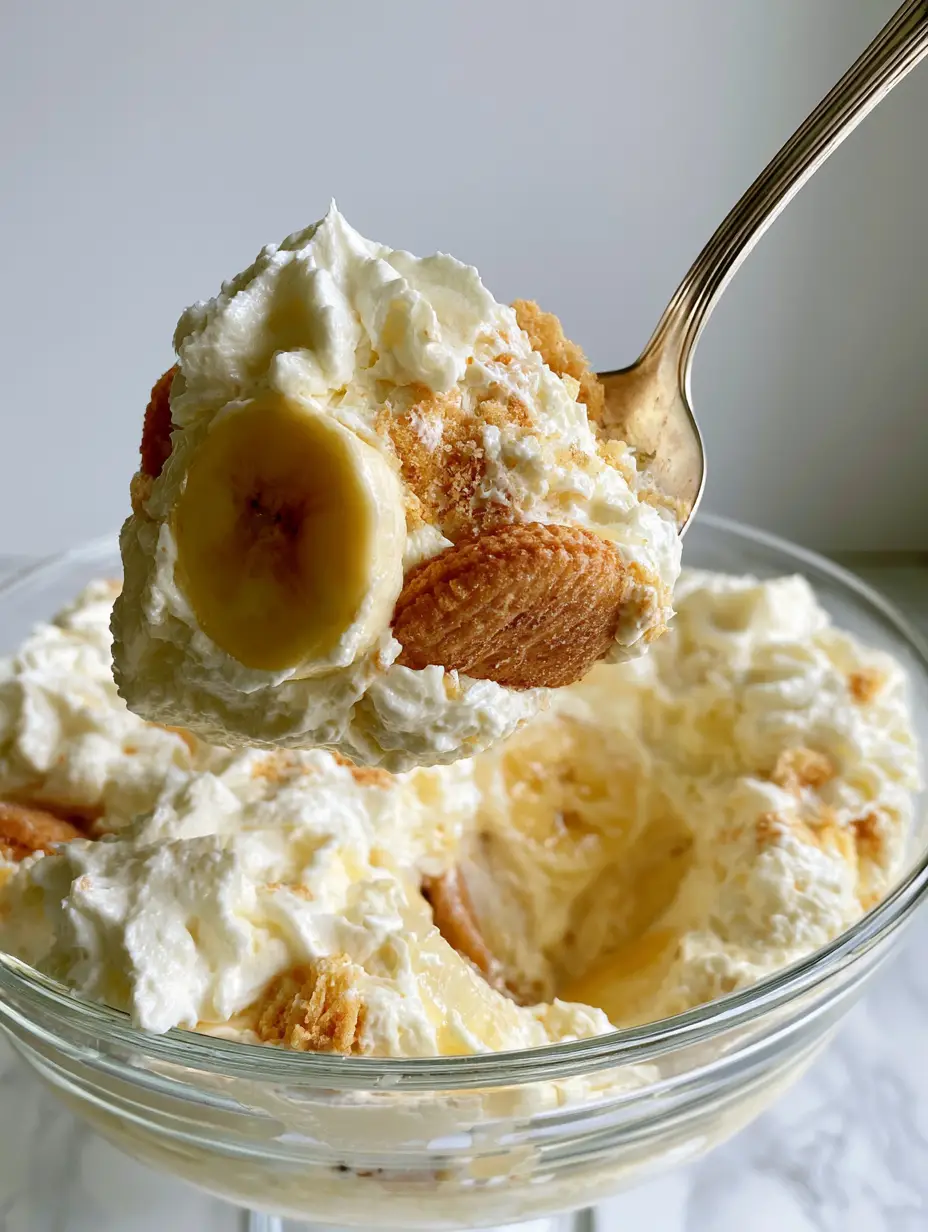
Magnolia Bakery Banana Pudding: The Ultimate Fluffy Secret Recipe
Ingredients
Equipment
Method
- Whisk sweetened condensed milk and ice water together. Add pudding mix and whisk for 2 minutes. Refrigerate for 4 hours until set.
- Beat heavy cream and vanilla bean paste until stiff peaks form. The cream should stand straight up when the whisk is lifted.
- Gently fold the whipped cream into the set pudding base using a silicone spatula until no streaks remain.
- In a trifle bowl, layer vanilla wafers, sliced bananas, and pudding. Repeat three times. Top with crushed wafers.
Notes
Use bananas that are perfectly yellow for the best texture.
Join the Baking Community!
Mastering the Magnolia Bakery banana pudding is a rite of passage for any home cook looking to bring a taste of New York into their kitchen. The combination of aerated texture and rich vanilla bean flavor is truly unmatched. Did yours come out with those perfect stiff peaks? We want to see your creations! Share your photos on Instagram and tag us, or pin this recipe to your favorite dessert board on Pinterest so you never lose it. Don’t forget to leave a comment below with your favorite way to layer this classic trifle!


