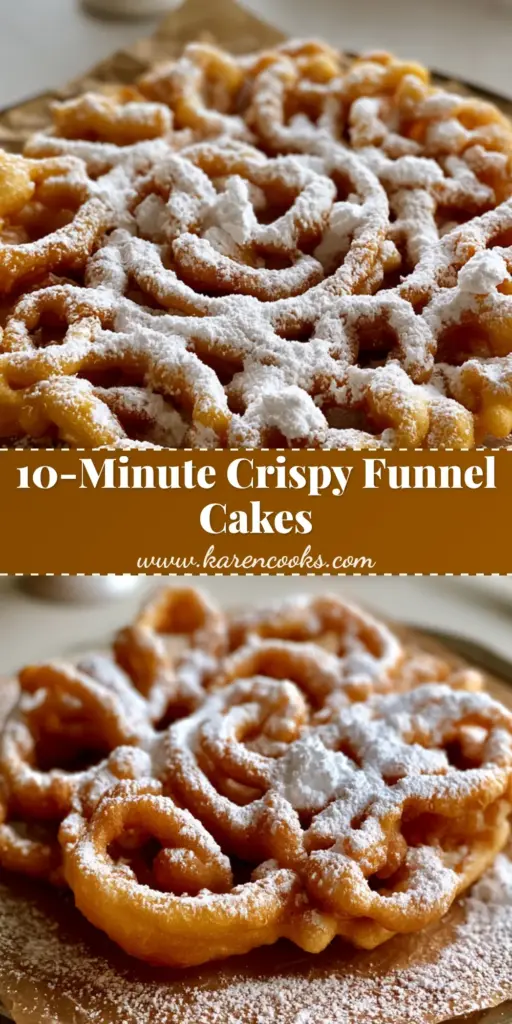
There is nothing quite like the sensory explosion of walking through a county fair, the air thick with the scent of hot oil and sweet dough. The undisputed king of that experience is the funnel cake, a tangled web of golden-brown batter that shatters upon the first bite. In this guide, we are recreating that exact magic in your own kitchen, focusing on the intricate, airy, intertwined loops that define a perfect specimen.
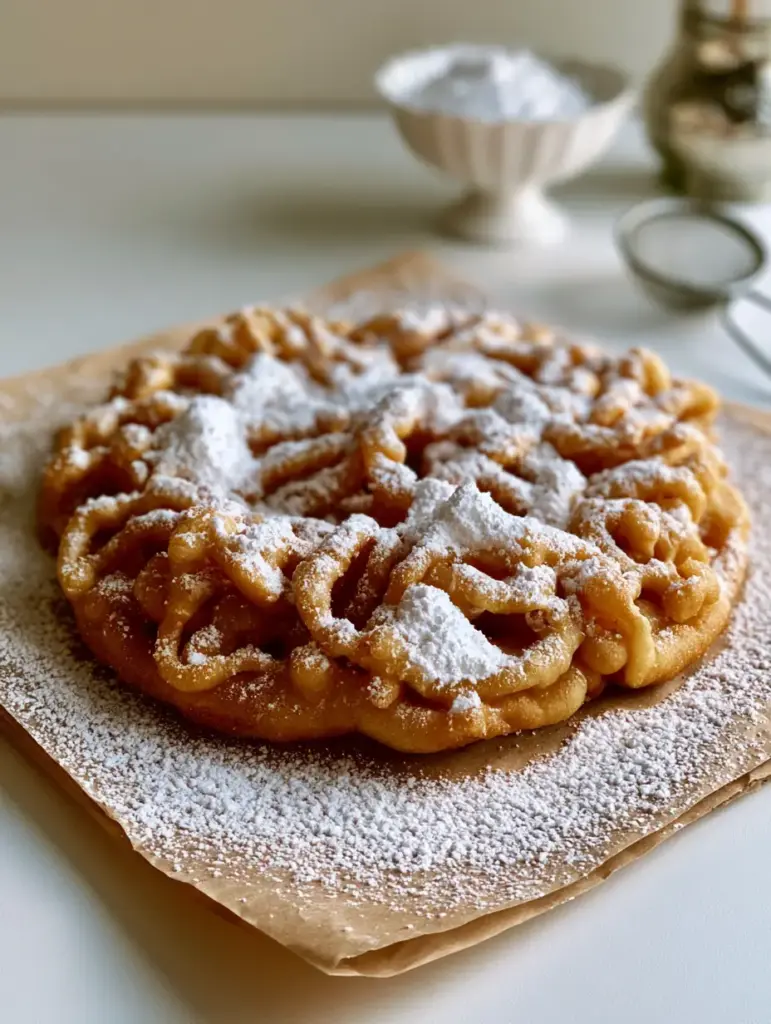
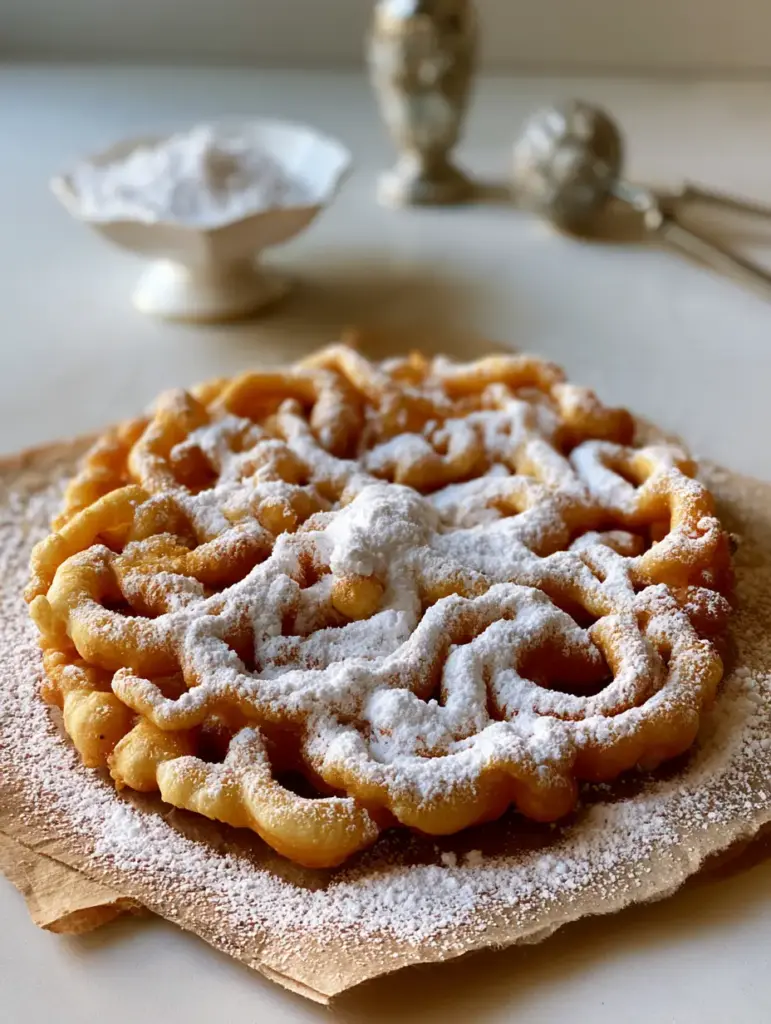
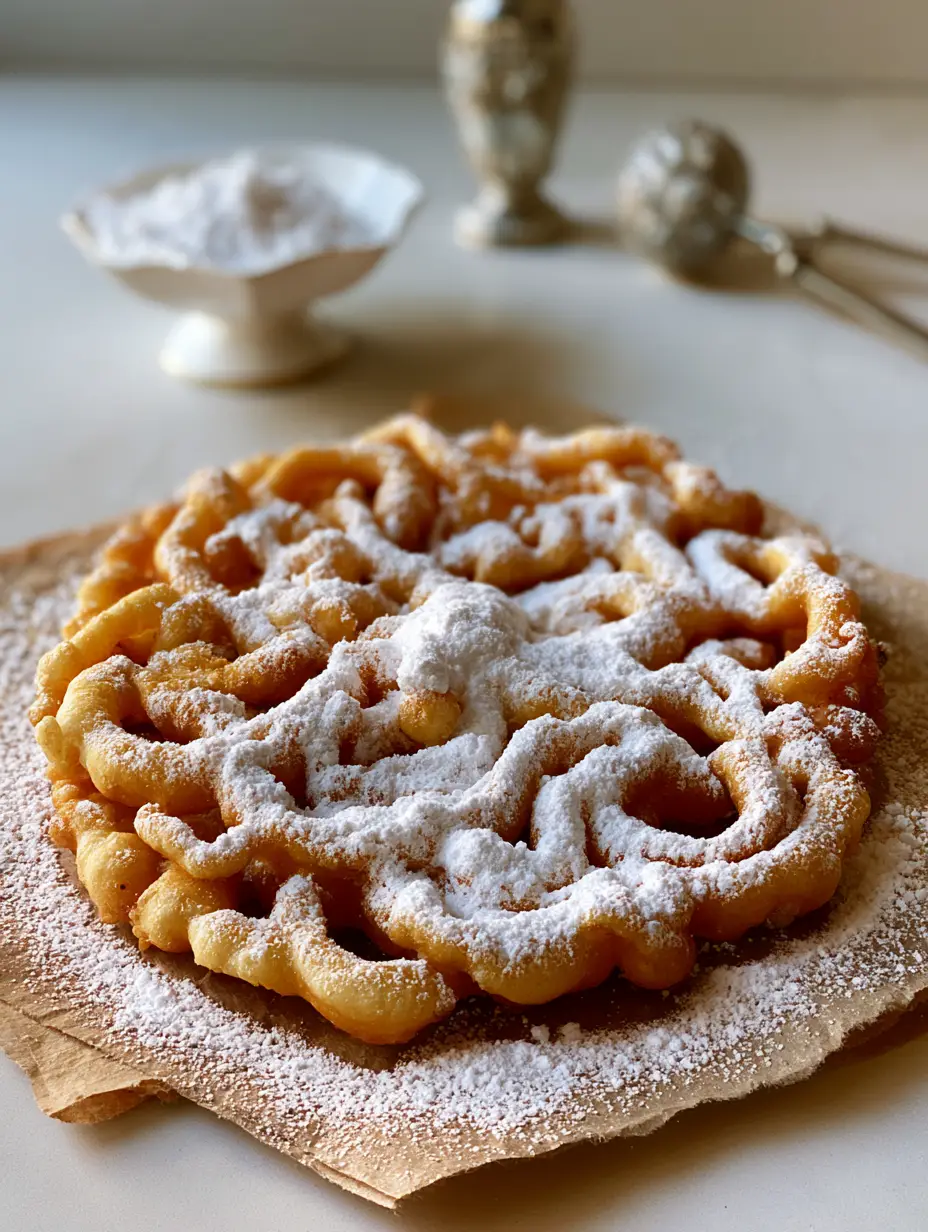
These funnel cakes are designed to be a visual and culinary masterpiece, exactly like the ones you see in professional handheld photography. Imagine a single, perfectly golden-brown cake resting on rustic brown parchment paper, glistening under morning side-lighting. The ridges are sharp, the interior is tender, and the sugar is layered so thickly it catches the light in every crevice.
To achieve this, we aren’t just making a simple batter; we are engineering a crispy structure. By focusing on the science of hydration and the precise temperature of the oil, you can move past soggy, limp imitations and create the “ultra-crispy” ridges described in our visual blueprint. Let’s dive into the technical details of mastering this classic treat.
Why This Funnel Cake Recipe Works
- Interlocking Structural Integrity: We use a specific protein-to-liquid ratio that ensures the batter holds its “loop” shape without dissolving into the oil.
- Deep Golden-Brown Finish: The inclusion of a small amount of sugar in the batter facilitates the Maillard reaction, giving you that rich, dark hue.
- High-Contrast Textures: The contrast between the crunch of the fried batter and the fine, powdery confectioners sugar creates a tactile eating experience.
- Reliable Culinary Logic: Every measurement is provided in both Imperial and Metric units to ensure global success for every home cook.
The Essential Ingredients for Perfect Crispy Batter
Achieving the perfect funnel cakes requires a balance of pantry staples and specific foundational elements. Each ingredient serves a distinct purpose in creating the airy, interlocking loops seen in the visual blueprint.
All-Purpose Flour (2 cups / 250g): This provides the necessary gluten structure to hold the intricate loops together during the violent bubbling of the deep-fry process. Without enough protein, the loops would break apart and float away.
Granulated Sugar (2 tbsp / 25g): While the topping provides sweetness, this small amount in the batter ensures the deep golden-brown color develops quickly before the center becomes oily. It is the key to that “high contrast” warm tone in the final photo.
Baking Powder (1.5 tsp / 6g): This is your primary leavening agent, responsible for the “airy” quality mentioned in the prompt. It creates tiny gas bubbles that expand instantly in the hot oil, creating the visible crunch.
Fine Sea Salt (1/2 tsp / 3g): Salt is the invisible hero that balances the sweetness and enhances the natural toasted grain flavor of the fried flour. Never skip this, as it provides the depth needed for a professional-grade dessert.
Large Eggs (2 units): Eggs act as a binder and provide fat, which contributes to the tender interior of the crispy ridges. They ensure the batter is rich enough to stand up to the high heat.
Whole Milk (1 cup / 240ml): The fat content in whole milk creates a smoother batter and a more decadent mouthfeel compared to water or skim milk. It helps achieve the “tactile” quality of the batter.
Vanilla Extract (1 tsp / 5ml): This adds a foundational aroma that permeates the kitchen, mimicking the alluring scent of a fairground. It pairs perfectly with the heavy dusting of sugar.
Neutral Frying Oil (approx. 4 cups / 1 liter): Use an oil with a high smoke point, like canola or vegetable oil. This allows you to reach 375°F (190°C) without the oil breaking down or imparting a bitter flavor.
Powdered Sugar (1 cup / 120g): This is the crowning glory. You need a significant amount to create those “small mounds of sugar caught in the crevices” for the final presentation.
Tools Required for the Visual Blueprint
To recreate the handheld smartphone photo aesthetic, you need a few specific tools. A vintage silver sifter is essential for that “delicate dust” of sugar that catches the light so beautifully.
A deep heavy-bottomed skillet or a Dutch oven is preferred for heat retention. You will also need a funnel or a squeeze bottle with a wide tip to create the interlocking loops. Finally, have rustic brown parchment paper ready for serving, as it absorbs excess oil while providing a beautiful, textured background for your funnel cakes.
Step-by-Step Instructions for Golden-Brown Success
Preparing the High-Viscosity Batter
In a large mixing bowl, whisk together your flour, sugar, baking powder, and salt. In a separate measuring jug, beat the eggs into the milk and vanilla until fully incorporated. Gradually pour the wet ingredients into the dry ingredients, whisking constantly until the batter is smooth and free of lumps.
The batter should be thick enough to hold its shape for a second when drizzled, but fluid enough to flow through a funnel. If it is too thin, your funnel cakes will be wispy and oily; if too thick, they will be heavy and doughy. Let the batter rest for 10 minutes to allow the flour to hydrate fully.
Mastering the Oil Temperature
Fill your skillet with about 1 inch (2.5cm) of neutral oil. Heat the oil over medium-high heat until it reaches exactly 375°F (190°C). Use a digital thermometer to confirm this temperature, as it is the scientific threshold for achieving a deep golden-brown crust without burning.
If the oil is too cold, the batter will soak up the fat, resulting in a soggy mess. If it is too hot, the outside will burn before the interior is cooked. Consistency here is the difference between a fair-ground failure and a professional-grade funnel cake.
Creating the Interlocking Crispy Loops
Place your finger over the bottom of the funnel and fill it with about 1/2 cup (120ml) of batter. Position the funnel over the center of the hot oil. Remove your finger and move the funnel in a circular motion, then zig-zag across the center to create those intricate, intertwined loops.
Watch for the visual cue: the batter should puff up immediately and sizzle aggressively. Fry for about 60-90 seconds until the bottom is a deep golden-brown. Use tongs or a wide slotted spoon to gently flip the cake. Fry the second side for another 60 seconds until perfectly crispy.
The Final Sugar Shower
Remove the funnel cake and let it drain for just 30 seconds on a wire rack before transferring it to the rustic brown parchment paper. While the cake is still hot, use your silver sifter to apply a heavy, even layer of powdered sugar.
Focus on the crevices, allowing the sugar to build up into small mounds. This creates the high-contrast look where the white sugar emphasizes the dark, crispy ridges. The heat from the cake will help the bottom layer of sugar adhere, while the top layer remains a fine, powdery dust.
Expert Tips for Success
- The Drip Test: Before frying the whole cake, drop a single bead of batter into the oil. If it stays at the bottom, the oil is too cold. If it turns dark brown in 5 seconds, the oil is too hot.
- Maintain Heat Recovery: Every time you fry a cake, the oil temperature drops. Wait about 30 seconds between cakes for the oil to return to 375°F (190°C).
- The Squeeze Bottle Hack: For the most intricate loops, use a clean plastic squeeze bottle. It offers much more control than a traditional funnel, allowing for thinner, crispier strands.
- Avoid Overcrowding: Only fry one funnel cake at a time. Trying to do two will cause them to stick together and drop the oil temperature too significantly.
Storage, Reheating, and Freezing
Funnel cakes are best enjoyed immediately while the contrast between the hot dough and cool sugar is at its peak. However, if you have leftovers, you can store them in an airtight container at room temperature for up to 24 hours.
To reheat and restore that “ultra-crispy” texture, place them in a 350°F (175°C) oven or an air fryer for 2-3 minutes. Avoid the microwave, as it will make the batter rubbery. You can freeze the fried cakes (without sugar) for up to a month; simply reheat from frozen until crisp, then apply the powdered sugar fresh.
What to Serve With Funnel Cakes
While a heavy dusting of sugar is traditional, you can elevate this dessert by serving it alongside other fair-inspired treats. For a summer party, pair these with a refreshing honey lemon butterfly fizz or a tall glass of beach peach lemonade cocktail.
If you are looking to create a full dessert spread, these crispy cakes complement creamy textures beautifully. Consider serving them near a classic creamy cheesecake or a slice of oreo peanut butter pie for a variety of textures that will keep your guests coming back for more.
Frequently Asked Questions
While possible, pancake mix is designed to be fluffy rather than crispy. Our specific flour-to-egg ratio ensures a much crunchier exterior and more intricate loops than standard pancake batter.
The secret is to use a fine-mesh sifter while the cake is very hot. The initial layer slightly melts and sticks, allowing subsequent layers to build up into those beautiful white mounds in the crevices.
Use a circular motion starting from the center, then criss-cross back and forth across the circle. This ‘interlocks’ the loops, creating structural integrity so the cake doesn’t fall apart when flipped.
Neutral oils with high smoke points like Canola, Vegetable, or Grapeseed oil are best. Avoid olive oil or butter, as they will burn at the 375°F temperature required for the deep golden-brown color.
Sogginess usually occurs if your oil temperature is too low (below 350°F/175°C). The batter absorbs the oil rather than searing instantly. Ensure you use a thermometer to maintain a consistent 375°F (190°C).
The Ultimate Crispy Funnel Cakes Recipe
Funnel Cakes: The Secret to Ultra-Crispy Fair-Style Loops at Home
Ingredients
Equipment
Method
- Whisk flour, granulated sugar, baking powder, and salt in a large bowl.
- In a separate jug, beat eggs, milk, and vanilla, then slowly whisk into the dry ingredients until smooth.
- Heat 1 inch of oil in a skillet to 375°F (190°C).
- Pour 1/2 cup of batter through a funnel into the oil in a circular and zig-zag motion to create interlocking loops.
- Fry until deep golden-brown (about 90 seconds), flip, and fry for another 60 seconds until ultra-crispy.
- Drain on a rack briefly, then transfer to rustic brown parchment paper. Shower heavily with powdered sugar using a sifter, catching sugar in the crevices.
Notes
Use a squeeze bottle for thinner, more intricate loops if the funnel is too difficult to control.
Share Your Golden-Brown Creations!
Mastering the art of the funnel cake is a rite of passage for any enthusiastic home cook. The combination of the deep-fried crunch and the delicate sugar dust is a timeless pleasure that never fails to impress. We hope this guide helps you achieve that perfect handheld smartphone photo look in your own kitchen!
Did you manage to get those mounds of sugar caught in the crevices? We would love to see your results! Leave a comment below with your success stories or questions, and don’t forget to follow karen_cooks_official on Pinterest. Save this recipe to your “Dessert Goals” board and share the crispy goodness with your friends!