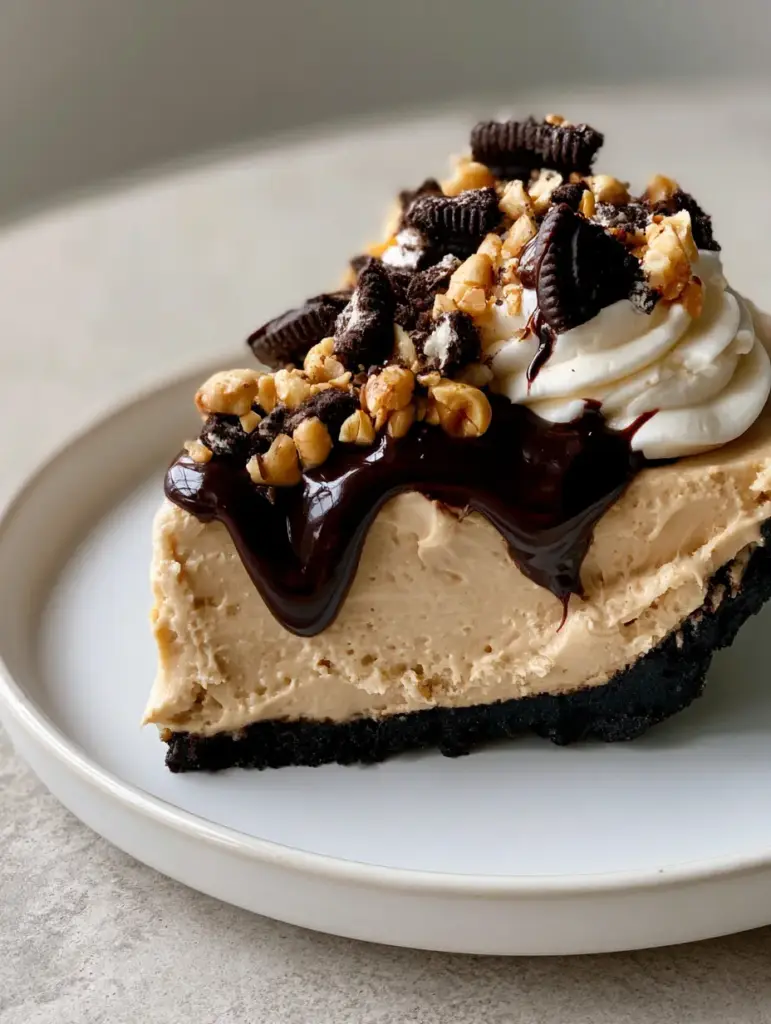
There is a specific kind of culinary magic that happens when deep, dark cocoa meets the salty-sweet richness of roasted peanuts. This Oreo Peanut Butter Pie is the physical manifestation of that synergy, offering a dessert experience that is as visually stunning as it is palate-pleasing. Imagine a slice so pristine it looks like it belongs on a modern white ceramic plate in a high-end gallery, featuring a compact, obsidian-black crust and a light-tan, velvety filling that defies gravity.
Every bite of this Oreo Peanut Butter Pie delivers a masterclass in texture. From the initial snap of the chocolate cookie base to the ethereal fluffiness of the peanut butter cream cheese center, topped with a glossy dark chocolate fudge drizzle and the crunch of roasted peanuts, it is a symphony of sensory delights. Whether you are hosting a summer soirée or simply craving a professional-grade treat without turning on the oven, this recipe is your new gold standard.
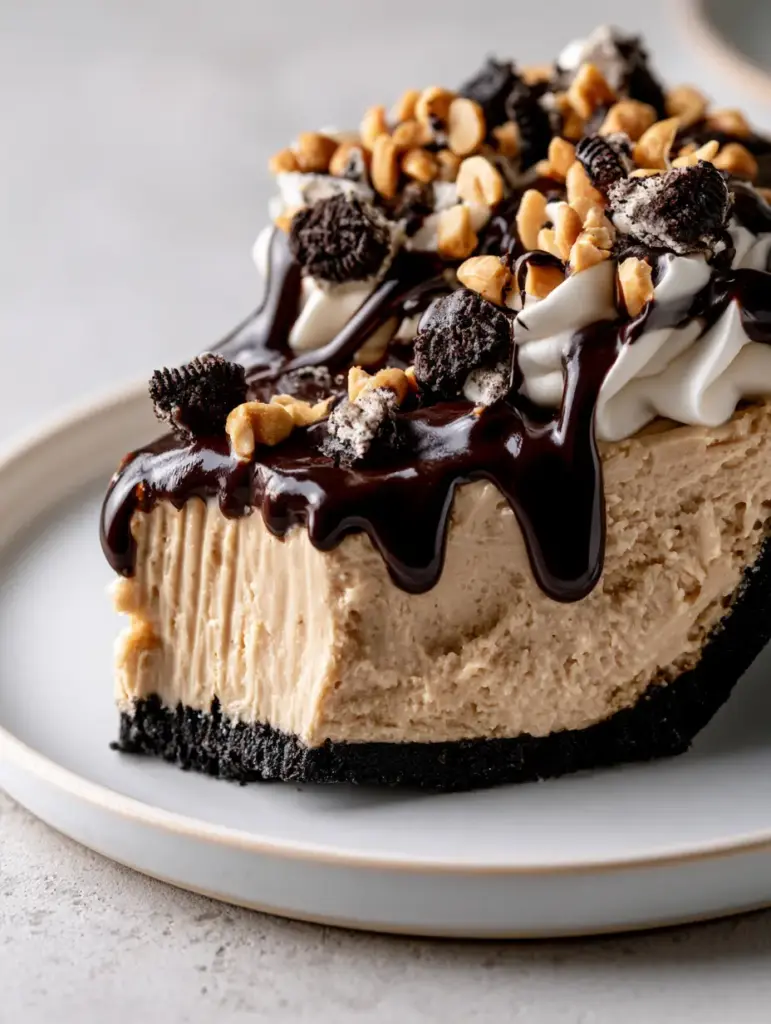
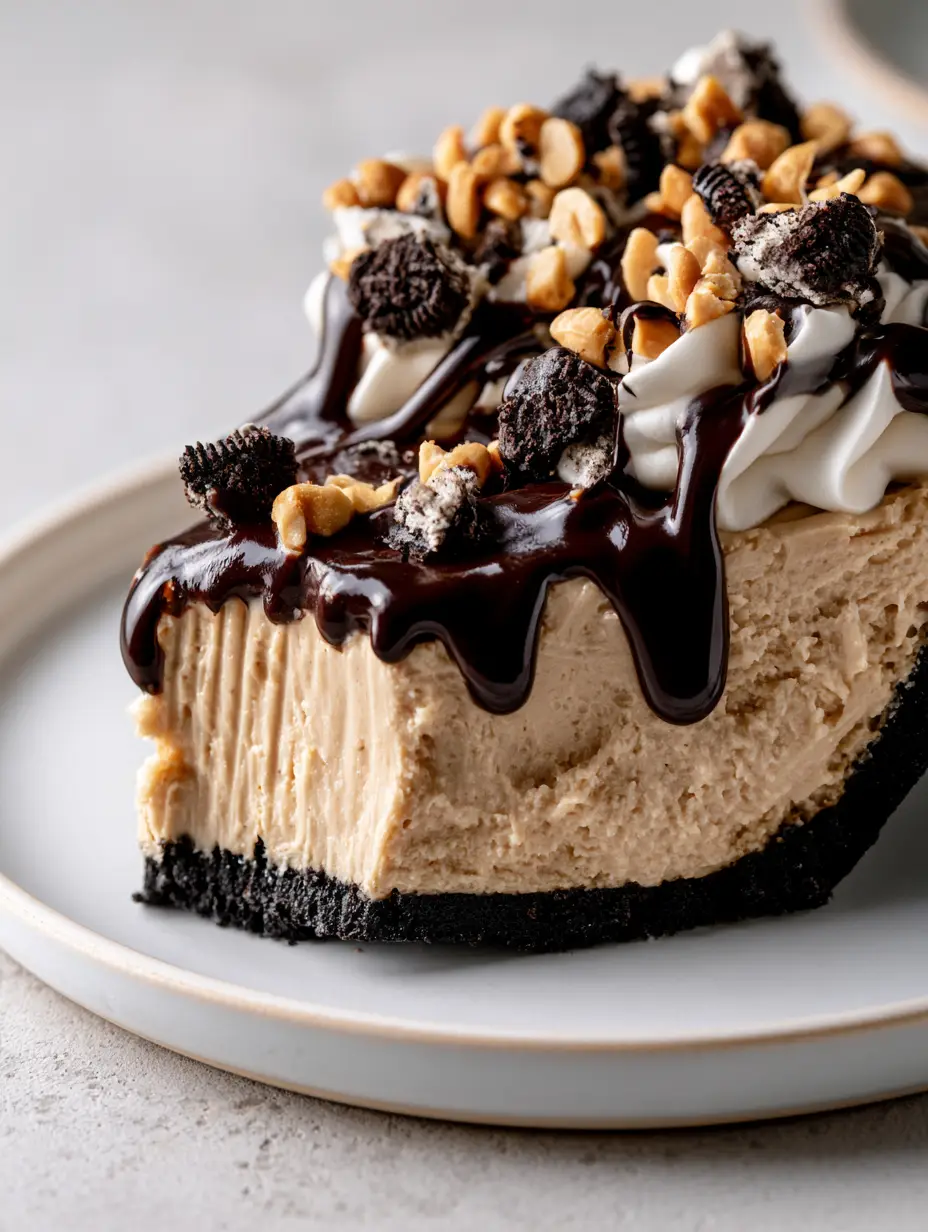
The beauty of this dish lies in its clean, defined layers. When you cut into it, the contrast between the dark black Oreo cookie crumb crust and the thick, light-tan filling creates a striking visual profile that is perfectly complemented by swirls of whipped cream and crushed cookie chunks. It is a dessert designed to be photographed and savored in equal measure.
Why This Oreo Peanut Butter Pie Is the Queen of No-Bake Desserts
- Structural Integrity Meets Cloud-Like Texture: The filling is engineered to be thick and velvety yet incredibly fluffy, ensuring every slice stands tall on the plate without sagging.
- The Ultimate Contrast: The bitterness of the dark Oreo crust perfectly balances the sweet, nutty profile of the peanut butter cream, creating a sophisticated flavor depth.
- Visual Forensics: With its glossy fudge drizzle, artisanal whipped cream swirls, and a double-crunch topping of peanuts and Oreos, this pie looks exactly like a handheld smartphone photo from a professional food stylist.
- Effortless Elegance: Despite its complex appearance and multi-layered taste, the process is streamlined for home cooks who value high-impact results with minimal kitchen heat.
The Essential Components for a Flawless Oreo Peanut Butter Pie
To achieve the precise visual and structural results described in our blueprint, every ingredient must serve a specific culinary purpose. We aren’t just mixing flavors; we are building a stable, edible architecture.
For the Signature Obsidian Crust:
24 (approx. 265g) Oreo Cookies: These provide the dark, chocolatey foundation and the necessary structural grit for a compact base. Do not remove the cream filling; it acts as a secondary binder.
6 tbsp (85g) Unsalted Butter, melted: The “glue” of our crust. As the saturated fats in the butter chill, they solidify, locking the cookie crumbs into a firm, sliceable layer.
1/4 tsp (1.5g) Fine Sea Salt: A foundational invisible ingredient that heightens the chocolate notes and cuts through the sweetness of the cookie cream.
For the Velvety Light-Tan Filling:
8 oz (225g) Full-Fat Cream Cheese, softened: This provides the body and the slight tang necessary to balance the richness of the peanut butter. Ensure it is room temperature to avoid lumps.
1 cup (250g) Creamy Peanut Butter: The star of the show. We recommend a standard commercial brand rather than “natural” oil-separated varieties to ensure a consistent, fluffy emulsion.
1 cup (120g) Confectioners’ Sugar: Beyond sweetness, the cornstarch in powdered sugar helps stabilize the filling, contributing to that “thick and velvety” texture.
1 tsp (5ml) Pure Vanilla Extract: An aromatic essential that rounds out the nuttiness and adds a professional depth of flavor.
1.5 cups (360ml) Heavy Whipping Cream, chilled: When whipped to stiff peaks and folded in, this transforms a dense paste into a light, airy mousse.
For the High-Gloss Finishing Touches:
1/4 cup (60ml) Chocolate Fudge Sauce: This must be a high-quality, glossy drizzle to provide that professional sheen seen in our visual prompt. Warm it slightly for the perfect pour.
1/2 cup (120ml) Extra Whipped Cream: For those signature swirls that add height and a soft visual contrast to the dark toppings.
4 Oreo Cookies, coarsely crushed: These provide “cookie chunks” that signal the flavors within to the eater.
1/4 cup (35g) Roasted Peanuts, chopped: The final textural element, offering a savory crunch that breaks up the creaminess of the filling.
The Tool Kit: Equipment for Precision Slicing
To achieve a “clean, defined cut revealing the inner layers,” your equipment matters as much as your ingredients. You will need a 9-inch (23cm) springform pan or a deep-dish pie plate. A springform pan is preferred if you want to showcase the full height of the Oreo Peanut Butter Pie sides.
A stand mixer or high-powered hand mixer is vital for aerating the peanut butter and cream cheese mixture. You will also need a sharp, thin-bladed knife. To get that professional “clean cut,” dip the knife in hot water and wipe it dry between every single slice. This melts through the fats cleanly rather than tearing the delicate filling.
Architecting the Perfect Oreo Peanut Butter Pie: A Step-by-Step Guide
Phase 1: Engineering the Compact Oreo Base
Place your Oreo cookies into a food processor and pulse until they reach the consistency of fine, dark sand. You want no large chunks at this stage to ensure the crust is “compact” and doesn’t crumble upon slicing. If you are a fan of these flavors, you might also enjoy our decadent Oreo poke cake.
Transfer the crumbs to a bowl and stir in the melted butter and salt. Press the mixture firmly into the bottom and 1 inch (2.5cm) up the sides of your pan. Use the bottom of a flat measuring cup to pack it down tightly—this is the secret to a crust that doesn’t fall apart. Chill in the freezer for 15 minutes to set the butter.
Phase 2: Whipping the Fluffy Peanut Butter Filling
In a large bowl, beat the softened cream cheese and peanut butter together until the mixture is completely smooth and light-tan in color. Add the confectioners’ sugar and vanilla, starting on low speed to avoid a sugar cloud, then increasing to medium-high until the mixture is thick and velvety.
In a separate chilled bowl, whip your heavy cream until it reaches stiff peaks. This is a critical sensory cue: the cream should hold its shape entirely when the whisk is lifted. Gently fold the whipped cream into the peanut butter mixture in three additions. Use a silicone spatula and a “cut and fold” motion to maintain the air bubbles, ensuring the final result is light and fluffy rather than dense.
Phase 3: Assembly and The Setting Period
Pour the peanut butter filling over the chilled Oreo crust. Use an offset spatula to smooth the top into an even layer, ensuring it reaches the edges. For a result similar to our classic cheesecake method, you want a perfectly level surface for your toppings.
Cover the pie loosely with plastic wrap and refrigerate for at least 6 hours, though overnight is best. This time allows the fats to stabilize and the flavors to marry, which is essential for that clean, defined cut revealed in the visual blueprint.
Phase 4: The Art of the Garnish
Just before serving, prepare your toppings. Warm the chocolate fudge sauce until it is fluid and glossy but not hot. Drizzle it in a zig-zag pattern across the top of the pie. The “glossy dark chocolate” should catch the light beautifully.
Pipe swirls of whipped cream around the perimeter. Sprinkle the chopped roasted peanuts and the remaining crushed Oreo chunks over the center. The contrast of the black cookies and the tan peanuts against the white cream and dark fudge creates a stunning visual depth.
Expert Tips for a Professional-Grade Result
- Temperature Control: Never try to beat cold cream cheese. If it’s not room temperature, you will end up with small white flecks in your light-tan filling, ruining the velvety appearance.
- The Folding Technique: When combining the whipped cream and the peanut butter base, do not use the mixer. Folding by hand preserves the aeration that makes this pie “fluffy” instead of a heavy block of fudge.
- Peanut Selection: Use dry-roasted, salted peanuts. The salt is a necessary contrast to the sugar in the filling, and the roasting enhances the “peanut” aroma of the dish.
- Clean Slicing: As mentioned, the hot knife trick is non-negotiable for a “pristine slice.” A cold knife will drag the fudge drizzle into the peanut butter layer, blurring the definition.
Storage and Make-Ahead Advice
This Oreo Peanut Butter Pie is an excellent candidate for make-ahead entertaining. You can keep the assembled, un-garnished pie in the refrigerator for up to 3 days. We recommend adding the whipped cream swirls, fudge drizzle, and nuts just before serving to ensure the toppings maintain their respective textures (glossy, crunchy, and soft).
For longer storage, this pie freezes beautifully. Wrap it tightly in a double layer of plastic wrap and aluminum foil. It will stay fresh for up to 1 month. Thaw in the refrigerator for 4 hours before slicing. The texture remains remarkably consistent, much like a frozen Twix-style dessert.
What to Serve With Your Peanut Butter Masterpiece
Because this pie is incredibly rich, it pairs best with beverages that offer a bit of acidity or bitterness to cleanse the palate. A cold glass of milk is the classic choice, but a dark roast coffee or a double espresso provides a sophisticated counterpoint to the sweetness. If you are looking for more no-bake inspiration, consider pairing a dessert spread with our creamy banana pudding pie or a refreshing strawberry piña colada punch for a summer party.
For those who love the combination of peanut butter and chocolate, you might also want to explore our recipe for a Reese’s peanut butter cup pie, which doubles down on the candy-bar inspiration.
Frequently Asked Questions
Absolutely! Wrap the pie tightly in plastic wrap and foil. It freezes perfectly for up to a month. Thaw it in the fridge for a few hours before serving for the best texture.
Yes, you can prepare the Oreo cookie crumb crust up to 2 days in advance. Keep it covered in the refrigerator or freezer until you are ready to add the peanut butter filling.
It is best to use standard commercial creamy peanut butter. Natural varieties that require stirring often separate, which can prevent the filling from achieving the velvety, stable texture required for clean slicing.
Yes, because of the cream cheese and heavy whipping cream, this pie must be stored in the refrigerator. It can sit out at room temperature for about 30-45 minutes before it begins to soften significantly.
For a pristine slice, ensure the pie has chilled for at least 6 hours. Dip a sharp, thin knife into hot water, wipe it completely dry, and make one clean cut. Repeat the cleaning/heating process for every slice.
The Complete Oreo Peanut Butter Pie Recipe
Oreo Peanut Butter Pie: The Ultimate No-Bake Decadence
Ingredients
Equipment
Method
- Pulse 24 Oreos in a food processor until fine crumbs form. Mix with 6 tbsp melted butter and 1/4 tsp salt.
- Press firmly into a 9-inch springform pan. Freeze for 15 minutes until compact and dark black.
- Beat 8oz softened cream cheese and 1 cup peanut butter until velvety and light-tan. Add 1 cup sugar and 1 tsp vanilla; mix until smooth.
- Whip 1.5 cups heavy cream to stiff peaks. Gently fold into the peanut butter mixture to maintain a fluffy texture.
- Spread filling into the crust. Refrigerate for at least 6 hours to ensure a clean, defined cut.
- Drizzle with 1/4 cup glossy fudge sauce. Pipe whipped cream swirls around the edge. Top with 4 crushed Oreos and 1/4 cup chopped peanuts.
Notes
Use a hot, dry knife for the most pristine, defined slices.
Closing & Call to Action
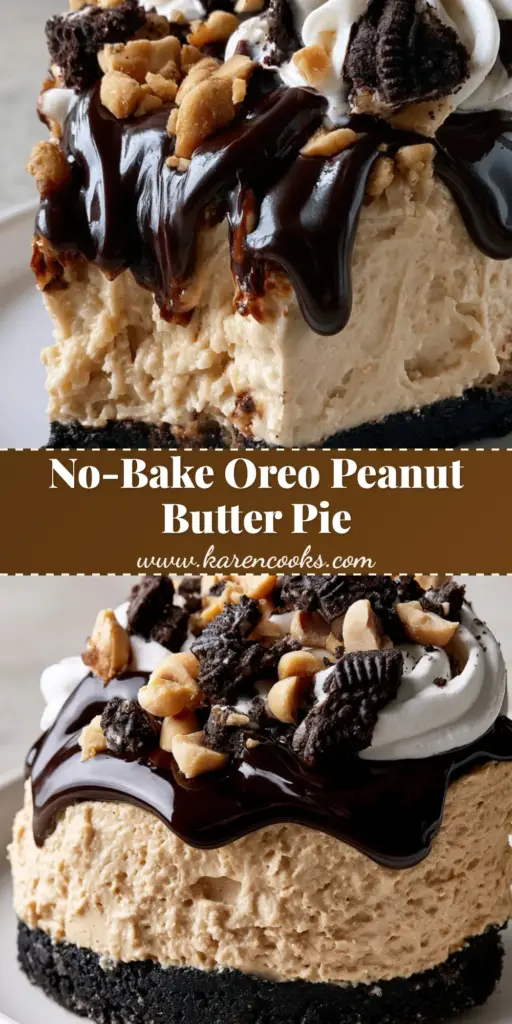
This Oreo Peanut Butter Pie is more than just a dessert; it’s a show-stopping centerpiece that proves you don’t need an oven to create something extraordinary. With its velvety filling and glossy finish, it’s guaranteed to be the highlight of your next gathering. If you enjoyed this recipe, please leave a comment below and tell us how yours turned out! Don’t forget to follow us on Pinterest for more culinary inspiration and share your photos using #KarenCooks.


