There is nothing quite as captivating as a perfectly executed Classic Creamy Cheesecake. It stands as the titan of the dessert world, a testament to the beauty of simple, high-quality ingredients transformed through precise culinary technique. When you look at a slice, you should see a structural marvel: a thick, rustic golden crust supporting a dense, ivory-colored landscape of velvet-smooth filling.
This recipe isn’t just about mixing ingredients; it is about achieving that specific visual and textural harmony described in our forensic blueprint. We are aiming for a flawlessly clean-cut edge, a glossy translucent glaze, and a crumbly, buttery base that provides the perfect contrast to the rich interior. Whether you are a novice or a seasoned baker, this guide will walk you through the science of the perfect bake.
Imagine sliding your fork through a thin, glossy vanilla cream glaze, encountering no resistance until you hit the crunch of a honey-toned graham cracker crust. The addition of a single, vibrant red strawberry slice adds the necessary acidity to cut through the decadence. This is the Classic Creamy Cheesecake you have been dreaming of, designed to look as good on a minimalist white ceramic plate as it tastes in your mouth.
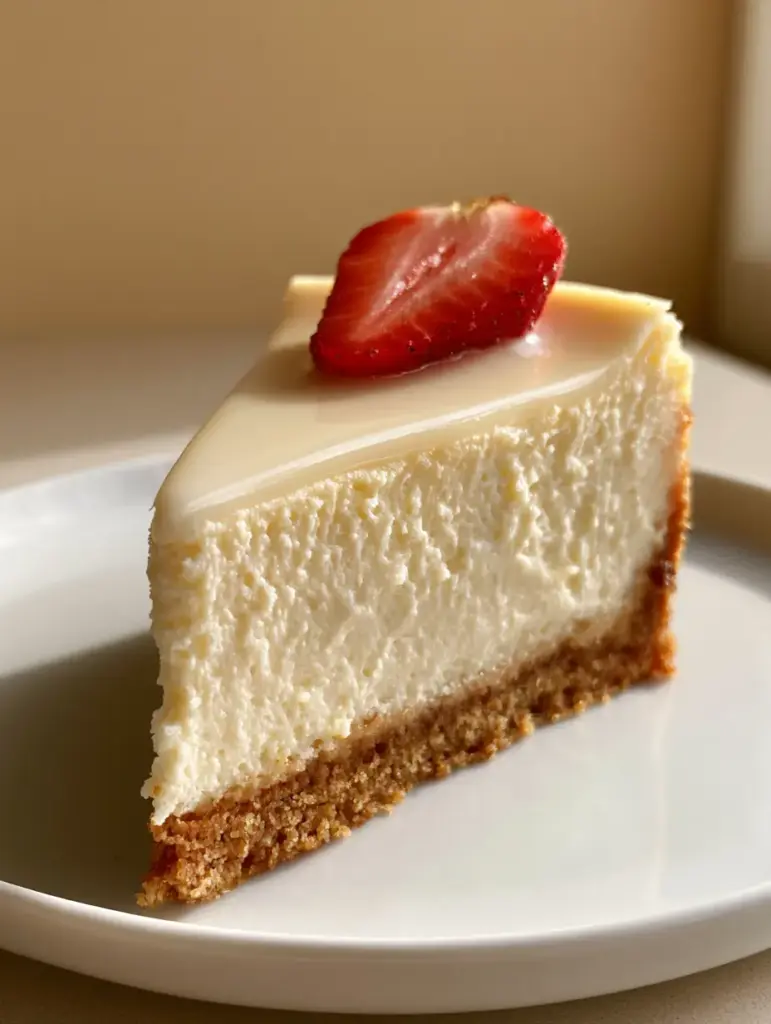
Why This Velvety New York Masterpiece Works
- Forensic Texture Matching: We use specific mixing speeds to ensure the “dense, ultra-smooth, velvety” filling requested in the visual blueprint, eliminating unsightly air bubbles.
- Structural Integrity: The crust is engineered to be “thick and golden-brown,” providing a sturdy, rustic foundation that won’t turn soggy under the weight of the cream cheese.
- The Signature Gloss: A specialized vanilla cream glaze creates that “translucent, glossy” finish that catches the light and elevates the presentation to professional standards.
- Zero-Crack Guarantee: By utilizing a controlled water bath and a gradual cooling process, we ensure the “flawlessly clean-cut edge and zero cracks” seen in the macro photography.
Essential Components for the Perfect Classic Creamy Cheesecake
Full-Fat Brick Cream Cheese: You must use the block style, not the tub variety. The higher fat content and lower moisture levels are essential for creating a dense, New York-style crumb that holds its shape when sliced.
Graham Cracker Crumbs: For that “thick golden graham cracker crust,” we use 2 cups (200g) of finely ground crumbs. This provides the rustic texture and structural support needed for a tall, impressive slice.
Unsalted Melted Butter: 6 tbsp (85g) of high-quality butter acts as the glue for our crust. It provides that deep, buttery aroma and ensures the crust is golden-brown rather than pale.
Granulated White Sugar: Sugar does more than sweeten; it tenderizes the protein in the cream cheese, contributing to the velvety mouthfeel. We use 1 cup (200g) in the filling and a touch in the crust.
Heavy Cream & Sour Cream: A combination of 1/2 cup (120ml) heavy cream and 1/2 cup (120ml) sour cream adds complexity and a slight tang, ensuring the filling is ivory-pale and smooth.
Large Room-Temperature Eggs: 4 large eggs provide the lift and structure. Having them at room temperature is non-negotiable for achieving a smooth, emulsified batter without over-mixing.
Pure Vanilla Bean Paste: To achieve the “glossy, translucent vanilla cream glaze,” we use vanilla bean paste for those beautiful black flecks and a deep, aromatic flavor profile.
Fresh Strawberries: One vibrant red strawberry, sliced vertically, serves as the final visual anchor. The freshness of the fruit provides a sensory counterpoint to the rich, baked dairy.
Professional Tools for a Flawless Finish
To achieve the result shown in the macro close-up, you will need a 9-inch (23cm) springform pan. This tool is critical for releasing the cheesecake without damaging the “flawlessly clean-cut edges.” A high-quality pan prevents leaks and ensures even heat distribution.
A large roasting pan is also required for the water bath (bain-marie). This creates a humid environment in the oven, preventing the surface from drying out and cracking. You will also need heavy-duty aluminum foil to waterproof the base of your springform pan before it goes into the water.
Finally, a sharp, thin-bladed knife dipped in hot water between each cut is the secret to achieving that “macro close-up” slice. This prevents the filling from sticking to the blade and dragging, keeping the ivory layers distinct and clean.
Building the Thick Golden Graham Cracker Crust
Prepping the Rustic Foundation
Preheat your oven to 350°F (175°C). In a medium bowl, combine 2 cups (200g) of graham cracker crumbs, 1/4 cup (50g) of sugar, and 6 tbsp (85g) of melted butter. Stir until the mixture resembles wet sand.
Press the mixture firmly into the bottom and 1 inch (2.5cm) up the sides of your 9-inch springform pan. Use the bottom of a flat measuring cup to pack it tightly; this ensures the crust is “thick and golden” and won’t crumble when sliced.
The Initial Bake
Bake the crust for 10 minutes until it is fragrant and starts to turn a deep golden-brown. Remove from the oven and let it cool completely. This par-baking step is what gives the crust its “rustic texture” and prevents sogginess.
Once cooled, wrap the outside of the pan in three layers of heavy-duty aluminum foil. Ensure the foil reaches all the way to the top rim to prevent any water from the bath seeping into your handcrafted crust.
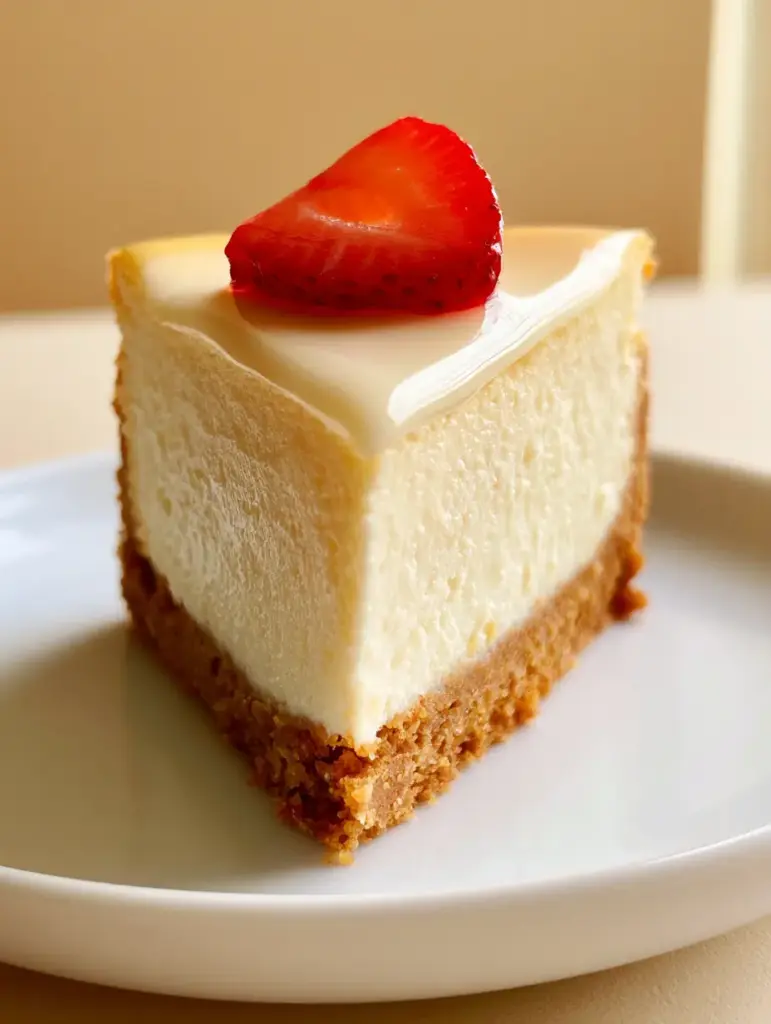
Creating the Dense Velvety Filling
Emulsifying the Cream Cheese
In a large bowl, beat 4 packages (900g) of room-temperature cream cheese and 1 cup (200g) of sugar on medium-low speed. Do not use high speed; we want to avoid incorporating air which leads to bubbles and cracks.
Continue mixing for about 3 minutes until the mixture is completely smooth and looks like heavy satin. Scrape down the sides and the bottom of the bowl frequently to ensure no lumps remain in your classic cheesecake base.
Adding the Aromatics and Eggs
Stir in 1/2 cup (120ml) sour cream, 1/2 cup (120ml) heavy cream, and 1 tbsp (15ml) vanilla extract. The mixture should be a pale-ivory color. The liquid fats help achieve that “ultra-smooth, velvety” texture described in the visual prompt.
Add the 4 large eggs one at a time, mixing on the lowest speed just until the yellow disappears. Over-beating at this stage is the primary cause of cheesecake failure, as trapped air will expand and then collapse in the oven.
The Precision Baking Process
The Water Bath Technique
Pour the filling over the cooled crust and smooth the top with an offset spatula. Place the foil-wrapped pan into the roasting pan and carefully pour boiling water into the roasting pan until it reaches halfway up the sides of the springform.
Lower the oven temperature to 325°F (160°C) and bake for 75 to 90 minutes. You are looking for a specific sensory cue: the edges should be set and slightly puffed, but the center 2 inches (5cm) should still have a “jiggle” like firm gelatin when gently shaken.
The Crucial Cooling Window
Turn off the oven and crack the door open about 1 inch (2.5cm). Leave the cheesecake inside for one hour. This gradual temperature drop is the secret to a “zero cracks” finish. The steam from the water bath continues to hydrate the surface as it sets.
After an hour, remove it from the water bath and let it cool on a wire rack until it reaches room temperature. Chill in the refrigerator for at least 6 hours, though overnight is preferred for the best flavor development.
The Glossy Vanilla Cream Glaze and Garnish
Applying the Translucent Finish
To achieve the “glossy, translucent vanilla cream glaze,” whisk together 1/2 cup (120ml) sour cream, 2 tbsp (25g) powdered sugar, and 1 tsp (5ml) vanilla bean paste. The glaze should be pourable but thick enough to coat a spoon.
Spread a thin, even layer over the chilled cheesecake, stopping just before the very edge. Return to the fridge for 30 minutes to set. This layer provides the “glossy finish” that makes the slice look professionally photographed.
The Final Strawberry Touch
Just before serving, take one fresh, vibrant red strawberry. Slice it vertically through the green top (or remove the top for a cleaner look). Place the slice gently in the center of the cake or toward the back of an individual slice.
The contrast between the red fruit and the ivory-pale filling against the white ceramic plate creates a visually stunning dessert that fulfills every requirement of the classic New York style.
Expert Tips for Success
- Room Temperature is Key: Ensure your eggs and cream cheese are truly at room temperature. Cold ingredients will create lumps that are impossible to smooth out without over-mixing.
- Tap the Pan: After pouring the batter, tap the pan firmly on the counter 5-10 times. You will see small air bubbles rise to the surface and pop; this ensures the “dense, velvety” interior.
- Avoid the Knife Test: Never stick a knife into the center to see if it’s done. This creates a structural weakness that will lead to a crack. Trust the jiggle.
- Clean Slicing: Use a long, thin knife. Dip it in a tall glass of hot water and wipe it clean between every single cut. This is the only way to get that “flawlessly clean-cut edge.”
Storage and Make-Ahead Instructions
A Classic Creamy Cheesecake actually tastes better after 24 hours in the fridge, making it the perfect make-ahead dessert. Store it in the springform pan, covered tightly with plastic wrap, for up to 5 days.
If you need to freeze it, chill it completely first. Wrap the entire cake (or individual slices) in a double layer of plastic wrap and a layer of heavy foil. It will stay fresh for up to 3 months. Thaw overnight in the refrigerator before adding the fresh strawberry garnish.
What to Serve With This New York Staple
While this cheesecake is a star on its own, it pairs beautifully with other classic treats. If you are hosting a large gathering, consider serving it alongside a Triple Chocolate Cheesecake for those who prefer a cocoa-forward profile.
For a fruit-focused spread, a Blueberry Cheesecake Crumb Cake offers a different texture that complements the smooth nature of this recipe. And for the ultimate celebration, nothing beats a Birthday Cheesecake platter featuring various toppings.
Frequently Asked Questions
While a springform pan is best for achieving clean-cut edges, you can use a regular cake pan lined with parchment paper, though removing it without damage is much more difficult.
The key to a crack-free cheesecake is using a water bath (bain-marie) to maintain moisture and ensuring a very gradual cooling process in the oven with the door cracked.
For the best structural integrity and clean edges, chill the cheesecake for at least 6 hours, though 24 hours in the refrigerator is recommended for optimal flavor and texture.
The glaze provides a glossy, translucent finish that hides minor surface imperfections and adds a final layer of aromatic sweetness and moisture to the ivory filling.
Lumps usually occur when the cream cheese or eggs are too cold. Always ensure all ingredients are at room temperature to allow them to emulsify into a velvety smooth batter.
The Ultimate Classic Creamy Cheesecake Recipe
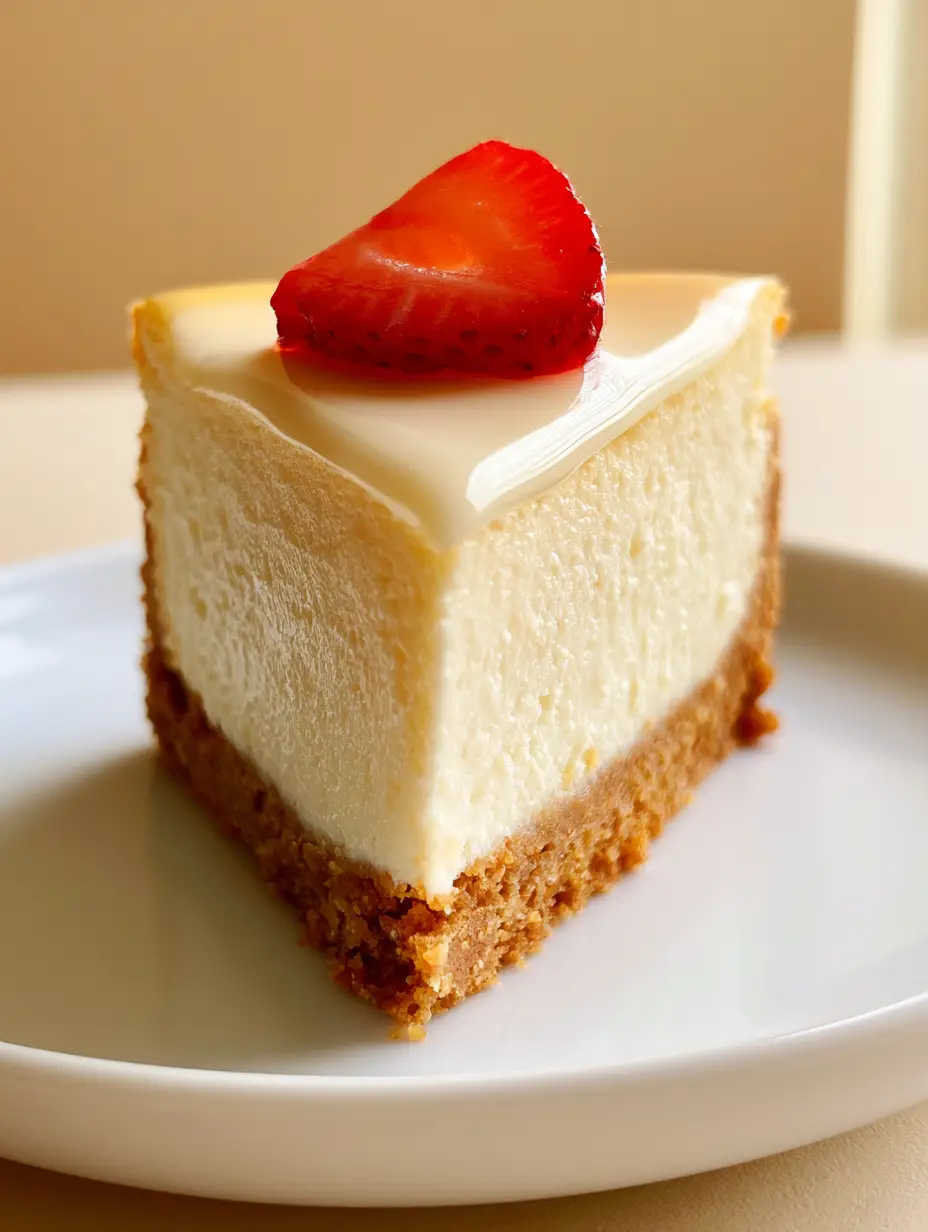
Classic Creamy Cheesecake: The Ultimate New York Style Recipe
Ingredients
Equipment
Method
- Combine graham cracker crumbs, sugar, and melted butter. Press firmly into the bottom and 1 inch up the sides of a 9-inch springform pan.
- Bake at 350°F (175°C) for 10 minutes. Cool completely and wrap the pan in three layers of heavy foil.
- Beat cream cheese and sugar on medium-low until velvety smooth. Add sour cream, heavy cream, and vanilla; mix until combined.
- Add eggs one at a time on low speed, mixing just until the yellow disappears. Do not over-mix.
- Place pan in a roasting pan filled halfway with boiling water. Bake at 325°F (160°C) for 75-90 minutes until the center jiggles slightly.
- Turn off oven, crack the door, and let sit for 1 hour. Remove and cool to room temperature, then refrigerate for 6+ hours.
- Whisk glaze ingredients and spread over chilled cheesecake. Set in fridge for 30 minutes.
- Place a fresh sliced red strawberry on top before serving on a white ceramic plate.
Notes
Clean the knife with hot water between each slice for the perfect professional edge.
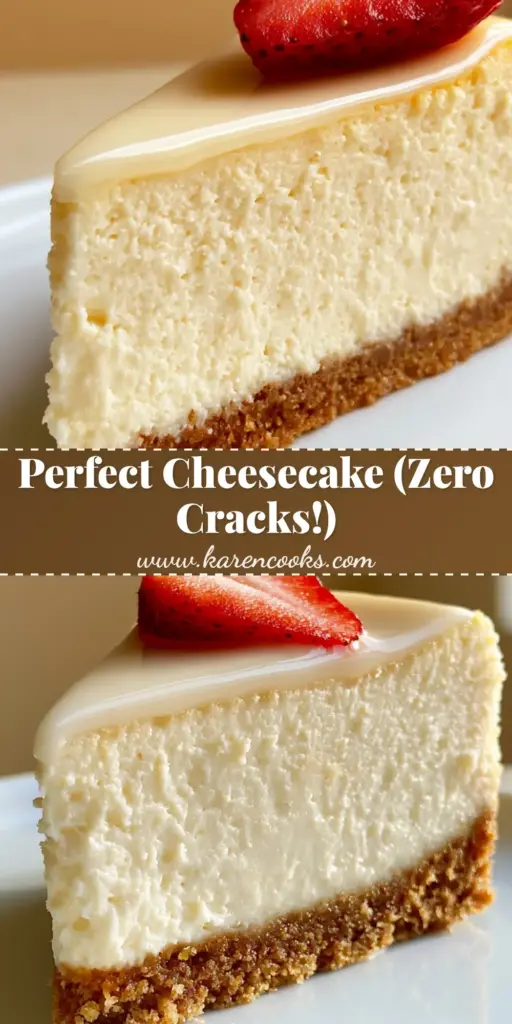
Closing & Call to Action
Mastering the Classic Creamy Cheesecake is a rite of passage for every home cook. By following these forensic visual cues—from the thick rustic crust to the glossy translucent glaze—you have created a dessert that is as much a work of art as it is a culinary delight. The dense, velvety texture and clean ivory finish are the hallmarks of a true New York masterpiece.
We would love to see your results! Did you achieve the zero-crack finish? Was your crust as golden and thick as the blueprint? Leave a comment below and share your baking journey with us. Don’t forget to follow and share this recipe to Pinterest so others can enjoy the perfect slice of cheesecake!


