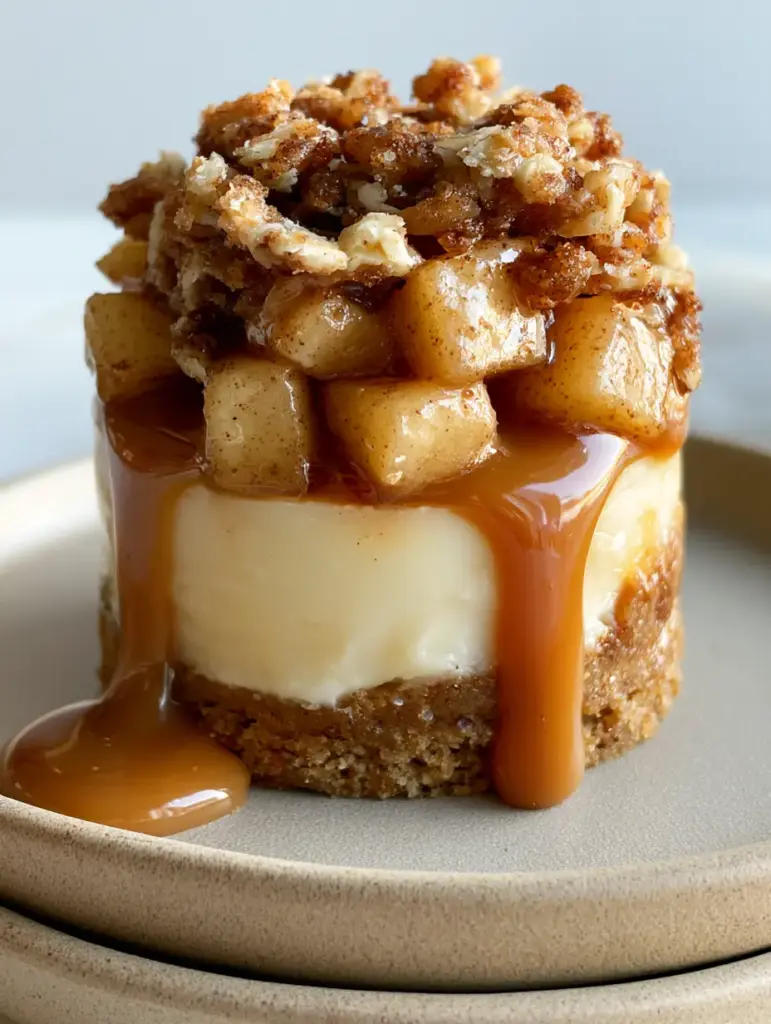
Apple Crisp Mini Cheesecakes are the ultimate autumnal indulgence, blending the creamy luxury of a New York-style cheesecake with the rustic, comforting textures of a traditional apple crisp. This recipe isn’t just a dessert; it’s a multi-sensory experience that captures the essence of harvest season in a single, perfectly portioned bite.
Imagine a golden-brown spiced graham cracker base that provides a satisfying crunch, followed by a velvety, smooth-as-silk cream cheese filling. On top, we pile tender cinnamon-glazed apple cubes and a toasted brown sugar oat crumble that adds a deeply nutty, caramelized finish.
To complete the masterpiece, a thick, glossy amber caramel drizzle cascades down the sides, catching the light and promising a symphony of flavors. Whether you are hosting a sophisticated dinner party or looking for a cozy weekend project, these mini cheesecakes deliver gourmet results with a handheld, smartphone-photo-ready aesthetic.
Why You Will Fall in Love with These Gourmet Mini Cheesecakes
- Textural Contrast: From the snap of the graham cracker crust to the buttery “give” of the stewed apples, every bite offers a complex variety of mouthfeel.
- Perfect Portions: No need for messy slicing; these individual treats are baked in a standard muffin tin for easy serving and built-in portion control.
- Visually Stunning: The layers of cream-colored cheesecake, spiced fruit, and toasted crumble topped with amber caramel create a professional bakery appearance.
- Make-Ahead Friendly: These cheesecakes actually improve after a night in the fridge, making them the perfect stress-free dessert for entertaining.
The Anatomy of the Perfect Golden Graham Cracker Base
The foundation of our Apple Crisp Mini Cheesecakes is a robust, spiced crust. We use 1.5 cups (150g) of finely crushed graham cracker crumbs to ensure a tight, even pack that won’t crumble prematurely when you peel away the liner.
To achieve that “golden-brown” visual confirmed in our culinary blueprint, we mix the crumbs with 1/4 cup (50g) of granulated sugar and 1 tsp (2g) of ground cinnamon. The sugar helps the crust caramelize against the heat of the pan, while the cinnamon adds warmth.
The “invisible” binder here is 6 tbsp (85g) of melted unsalted butter. The fat coats the dry crumbs, and as it bakes, it creates a crisp, biscuit-like structure that stands up beautifully to the weight of the creamy filling and heavy apple topping.
Achieving a Smooth and Silky Cream Cheese Filling
The middle layer requires 16 oz (450g) of full-fat brick cream cheese, softened to room temperature. Using room-temperature ingredients is non-negotiable for achieving the “smooth cream cheese filling” described in the visual prompt; cold cheese leads to stubborn lumps.
We sweeten the filling with 1/2 cup (100g) of granulated sugar and add 1/2 cup (120ml) of full-fat sour cream. The sour cream provides a subtle tang that cuts through the richness and ensures a moist, velvety texture that melts on the tongue.
For structural integrity, we incorporate 2 large eggs and 1 tsp (5ml) of pure vanilla extract. Be careful not to overbeat the batter once the eggs are added, as excess air can cause the cheesecakes to puff up and then crack as they cool.
Crafting the Tender Cinnamon-Glazed Apple Cubes
Unlike some recipes that use raw apples, our Apple Crisp Mini Cheesecakes feature apples that have been pre-stewed to achieve a “tender cinnamon-glazed” finish. We recommend using 2 medium Granny Smith or Honeycrisp apples, peeled and cut into 1/4 inch (0.6cm) cubes.
In a small skillet, toss the cubes with 1 tbsp (14g) of butter, 2 tbsp (25g) of brown sugar, and 1 tsp (2g) of cinnamon. Cook them over medium heat for 5-7 minutes until they are softened but still hold their square shape.
This step is crucial because it releases the excess moisture from the fruit before it hits the cheesecake. This prevents the filling from becoming watery and ensures the apples have a glossy, amber-hued glaze that looks spectacular under the oat crumble.
The Secret to a Toasted Brown Sugar Oat Crumble
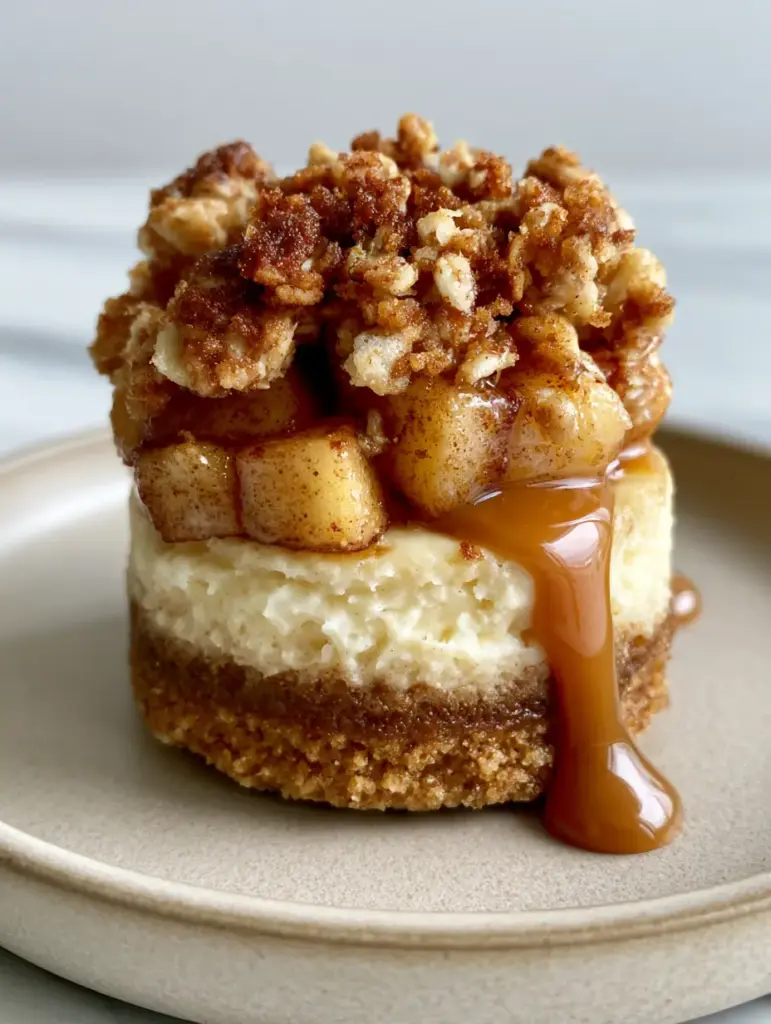
The crowning glory of this dessert is the “toasted brown sugar oat crumble.” To get that deep, golden-brown visual, we combine 1/2 cup (45g) of old-fashioned rolled oats with 1/2 cup (65g) of all-purpose flour and 1/2 cup (100g) of packed light brown sugar.
We work in 4 tbsp (56g) of cold, cubed unsalted butter until the mixture resembles coarse wet sand. The cold butter is essential; as it melts in the oven, it creates little pockets of steam that make the crumble light and crisp rather than a solid, hard block.
If you enjoy these warm, spiced fruit flavors, you might also want to try our peach cobbler muffins for a breakfast version of this textural delight. The contrast between the soft fruit and the crunchy topping is a hallmark of elite baking.
Essential Equipment for Professional Results
To replicate the “single gourmet apple crisp mini cheesecake” look from the visual prompt, you will need a standard 12-cup muffin tin. Using high-quality paper liners ensures easy removal and clean, sharp edges on your cheesecake layers.
A small offset spatula is helpful for smoothing the tops of the cheesecake filling before baking. You will also need a medium mixing bowl and a hand mixer (or stand mixer) to emulsify the cream cheese and sugar into a cloud-like consistency.
Finally, a heavy-bottomed saucepan is best for making the “thick warm amber caramel drizzle.” A heavy pan distributes heat evenly, preventing the sugar from burning and ensuring your caramel remains smooth and pourable.
Step-by-Step Instructions for the Perfect Mini Cheesecake
Preparing the Spiced Graham Cracker Foundation
Preheat your oven to 325°F (165°C) and line a muffin tin with paper liners. In a medium bowl, stir together the graham cracker crumbs, sugar, cinnamon, and melted butter until the mixture looks like wet sand.
Distribute the mixture evenly among the 12 liners (about 1.5 tablespoons per cup). Use the bottom of a small glass or a measuring cup to press the crumbs down firmly into a flat, even layer. Bake for 5 minutes, then remove and let cool slightly while you prepare the filling.
Whipping the Smooth Cream Cheese Filling
In a large bowl, beat the softened cream cheese and granulated sugar together on medium speed until completely smooth and aerated, about 3 minutes. Scrape down the sides of the bowl to ensure no lumps remain.
Add the sour cream and vanilla extract, beating until just combined. Reduce the mixer speed to low and add the eggs one at a time, mixing only until the yellow streaks disappear. Spoon the batter over the pre-baked crusts, filling each cup about 3/4 full.
Sautéing the Cinnamon Apple Topping
While the cheesecake bases sit, prepare the apples. Sauté the cubed apples with butter, brown sugar, and cinnamon in a skillet over medium heat. You are looking for a visual cue: the apples should be translucent around the edges and the liquid should be bubbling into a thick syrup.
Once the apples are tender, let them cool for 5 minutes. Gently spoon a teaspoon of the apple mixture onto the center of each unbaked cheesecake. This ensures the fruit stays “cradled” by the filling during the baking process.
Baking to Golden-Brown Perfection
Sprinkle the prepared oat crumble generously over the apple-topped cheesecakes. Place the tin in the oven and bake for 18-22 minutes. The “sensory cue” to look for is a slight jiggle in the center of the cheesecake while the edges are set and the crumble is a deep, toasted golden brown.
Turn off the oven and crack the door open, allowing the cheesecakes to cool slowly for 30 minutes inside. This gradual temperature change is the professional secret to preventing the cheesecake from sinking or cracking.
Expert Tips for Success
- Room Temp is Key: Ensure your cream cheese and eggs are truly at room temperature. If they are cold, the fat will seize, and you’ll never achieve that “smooth cream-colored” look.
- The “Jiggle” Test: Do not overbake! The cheesecakes should still have a slight “wobble” in the very center when you pull them out. They will firm up completely as they chill.
- Apple Selection: Use a firm baking apple like Granny Smith or Braeburn. Softer apples like McIntosh will turn into mush during the sauté process, losing the “apple cube” definition.
- The Caramel Drizzle: For that “thick glossy amber caramel” seen in the smartphone photo, let your caramel cool for at least 10-15 minutes before drizzling. If it’s too hot, it will simply run off the cheesecake and pool at the bottom.
Storage, Reheating, and Freezing Advice
These Apple Crisp Mini Cheesecakes must be stored in an airtight container in the refrigerator. They will stay fresh and delicious for up to 5 days. For the best flavor, let them sit at room temperature for about 15 minutes before serving to soften the crust.
To freeze, place the fully cooled and chilled cheesecakes (without the caramel drizzle) on a baking sheet and freeze until solid. Wrap each one individually in plastic wrap and store in a freezer bag for up to 3 months. Thaw overnight in the fridge before serving.
We do not recommend reheating these in the microwave, as the cheesecake filling will lose its structural integrity. If you want a “warm” sensation, you can gently heat the caramel drizzle and the apple topping separately before adding them to the chilled cheesecake base.
What to Serve with Your Mini Cheesecakes
These decadent treats are rich enough to stand alone, but they pair beautifully with a hot cup of coffee or a tall glass of cold brew iced tea to balance the sweetness of the caramel.
If you are setting up a dessert table, consider adding other handheld favorites. Our snickerdoodle cookie cups offer a similar cinnamon-sugar profile, while our apple toffee dip provides a fresh way to enjoy even more seasonal fruit.
For those who love the combination of cheesecake and fruit, you might also enjoy these caramel apple cheesecake bars or the show-stopping salted caramel apple pie cheesecake. Both offer a larger format for crowds while maintaining that signature apple-crisp flavor profile.
Frequently Asked Questions
Yes, but ensure it is a high-quality, thick caramel sauce. If it is too thin, it will run off the cheesecake. You can thicken store-bought sauce by simmering it for a few minutes.
Pre-baking for 5 minutes is essential to prevent a soggy crust. It helps the butter and sugar set, creating a crisp barrier against the moist cheesecake filling.
For the best texture and flavor, chill them for at least 4 hours, though overnight is preferred to allow the cheesecake to fully set and the flavors to meld.
Granny Smith or Honeycrisp are ideal because they are firm and tart, holding their shape during the stewing and baking process without becoming mushy.
Sinking is usually caused by over-beating the eggs, which incorporates too much air. The cheesecakes puff up and then collapse as they cool. Cool them slowly to prevent this.
The Ultimate Apple Crisp Mini Cheesecake Recipe
Prepare to impress with this recipe that bridge the gap between a rustic apple crisp and a high-end gourmet cheesecake. Follow these steps precisely to achieve the “gourmet” handheld look featured in our visual guide.
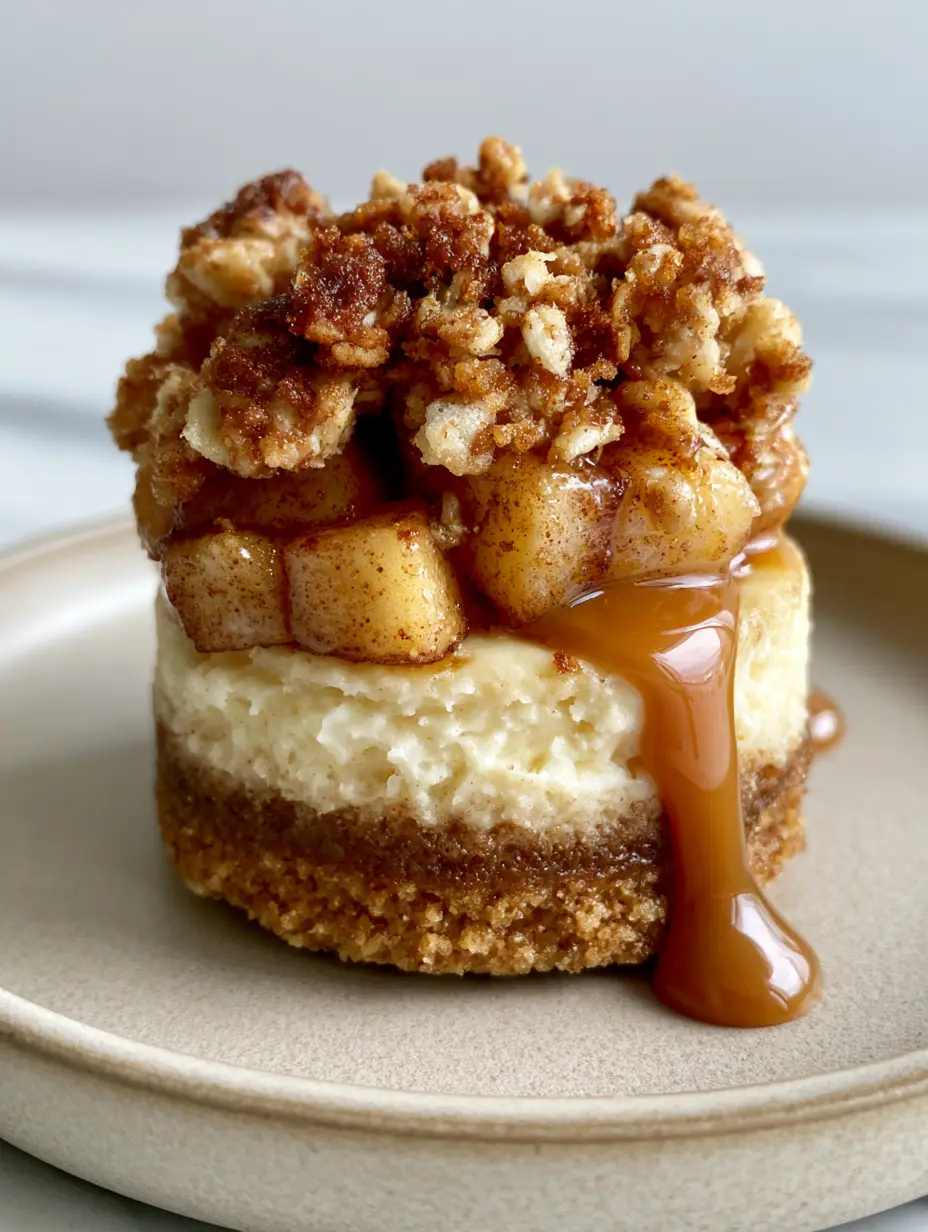
Apple Crisp Mini Cheesecakes with Cinnamon Stewed Apples and Oat Crumble
Ingredients
Equipment
Method
- Combine graham cracker crumbs, sugar, cinnamon, and melted butter. Press into the bottom of 12 lined muffin cups.
- Bake at 325°F (165°C) for 5 minutes, then remove and cool.
- Beat cream cheese and sugar until smooth. Add sour cream and vanilla, then add eggs one at a time on low speed.
- Sauté diced apples with butter, brown sugar, and cinnamon in a skillet until tender and glazed (about 5-7 minutes).
- Cut cold butter into oats, flour, and brown sugar until crumbly.
- Divide cheesecake batter among cups. Top with a spoonful of stewed apples and a generous sprinkle of oat crumble.
- Bake for 18-22 minutes until edges are set. Cool in the oven with the door cracked, then refrigerate for at least 4 hours.
- Before serving, drizzle with thick amber caramel sauce.
Notes
Don't overmix the batter after adding eggs to prevent cracking.
Closing & Call to Action
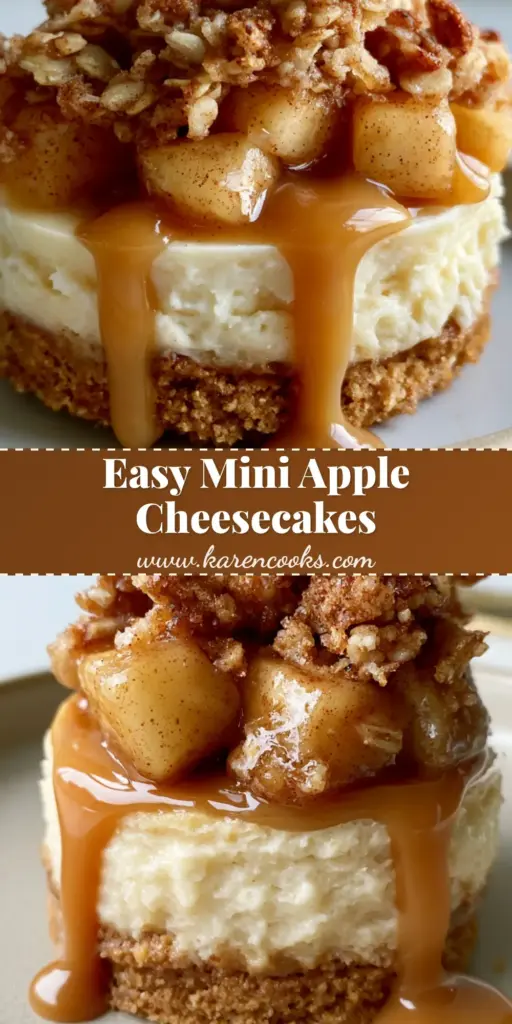
Apple Crisp Mini Cheesecakes are the perfect way to celebrate the changing seasons. With their layers of spiced crust, creamy filling, and buttery crumble, they are guaranteed to be the star of your next gathering. The thick amber caramel drizzle is the final touch that turns a simple dessert into a work of culinary art.
If you enjoyed this recipe, please leave a comment below and let us know how yours turned out! Don’t forget to share your creations on Instagram and tag us. For more seasonal inspiration, follow Karen Cooks Official on Pinterest and save this recipe to your favorite dessert boards!


