The snickerdoodle cookie cups are the ultimate evolution of a nostalgic bakery classic, transformed into a gourmet, handheld masterpiece that looks as incredible as it tastes. Imagine a deep, golden-brown cookie base that offers a satisfyingly chewy resistance before giving way to a soft, moist center, all while sparkling under a thick, dual-layer coating of cinnamon-sugar crystals.
This isn’t just a cookie; it’s a structural achievement in dessert design, featuring a perfectly hollowed well that serves as a vessel for a generous, thick swirl of pure white cream cheese frosting. To finish, a glossy, deep golden-amber caramel drizzle cascades over the edges, catching the light and promising a symphony of textures in every single bite.
Whether you are preparing these for a festive gathering or simply looking to elevate your weekend baking, this recipe leverages professional culinary techniques to ensure your kitchen results perfectly mirror the high-end visuals of a professional patisserie. Get ready to master the science of the “crinkled edge” and the art of the “perfect swirl.”
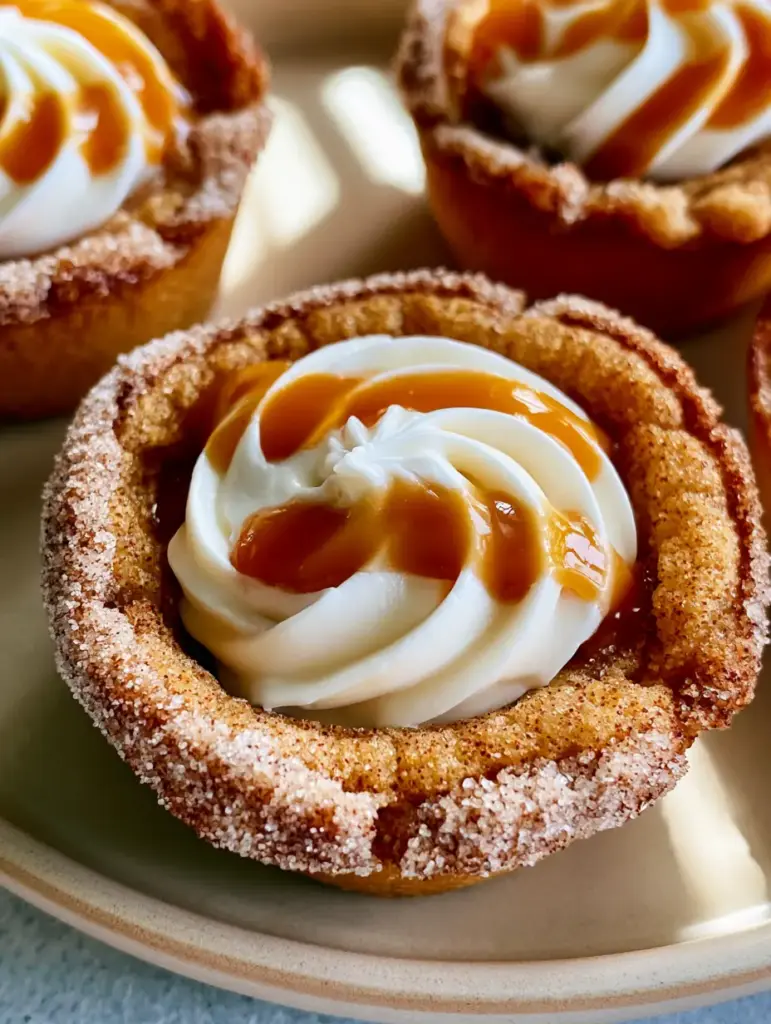
Why These Golden-Brown Delights Are a Total Game Changer
- Unmatched Texture Contrast: The “crinkled edges” provide a slight snap that immediately transitions into a buttery, chewy foundation, mimicking the best parts of a traditional snickerdoodle.
- Visual Brilliance: The dual-layer of cinnamon sugar ensures that every millimeter of the cookie cup glitters under soft natural light, creating a professional “sparkling” finish.
- Gourmet Filling: Unlike standard buttercream, our thick cream cheese frosting provides a tangy counterpoint to the deep, sweet notes of the amber caramel drizzle.
- Structural Integrity: These cups are designed to hold their shape perfectly, making them the ideal candidate for a dessert spread alongside apple crisp mini cheesecakes.
The Secret Pantry Staples for the Ultimate Snickerdoodle Foundation
Achieving the specific visual and structural results described in our blueprint requires more than just mixing dough; it requires an understanding of how specific ingredients react under heat. Below are the essential components for your snickerdoodle cookie cups.
All-Purpose Flour: 3 cups (375g). This provides the necessary structure to create a “thick, chewy” wall for our cup without becoming overly cakey or dense.
Cream of Tartar: 2 tsp (7g). This is the non-negotiable “invisible” ingredient that provides the signature tang and reacts with the leavening agents to create those iconic crinkled edges.
Baking Soda: 1 tsp (5g). Working in tandem with the cream of tartar, this ensures the cookie cups rise and then slightly collapse in the center to help form that “soft, moist texture.”
Unsalted Butter: 1 cup (226g), softened. Using high-quality butter ensures a rich, golden-brown finish and a fat content that carries the cinnamon flavor across the palate.
Granulated Sugar: 1 ½ cups (300g). This is used both in the dough for sweetness and for the “sparkling cinnamon-sugar crystals” that coat the exterior of each cup.
Large Eggs: 2. These act as the binder, providing the moisture and protein necessary to maintain the cup shape once they are removed from the muffin tin.
Pure Vanilla Extract: 1 tbsp (15ml). A generous pour of vanilla enhances the “golden-amber” notes of the caramel and rounds out the spice of the cinnamon.
Ground Cinnamon: 2 tbsp (16g). This is split between the dough and the coating to ensure a “dual-layer” of flavor and a visual pop of spice against the golden dough.
Full-Fat Cream Cheese: 8 oz (225g), brick style. Necessary for a “thick white cream cheese frosting” that holds a swirl without wilting or weeping.
Salted Caramel Sauce: ½ cup (120ml). You can use store-bought, but look for a “glossy amber” variety that has enough viscosity to drizzle without disappearing into the frosting.
Essential Tools for a Professional Patisserie Finish
To achieve the “overhead close-up” quality seen in our visual guide, you will need a few specific kitchen tools that help maintain uniformity and texture.
A standard 12-cup muffin tin is the primary mold for our cookie cups. Using a non-stick tin combined with a light coating of baking spray ensures the “crinkled edges” remain intact during the release process.
A cookie scoop (roughly 2 tablespoons) is vital for portion control. Consistent dough volume ensures that every single cup finishes with the same “thick, chewy” base and rises to the same height in the oven.
A tart tamper or a small shot glass is the “pro secret” for creating the well. Pressing into the dough immediately after it leaves the oven creates that “perfectly hollowed well” while the center is still soft and pliable.
Finally, a piping bag fitted with a large open star tip is necessary to achieve the “generous, thick swirl” of frosting. If you enjoy this piping technique, you might also want to try it on our red velvet cake pops for a different flavor profile.
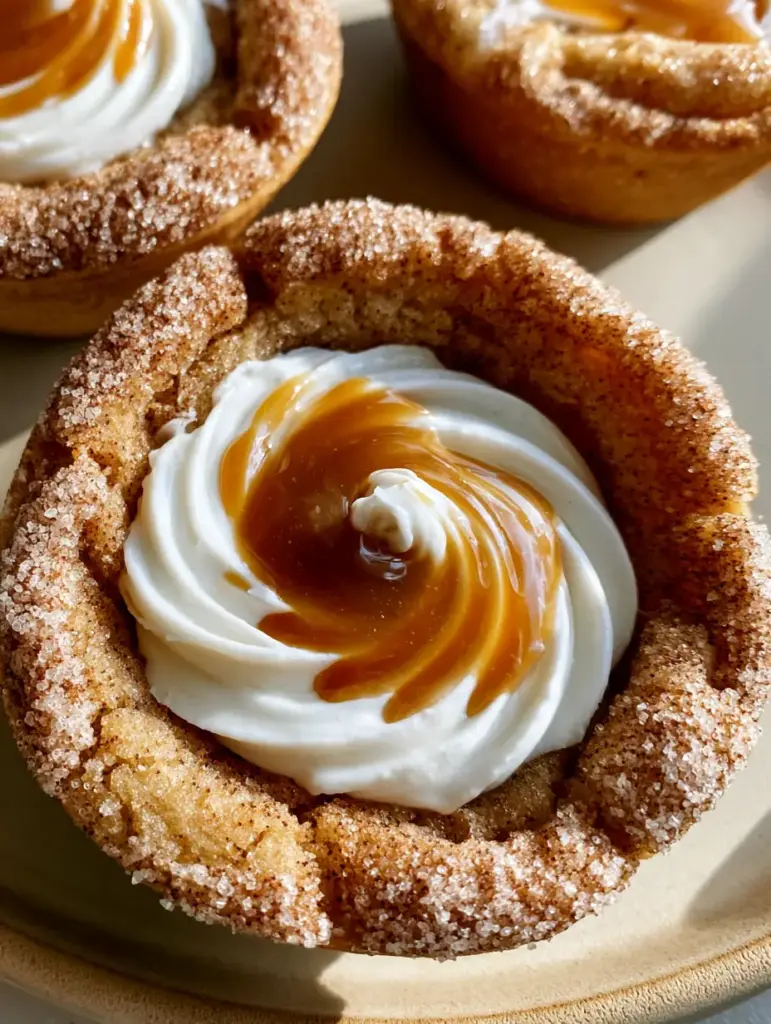
The Science of the Snickerdoodle: A Step-by-Step Masterclass
Phase 1: Engineering the Perfect Chewy Dough
Begin by preheating your oven to 350°F (175°C). In a medium bowl, whisk together your flour, cream of tartar, baking soda, and a pinch of salt. This ensures the leavening agents are evenly distributed, which is the key to preventing “lopsided” cups.
In a large stand mixer, cream your softened butter and 1 cup (200g) of sugar for at least 3 minutes. You are looking for a visual change: the mixture should turn from a yellow hue to a pale, fluffy cream color. This aeration is what creates the “soft, moist texture” in the finished bake.
Add your eggs one at a time, followed by the vanilla. Slowly incorporate the dry ingredients on low speed until just combined. Over-mixing at this stage will develop too much gluten, turning your “chewy” base into a tough, bread-like structure.
Phase 2: Creating the Dual-Layer Cinnamon Sparkle
In a small bowl, combine the remaining ½ cup (100g) of sugar with the cinnamon. This is where we create the “sparkling cinnamon-sugar crystals.”
Scoop the dough into balls and roll them once in the sugar mixture. For the “dual-layer” effect, let them sit for 60 seconds, then roll them a second time. This second coating ensures the sugar doesn’t fully dissolve into the dough during baking, leaving behind that beautiful glittery crust.
Place each ball into the prepared muffin tin. Unlike standard chocolate chip cookie cups, we don’t want to flatten these yet; the natural spread in the oven will create the “crinkled edges” we desire.
Phase 3: The “Post-Bake” Well Formation
Bake for 12-14 minutes. Watch for the sensory cues: the edges should be a “deep golden-brown” and the centers should still look slightly underbaked and puffed. The “smell” will be a heady mix of toasted sugar and warm spice.
Immediately upon removing the tin from the oven, use your tamper or shot glass to firmly press into the center of each cookie. This collapses the center and pushes the dough up the sides, creating that “perfectly hollowed well.” Allow them to cool completely in the tin to set the structure.
Phase 4: Achieving the Thick Frosting Swirl and Amber Drizzle
For the frosting, beat your cold cream cheese and butter until smooth, then slowly add powdered sugar until it reaches a “thick, pure white” consistency. It should be stiff enough that a peak held on a spoon doesn’t move.
Pipe a generous swirl into the cooled wells. Finally, slightly warm your caramel sauce so it is “glossy and fluid.” Use a spoon to create a “thick drizzle,” letting it run naturally over the curves of the frosting. The contrast between the pure white and the amber caramel is the hallmark of this dish.
Expert Tips for Bakery-Standard Cookie Cups
- The Temperature Rule: Ensure your cream cheese is slightly chilled but your butter is room temperature. This prevents the frosting from becoming “soupy” and ensures it holds the weight of the caramel.
- The Well Timing: You have a window of about 2 minutes after the cookies leave the oven to create the well. If they cool too much, the “crinkled edges” will crack rather than mold.
- Sugar Selection: Use a coarse granulated sugar for the exterior coating if you want an extra-heavy “sparkling” effect that mimics professional photography.
- Avoid the Sink: If your caramel is too hot, it will melt the frosting. Ensure the caramel is just barely warm to the touch before drizzling.
Preserving the Texture: Storage and Freshness
Because these contain a “thick white cream cheese frosting,” they must be stored in the refrigerator. Place them in an airtight container for up to 5 days. The “chewy golden-brown cookie base” actually stays remarkably soft due to the high fat content from the butter.
If you need to freeze them, do so before adding the frosting and caramel. The bases can be frozen for up to 3 months. When ready to serve, thaw at room temperature and then proceed with the fresh frosting and “glossy amber caramel drizzle” for the best visual results.
Gourmet Pairings: What to Serve With Snickerdoodles
These cookie cups are a rich, indulgent treat that pairs beautifully with a variety of beverages. For a refreshing contrast, serve them alongside a bellini peach raspberry iced tea or even a crisp butterfly pea lemonade.
If you are looking to create a full dessert flight, consider adding a smaller, lighter option like chocolate cake pops or a portion of no-bake biscoff cheesecake to balance the warm cinnamon notes of the snickerdoodles.
Frequently Asked Questions About Snickerdoodle Cups
Yes, you can bake the bases a day ahead. However, for the best results, add the cream cheese frosting and caramel drizzle shortly before serving to maintain the cookie’s crunch.
While you can, store-bought frosting is often too thin to hold a high swirl. A homemade, brick-style cream cheese frosting is recommended for that thick, pure white visual result.
Ensure you use the ‘post-bake’ well formation technique. Pressing the center immediately after baking compacts the base, making it structurally sound enough to hold the frosting.
Rolling the dough balls twice in the sugar-cinnamon mixture creates a thicker crust that resists melting in the oven, leaving behind sparkling crystals.
Cream of tartar provides the signature tangy flavor and reacts with baking soda to create the crinkled edges and chewy texture that defines a classic snickerdoodle.
The Ultimate Snickerdoodle Cookie Cup Recipe
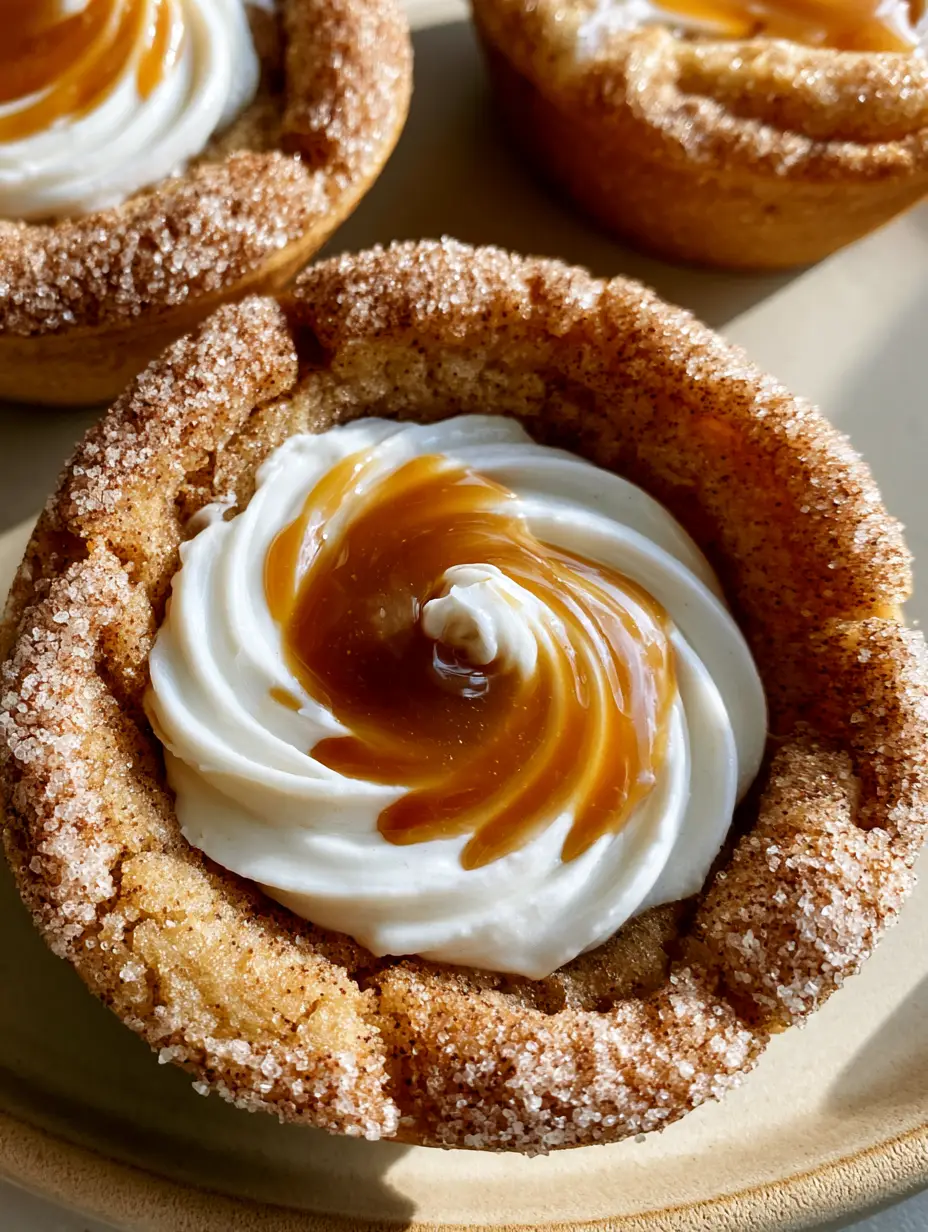
Snickerdoodle cookie cups with Cream Cheese Frosting and Salted Caramel Drizzle
Ingredients
Equipment
Method
- Cream softened butter and 1 cup of sugar for 3 minutes until pale and fluffy. Add eggs and vanilla.
- Whisk flour, cream of tartar, baking soda, and salt. Slowly fold into the wet mixture.
- Roll dough into balls and coat twice in the cinnamon-sugar mixture. Place in muffin tin and bake at 350°F (175°C) for 12-14 minutes until golden-brown.
- Immediately after baking, use a tamper to press a well into each cookie cup while still soft.
- Beat cream cheese, butter, and powdered sugar until a thick white frosting forms. Pipe a swirl into each cooled cup.
- Drizzle warm, glossy amber caramel over the frosting swirls.
Notes
Ensure cookie cups are completely cool before frosting to prevent melting.
Closing & Call to Action
Mastering these snickerdoodle cookie cups is about more than just satisfying a sweet tooth; it’s about bringing a high-end, visual-first culinary experience into your own kitchen. The combination of the sparkling cinnamon exterior, the tangy cream cheese, and that signature caramel drizzle creates a dessert that is as memorable as it is delicious.
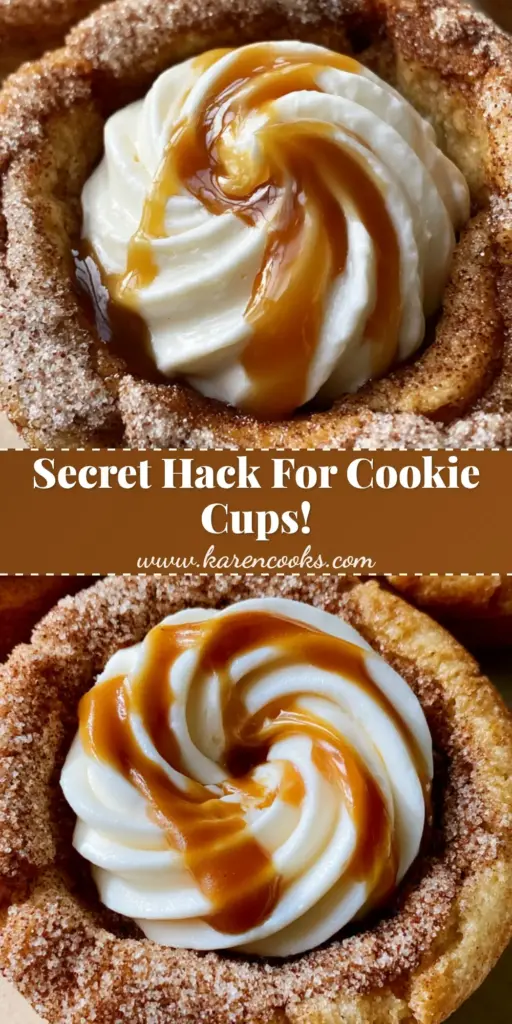
If you enjoyed this deep dive into dessert architecture, I would love to hear your results! Leave a comment below, and don’t forget to share your creations and pin this recipe to your favorite boards on Pinterest so others can enjoy these golden-brown treats too!


