There is a specific kind of magic that happens when you combine the salty, nutty punch of roasted peanuts with the deep, cocoa-rich crunch of a chocolate cookie. This reese’s peanut butter cup pie isn’t just a dessert; it is a visual and textural masterpiece designed for those who believe that more is truly more.
Imagine holding a plate where a perfect slice of pie sits, catching the soft natural daylight. You see the distinct, thick base of a dark crumbly Oreo cookie crust, followed by a dense yet silky layer of light-brown peanut butter cream cheese filling that looks almost like velvet.
To finish it off, a glossy, rich chocolate ganache drizzle zig-zags across the top, acting as the anchor for a generous heap of chopped Reese’s peanut butter cups and salty roasted peanuts. It is the ultimate handheld smartphone-photo-worthy moment, and today, I am teaching you how to build it from the ground up.
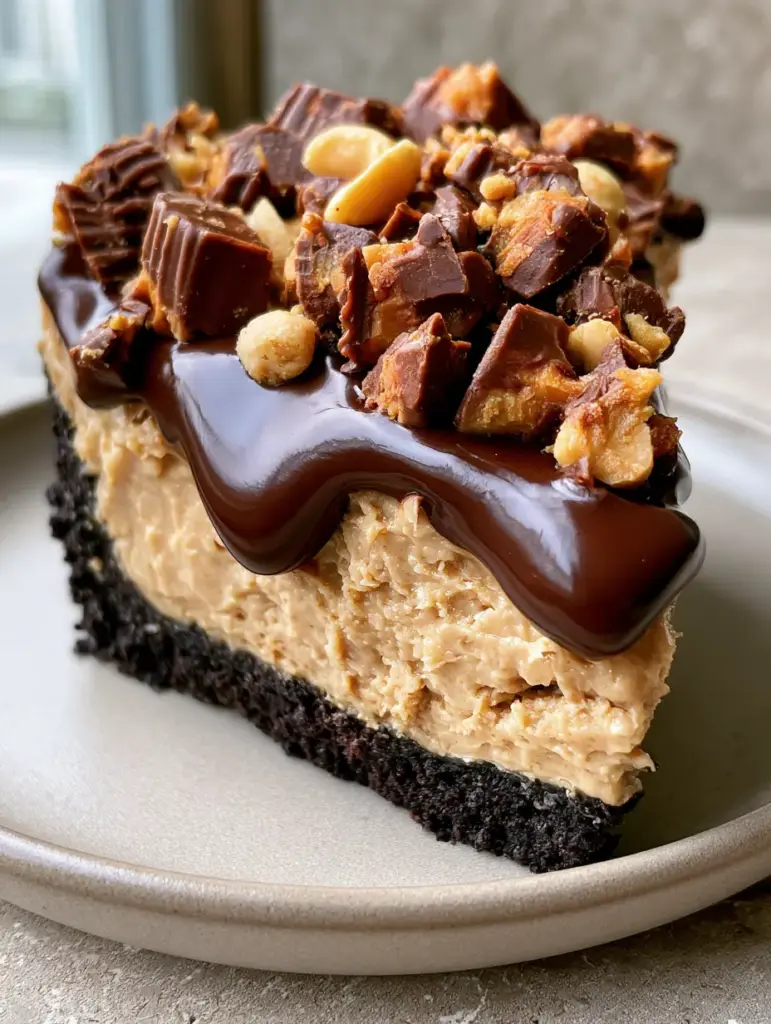
Why This Reese’s Peanut Butter Cup Pie Works
- The Texture Contrast: You get a massive crunch from the dark Oreo base followed by the immediate melt-in-your-mouth silkiness of the peanut butter cream.
- Glossy Ganache Finish: Unlike thin chocolate syrups, our ganache is heavy on the cream, ensuring it stays shiny and rich even after refrigeration.
- No-Bake Ease: This recipe requires zero oven time, making it the perfect solution for hot summer days or busy holiday weekends when oven space is a premium.
- Visual Forensics: Every element, from the chopped miniature cups to the scattered peanuts, is placed to provide a professional, bakery-style aesthetic.
The Anatomy of a Perfect No-Bake Crust
The foundation of our reese’s peanut butter cup pie is the Oreo cookie crust. While many recipes use a thin layer, we are going for a thick, structural base that can support the heavy filling.
24 (approx. 270g) Oreo Cookies: We use the whole cookie, including the cream filling. The filling acts as a secondary binder along with the butter to ensure the crust doesn’t crumble away when sliced.
6 tbsp (85g) Unsalted Butter: Melted butter is the “glue.” As it chills, it solidifies, locking those dark chocolate crumbs into a firm, snappy shell.
If you love this chocolatey foundation, you should also try our no-bake Twix pie for another candy-bar-inspired treat.
Essential Ingredients for the Silky Peanut Butter Filling
Achieving that specific light-brown, dense, and silky texture requires the right balance of fats and sugars. We aren’t just making a pudding; we are making a stable, mousse-like cream cheese cloud.
8 oz (226g) Full-Fat Cream Cheese: It must be at room temperature to prevent lumps. This provides the structural “tang” and density that makes it feel like a classic creamy cheesecake.
1 cup (250g) Creamy Peanut Butter: Use a standard processed brand (like Jif or Skippy) rather than natural oil-separating varieties. The stabilizers in commercial peanut butter help the pie set firmly.
1 cup (120g) Powdered Sugar: This dissolves instantly into the cream cheese, providing sweetness without any grit, unlike granulated sugar.
1 tsp (5ml) Pure Vanilla Extract: A foundational invisible ingredient that rounds out the sharp notes of the peanut butter.
1 cup (240ml) Heavy Whipping Cream: Beaten to stiff peaks and folded in, this is what gives the filling its “silky” Midjourney-perfect appearance.
The Secrets to a Glossy Ganache Drizzle
A true reese’s peanut butter cup pie needs that signature dark contrast. A glossy drizzle isn’t just for looks; it adds a hit of semi-sweet chocolate that cuts through the saltiness of the peanuts.
1/2 cup (90g) Semi-Sweet Chocolate Chips: These provide a stable cocoa butter content which helps the ganache set with a slight snap.
1/3 cup (80ml) Heavy Cream: When heated and poured over chocolate, it creates an emulsion that is liquid enough to drizzle but thick enough to stay put.
For those who prefer a different flavor profile, you might find our butterscotch cream pie ganache techniques equally fascinating.
The Toppings: Texture and Visual Appeal
10-12 Miniature Reese’s Peanut Butter Cups: Chopped into uneven chunks. This creates a “mountain” effect on top of the pie that catches the light beautifully.
1/4 cup (35g) Roasted Peanuts: Roughly chopped. These provide the essential salt component to balance the sugar and add the final layer of crunch described in our visual blueprint.
Equipment Needed for Bakery-Quality Results
To achieve the “perfect slice” seen in the handheld smartphone photo, you need the right tools. A 9-inch (23cm) springform pan is ideal if you want to remove the sides for a clean look, but a deep-dish ceramic pie plate works beautifully for a rustic, home-cooked feel.
You will also need a food processor to pulse the Oreos into a fine, sandy rubble. An offset spatula is your best friend here; it allows you to smooth the top of the peanut butter filling into a perfectly level surface before the ganache is applied.
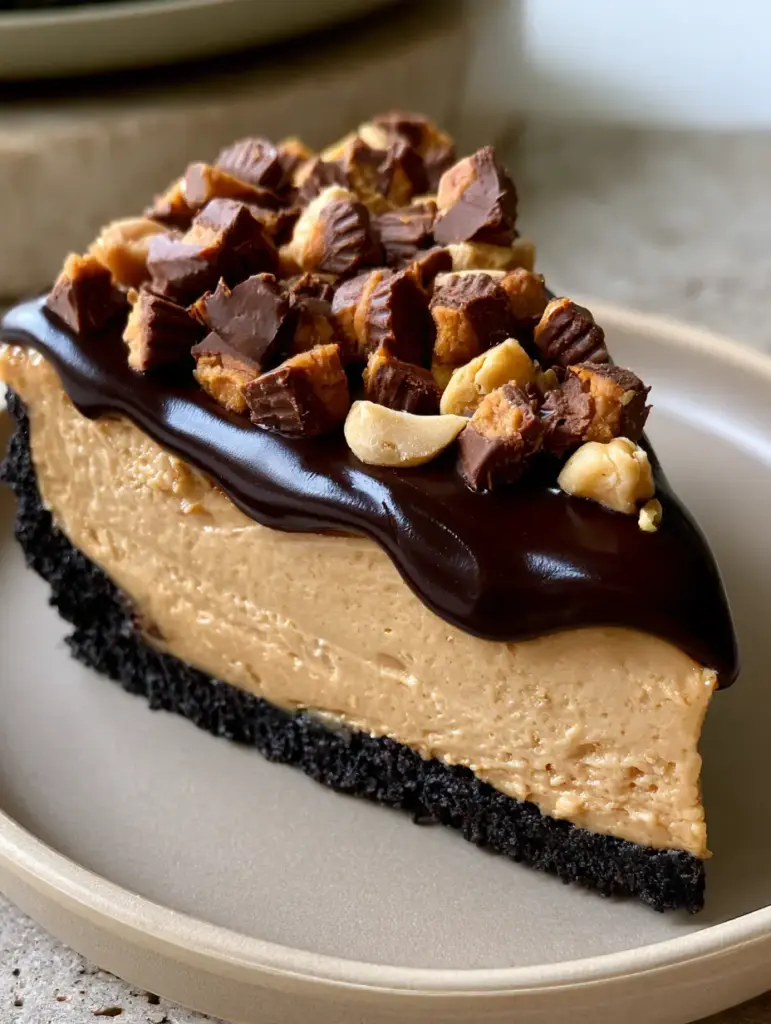
Step-by-Step Instructions for the Ultimate Pie
Constructing the Oreo Foundation
Start by pulsing your Oreo cookies in a food processor until they resemble fine coffee grounds. Pour in the melted butter and pulse again until the mixture looks like wet sand.
Press this mixture firmly into the bottom and up the sides of your 9-inch pie plate. Use the bottom of a flat measuring cup to pack it down tight—this ensures the crust doesn’t fall apart when you lift that first slice.
Whipping the Peanut Butter Cloud
In a large bowl, beat the room-temperature cream cheese and peanut butter together until the mixture is one uniform color. Sift in the powdered sugar to avoid any lumps and add the vanilla.
In a separate chilled bowl, whip your heavy cream until stiff peaks form. Gently fold the whipped cream into the peanut butter mixture using a rubber spatula. You want to keep the air in the mixture so the filling stays “silky” and light, not heavy and gummy.
The Setting Phase
Spread the filling over the prepared crust. Use your offset spatula to create a smooth, flat horizon. Refrigerate for at least 4 hours, or ideally overnight. This “cold cure” is what allows the fats in the peanut butter and cream cheese to marry, creating that dense, sliceable texture.
The Final Decorative Drizzle
Heat your heavy cream until it just begins to simmer, then pour it over the chocolate chips. Let it sit for 2 minutes, then whisk until it transforms into a glossy, dark liquid. Let it cool slightly so it’s not piping hot when it hits the pie.
Drizzle the ganache in a back-and-forth motion. Immediately, while the chocolate is still wet, sprinkle your chopped Reese’s and roasted peanuts over the top so they “stick” to the drizzle.
Expert Tips for a Professional Finish
- Temperature Control: Never try to whip cold cream cheese. It will result in tiny white specks of cheese throughout your beautiful light-brown filling.
- The Clean Slice: To get the perfect slice like the one in our prompt, dip your knife in hot water and wipe it dry between every single cut. This melts through the ganache and crust for a surgical finish.
- Peanut Butter Choice: Avoid “natural” peanut butters where the oil separates. The lack of emulsifiers will cause the pie to weep and lose its structural integrity.
- Crust Compression: If your crust is too crumbly, you likely didn’t press it hard enough. Don’t be afraid to use some muscle when packing those Oreo crumbs!
Storing and Freezing Your Indulgent Creation
This reese’s peanut butter cup pie keeps exceptionally well. You can store it in the refrigerator, covered loosely with plastic wrap, for up to 5 days. The crust actually stays surprisingly crisp thanks to the chocolate coating from the Oreos.
For longer storage, this pie is a fantastic candidate for freezing. Freeze the pie solid (about 2 hours), then wrap it tightly in a double layer of plastic wrap and a layer of foil. It will stay fresh for up to 3 months. Thaw it in the fridge for 4 hours before serving to maintain that silky texture.
What to Serve With Peanut Butter Pie
Because this pie is incredibly rich, it pairs best with items that offer a bit of acidity or a refreshing palate cleanser. A tall glass of ice-cold milk is the classic choice, but a cup of dark roast coffee also works wonders to balance the sweetness.
If you are hosting a dessert party, consider serving this alongside a fruit-forward option like our strawberry shortcake or a light banana pudding pie to give your guests a variety of flavor profiles. For a summer gathering, a beach peach lemonade provides a sharp, citrusy contrast to the heavy peanut butter.
Frequently Asked Questions
Yes! This pie is a perfect make-ahead dessert. It stays fresh in the fridge for up to 5 days, or you can freeze it for up to 3 months.
It is not recommended. Natural peanut butter often separates, which can cause the filling to become oily or fail to set properly. Stick to processed brands like Jif or Skippy for a silky, stable texture.
No, this is a strictly no-bake recipe. The melted butter and the cream from the Oreos will solidify in the fridge, creating a firm and snappy crust without any oven time.
For the cleanest slices, the pie needs at least 4 hours in the refrigerator. Overnight is even better to ensure the Oreo crust and cream cheese filling are fully set.
A crumbly crust usually means the cookie crumbs weren’t pressed firmly enough into the pan or there wasn’t enough butter. Use the bottom of a heavy cup to pack the crumbs tightly into the plate.
The Complete Reese’s Peanut Butter Cup Pie Recipe
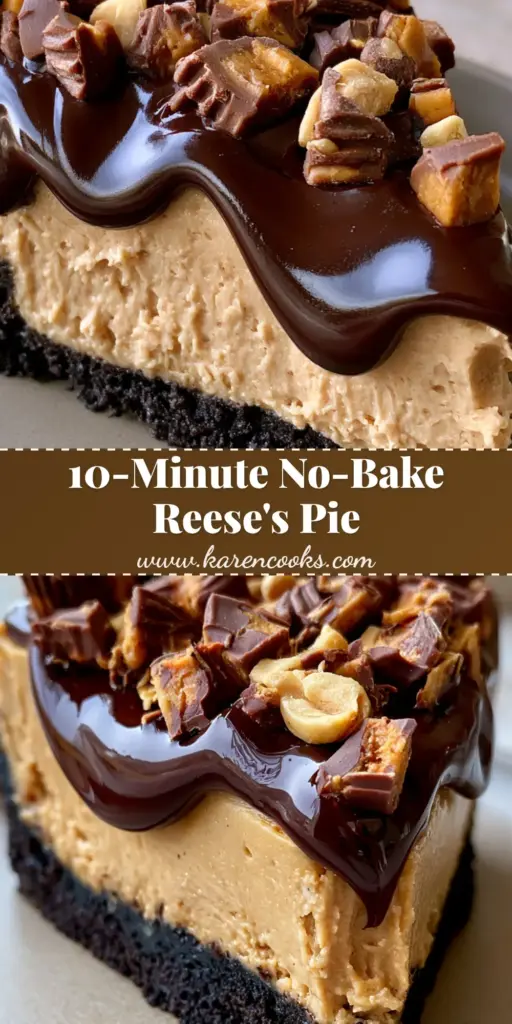
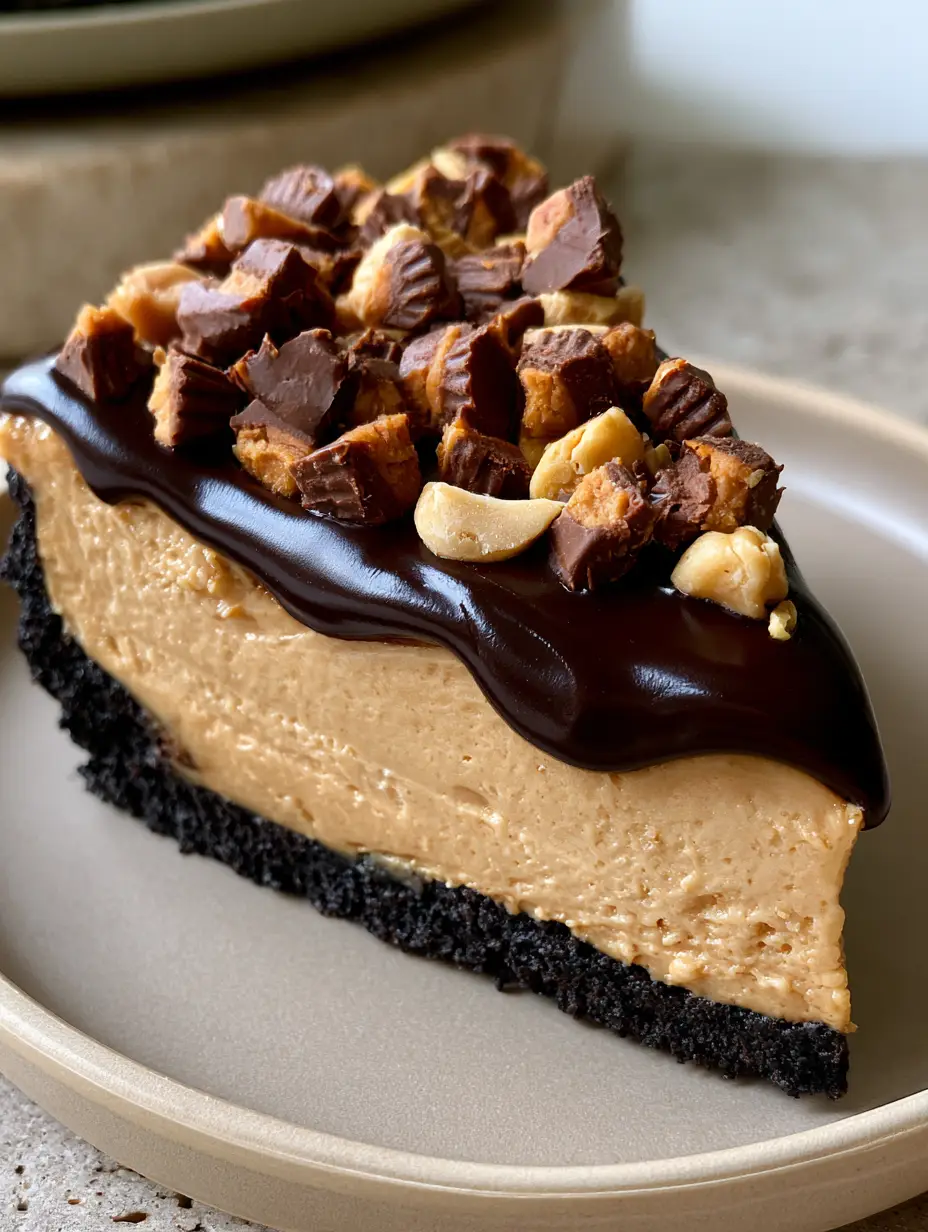
Reese's Peanut Butter Cup Pie with a Dark Oreo Crust
Ingredients
Equipment
Method
- Pulse Oreo cookies in a food processor until fine crumbs form. Add melted butter and pulse until combined.
- Firmly press the mixture into the bottom and sides of a 9-inch pie plate. Chill in the freezer while preparing the filling.
- Beat cream cheese and peanut butter until smooth. Add powdered sugar and vanilla; beat until light and fluffy.
- In a separate bowl, whip heavy cream to stiff peaks. Gently fold into the peanut butter mixture until no white streaks remain.
- Spread into the crust and smooth the top. Refrigerate for at least 4 hours.
- Heat 1/3 cup cream and pour over chocolate chips. Let sit for 2 mins, then whisk until glossy. Drizzle over chilled pie.
- Immediately sprinkle with chopped Reese's cups and roasted peanuts. Serve chilled.
Notes
Clean your knife with hot water between slices for a bakery-perfect presentation.
Final Thoughts on This No-Bake Masterpiece
Building the perfect reese’s peanut butter cup pie is about respecting the balance of flavors and textures. From the dark, moody Oreo crust to the bright, natural daylight hitting the glossy ganache, every element serves a purpose. It’s a reliable, crowd-pleasing dessert that looks like it took hours of professional pastry work, but is actually achievable for any home cook.
If you enjoyed this recipe, please leave a comment below and tell me how your crust turned out! Don’t forget to follow me on Pinterest for more decadent dessert inspiration and share your pie photos with the hashtag #KarenCooksOfficial.


