There is a specific visual poetry in a perfect caramel swirl cheesecake. Imagine a tall, gourmet slice resting on a matte cream plate, where the ivory-hued, dense filling meets a thick, golden-brown toasted graham cracker crust. The crowning glory is a thick, glossy amber salted caramel swirl that drips lazily down the side, punctuated by sparse, sparkling flaky sea salt crystals.
Achieving this level of culinary artistry isn’t just about following a recipe; it is about understanding the science of emulsion and the physics of heat. This caramel swirl cheesecake is designed to be crack-free, velvety-smooth, and intensely decadent, mirroring the high-end aesthetic of a professional patisserie.
Whether you are preparing this for a special occasion or simply to master the art of the water bath, this guide will walk you through every sensory cue. From the smell of browning butter in the crust to the visual change of sugar transforming into amber caramel, your kitchen is about to become a gourmet workshop.
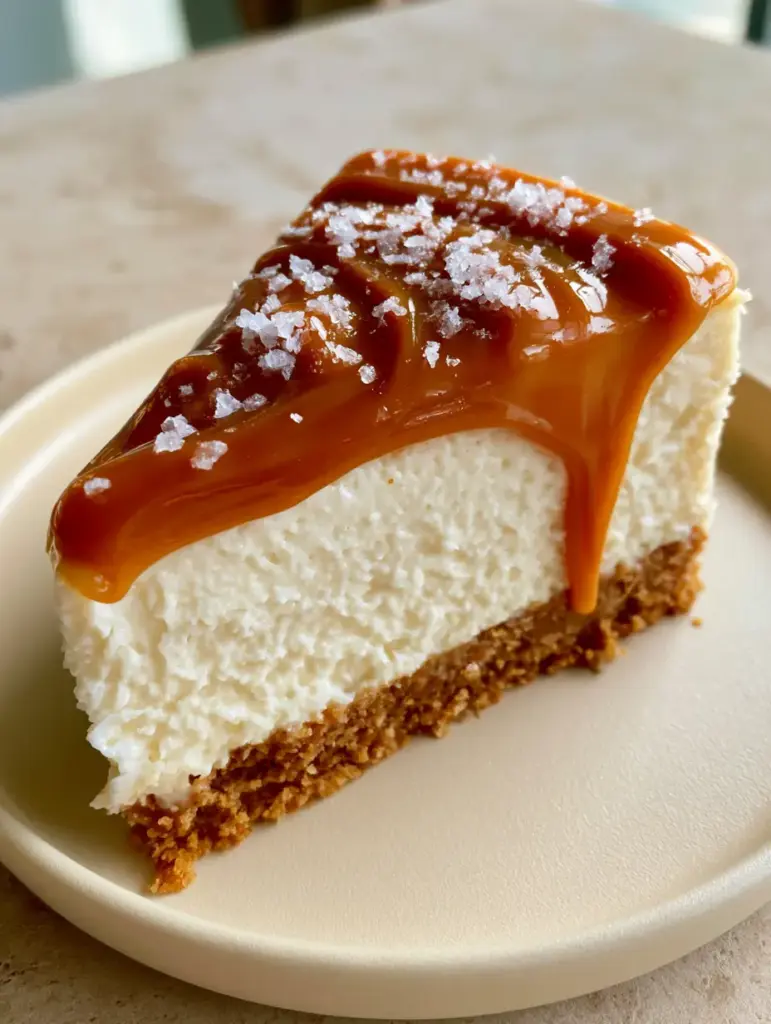
Why This Salted Caramel Masterpiece Works
- Textural Contrast: The crunch of a deeply toasted graham cracker base provides the perfect structural foundation for the velvety filling.
- Visual Sophistication: The stark contrast between the “ivory” cheesecake and the “glossy amber” caramel creates a photo-ready dessert.
- Balanced Flavor Profile: We utilize flaky sea salt to cut through the richness of the sugar and cream, ensuring every bite is complex.
- Scientific Precision: Our specific cooling method ensures a crack-free surface every single time, even without heavy stabilizers.
The Foundation: Choosing Your Essential Ingredients
Full-Fat Brick Cream Cheese: For that “dense and velvety” texture, you must use high-quality brick cream cheese. Low-fat or tub versions contain too much water, which will ruin the structural integrity of your caramel swirl cheesecake.
Granulated Sugar: Beyond sweetness, sugar provides the “ivory” color of the filling by tenderizing the proteins in the eggs and cheese. In the caramel, it is the sole source of that deep, nutty amber flavor profile.
Heavy Whipping Cream (36% Fat): This is the “invisible ingredient” that thins the caramel to a glossy, pourable consistency. In the cheesecake filling, it adds a luxurious mouthfeel that mimics a classic creamy cheesecake texture.
Graham Cracker Crumbs: We toast these crumbs with butter to ensure the base is “golden-brown” rather than pale. This extra step adds a layer of Maillard reaction flavors that elevates the entire dish.
Sour Cream: This is the secret to the “ivory” color. While eggs add yellow hues, sour cream lightens the color and adds a subtle tang that balances the thick caramel swirl.
Flaky Sea Salt: Look for Maldon or similar crystals. These are not just for flavor; they provide “sparkling” visual highlights that contrast against the glossy caramel.
Professional Tools for a Crack-Free Result
To achieve the tall, gourmet height seen in our visual blueprint, you will need a 9-inch (23cm) springform pan. This allows for easy removal without damaging the delicate caramel-adorned edges.
A heavy-duty stand mixer or electric hand mixer is essential for aerating the cheese at low speeds. High speeds incorporate too much air, which leads to the cracks we want to avoid in our caramel swirl cheesecake.
Finally, ensure you have a large roasting pan for the water bath. The steam created by the water bath insulates the cheesecake, ensuring it cooks evenly from the center out to the edges.
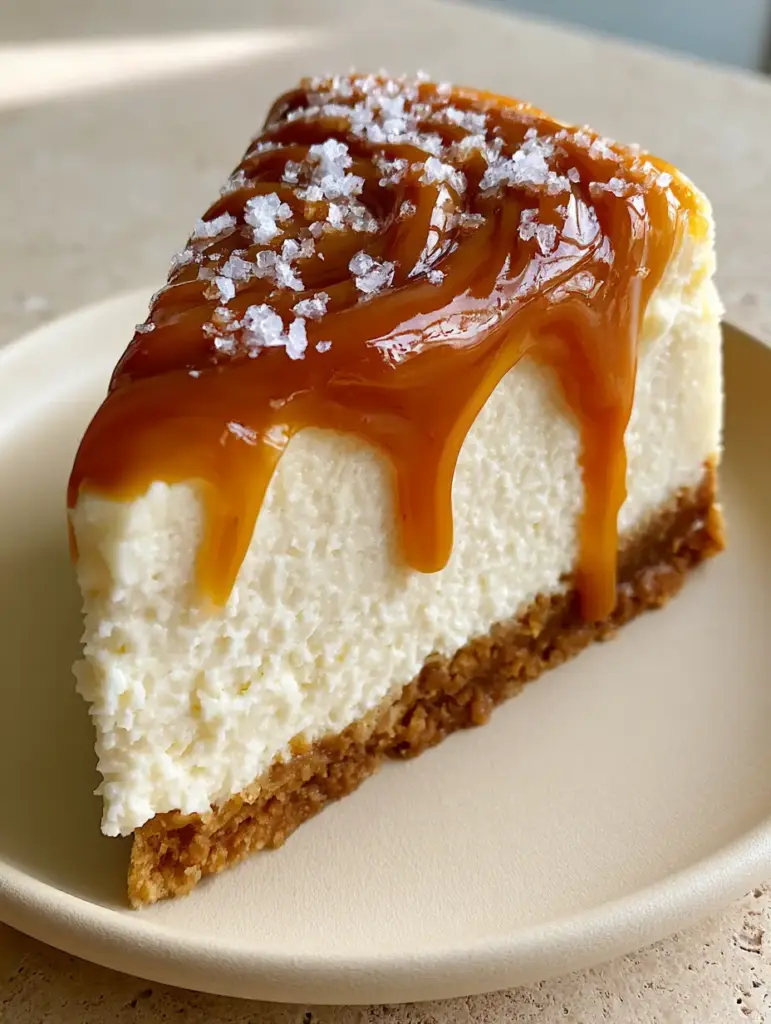
The Secret to a Deeply Toasted Graham Foundation
Pre-Toasting the Crumbs
In a medium bowl, combine 1.5 cups (180g) of graham cracker crumbs with 1/3 cup (65g) of sugar and 6 tbsp (85g) of melted salted butter. The mixture should feel like wet sand; when squeezed in your hand, it should hold its shape momentarily.
Press this mixture firmly into the bottom and 1 inch (2.5cm) up the sides of your springform pan. Bake at 350°F (175°C) for exactly 10 minutes until you smell a nutty aroma and see a “golden-brown” hue forming at the edges.
Sealing the Springform Pan
Because we are using a water bath, you must waterproof your pan. Wrap the exterior in three layers of heavy-duty aluminum foil, ensuring the foil reaches all the way to the top rim.
Crafting the Dense Ivory Filling
Creaming the Cheese and Sugar
Beat 32oz (900g) of room-temperature cream cheese and 1 cup (200g) of sugar on low speed. You are looking for a smooth, “velvety” consistency without any visible lumps of cheese.
Incorporating the Liquid Elements
Gently fold in 1 cup (240ml) of sour cream and 1 tbsp (15ml) of vanilla extract. These ingredients ensure the filling remains a bright “ivory” while providing the necessary acidity for a balanced palate.
The Low-Impact Egg Addition
Add 4 large eggs, one at a time, mixing just until the yellow disappears. Over-mixing at this stage is the primary cause of cracks, so exercise patience and keep the speed low.
Engineering the Glossy Amber Caramel Swirl
The Dry Caramel Method
In a small saucepan, heat 1 cup (200g) of granulated sugar over medium heat. Do not stir; instead, swirl the pan occasionally until the sugar melts into a “thick glossy amber” liquid.
Emulsifying with Cream
Slowly whisk in 1/2 cup (120ml) of warm heavy cream. The mixture will bubble violently—this is normal. Continue whisking until smooth, then stir in 4 tbsp (55g) of butter and 1/2 tsp (3g) of sea salt.
The Art of the Swirl
Pour your cheesecake batter into the crust. Drop spoonfuls of the cooled caramel onto the surface. Use a thin knife or skewer to create wide, sweeping patterns, ensuring some caramel remains in “thick” pockets for visual impact.
The Precise Bake and Cool Cycle
The Water Bath Immersion
Place the springform pan into the roasting pan and fill the roasting pan with boiling water until it reaches halfway up the sides of the cheesecake pan. Bake at 325°F (160°C) for 75-85 minutes.
The Sensory Cues for Doneness
Look for the “jiggle test.” The edges should be set and slightly puffed, but the center 2-inch (5cm) circle should still wobble slightly like Jell-O. It should not look wet or liquid.
The Controlled Cooling Phase
Turn off the oven and prop the door open with a wooden spoon. Let the cheesecake sit in the water bath for 1 hour. This slow temperature drop is the ultimate secret to a “crack-free” surface.
Expert Tips for Gourmet Results
- Temperature is King: Every cold ingredient (cheese, eggs, sour cream) must be at room temperature to prevent lumps.
- Sift the Sugar: If your sugar has clumps, sift it before adding to the cream cheese to ensure that “velvety-smooth” finish.
- Wipe the Knife: When slicing your caramel swirl cheesecake, dip a sharp knife in hot water and wipe it clean between every single cut for professional, clean edges.
- The Salt Timing: Do not add the “flaky sea salt crystals” until just before serving, otherwise, they will dissolve into the caramel.
The Ideal Pairings for Caramel Cheesecake
This dessert is a showstopper on its own, but it pairs beautifully with a cup of dark roast coffee or a glass of tawny port. If you are looking to build a full dessert spread, consider adding a fruit-forward option like a blueberry cheesecake crumb cake or perhaps a lighter pistachio cheesecake for color contrast.
For those who love the combination of fruit and caramel, this recipe serves as a great foundational knowledge base for making caramel apple crisp mini cheesecakes during the autumn months.
Frequently Asked Questions
You can, but ensure it is a ‘thick’ gourmet caramel. Thin, ice-cream style syrups will bleed into the batter and won’t create that glossy, defined amber swirl.
Heat a sharp knife under hot water, wipe it completely dry, and make one clean vertical cut. Wipe the knife clean and repeat for every single slice.
Use a water bath to insulate the heat and ensure all ingredients are at room temperature. Most importantly, cool the cheesecake slowly in the oven with the door propped open for at least an hour.
Add the sea salt crystals just before serving. If added too early, the salt will absorb moisture from the caramel and dissolve, losing its sparkling visual appeal.
Over-baking or using too many egg yolks can cause a yellow tint. To keep it ivory, use sour cream to lighten the base and bake just until the center is set.
The Ultimate Caramel Swirl Cheesecake Recipe
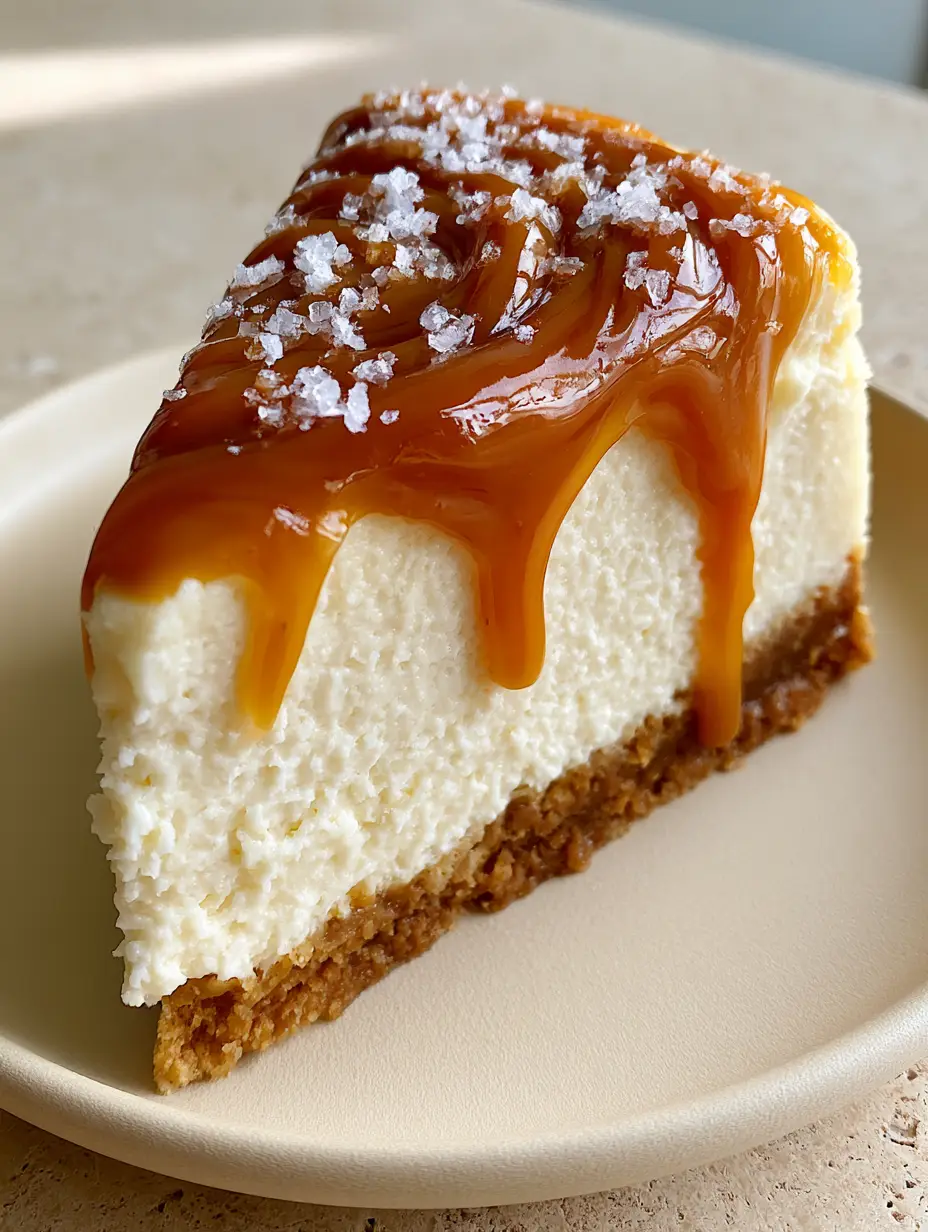
Caramel Swirl Cheesecake with a Toasted Graham Cracker Crust
Ingredients
Equipment
Method
- Mix graham crumbs, sugar, and melted butter. Press into the pan and bake at 350°F (175°C) for 10 minutes until golden-brown.
- Heat sugar in a saucepan until it becomes a glossy amber liquid. Slowly whisk in warm cream and butter until smooth.
- Beat cream cheese and sugar on low until velvety. Add sour cream, vanilla, and eggs one by one.
- Pour batter into pan, swirl in caramel, and bake in a water bath at 325°F (160°C) for 75-85 minutes.
Notes
Cool the cheesecake in the oven with the door propped open for 1 hour to prevent cracking.
Storage and Make-Ahead Instructions
Refrigeration: Store this cheesecake in the refrigerator, loosely covered, for up to 5 days. The caramel will stay glossy, but the “sparkling” salt may need a fresh sprinkle before serving.
Freezing: You can freeze the entire cheesecake or individual slices. Wrap tightly in plastic wrap and then foil. It will stay fresh for up to 3 months. Thaw in the refrigerator overnight before serving.
Closing and Call to Action
Mastering the caramel swirl cheesecake is a rite of passage for any serious home baker. By following these visual cues—from the ivory filling to the amber drips—you are guaranteed a result that looks as good as it tastes. If you enjoyed this recipe, please leave a comment below and share your photos with me on Pinterest!


