The search for the perfect chewy brownie recipe is a culinary rite of passage for every home baker. We have all been there, chasing that elusive combination of a dense, fudgy center and a paper-thin, shiny crinkle crust that shatters at the touch of a fork.
This isn’t just another boxed-mix clone; this is a scientifically engineered chocolate experience designed to deliver maximum decadence. By focusing on the precise ratio of fats to sugars, we achieve a texture that is intensely rich and satisfyingly chewy.
Imagine biting into a freshly sliced square where the dark chocolate chips are still slightly molten and a hint of flaky sea salt elevates the cocoa to new heights. If you have already mastered our creamy strawberry cheesecake, you are ready to tackle this chocolate powerhouse.
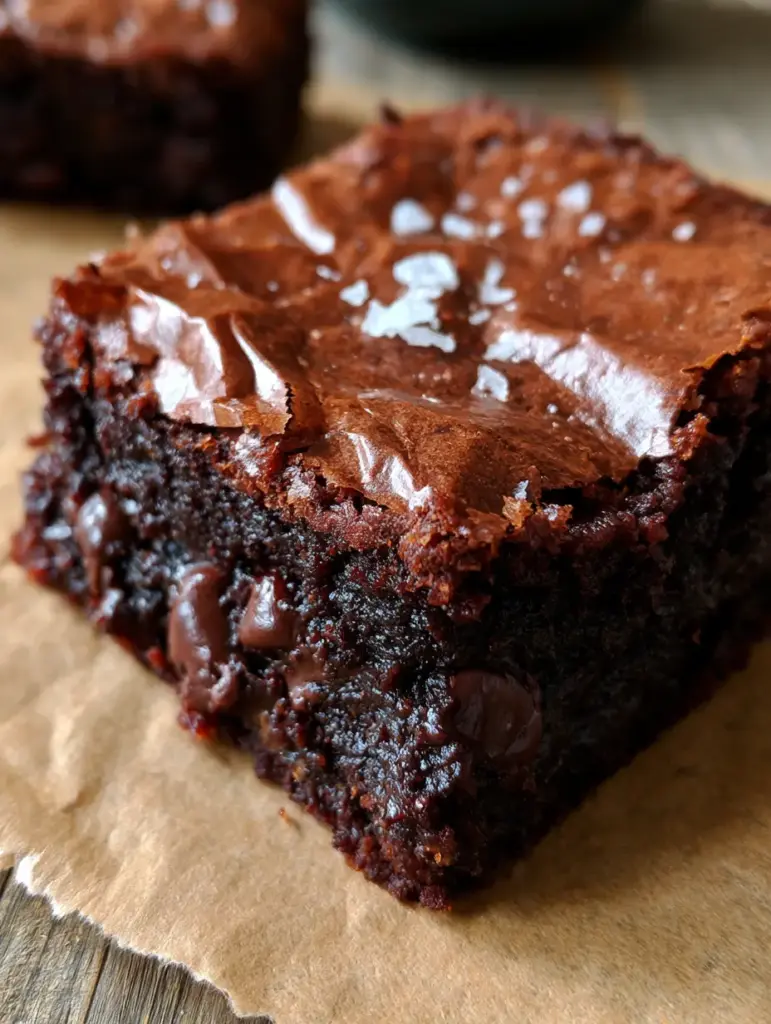
The Visual Hallmarks of a Perfect Fudgy Brownie
- The Signature Crinkle Top: A delicate, shiny, and papery skin that cracks beautifully when sliced.
- Ultra-Dense Interior: A fudgy, dark center that lacks the airiness of cake, providing a heavy, decadent mouthfeel.
- Molten Chocolate Pockets: Bursts of melted dark chocolate chips distributed throughout every single bite.
- Salted Finish: Large flakes of coarse sea salt that provide a sharp, clean contrast to the deep sweetness.
Achieving this visual and textural harmony requires more than just mixing ingredients; it requires an understanding of how sugar and protein interact during the baking process. This chewy brownie recipe is the culmination of dozens of test batches, ensuring that what you see in the photos is exactly what you get on your plate.
The Essential Pantry Checklist for Intense Chocolate Flavor
Selecting high-quality ingredients is the first step in ensuring your brownies have the professional “handheld smartphone photo” aesthetic. Every component in this chewy brownie recipe serves a structural and flavor-driven purpose.
Unsalted Butter: 1 cup (225g) of high-quality butter provides the foundational fat that creates the “fudge” factor. Melting the butter helps dissolve the sugar, which is the secret to that shiny top.
Granulated Sugar: 1.5 cups (300g) of white sugar is essential for the crinkle crust. When beaten with eggs, it creates a meringue-like layer that rises to the surface during baking.
Light Brown Sugar: 0.5 cup (100g) packed brown sugar adds moisture and a hint of molasses. This contributes to the “chew” that distinguishes this chewy brownie recipe from a standard cakey brownie.
Large Eggs: 3 room-temperature eggs provide structure and leavening. Beating them vigorously is what incorporates the necessary air to lift the top skin without making the center cakey.
Dutch-Processed Cocoa Powder: 0.75 cup (75g) of dark cocoa gives the brownies their deep, obsidian color. Dutch-processing neutralizes the acidity, resulting in a smoother, more intense chocolate flavor.
All-Purpose Flour: 1 cup (125g) of flour is just enough to hold the structure together. We keep the flour count low to ensure the brownies remain dense and fudgy rather than light and fluffy.
Dark Chocolate Chips: 1 cup (170g) of high-quality dark chocolate chips (60% cacao or higher). These create the visible “melted” pockets seen in our blueprint photos.
Flaky Sea Salt: 1 tsp (approx. 5g) of coarse crystals for finishing. Do not use table salt here; you want the visual impact and the crunchy texture of the flakes.
Pure Vanilla Extract: 1 tbsp (15ml) to round out the chocolate notes. Vanilla acts as a flavor enhancer, making the chocolate taste “more like chocolate.”
Must-Have Tools for the Professional Home Baker
To achieve the rustic parchment-paper look and the perfectly clean slices, you need the right equipment. Using a metal pan is non-negotiable for the best heat distribution.
An 8×8 inch (20x20cm) square metal baking pan is the ideal size for thick, substantial slices. Avoid glass or ceramic, as they hold heat differently and can lead to overbaked edges and raw centers.
High-quality parchment paper is your best friend for easy removal. Leaving an overhang (or “wings”) allows you to lift the entire block of brownies out of the pan for that “extreme close-up” slicing shot.
A sturdy whisk and a silicone spatula are necessary for the two distinct mixing phases. You will whisk for aeration and fold for integration.
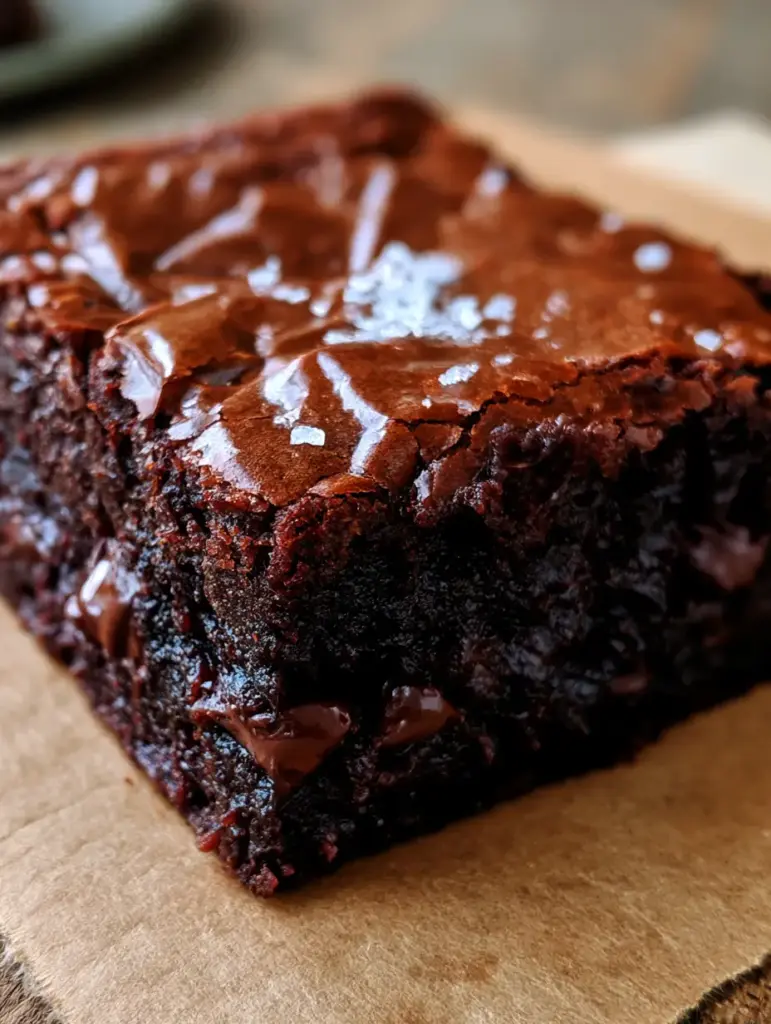
A Step-by-Step Masterclass in Brownie Perfection
Follow these instructions closely to ensure you achieve the dense, dark, and ultra-moist result described in the visual recipe blueprint.
Step 1: Preparing the Foundation
Preheat your oven to 350°F (175°C). Line your metal pan with parchment paper, ensuring it covers the bottom and sides. Grease the parchment lightly with a bit of butter or non-stick spray to ensure the shiny crust doesn’t stick to the edges.
Step 2: The Butter and Sugar Fusion
In a medium microwave-safe bowl, melt the 1 cup (225g) of butter. While the butter is still hot, whisk in the granulated sugar and brown sugar. Whisking the sugar into hot butter helps it dissolve, which is the foundational step for creating the cracked, shiny top.
Step 3: Creating the Meringue Texture
Add the 3 eggs and vanilla extract to the butter-sugar mixture. Whisk vigorously by hand for at least 2 full minutes. You are looking for a visual change: the mixture should turn pale and slightly thickened. This aeration is what creates the “papery skin” seen in the high-angle photo.
Step 4: Incorporating the Dark Cocoa
Sift in the 0.75 cup (75g) of cocoa powder and 0.5 tsp of fine salt (for the batter). Gently whisk until just combined. The batter should now look dark, glossy, and incredibly rich.
Step 5: The Gentle Fold
Using a silicone spatula, gently fold in the 1 cup (125g) of flour. Stop as soon as you see no more white streaks. Over-mixing at this stage will develop gluten, which will make the brownies tough instead of chewy. Finally, fold in 0.75 cup of the dark chocolate chips, reserving a handful for the top.
Step 6: The Bake and Sensory Cues
Pour the batter into the prepared pan and smooth the top. Sprinkle the remaining chocolate chips over the surface. Bake for 25–30 minutes. Look for the visual cues: the edges should be set, but the center should still have a slight jiggle. The top must be shiny and starting to show those delicate cracks.
Step 7: The Final Flourish
Remove the pan from the oven and immediately sprinkle with the flaky sea salt crystals. The heat will help the salt adhere to the shiny surface. Allow the brownies to cool *completely* in the pan. This is the hardest part, but it is essential for the fudgy center to set and for the clean slices you see in the prompt.
Expert Tips for the Ultimate Crinkle Crust
- Temperature Matters: Ensure your eggs are at room temperature so they emulsify properly with the melted butter.
- Don’t Skip the Sifting: Cocoa powder is notorious for clumps. Sifting ensures a smooth, velvety batter that looks beautiful in close-up shots.
- The Toothpick Test: For a chewy brownie recipe, a toothpick inserted into the center should come out with a few moist crumbs attached. If it’s clean, they are overbaked!
- Clean Slicing: Use a large, sharp knife and wipe it clean with a damp cloth between every single cut. This preserves the dense, dark interior look.
Maximizing Freshness and Texture
These brownies are even better the second day as the flavors have time to deepen. Store them in an airtight container at room temperature for up to 4 days. If you prefer an ultra-fudgy experience, you can keep them in the refrigerator, which makes them almost truffle-like in texture.
To freeze, wrap individual slices tightly in plastic wrap and place them in a freezer bag. They will stay fresh for up to 3 months. Simply thaw at room temperature for a quick chocolate fix that rivals our easy mug cookie.
What to Serve With Dense Fudgy Brownies
While these brownies are a star on their own, they pair beautifully with other treats. For a summer party, serve them alongside a refreshing vibrant purple lemonade to contrast the deep chocolate tones.
If you are putting together a dessert table, these brownies look stunning next to crimson red velvet cake pops or even a bowl of creamy banana pudding. The dark, rustic look of the brownie coordinates perfectly with any neutral or wooden serving platter.
Frequently Asked Questions
You can, but the flavor will be more acidic and the color will be lighter. Dutch-processed cocoa gives that iconic dark, rich appearance and smooth chocolate taste seen in professional photos.
The shiny crust is essentially a thin layer of meringue. To achieve this, you must whisk your eggs and sugar together vigorously until the mixture is pale and thick before adding the dry ingredients.
For the best results, wait until the brownies are completely cool, at least 1-2 hours. This allows the fats to solidify, creating those clean, sharp edges and a dense interior.
Cakey brownies are usually caused by too much flour or too much air being beaten into the flour. To keep them chewy, use a low flour-to-fat ratio and avoid over-mixing once the flour is added.
Metal conducts heat more efficiently and evenly than glass or ceramic. This ensures the edges don’t get too hard before the center is cooked, resulting in a consistent fudgy texture.
The Chewy Brownie Recipe Card
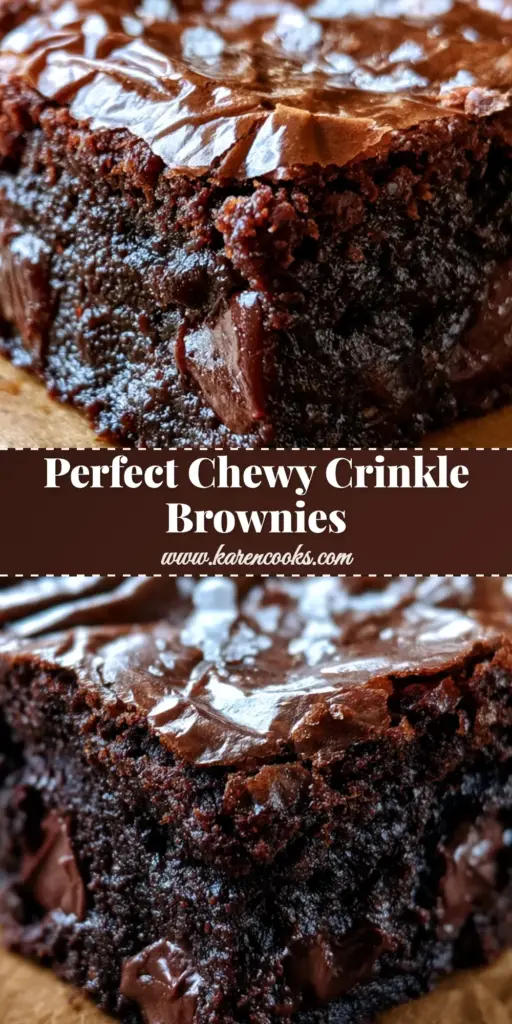
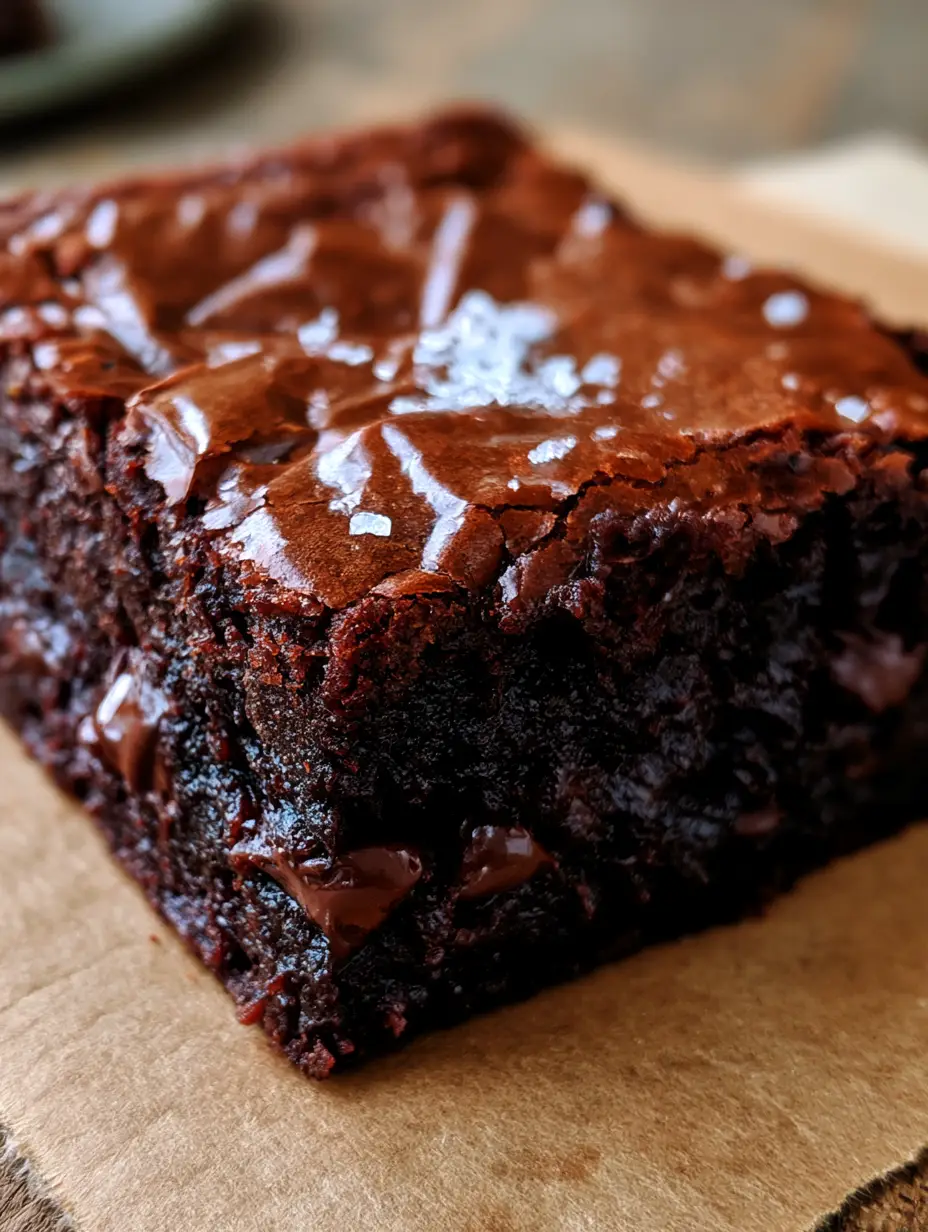
Chewy Brownie Recipe: The Ultimate Guide to a Fudgy, Crinkle-Top Masterpiece
Ingredients
Equipment
Method
- Preheat your oven to 350°F (175°C) and line an 8x8 inch metal pan with parchment paper.
- Whisk melted butter with granulated and brown sugars in a large bowl until well combined.
- Add eggs and vanilla, whisking vigorously for 2 minutes until the batter is pale and thick.
- Sift in cocoa powder and fold in flour and chocolate chips until just combined.
- Pour into pan, top with extra chips, and bake for 25-30 minutes until a shiny crust forms.
- Top with flaky sea salt and cool completely before slicing into squares.
Notes
Always use a metal pan for the best fudgy texture.
Join the Karen Cooks Community!
We hope this chewy brownie recipe becomes a staple in your kitchen. There is nothing quite like the satisfaction of peeling back that parchment paper to reveal a perfectly baked tray of chocolate gold. The combination of the shiny, crinkled top and the salt-dusted dark chocolate is truly a sensory delight.
If you enjoyed this recipe, please leave a comment below and tell us how yours turned out! Don’t forget to take a photo of your fudgy masterpiece and tag us. For more dessert inspiration, be sure to follow our boards on Pinterest and save this recipe for your next baking session!


