The Chocolate chip cookie in a mug is the definitive answer to late-night cravings and the ultimate shortcut to dessert heaven. Imagine a warm, golden-brown cookie that is ready in less time than it takes to brew a pot of coffee, featuring a texture that rivals a traditional oven-baked treat.
This recipe captures the essence of a soft-baked cookie, complete with molten chocolate pools and a gooey center that yields perfectly to a spoon. Using a minimalist beige ceramic mug, we create a controlled environment where steam and heat transform simple pantry staples into a decadent, single-serve masterpiece.
Whether you are a seasoned baker or a kitchen novice, this Chocolate chip cookie in a mug delivers a high-end culinary experience with minimal cleanup. By focusing on the science of microwave baking, we ensure a result that is never rubbery, but always rich, buttery, and satisfyingly sweet.
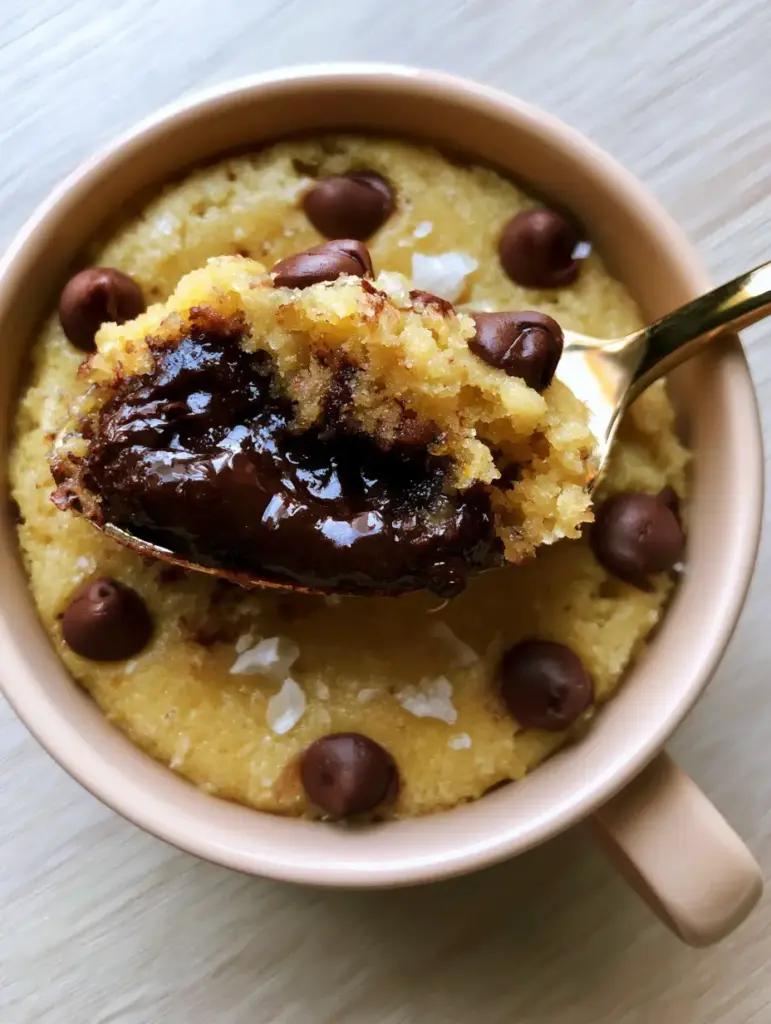
Why This Is the Best Chocolate chip cookie in a mug You Will Ever Make
- Visual Perfection: The cookie features a soft, golden surface studded with semi-sweet chocolate chips that melt into thick, glossy pools of dark chocolate.
- Gooey Molten Center: Unlike many dry mug cakes, this recipe uses specific ratios to ensure a lava-like interior that pairs perfectly with a cold glass of milk.
- Professional Texture: The addition of a specific leavening balance creates a “warm baked cookie dough” feel that mimics the traditional no-chill chocolate chip cookies you love.
- Salty-Sweet Balance: A final dusting of flaky sea salt elevates the semi-sweet chocolate, providing a gourmet finish that balances the richness of the dough.
Essential Pantry Staples for a Molten Cookie Center
Unsalted Butter (1 tbsp / 14g): This provides the foundational fat necessary for a tender crumb and that signature buttery flavor. We melt it directly in the mug to jumpstart the emulsification process with the sugars.
Brown Sugar (1 tbsp / 12g) and White Sugar (1 tbsp / 12g): Using a blend of both sugars is critical. The molasses in the brown sugar ensures a moist, chewy texture, while the white sugar aids in creating those golden, slightly crisp edges around the rim of the mug.
Pure Vanilla Extract (1/4 tsp / 1.25ml): Vanilla acts as a flavor enhancer, rounding out the notes of the butter and chocolate. It provides the aromatic “bakery smell” that fills your kitchen as the microwave runs.
Egg Yolk (1 Large Yolk): This is the secret to a rich, molten center. By omitting the white (which can make mug desserts rubbery), the yolk adds fat and protein for a silky, custard-like cookie structure.
All-Purpose Flour (3 tbsp / 24g): This provides the structural framework for our Chocolate chip cookie in a mug. It is important to measure accurately using a scale to prevent the cookie from becoming too dense or cake-like.
Baking Powder (1/8 tsp / 0.5g) and Salt (a pinch): A small amount of leavening gives the dough its “lift,” while a pinch of fine salt within the dough balances the sweetness of the chocolate chips.
Semi-Sweet Chocolate Chips (2 tbsp / 30g): High-quality chips or chopped dark chocolate create those visually stunning molten pools. We fold some into the dough and press others into the surface for maximum visual impact.
Flaky Sea Salt (to taste): Large crystals of Maldon or similar sea salt provide the final “pop” of flavor. This ingredient is essential for achieving the professional aesthetic described in our visual blueprint.
Tools for the Ultimate Mug Cookie Experience
To achieve the perfect bake, you will need a minimalist beige ceramic mug with a capacity of at least 8 ounces (240ml). The ceramic material provides even heat distribution, ensuring the cookie dough bakes uniformly from the edges to the center.
A small whisk or a simple fork is needed to emulsify the wet ingredients. You will also want a set of accurate measuring spoons or a digital kitchen scale to ensure the Imperial (Metric) ratios are precise, as mug baking is a game of ratios.
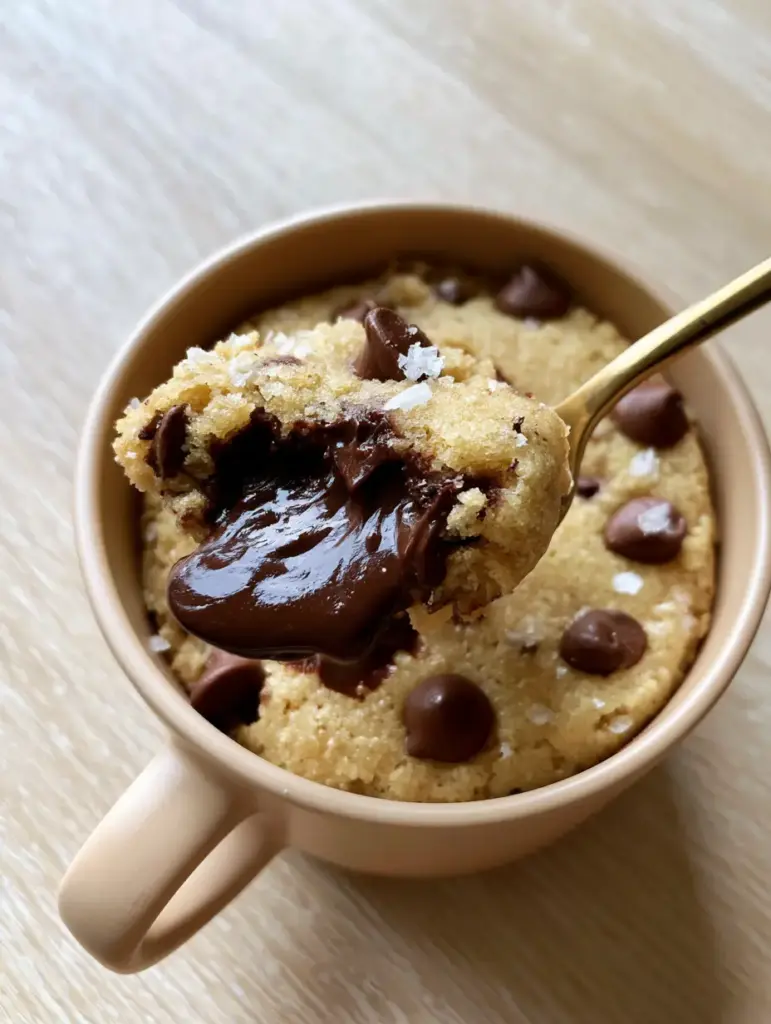
Finally, a high-quality spoon is required for serving. As seen in our cookie cups photography, a heavy spoon helps lift the warm dough to reveal the gooey, molten dark chocolate hidden beneath the surface.
Step-by-Step Mastery of the 60-Second Bake
Creating the Buttery Foundation
Place your unsalted butter in the beige ceramic mug and microwave for 15-20 seconds until completely melted. Add both the brown and white sugars along with the vanilla extract and the pinch of fine salt.
Whisk the mixture vigorously with a fork until the sugars are partially dissolved and the mixture looks like a thick syrup. This step is vital for ensuring a smooth, non-gritty texture in the final baked cookie.
Integrating the Richness
Add the single egg yolk to the mug and stir until completely incorporated. The mixture should become glossy and slightly pale in color; this indicates that the fat and moisture have properly emulsified, which is key to that “warm baked cookie dough” texture.
Gently fold in the all-purpose flour and baking powder. Stop stirring as soon as the last streak of flour disappears; over-mixing at this stage will develop too much gluten, leading to a tough rather than tender Chocolate chip cookie in a mug.
Folding in the Molten Pools
Stir in half of the semi-sweet chocolate chips, ensuring they are distributed throughout the dough. Use the back of a spoon to smooth the top of the dough, then press the remaining chocolate chips into the surface.
This layering technique ensures that as the cookie bakes, the chips on top melt into the “thick, melted dark chocolate pools” seen in our visual guide, while the interior chips create the gooey, molten center.
The Precision Microwave Bake
Microwave on high power for 50 to 60 seconds. Watch the cookie closely through the door; it should puff up and the surface should transition from looking wet to looking “soft and golden” with a slight matte finish.
Do not overcook! The cookie will continue to set as it rests. If the center still looks slightly underdone, that is perfect—it will result in the molten center we are aiming for. If you enjoy this format, you might also like our snickerdoodle cookie cups.
Professional Secrets for Mug Cookie Texture
- The Resting Rule: Allow the mug to sit for at least 2 minutes after microwaving. This allows the residual heat to finish cooking the starch while keeping the chocolate in a liquid, molten state.
- Check Your Wattage: Standard recipes are based on a 1000-watt microwave. If yours is more powerful, reduce the time to 45 seconds to avoid a dry result.
- Sifting the Flour: If your flour is lumpy, sift it before adding it to the mug to ensure a perfectly smooth crumb that feels like high-end cake batter chocolate chip cookies.
- Room Temperature Yolk: Using a yolk that isn’t cold from the fridge helps it incorporate more easily into the melted butter, preventing the butter from seizing.
Storage, Reheating & Freezing
The Chocolate chip cookie in a mug is designed for immediate consumption while the chocolate is still in its molten state. However, if you cannot finish it, you can cover the mug with plastic wrap and keep it at room temperature for up to 12 hours.
To reheat, microwave for 10-15 seconds just to soften the chocolate and warm the dough. We do not recommend freezing this specific recipe, as the microwave texture is best enjoyed fresh. For a treat that lasts longer, try our smores chocolate chip cookies.
What to Pair with Your Warm Mug Cookie
While this cookie is a star on its own, it pairs beautifully with a scoop of cold vanilla bean ice cream. The contrast between the freezing ice cream and the warm, molten chocolate pools creates a sensory experience that is hard to beat.
For a complete dessert spread, consider serving this alongside other handheld treats like chocolate cake pops or a refreshing glass of butterfly pea lemonade to cleanse the palate after the rich chocolate.
If you are in the mood for more seasonal flavors, this technique also works well when adapted for chocolate pumpkin cupcakes or even small portions of peach cobbler muffins.
Frequently Asked Questions
Yes, you can substitute the butter with melted coconut oil or vegan butter and use a tablespoon of unsweetened applesauce or dairy-free milk instead of the egg yolk.
Yes, a 1-to-1 gluten-free baking flour blend works well in this recipe, though the texture may be slightly softer than with all-purpose flour.
There is no need to grease the mug as the high butter content in the dough prevents sticking, making it easy to eat directly with a spoon.
A standard 8-12 ounce ceramic mug is best. Ceramic distributes heat evenly, which helps the cookie bake without burning the edges.
This usually happens if you use the egg white or overcook the dough. Stick to only the egg yolk and stop the microwave while the center still looks slightly soft.
The Perfect Chocolate chip cookie in a mug Recipe
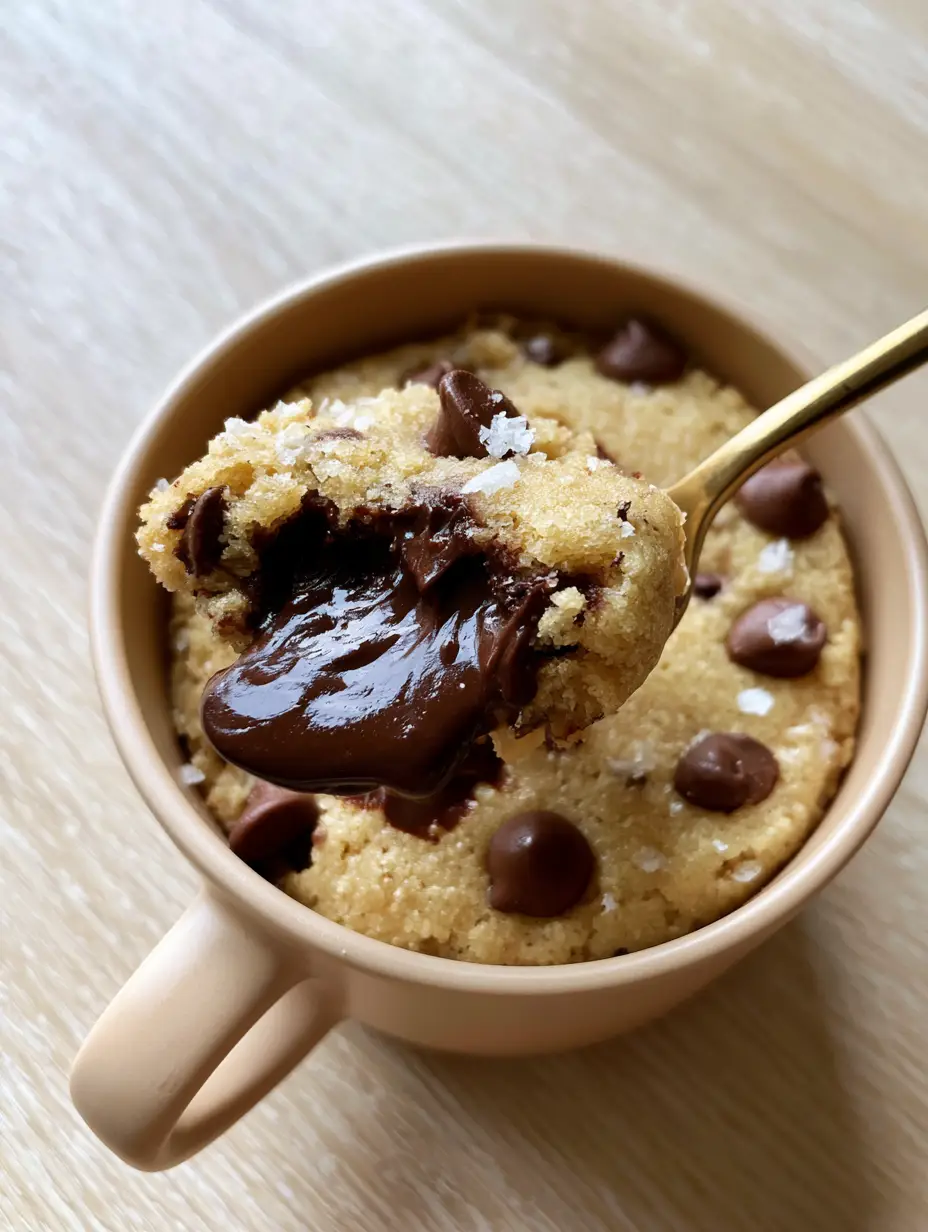
Chocolate chip cookie in a mug: The Ultimate 1-Minute Gooey Microwave Recipe
Ingredients
Equipment
Method
- Melt 1 tbsp (14g) butter in a beige ceramic mug in the microwave for 15-20 seconds.
- Stir in 1 tbsp (12g) white sugar, 1 tbsp (12g) brown sugar, vanilla, and a pinch of salt until well combined.
- Whisk in the egg yolk until the mixture is glossy and emulsified.
- Gently fold in 3 tbsp (24g) flour and 1/8 tsp (0.5g) baking powder until just combined. Do not overmix.
- Stir in half the chocolate chips, then press the remaining chips into the top surface.
- Microwave on high for 50-60 seconds until the edges are set and the surface is soft and golden. Let rest for 2 minutes.
- Sprinkle with flaky sea salt and serve warm with a spoon.
Notes
Resting for 2 minutes is crucial for the texture to set correctly.

Join the Mug Treat Revolution
Creating a Chocolate chip cookie in a mug is more than just a quick fix; it is a culinary hack that brings joy to any moment of the day. We hope you enjoy the gooey centers and those beautiful molten chocolate pools as much as we do!
If you made this recipe, please leave a comment below and tell us how it turned out! Don’t forget to sign up for our newsletter for more 1-minute dessert secrets. Share your creations on Pinterest and tag us so we can see your beautiful beige mugs in action!


