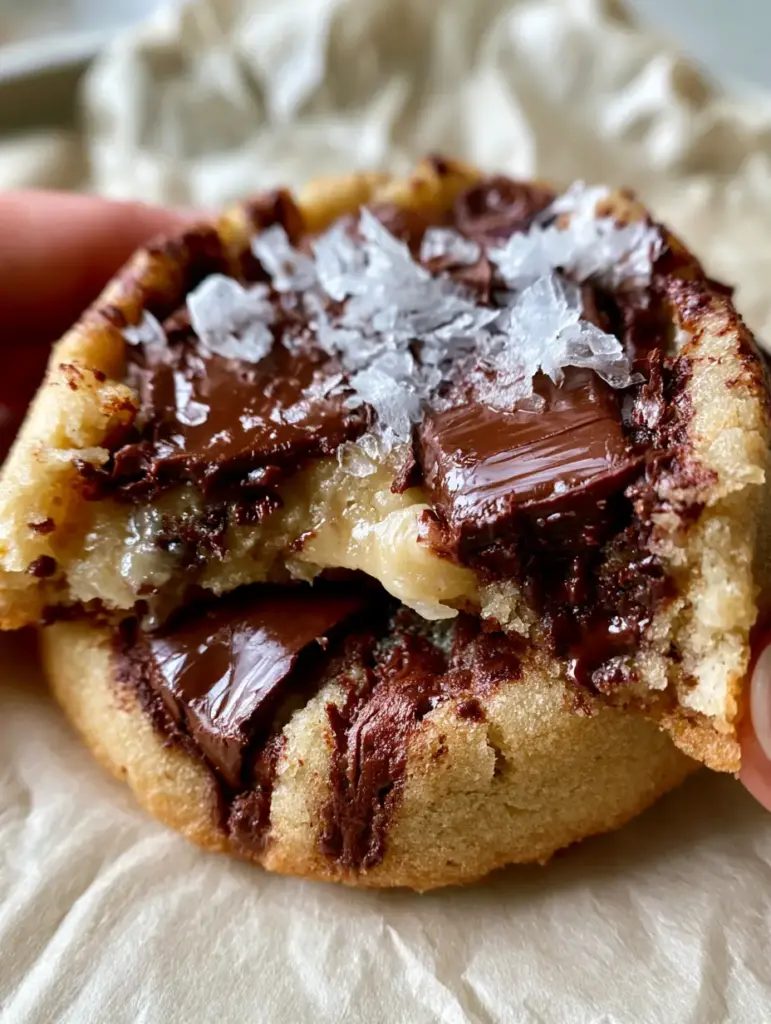
There is a specific kind of magic that happens when you break apart a warm cookie and reveal a thick, gooey, pale-golden interior that looks more like fudge than dough. If you have been searching for that elusive “soft-matte” finish and a bite that stays moist for days, these chocolate chip pudding cookies are your final destination.
Most homemade cookies turn into crunchy discs within twenty-four hours, but the addition of instant vanilla pudding mix changes the molecular structure of the bake. By introducing extra cornstarch and specialized emulsifiers found in the mix, we create a moisture-locking barrier that results in the softest chocolate chip pudding cookies you have ever tasted.
In this guide, we are diving deep into the culinary science of the “soft-batch” method. From selecting the right dark chocolate chunks to achieving those glossy cocoa streaks, every step is designed to replicate a high-end bakery aesthetic right in your home kitchen.
The Science of the Soft-Batch: Why This Recipe Works
- Gooey Fudge-Like Interior: The instant vanilla pudding mix acts as a tenderizer, preventing the gluten from toughening and ensuring a pale-golden, melt-in-your-mouth center.
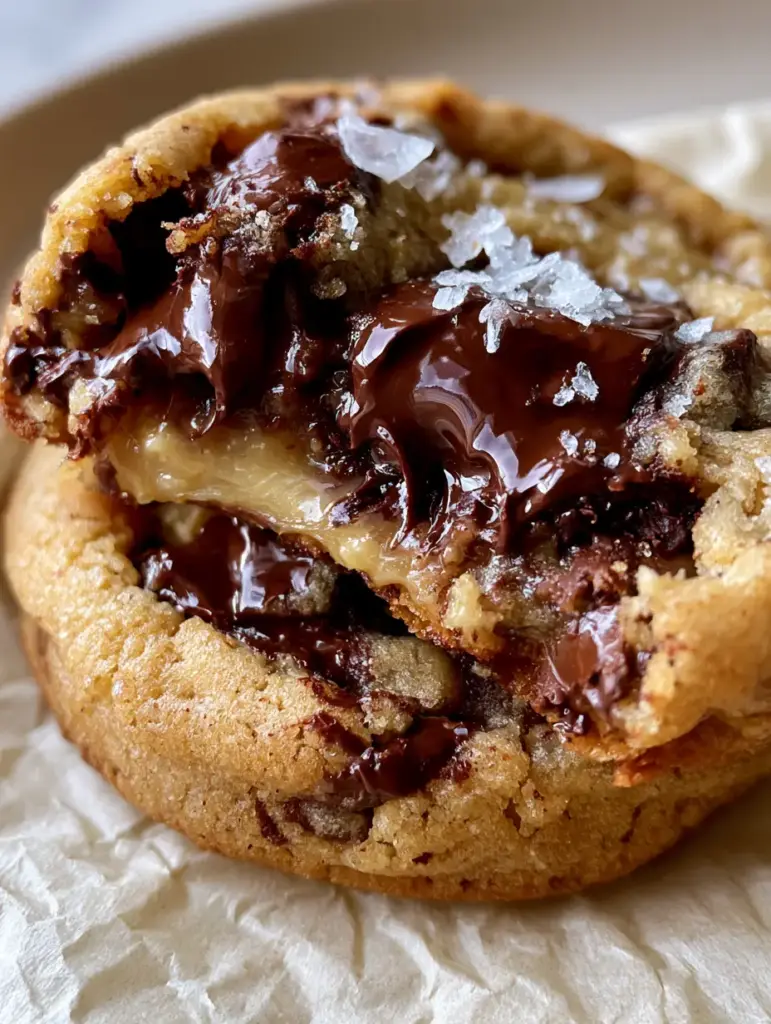
- Glossy Dark Chocolate Pools: By using hand-chopped dark chocolate bars instead of standard chips, we achieve thick streaks of cocoa and reflective pools of melted chocolate.
- Subtle Golden Edges: A precise ratio of light brown sugar to granulated sugar ensures the edges caramelize just enough to provide structure without any dryness.
- Flaky Sea Salt Garnish: Large, translucent salt crystals provide a sharp contrast to the rich dough, elevating the flavor profile to professional standards.
Essential Components for Chocolate Chip Pudding Cookies
Before we begin, ensure all your ingredients are at room temperature to facilitate proper emulsification. This is the foundation of a dense, buttery dough with a soft-matte finish.
Unsalted Butter (1 cup / 227g): You want high-quality, softened butter. This provides the fat necessary for that rich, handheld smartphone photo-worthy texture and a buttery crumb.
Light Brown Sugar (3/4 cup / 150g): The molasses content in brown sugar is vital for the moist crumbs and the “fudge-like” consistency we are aiming for in the center.
Granulated Sugar (1/4 cup / 50g): Just enough white sugar is used to create those very subtle golden-brown edges while keeping the rest of the cookie soft.
Instant Vanilla Pudding Mix (3.4 oz / 96g): Use the dry powder only. This is the “secret sauce” that integrates into the flour to create the signature vanilla pudding mix integrated texture.
Large Egg (1 unit): The egg provides structure and protein, binding the dense dough together so it doesn’t crumble when you pull it apart.
Pure Vanilla Extract (1 tbsp / 15ml): A heavy hand with vanilla enhances the floral notes of the dough and complements the dark chocolate chunks.
All-Purpose Flour (2 1/4 cups / 280g): This provides the structural skeleton. Measuring by weight is highly recommended to avoid a “cakey” result.
Baking Soda (1 tsp / 5g): This leavening agent reacts with the brown sugar to create a slight lift, keeping the cookies thick rather than flat.
Dark Chocolate Bar (6 oz / 170g): Choose a bar with at least 60% cocoa. Chop it into irregular chunks to ensure those glossy pools and thick streaks of cocoa are visible.
Flaky Sea Salt (for garnish): Use a high-end brand like Maldon. These translucent flakes are the final touch for that authentic, high-end food blog aesthetic.
The Gear Required for Bakery-Style Results
To achieve the visual recipe blueprint, you don’t need a commercial kitchen, but a few specific tools will make a significant difference. A heavy-duty stand mixer or electric hand mixer is essential for creaming the butter and sugar until pale and aerated.
You will also need a large baking sheet lined with neutral, off-white crumpled parchment paper. Parchment paper prevents the bottoms from over-browning, ensuring the exterior has no dryness while the interior stays gooey.
Finally, a large cookie scoop (approx. 3 tablespoons) ensures every cookie is uniform in size. This consistency allows for even baking, so every single one of your chocolate chip pudding cookies has the same perfect pale-golden center.
Step-by-Step: Mastering the Chocolate Chip Pudding Cookies
1. Creating the Aerated Butter Foundation
In the bowl of your mixer, combine the softened butter, light brown sugar, and granulated sugar. Beat on medium-high speed for at least 3-4 minutes.
Look for the “visual cue”: the mixture should transform from a grainy yellow to a pale, voluminous cream. This aeration is what creates the “soft-matte finish” on the baked cookie’s surface.
2. Integrating the Pudding Secret
Add the egg and vanilla extract, beating until fully incorporated. Stop the mixer and pour in the dry instant vanilla pudding mix powder.
Mix on low until the pudding powder disappears into the cream. This step ensures the vanilla pudding mix integrated texture is uniform throughout the entire batch of chocolate chip pudding cookies.
3. Folding the Dry Ingredients and Chocolate
Whisk together the flour, baking soda, and a pinch of table salt in a separate bowl. Gradually add this to the wet ingredients, mixing until just combined—do not overmix, or the cookies will become tough.
Gently fold in your hand-chopped dark chocolate chunks. You want to see “glossy streaks of cocoa” throughout the dough, which happens as the small shavings of chocolate melt slightly into the batter.
4. The Chill and Scoop Method
For the best results, chill the dough for at least 30 minutes. This prevents the cookies from spreading too thin, maintaining that “thick, soft-batch” profile seen in our Midjourney prompt.
Scoop the dough into tall, textured balls. Place them on the parchment paper, leaving 2 inches of space between each. Do not flatten them; the heat will do that work for you.
5. Precision Baking for a Gooey Interior
Bake at 350°F (175°C) for exactly 9-11 minutes. The cookies are done when the edges are just barely set and show “subtle golden-brown edges,” but the centers still look slightly underdone and soft.
Immediately upon removing them from the oven, sprinkle a sparse garnish of large, translucent flaky sea salt over the top while the chocolate pools are still molten and glossy.
Expert Tips for Success
- Don’t Use Cook-and-Serve: Ensure you are using *instant* pudding mix. The cook-and-serve variety requires heat to thicken and will not provide the same moist crumbs.
- The “Slam” Technique: If your cookies look too puffy, gently tap the baking sheet on the counter halfway through baking. This creates those ripples and the “dense, buttery dough” texture.
- Chocolate Placement: For the best visual result, press a few extra chunks of dark chocolate into the tops of the dough balls right before they go into the oven.
- Temperature Control: If your kitchen is hot, keep the dough in the fridge between batches. Cold dough equals thicker chocolate chip pudding cookies.
Storage, Reheating & Freezing
These chocolate chip pudding cookies thrive when stored in an airtight container at room temperature. Because of the pudding mix, they will remain soft and “fudge-like” for up to 5 days.
To recapture that “just-out-of-the-oven” gooeyness, microwave a single cookie for 8-10 seconds. This will re-melt the chocolate chunks into those signature glossy pools.
You can also freeze the raw dough balls. Simply bake them directly from the freezer, adding 1-2 minutes to the total baking time. This is perfect for when you need small-batch chocolate chip cookies on demand.
What to Serve With This
These rich, decadent cookies pair beautifully with a variety of beverages. For a sophisticated afternoon treat, try serving them alongside a hibiscus rose mocktail or one of our other homemade drink recipes.
If you are hosting a gathering, these cookies make a great addition to a dessert spread featuring nutella rolls or even salted caramel rice krispie treats. The contrast between the soft-batch cookie and the crunchy treats is always a crowd-pleaser.
Frequently Asked Questions
While you can use sugar-free mix, the texture may be slightly less ‘fudge-like’ as the sugars in the standard mix contribute to the overall moisture and crumb structure of the chocolate chip pudding cookies.
While not required, flaky sea salt is essential for the ‘high-end food blog aesthetic’ and perfectly balances the sweetness of the vanilla pudding dough.
Yes. Vanilla is the classic choice for a traditional taste, but you can use chocolate pudding mix for a double-chocolate version or butterscotch for a deeper, caramelized flavor.
The secret is using chopped chocolate bars rather than chips. Baking chips contain stabilizers to help them hold their shape, whereas bar chocolate melts into glossy, streaky pools.
Flat cookies usually result from butter that is too warm or skipping the chilling stage. Ensure your dough is cool to the touch before baking to maintain that thick, soft-batch profile.
The Full Chocolate Chip Pudding Cookie Recipe
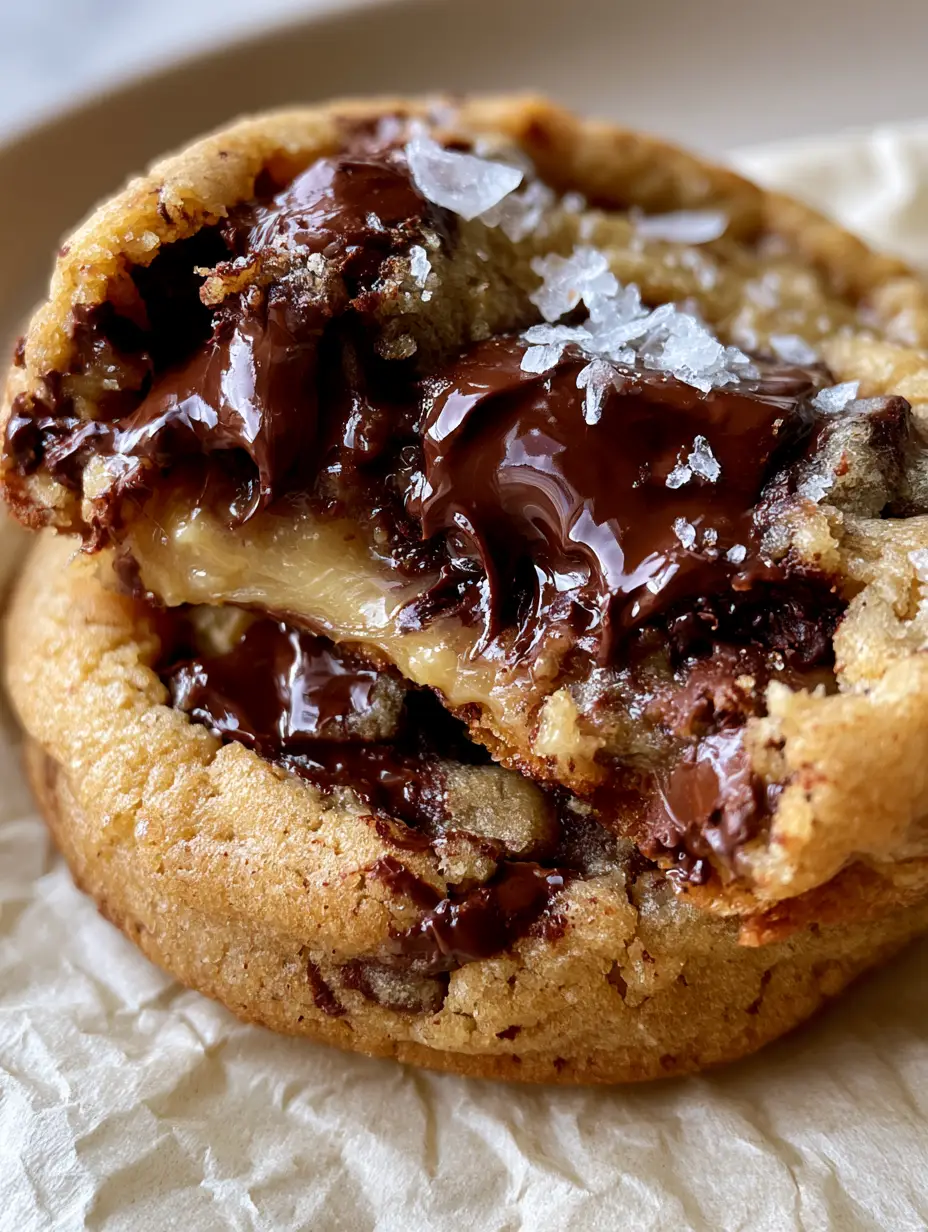
Chocolate chip pudding cookies: The Secret to the Ultimate Soft-Batch Texture
Ingredients
Equipment
Method
- In a stand mixer, beat the softened butter, brown sugar, and granulated sugar for 3-4 minutes until pale and fluffy.
- Mix in the egg and vanilla extract. Add the dry instant pudding mix and beat until fully incorporated and smooth.
- Whisk flour and baking soda together, then slowly add to the wet mixture on low speed. Fold in the dark chocolate chunks by hand.
- Chill the dough for 30 minutes. Scoop 3-tablespoon sized balls onto a parchment-lined sheet.
- Bake at 350°F (175°C) for 9-11 minutes until edges are barely golden but centers are still soft.
- Immediately sprinkle with flaky sea salt while chocolate chunks are still melted.
Notes
Hand-chopped chocolate is superior to chips for achieving the 'fudge-like' streaks.
Closing & Call to Action
Mastering the chocolate chip pudding cookies is a rite of passage for any serious home baker. By following this forensic approach to texture and ingredients, you’ve created a cookie that isn’t just a treat—it’s a sensory experience of melted chocolate, buttery dough, and flaky salt.
If you loved this recipe, please leave a comment below and let us know how your “glossy pools” turned out! Don’t forget to share your creations on Pinterest and tag us. For more elite bakes, check out the other recipes by Kamika on the blog!


